Covered Sandbox with Convertible Bench Seats


After browsing online for a covered sandbox, I quickly realized that all of the options out there were very cheaply made, with a high price tag. I knew that if I wanted something durable and high quality, I would have to take matters into my own hands!
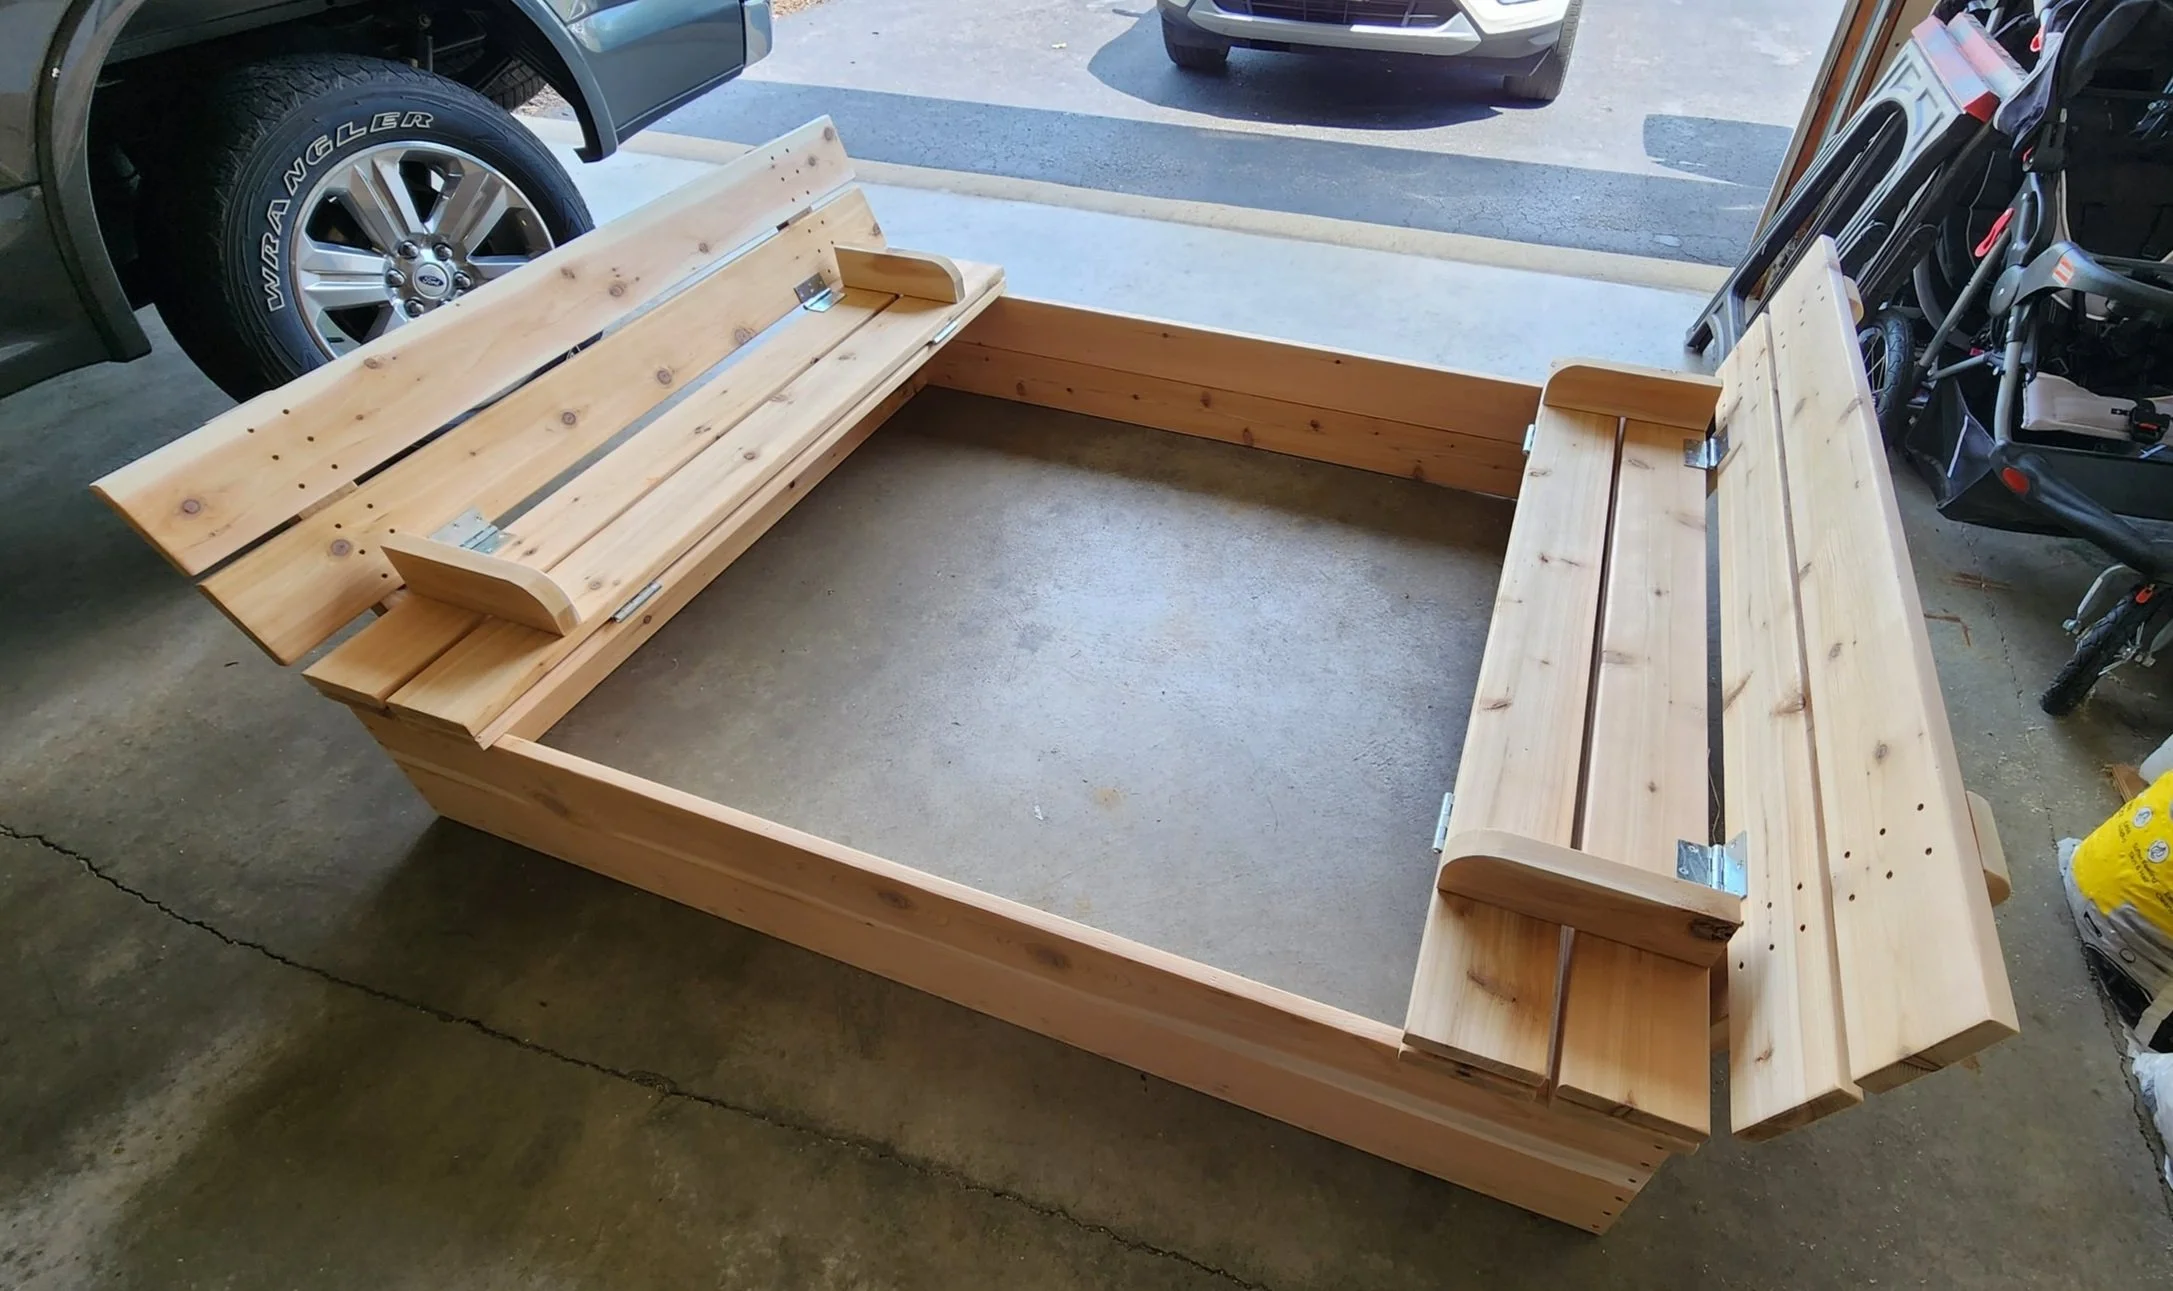
The idea of a sandbox with benches was really appealing to me. Being able to get in and play with the kids while still being comfortable makes it a lot easier to spend hours on end digging and building sand castles. The ability to collapse the benches into a cover protects the sand from debris, rain, and animals while not in use.
I designed this 6’ by 5’ cedar sandbox out of affordable 1” thick deck boards (sold as 5/4 material) which are readily available at all home centers. Deck boards are made for durability and appearance since they are meant to be used as.. well, decking. Add in some galvanized or stainless steel hardware and this thing will withstand the seasons for years to come.
I have also created a step-by-step summary video of this project on YouTube if you’re more of a visual learner!
With all of that out of the way, let’s build a sandbox!
Supplies

Every project starts here! I went to my local home center and picked up the 14 required boards. Mostly 5/4 deck boards ranging in length from 6’ - 10’ and some 2’x4’s.

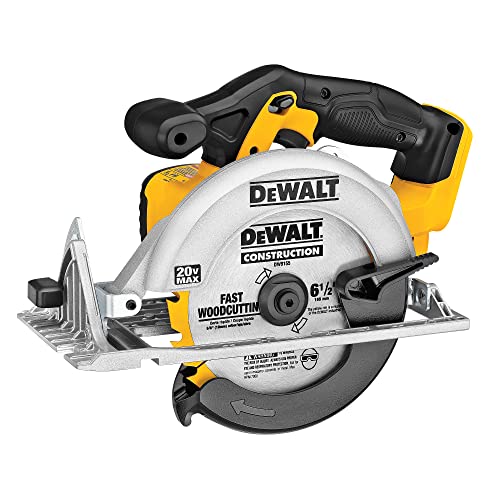
Wood glue, outdoor rated screws, hinges, handles, stain, and wood cleaner make up the rest of the necessary supplies. As far as tools go, this project can be completed with a circular saw, impact driver, drill, hand saw, and a sander. If you have a miter saw and a bandsaw/jigsaw you will really be set! Links to all supplies and tools are found at the bottom on this article.
The Frame
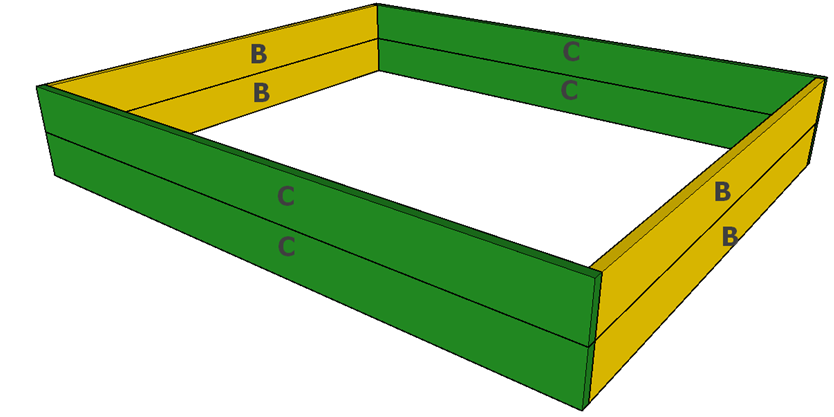
Many of the following descriptions will mention part names. These are the parts referenced from the plan set.

Using a miter saw, parts B & C are cut to rough size. A circular saw would work just as well here.

Before any of the parts were assembled I took the opportunity to sand imperfections and round all edges to reduce the chance of slivers in little hands.

Now it’s time to begin edge joining the boards to make up the frame of the sandbox. I left the boards long in the previous step so that I didn’t have to worry about perfectly aligning the ends while clamping. Once the glue dries, I trimmed the boards to their final lengths. If you are an over-achiever, dowels or dominos can be used while joining the boards.
Eight boards are joined in groups of two to create the four walls.

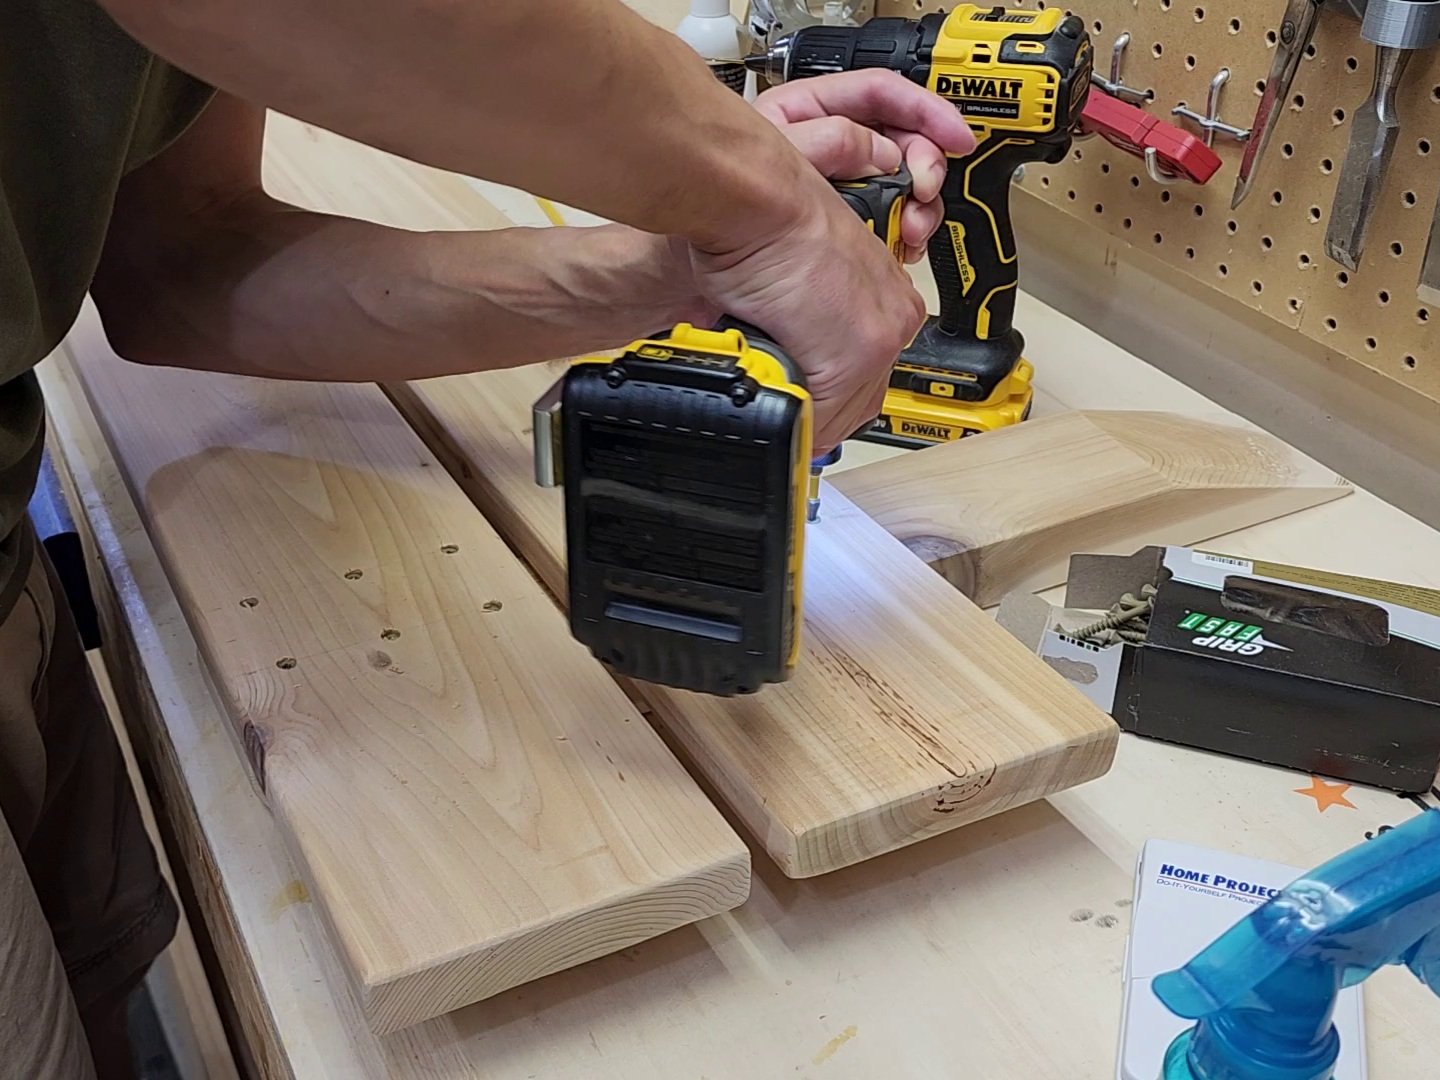
All screws that are driven into this project are first pre-drilled. I made a simple little jig with evenly spaced holes and drilled the through. Once the jig is removed I used a countersink bit to further prep for the screws.

Using the four wall panels we created and the countersunk holes, I added some glue and screwed the frame together. Corner clamps helped to keep everything nice and square. If you’re following along with the plans, I’m driving 3” screws through part C, into part B here.
The Lid/Benches
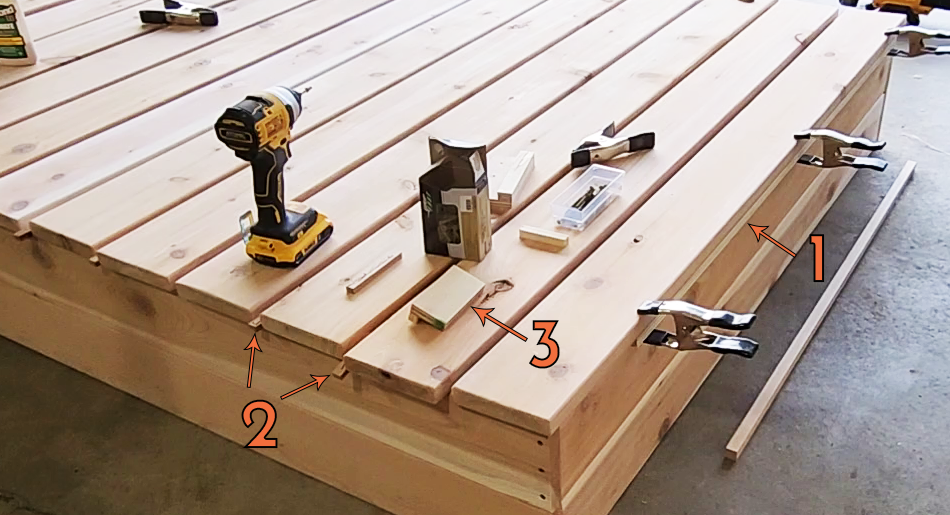
All of the part A’s have been cut to final length and sanded smooth. Before getting started with the lid, I laid every board out, using a 1/2” spacer on the end (1) and 1/2” spacers between every board (2). This helps to ensure all measurements were correct and allowed me to position the boards with the best faces up. I then made a quick overhang spacer jig (3) to position the 1/2'“ overhang on the tips.

Lid profile view
The two boards in from each end (green) can be directly attached to the frame at this point. They are the only stationary lid boards. The eight remaining boards will all receive braces (D/E) to connect them in groups of two.
The four part E’s pictured above will connect two sets of boards (yellow). When the sandbox is closed, these braces are on the underside. When opened, they become the bench rails.
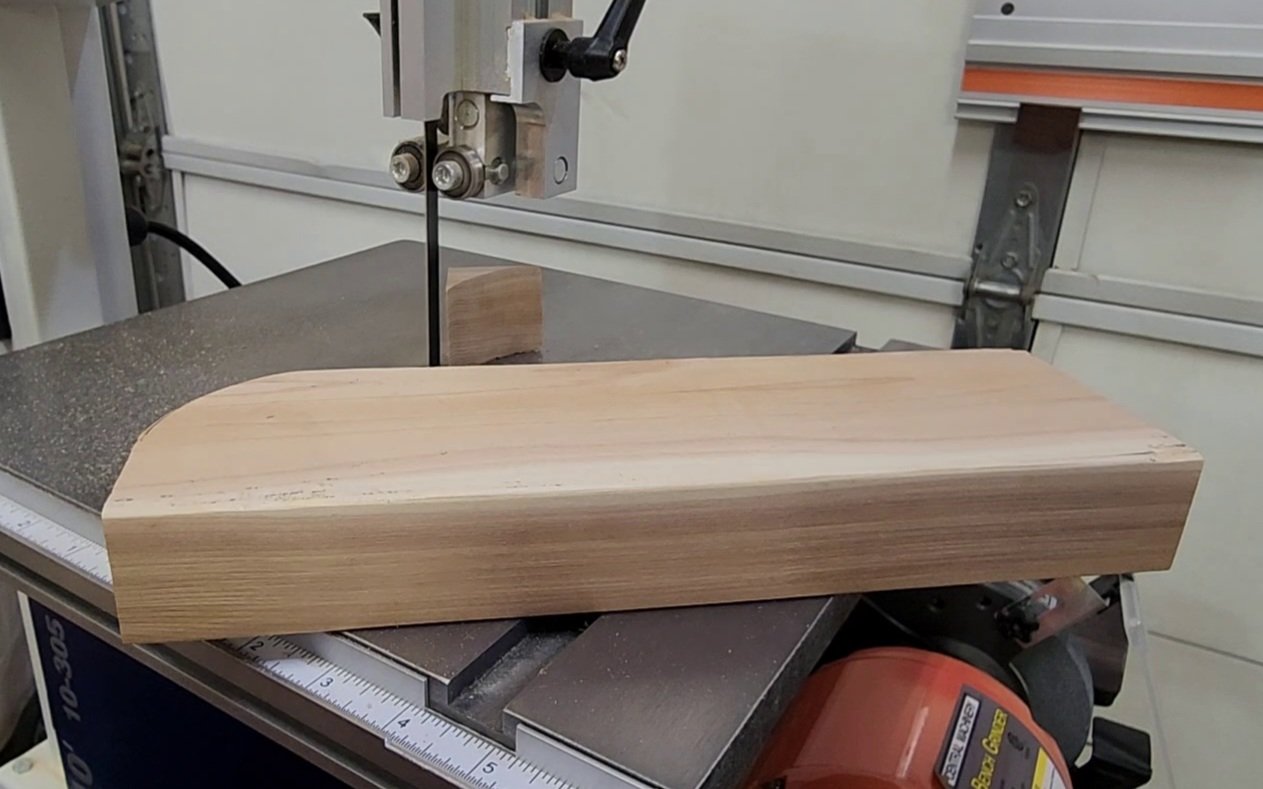
The step of creating the round over is totally optional but it does remove the sharp edge and provides an enhanced aesthetic. If you don’t have a bandsaw, a jigsaw would work. If you don’t have a jigsaw, a sander with aggressive grit paper could round this soft wood over, if you don’t have a sander, use your teeth.

Now, two of the lids boards (part A) need to be connected together with a 1/2” space between each. I used some scrap wood to create a long spacer and placed it between. Another scrap spacer is used to evenly space the bench rails (part E).
It’s a bit tricky to align all of this and then screw it in from the opposite side. To achieve this, I used some wood glue with globs of CA glue between. The CA glue bonds instantly when the opposing piece is sprayed with an accelerator.

I carefully flipped the combination of boards over and screwed them in from the other side. This step is repeated again to create two joined sections.
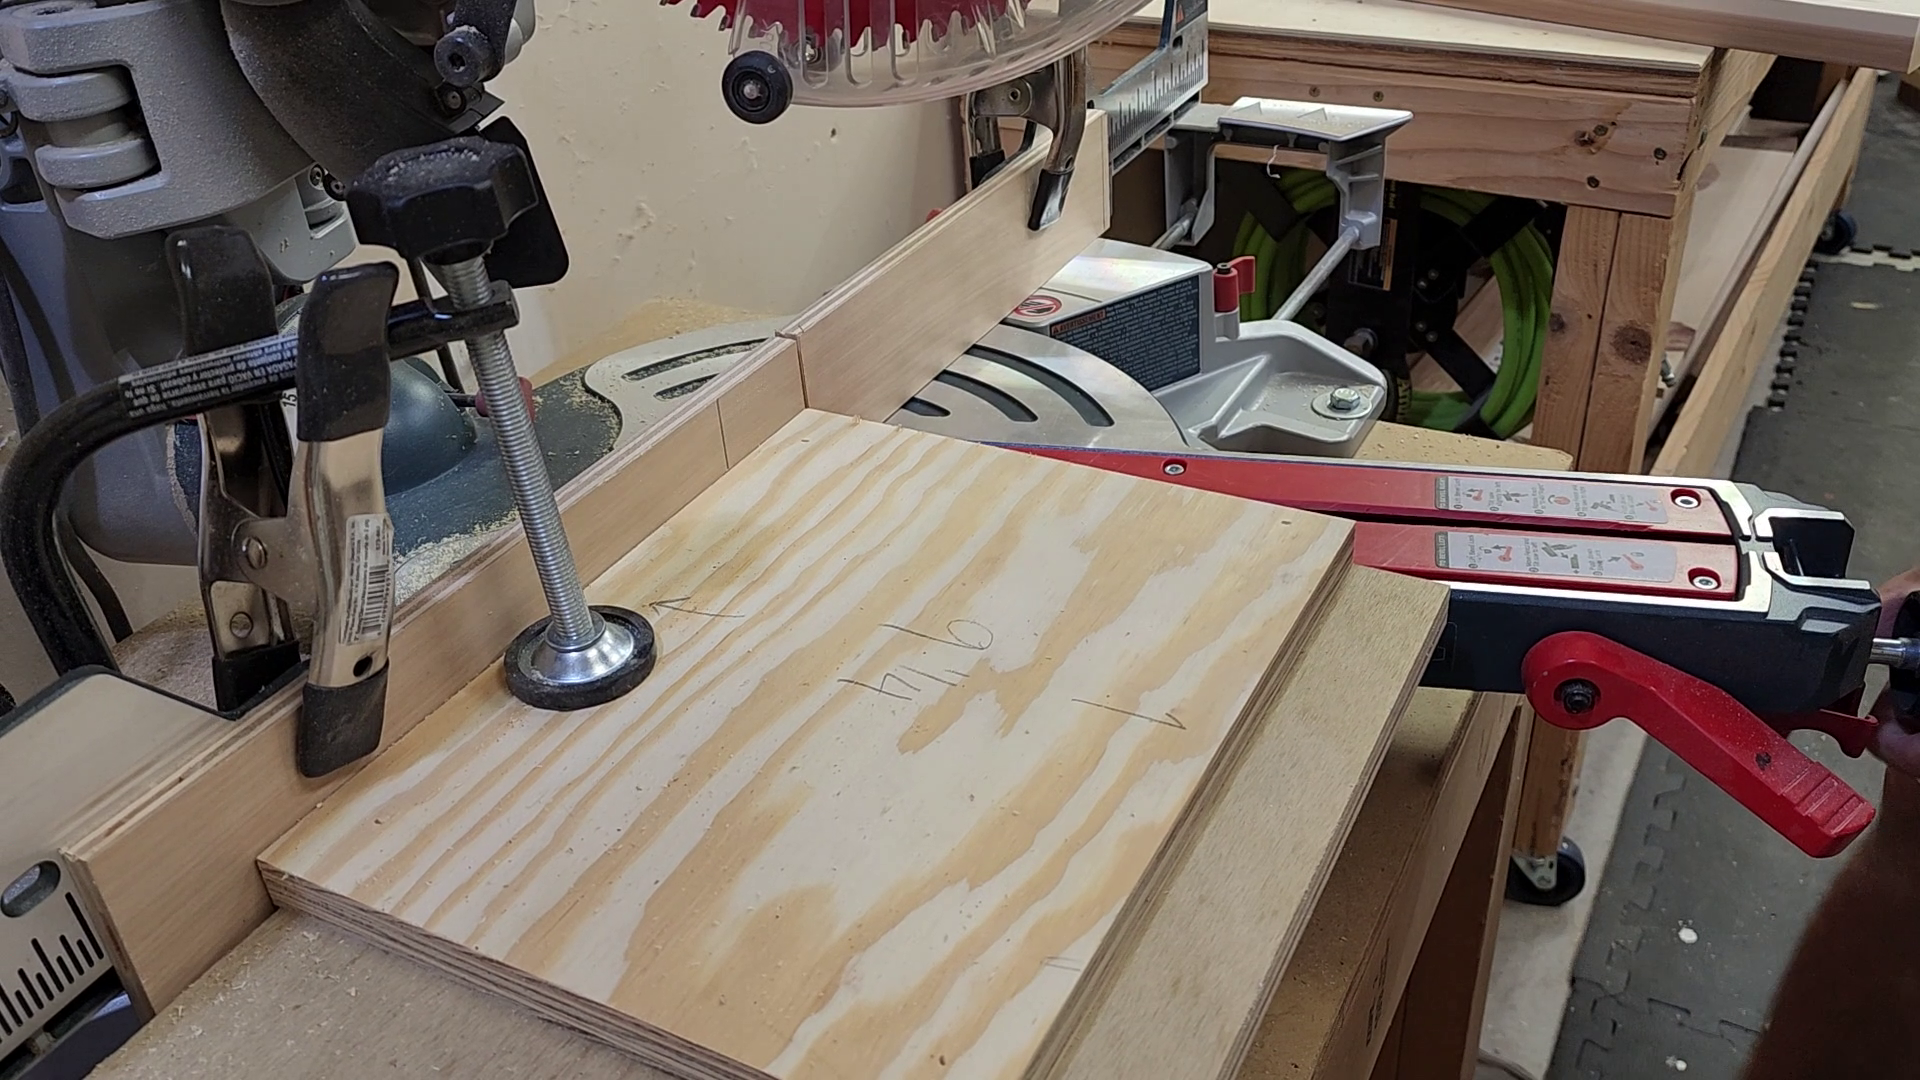
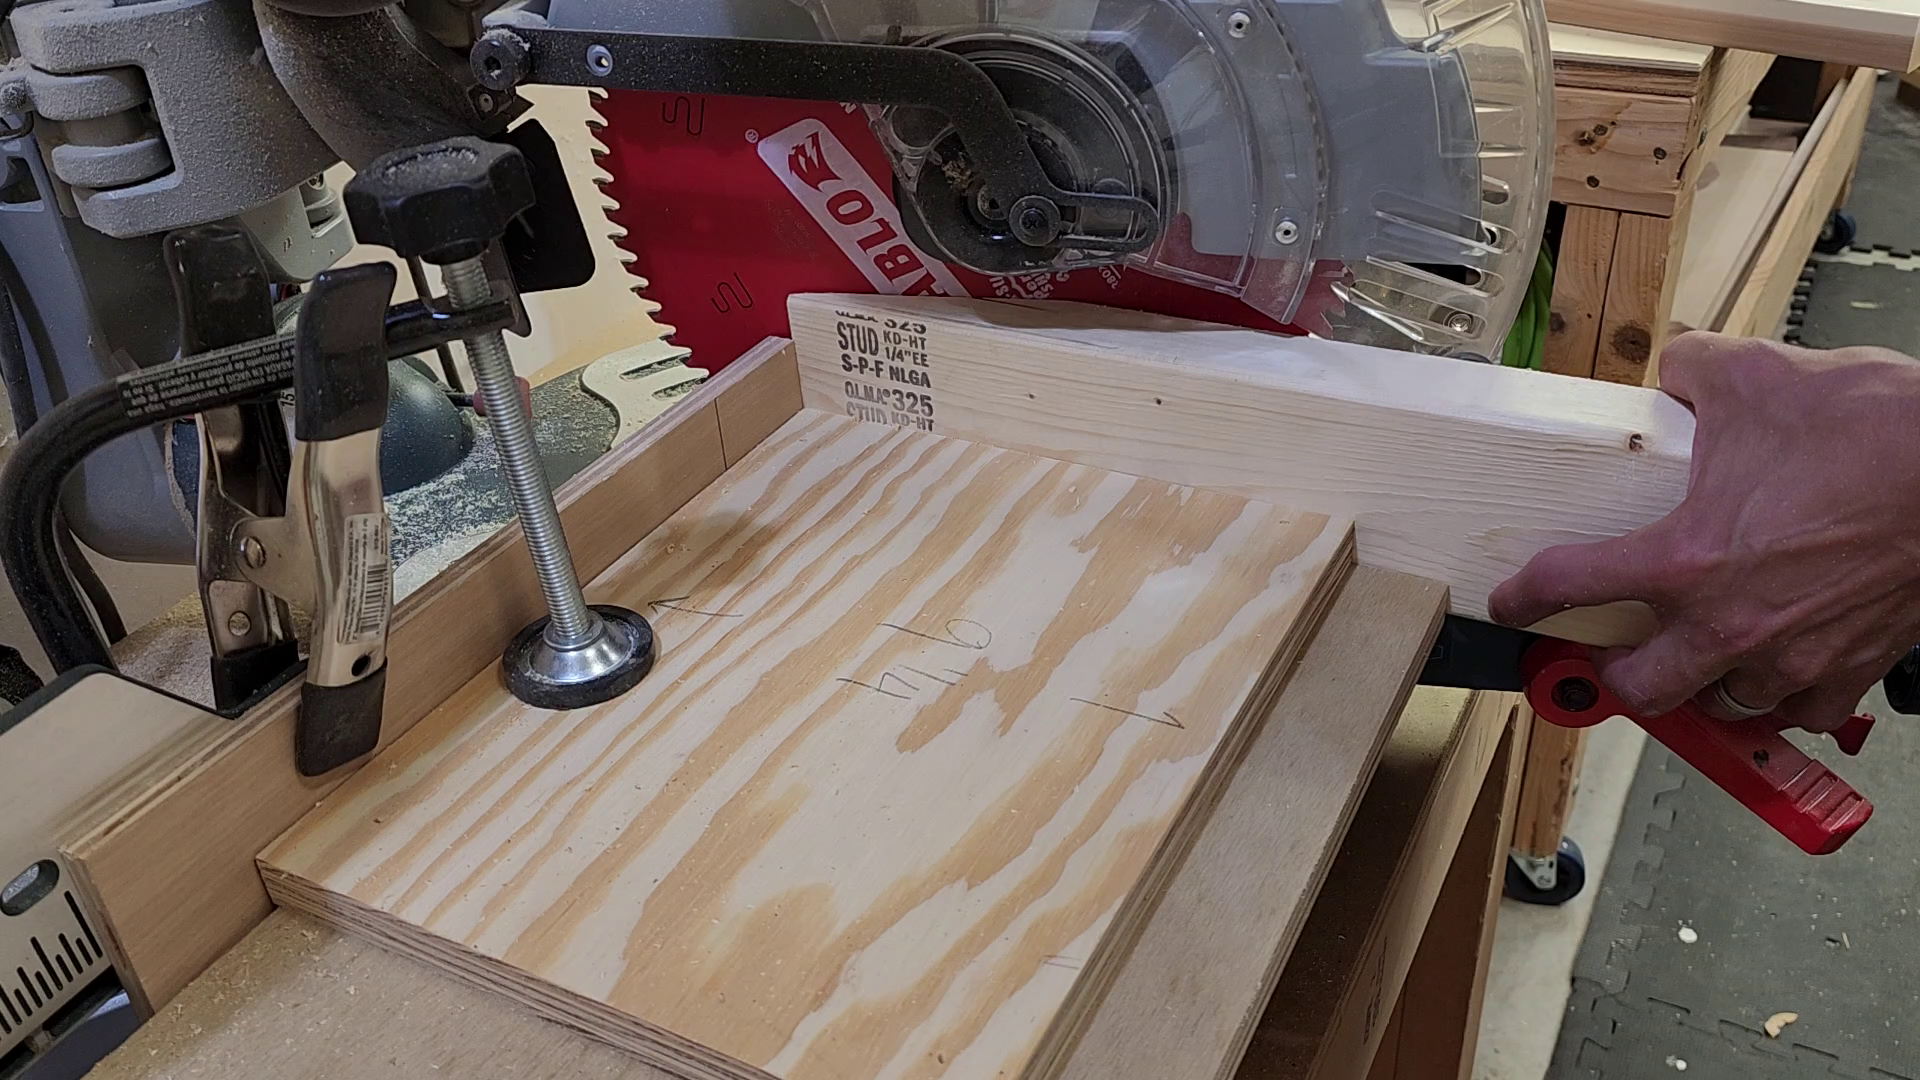
Next, we need two more joined part A sections to create the blue groups. To do this, we need to create the 15° angle on four part D’s. Part D will be the support brace of the bench back rest. I found 15° the perfect comfort position.
There are multiple ways to achieve a steep angle cut. One would be with a handsaw, another would be with a bandsaw. I chose to use the sliding miter saw with a support board in place. This video gives some great tips on a version of the method I used.
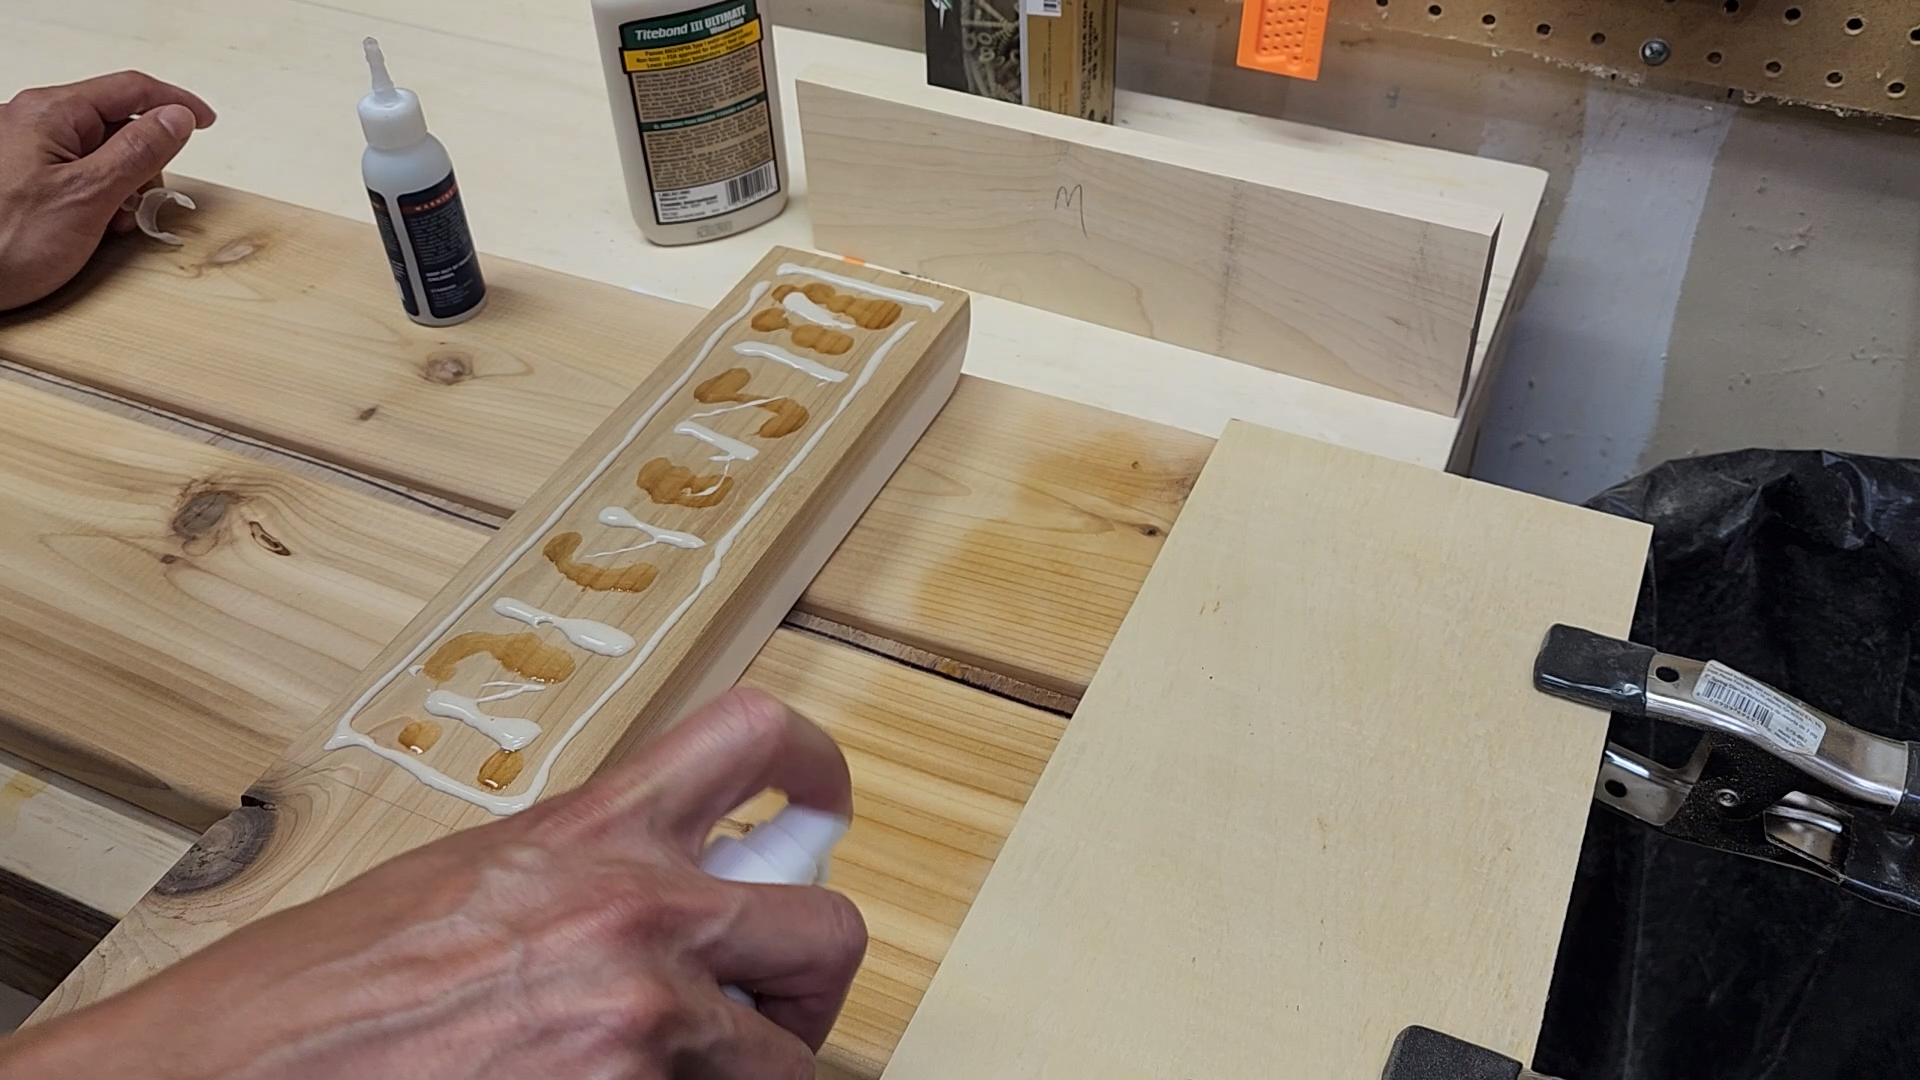
Same concept here as the previous braces. Spacer, CA glue, wood glue, flip, pre-drill, screws.
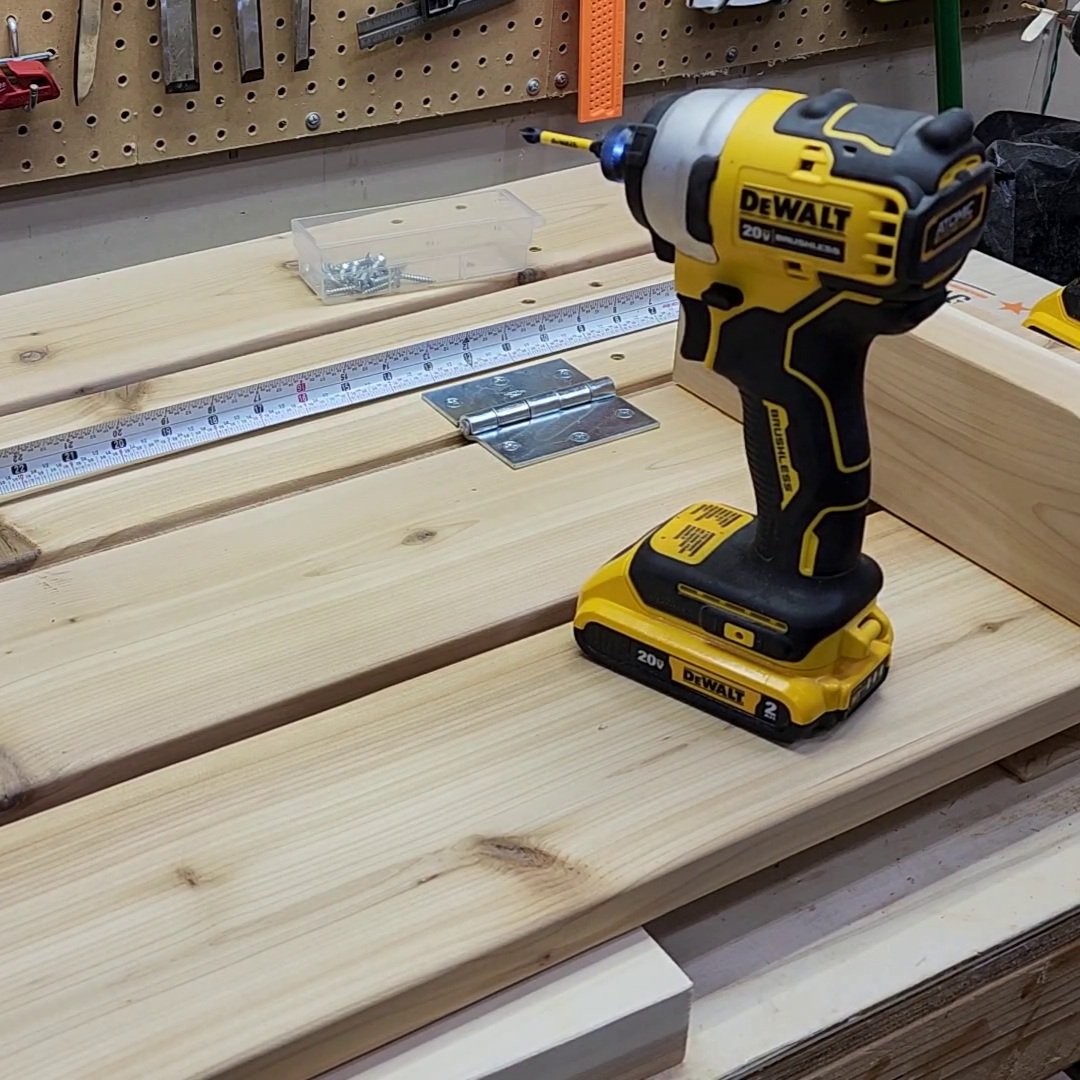
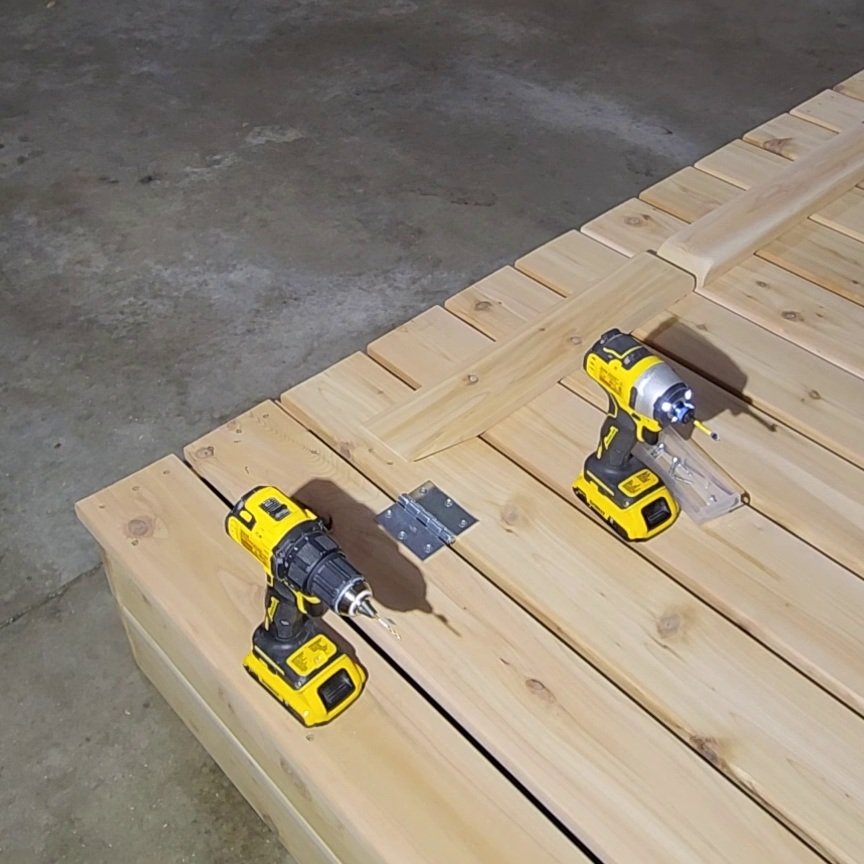
With all four of the two-board sections joined together with braces, eight hinges can be added. Four on the bottom side, four on the top. Be sure to use your 1/2” spacer while attaching these to ensure proper clearance and overall spacing.
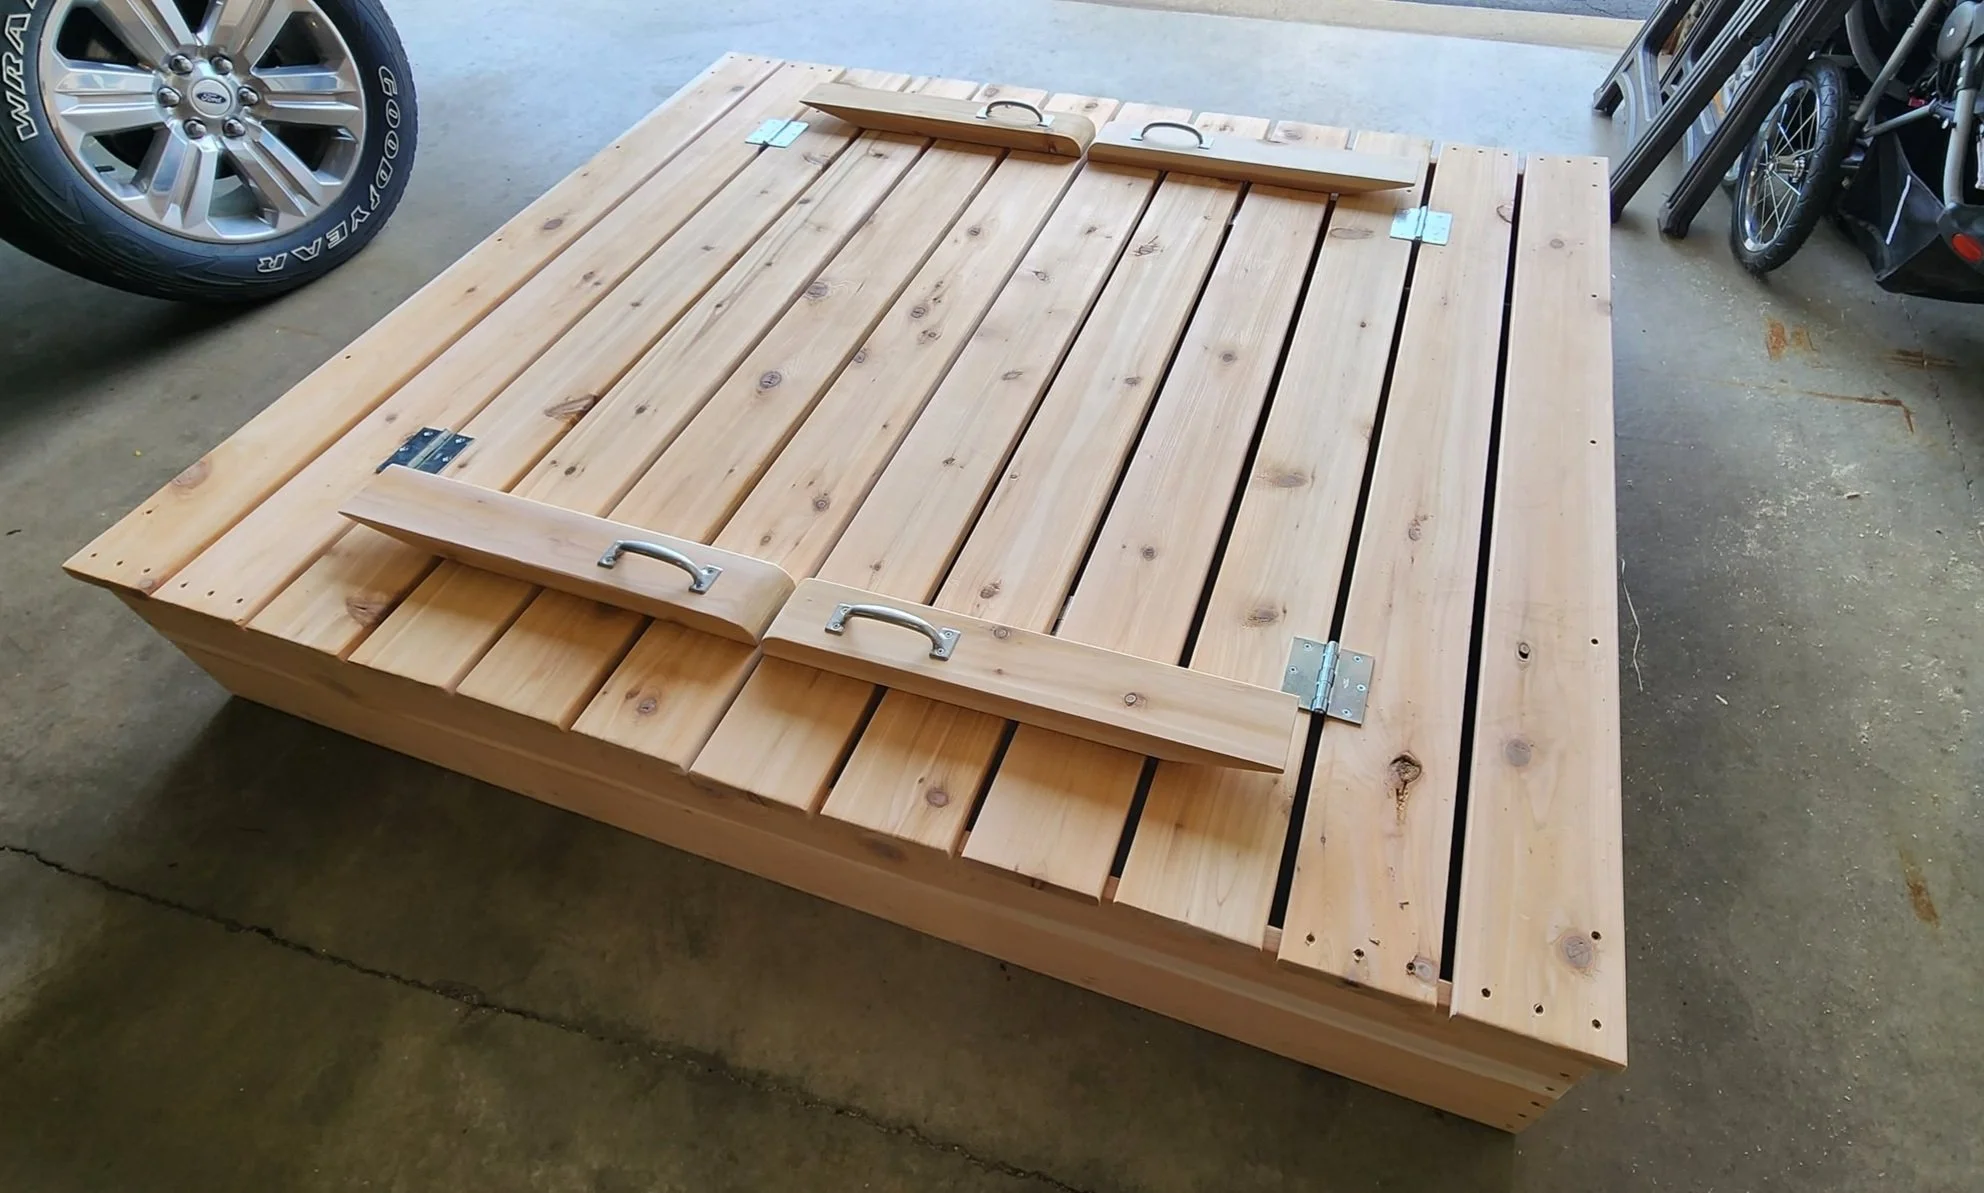
Four galvanized or stainless steel handles wrap up the construction of the sandbox.
Finishing

With the lid and hardware removed, I applied a wood cleaner. I chose to use an all-in-one wood and deck cleaner. This chemical cleaner is applied with a pump sprayer and then rinsed off with a garden hose. It is a required step before applying the stain I chose.
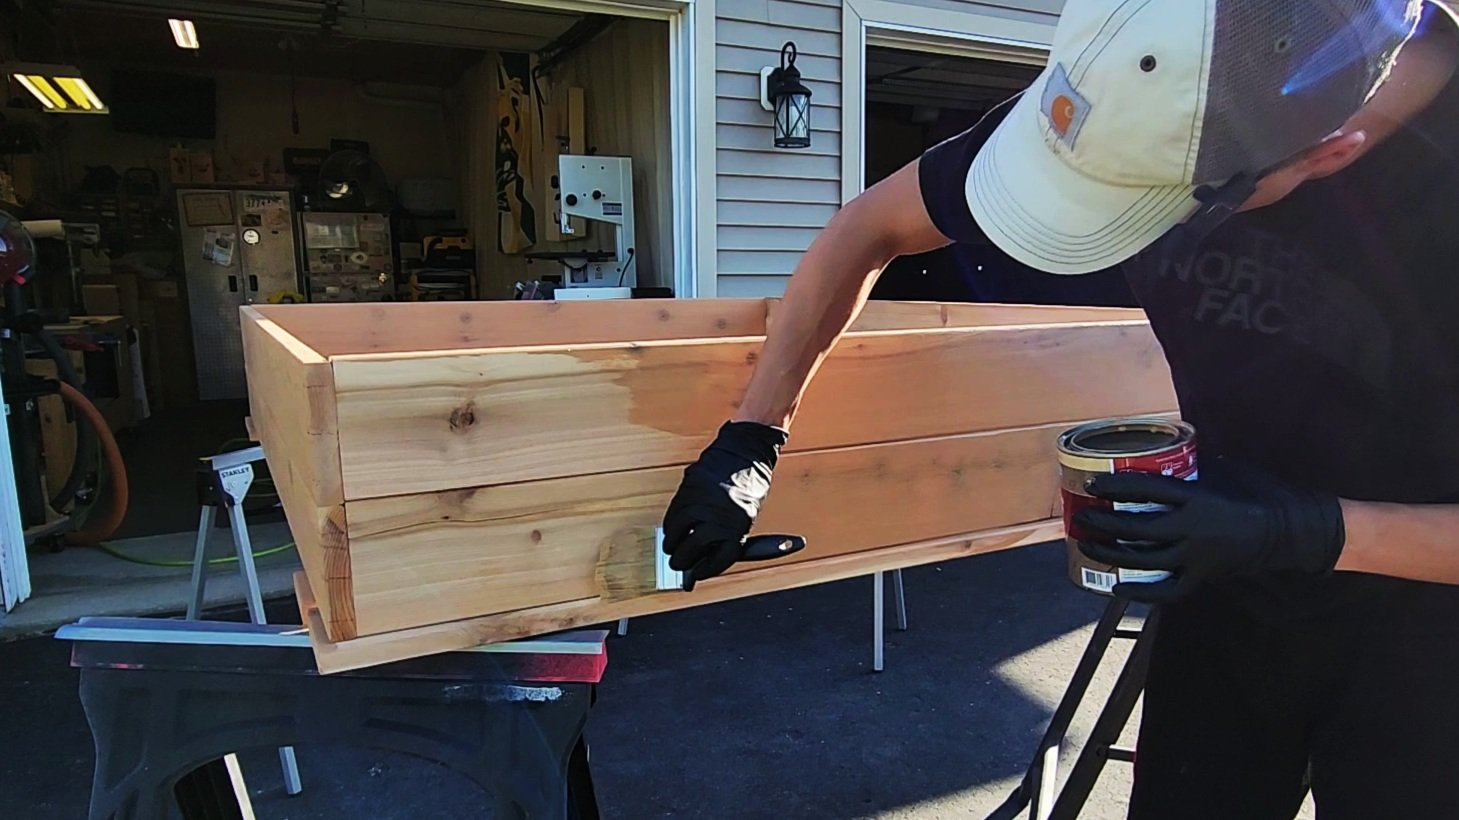
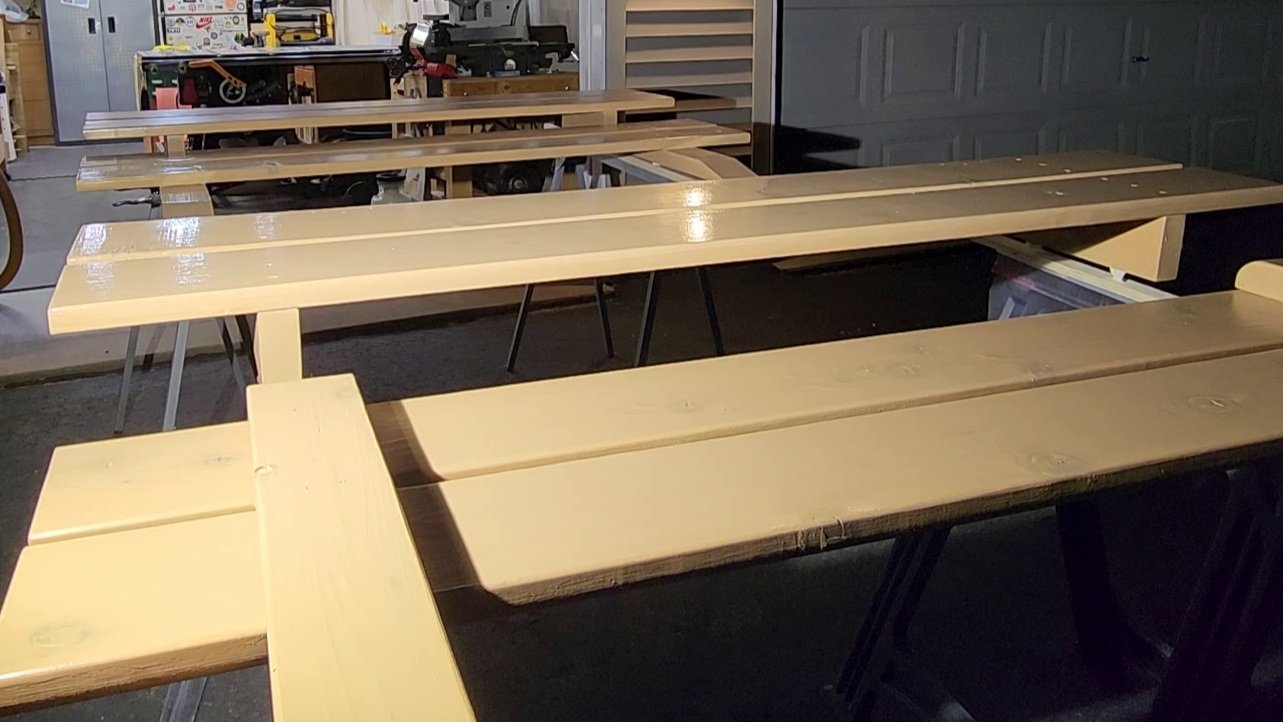
After the wood dried fully in the sun for a day, I used a large paint brush and applied a semi-transparent waterproofing stain and sealer to all surfaces. The sandbox could have been left untreated, but I want this to last many years out in the elements. I liked the semi-transparent stain as it allows some of the wood grain to still show through. It was tinted to match the playset and garden beds I had built previously.
Installation

The location I chose to place this was close to flat, but not quite. Using a large level and a 2x4, I marked out the high areas with spray paint and cut some sod out so the frame would rest level on the ground.

To prevent grass and dirt from mixing in with the play sand, I added a layer of landscape fabric. I went up the side walls about 5” and stapled directly to the wall. I overlapped the sheets by a foot or so and used landscape fabric pins to keep it in place.

I went to my landscape supply company and loaded up 1/2 cubic yard of play sand. This is the high quality stuff that lets you easily mold and build sand castles. There are a lot of different types out there, so be sure to get in there and feel it before you purchase. 1/2 cubic yard of sand weighs about 1,200 lbs., so plan accordingly. If you don’t have access to a truck or trailer, 1/2 cubic yard of sand is equal to about 25-30 of the 1/2 cubic foot bags sold at home centers.

This was a very rewarding project. It was easy to build using limited tools and will last years longer than the cheap versions found at department stores or online. I have as much fun sitting on the benches watching my kids plays as they do!
Thanks for reading and feel free to email me or message me on Instagram if you have any questions while building one of your own!
Tools and item used in this project
Project specific items


Tools and accessories


Toys