Mailbox Post - Four Box


The original mailbox in my yard, shared with three neighbors, was over 20 years old and had weathered countless Minnesota winters. The cedar structure had seen better days, and it was time for an upgrade. I decided to build a new one, once again using cedar, but with a waterproof stain and sealer to better withstand the elements. To prevent the inevitable leaning that happens over time, I anchored it securely into the ground. By using outdoor-rated screws and metal mailboxes, this setup should last for decades. The design follows USPS guidelines (you can check them here) and has really freshened up the look of our cul-de-sac.
For those interested in building this project, a detailed 18-page plan set is available. It includes a comprehensive materials list, part list, hardware list, and tool list. The highly detailed part list provides IDs, quantities, dimensions, and placement locations for all components, ensuring you can easily purchase and organize what you need. Additionally, the plans feature precise diagrams for each section of the mailbox post, complete with measurements, labels, and notes to guide you through every step of the build.
Enough of that, let’s get to building!
Top and bottom platforms

The first step in this build is to prepare the top and bottom platforms, which will be edge-joined boards. For a seamless joint, I trimmed 1/4" off each side of the boards to ensure a clean, square edge. After trimming, each board is now 5" (G) or 3 1/4” (H) wide, as specified in the plans. You could also leave part H at 5” wide and then trim the width of the top platform down later to fine tune.

With the boards trimmed to size, the next step is to edge join them. I went a bit overkill using my domino joiner (because I need to justify having it!), but you could just as easily use biscuits for alignment. In fact, simply applying glue and clamping the boards together is more than adequate.

I recommend using an exterior-grade wood glue like Titebond III for this step to ensure a durable, weather-resistant bond.
To keep the boards from bowing while they dry, especially the wider top board, clamping cauls are beneficial. The cauls apply even pressure and help maintain a flat, level surface during the glue-up. Fine Woodworking has a good article in you are not familiar.
After the glue dried, it was time to trim the top and bottom platforms to their final size. To make sure both pieces were exactly the same, I stacked them together and cut them at the same time using my crosscut sled. If you don’t have a crosscut sled or a large table saw, a circular saw works just as well! Just be sure to use a straight edge or guide to keep your cuts straight and even.
The post

The plans call for a 6"x6" nominal cedar post. If you purchase an S4S (surfaced on four sides) post, it will have a nominal dimension of 6"x6", but the actual size is 5 1/2"x5 1/2". I decided to go with a rough-sawn cedar post instead, which has an actual dimension of 6"x6". This choice saved me about $50, but it did require an extra step. I ran the post through the planer to bring it down to the final 5 1/2"x5 1/2" size with smooth faces.
Tip: leave the post at its full 8’ height at this step. Once it comes to installation time, you can cut it to the exact size based on your hole and street dimensions.


To give the post a decorative top, I marked out my cut lines and set my miter saw to a 45-degree angle. I have a 12" sliding miter saw, but even that wasn’t quite large enough to cut all the way through the 5 1/2" post. To work around this, I made cuts on each line, then flipped the post and repeated the cuts. After that, I used a Japanese pullsaw to finish off the cuts and followed up with some light sanding to smooth everything out.

Now for my favorite part - routing the decorative profile. To achieve the look I wanted, I used a 1" V-groove router bit. Since this bit has a 1/2" shank, I pulled out my larger router for the job. Following the plans, I carefully made all my layout marks, using my router base as a guide to set the offset. This step really adds a nice touch to the overall design and gives the post a polished, custom feel.
To ensure this routing was both safe and accurate, I clamped a square to the post to guide the router and moved slowly through the material. Cedar is soft, so the router and bit cut through it with ease. To keep the groove clean as I worked, I clamped the vacuum hose to the post, which helped clear the debris. After completing two grooves on each face, I rotated the post and lined up the next set of marks to continue the process.

With all the cuts done, I gave the post a light sanding to clean up the pencil marks and smooth out any rough spots.

The support brace (Part I) is straightforward, it only requires two 45-degree cuts in the 4x4 and some sanding.
The frame

When starting a large section of a project, I like to refer to the layout page of the plans to rough cut the material. Here, you can see that parts C and D are cut to their final dimensions, while part B is left a little long for now.
Each board gets a decorative miter halfway through on one end. Using the dimensions on the plans, I marked each cut line and set my angle.

Part B is cut to its final length before receiving a miter cut.

Using the bottom piece as a guide, I laid out the frame pieces and cut the front and back pieces (E and F) to fit precisely.
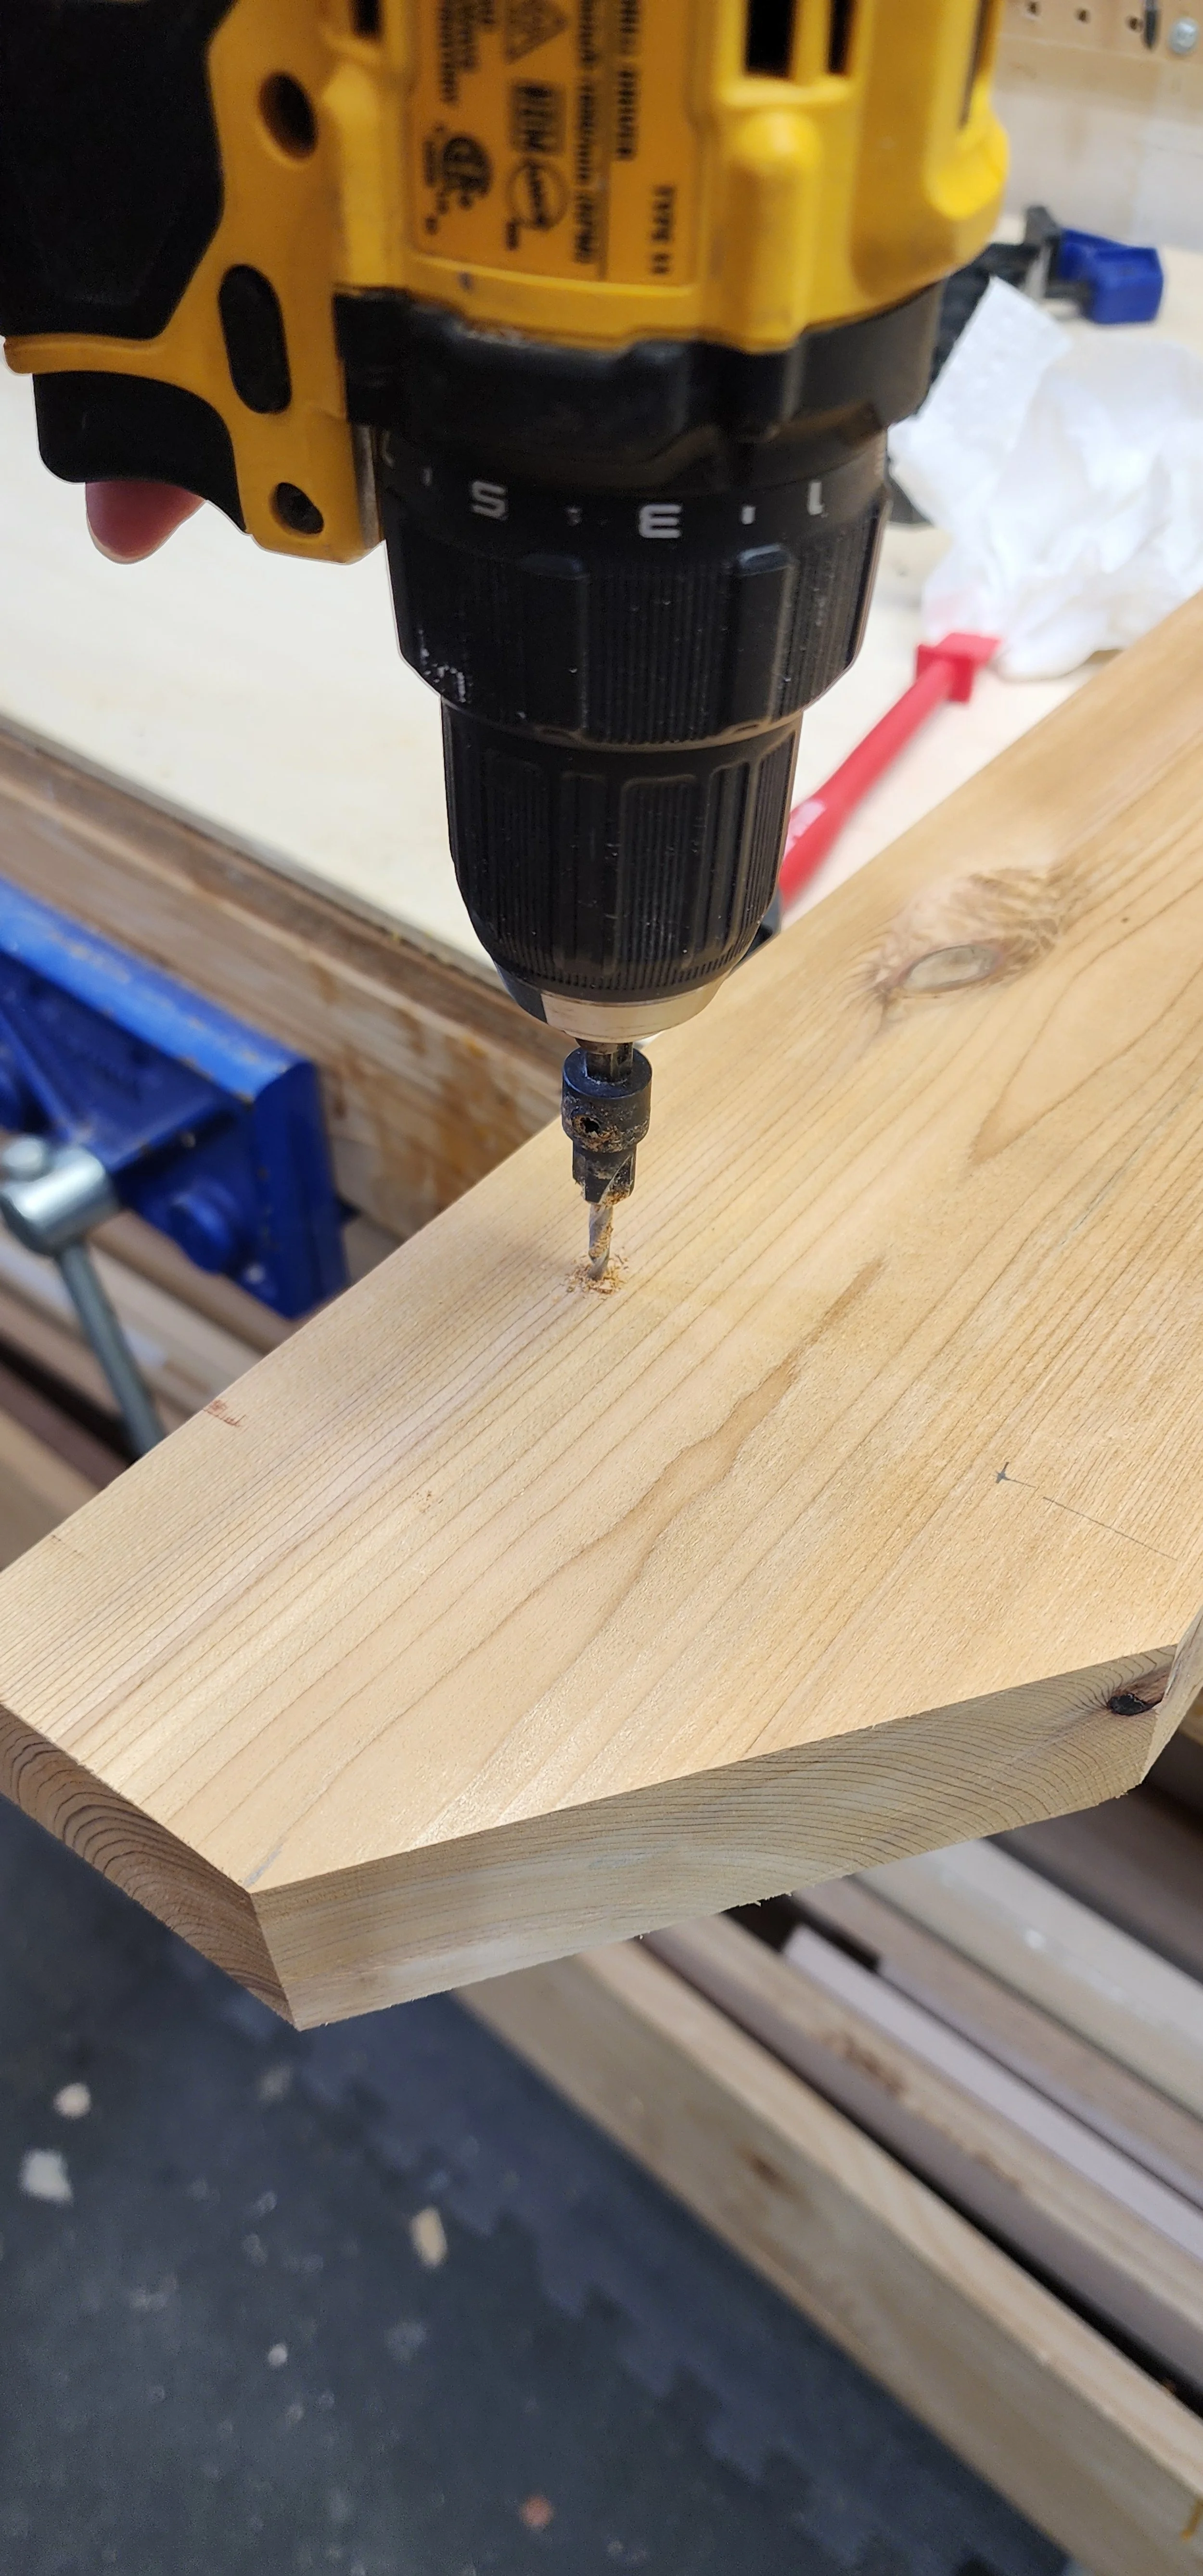


With all the pieces cut, it's time to assemble the frame. I used #9 3" exterior-grade screws for all of the 1 1/2" material. To ensure accuracy, I made marks and predrilled holes using a countersink bit in all the necessary locations. For added strength, I applied exterior wood glue to create a solid bond. Various clamps helped keep everything square and tight during assembly, and I used clamp squares. I end up using in just about every project.
Attaching the frame

Attaching the frame to the top and bottom platforms is straightforward. I marked out and countersunk holes for #9 2 1/2" screws, applied wood glue, and screwed it together. To keep everything square, I used the bottom platform as a guide, but it's important to note that the bottom is not yet attached. The holes are drilled, but we’ll save assembly until after staining, it’s much easier to reach the interior with a brush when the bottom isn’t in place.
Staining

For this project, I used a semi-transparent waterproofing exterior wood stain and sealer, which I’ve had great success with on previous builds like the playset and sandbox. Both have held up wonderfully over the years. I chose to brush the stain on, though using a sprayer would have been quicker and might have reduced the chance of streaks. I applied a total of three coats to ensure full coverage and long-lasting protection.

Each piece was stained individually, which made the process a lot easier compared to navigating around edges and trying to balance the mailbox. The bottom platform was also stained separately.
Final assembly


Once the stain was dry, I finally attached the bottom platform to the frame. I wasn’t sure how well the wood glue would hold with the stain already on there, but I figured it couldn’t hurt. The screws are doing most of the work in holding everything together, so the glue is just an extra precaution.

The old mailbox had these white flyer risers, and after a good scrub with soap and some elbow grease, they looked brand new. I couldn’t figure out what they’re actually called, so note that they aren’t included in the plans, just an extra if you happen to find something similar.


I predrilled and countersunk through the support brace (Part I) at a 45-degree angle. To make installation easier later on, I screwed the #14 4" screws partway in, so there would be less to deal with when it’s time to attach the support brace.
Installation
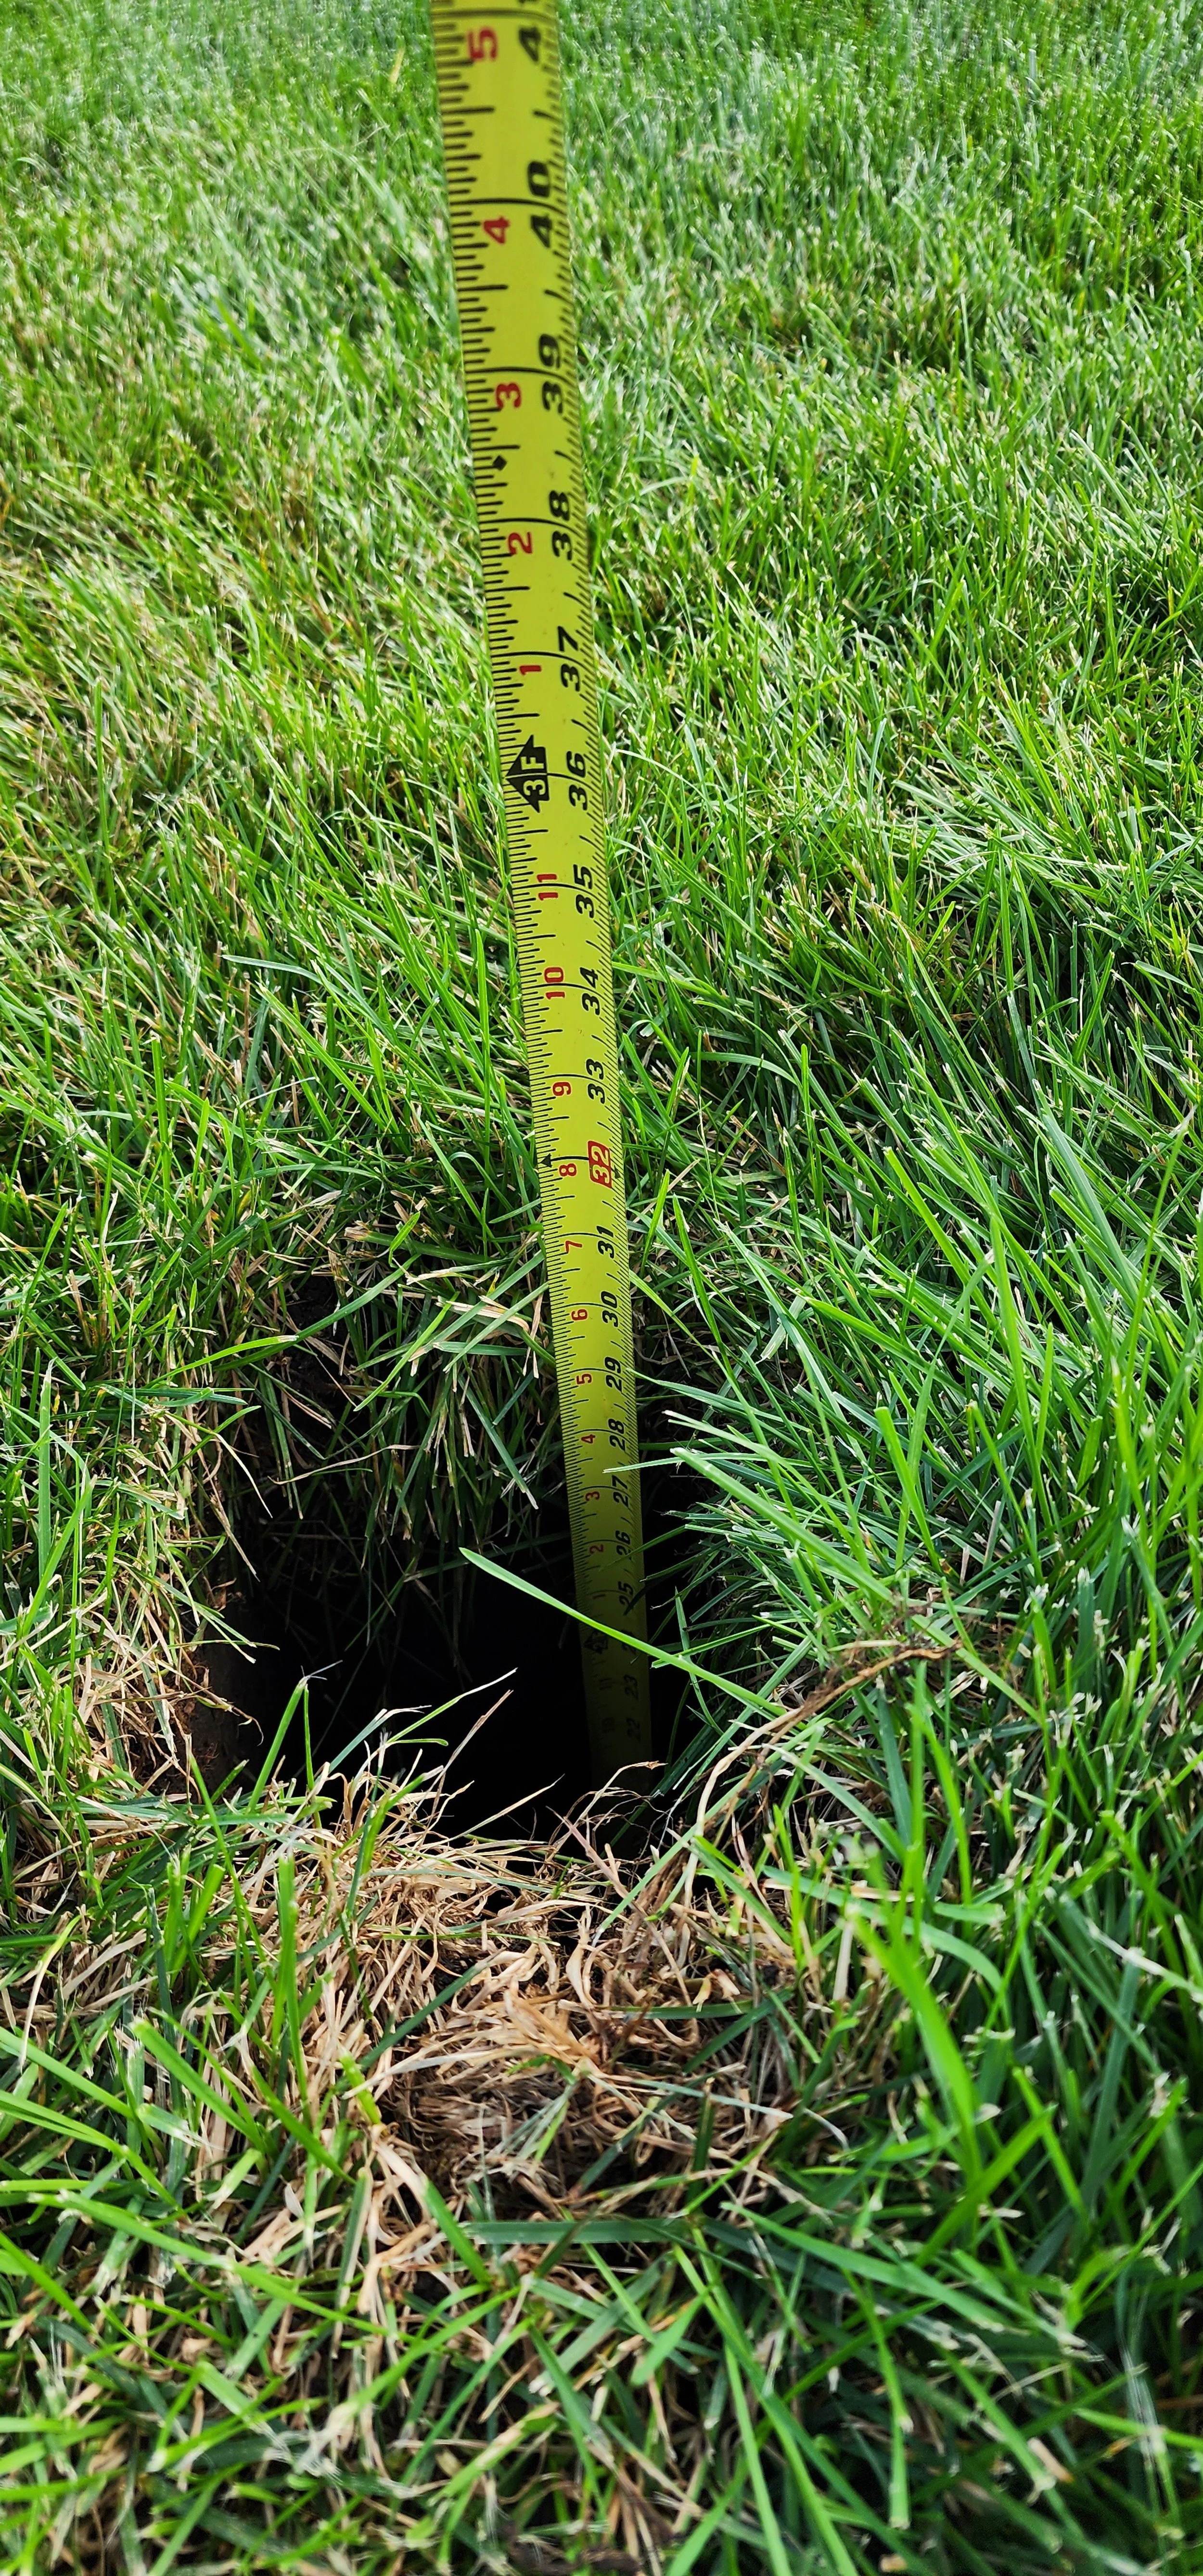


The first step in installation is making sure the hole is the correct depth. The USPS recommends 24” deep. My goal was to bury the post 30" deep. Since I left the post long initially, I could trim off the excess. Based on page 9 of the plans, your target is for the bottom of the mailbox itself to sit at 41-45" from street level. I used a laser level on a tripod to make quick work of it.
Next, drop a few inches of rock (I used pea gravel) into the hole for drainage. This allows you to fine-tune the post's height. With the gravel in, lower the post into place and level it in all directions. Take your time to ensure it’s plumb by using braces nailed to the post and staked into the ground. A specialized post level is beyond worth it for less than $10.
After the post is set, add some concrete. I used about half a 50 lb. bag of fast-setting concrete post mix since my hole was a good fit. I poured it in, added water, and let it cure.


Meanwhile, back in the shop, I installed all four mailboxes to the top platform using screws. The screws weren’t included with my mailbox, so yours will depend on the model you purchase. A right angle impact adapter is pretty much required for this step. I’m not sure how else people are expected to access those screws!
The next step is installing the support brace (Part I). I used a level and followed the installation diagrams to ensure it was at the right height, then screwed it in place. An extra set of hands here is helpful!
Finally, I set the mailbox frame on top of the support brace and secured it with four 3" screws on each side of the horizontal support (Part B). Predrilling and screwing them halfway in beforehand helped keep everything aligned and made the process smoother.

The final step in installation is to screw the support brace into the bottom platform. These screws go straight through the platform, but they are hidden behind the filler block (Part F), keeping everything clean and seamless.

The design of this mailbox is simple yet full of detail compared to a plain post-and-beam style. I’ve received many compliments on it, which have led to referrals, and I’m now building more for the community. This was a fun project that didn’t involve many complex steps or require an extensive workshop. A miter saw, circular saw, and router are the main tools needed.
Thanks for reading! Feel free to use the contact page, email me, or message me on Instagram if you have any questions while building one of your own.
Tools and item used in this project
Project specific items


Tools and accessories