Raised Garden Beds

I have always liked the clean look of raised garden beds, and after doing some research I found there were a lot of benefits. I decided to design and build two for the corner of my backyard.

I started the project out by designing the concept with dimensions in Google SketchUp. All of the wood is rough-sawn cedar which should hold up to the elements better than standard lumber and won't have any chemicals in it like treated boards would. I designed the raised garden beds to optimize the wood as cedar is not exactly cheap. The plan is to use 13 - 2"x6"x8' boards, 2 - 4"x4"x8' posts, and 2 - 2"x4" cedar boards (picked these up later).

Picked up the lumber along with a few extra boards for some other projects. The smell of cedar is unbeatable!

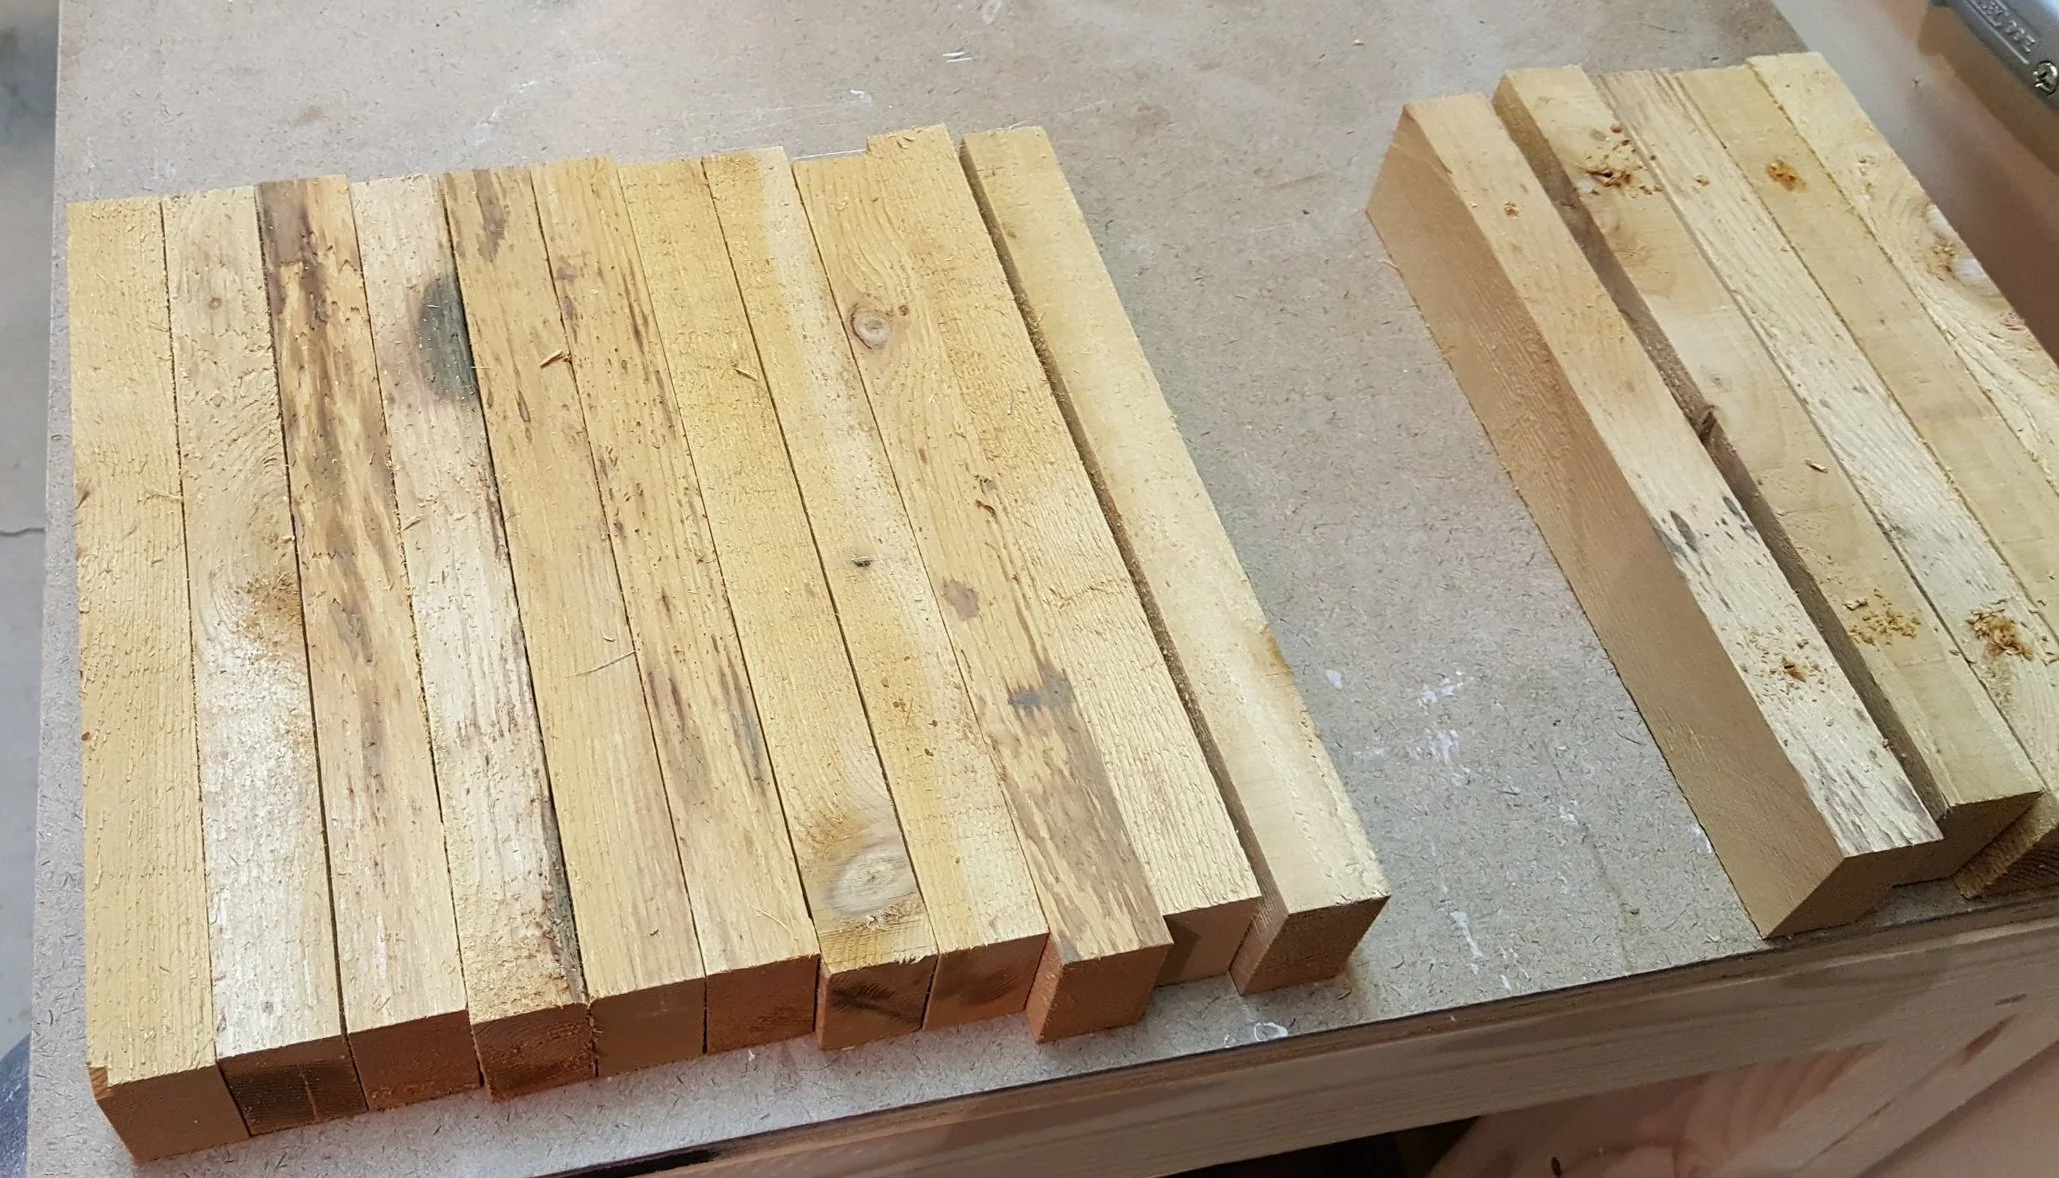
Cut up all 8 legs to their 2' length on the chop saw. My 6' workbench is the same height as my saw base so it supports the weight of the heavy posts.


Laid out the 8' boards on the posts and marked them for pre-drilling and attaching. I didn't glue anything on this project to make it easier to replace at some point if it rots. I stacked two boards to make the walls 12" tall.

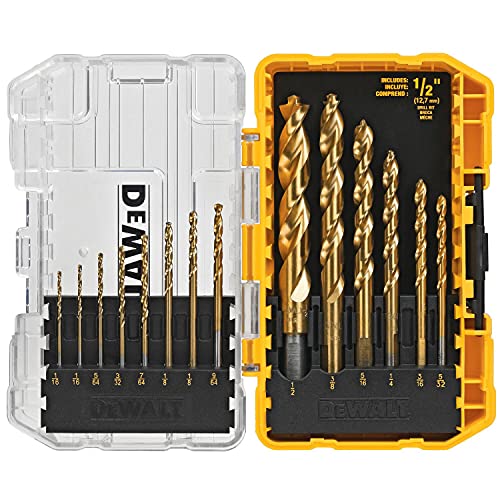
Went a little crazy with the screws here, probably overkill but at least it won't move! I used 3" triple coated deck screws on the whole project.

Attached the 4' sides to the posts and ends of the 8' boards.

Added the center "railing" supports cut from the 2"x4".

I ripped 1 3/4" strips to use as the railings and supports for the railing on the corners and centers.
Cut 20 supports out of some of the strips.

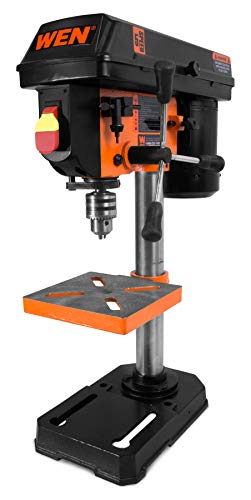
Set up a stop block on the drill press to quickly and accurately predrill for screws.

Each corner gets two supports, as well as the centers. The railing then attaches to the top. I thought this made for a cleaner look and later allowed a flat area to attach the fencing.


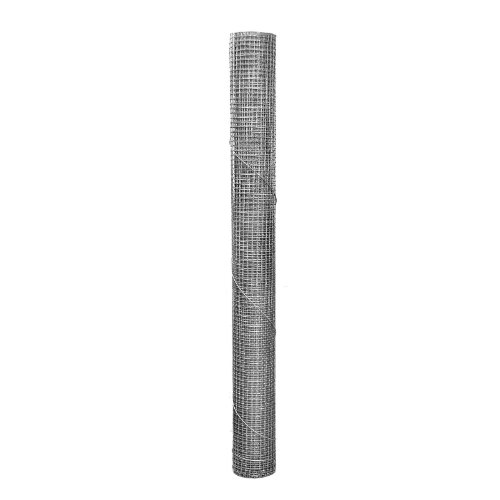
There are always rabbits running around my neighborhood so I thought I'd play it safe and add a foot of rabbit fencing around the perimeter of the raised garden beds. I picked up this hardware cloth then cut all 25' it in half with a Dremel, pretty time consuming but the edges came out nice, no sharp edges. If I were to do this again, I would use a grinder with a metal cutoff wheel.

Dry fitting to make sure they fit.

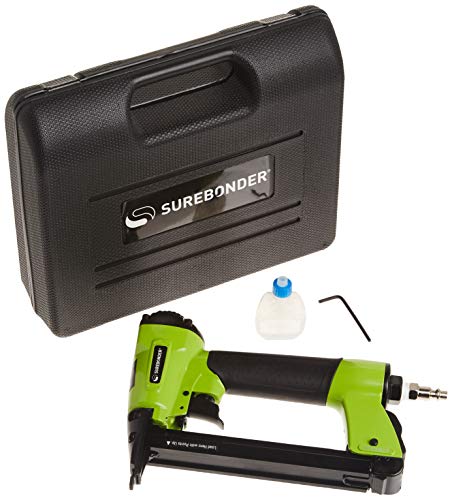
Used a pneumatic staple gun to attach the hardware cloth. to the frame. So glad I had this tool, wouldn't have been fun punching that many staples with the manual stapler.


After hauling the raised garden beds out to where they will be, I realized the ground was not as level as it looked. I put them in place and spray painted around the perimeter.
Then, I used some boards and a level to trench everything out, ended up going a couple inches deep on one side.

Nice and level. Notice I left the fronts off, this made it easier to shovel dirt in.

Rather than cutting all of the sod out and dealing with it, I covered it with landscape fabric to kill it off and protect against future weeds.. I overlapped all of the pieces, stapled them to the sides, and pounded large landscape staples through the overlaps.

Both beds settled in place with the fabric secured.

I had a lot of excess dirt from a previous project, this was a great time to use it up.

Picked up a cubic yard of garden soil from a local landscape company. After one wheelbarrow trip from the front yard I decided to drive back there so I could just heave it over the edge of the trailer.

Filled to the brim! My cubic yard guess was spot on, I was able to overfill a bit to account for settling.

Front frames and fencing on. I let them sit for a few weeks until it was warm enough to plant.

Looking like a real garden! One bed has cucumbers, bell peppers, lettuce, and pole beans.

The other is all tomatoes of different types.
Update!

A couple of months later it looked like a jungle!
Tools and items used in this build