DIY Shoe Bench

The mudroom off the garage is where the family is generally taking shoes off, which means piles of shoes and a crowded area when entering/leaving the house. The solution? A bench with shoe storage!


The table legs are over the 3/4" thickness found in normal boards, so I face glued two boards together to achieve 1 1/2".

When gluing the leg halves together, I left a slight overhang so that I have a "clean" edge to run against the table saw, trimming to width.

With all four legs cleaned up and ripped to the proper thickness, I taped them all together and cut them to exact size on the miter saw. Doing this ensures all legs are the same length.
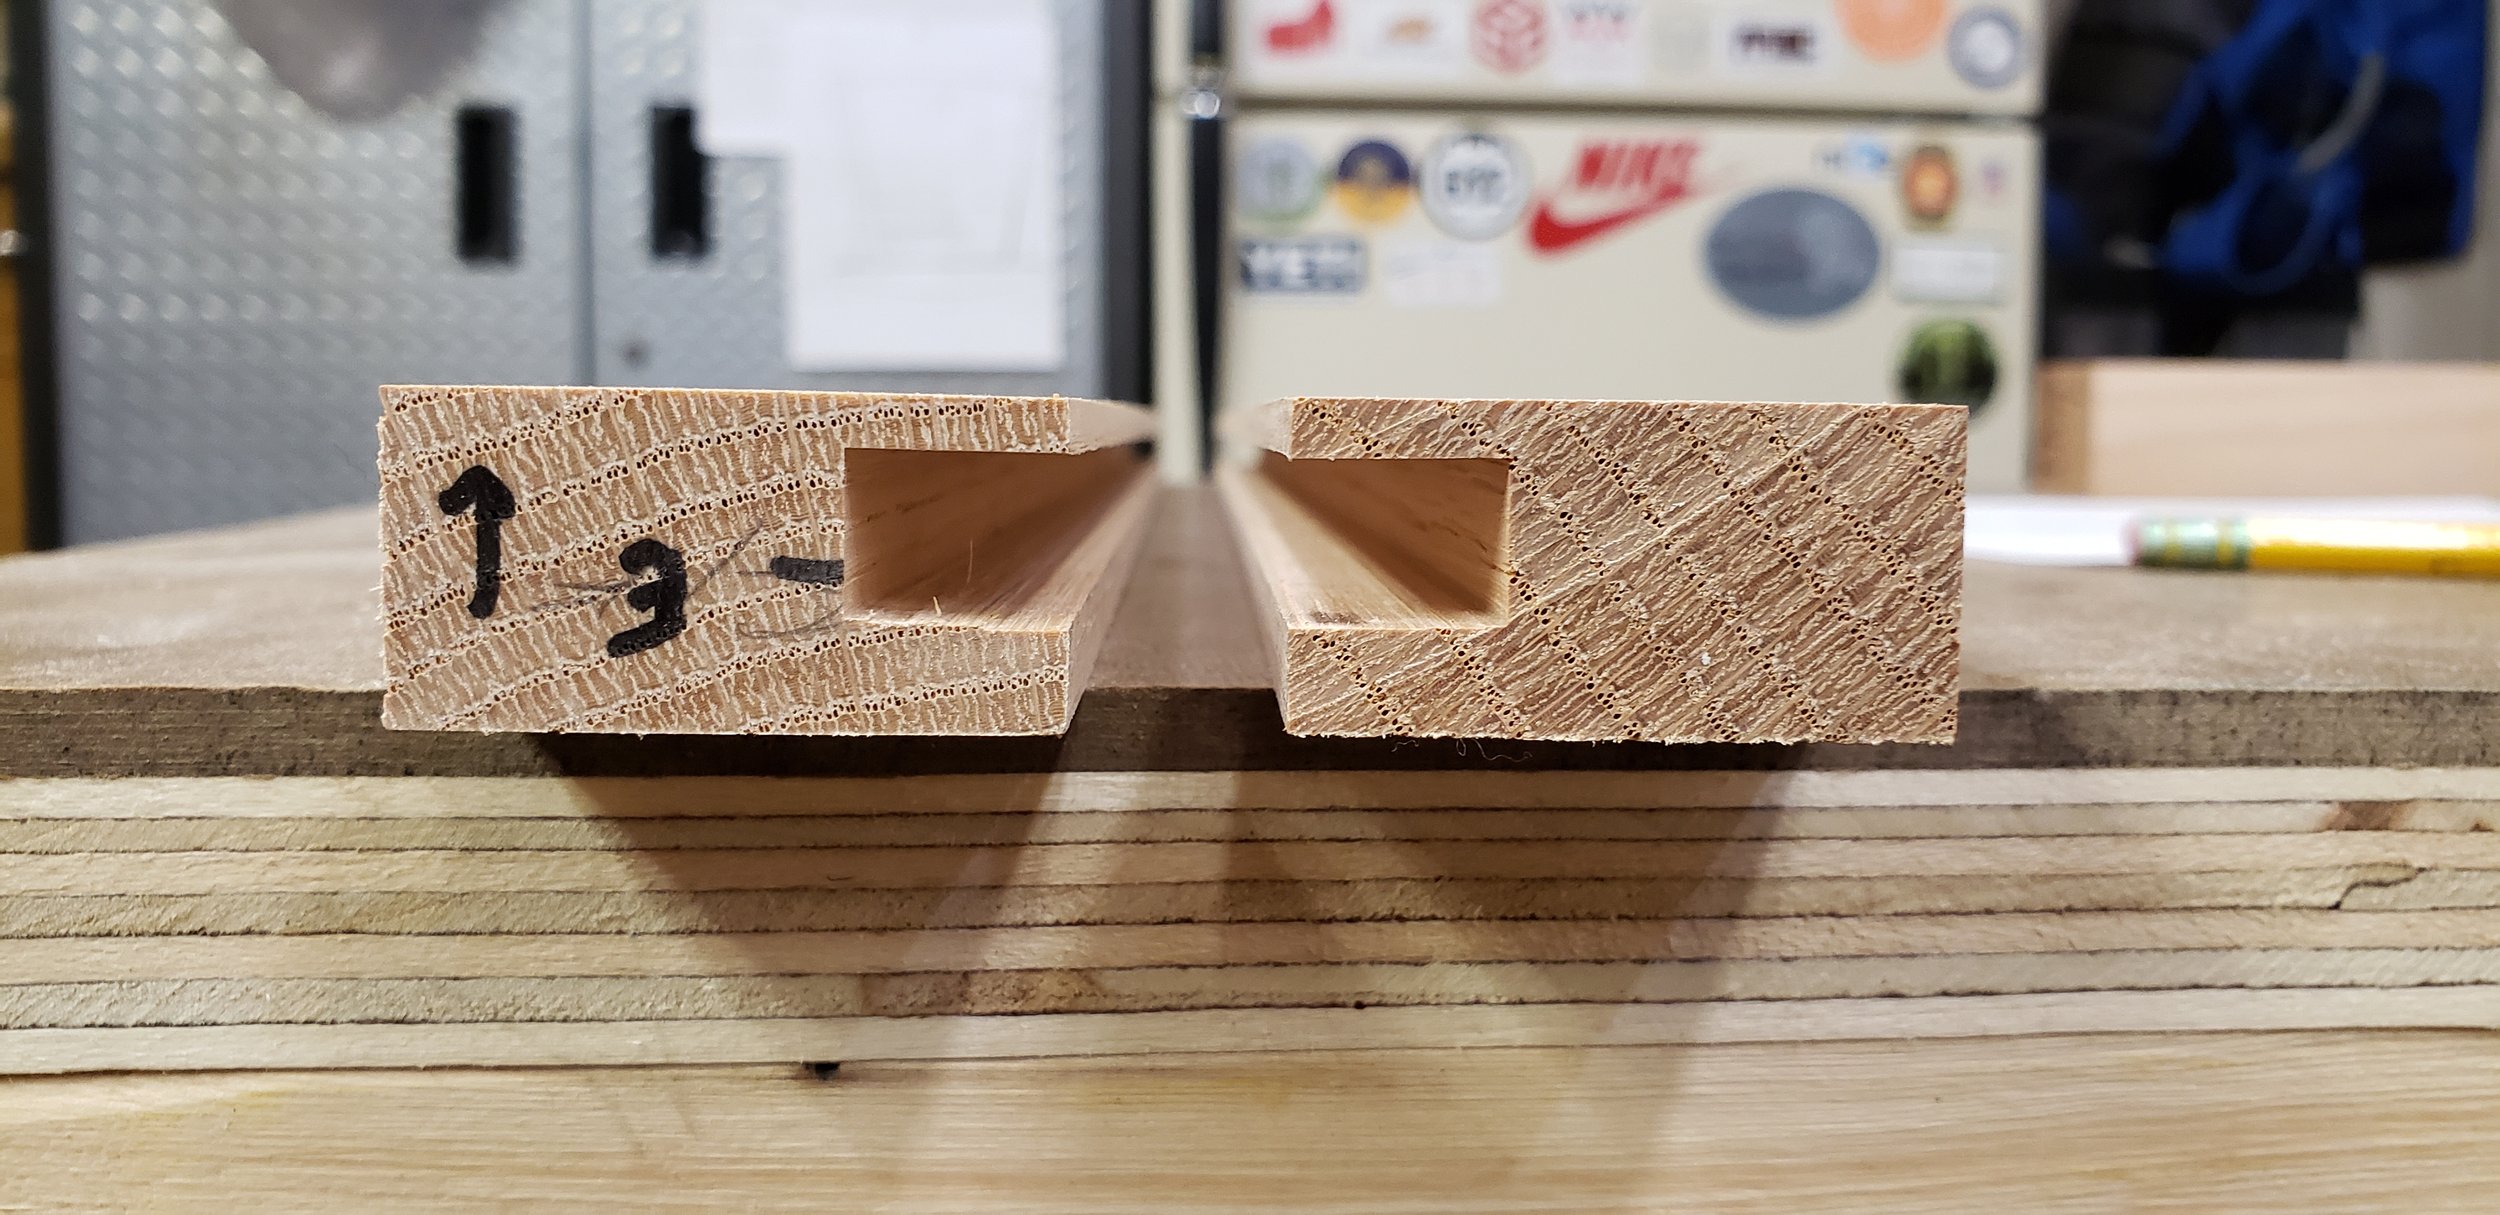
Shoes will sit on slats rather than a solid piece of wood. This will help with airflow and looks aesthetically pleasing. To fit the slats in, I routed a groove lengthwise on the rails, using the router table and a 3/8" straight bit.

The top of the shoe bench has a fabric cushion. That cushion will sit on a sheet of plywood for rigidity. I routed a rabbet in the top to receive the plywood.
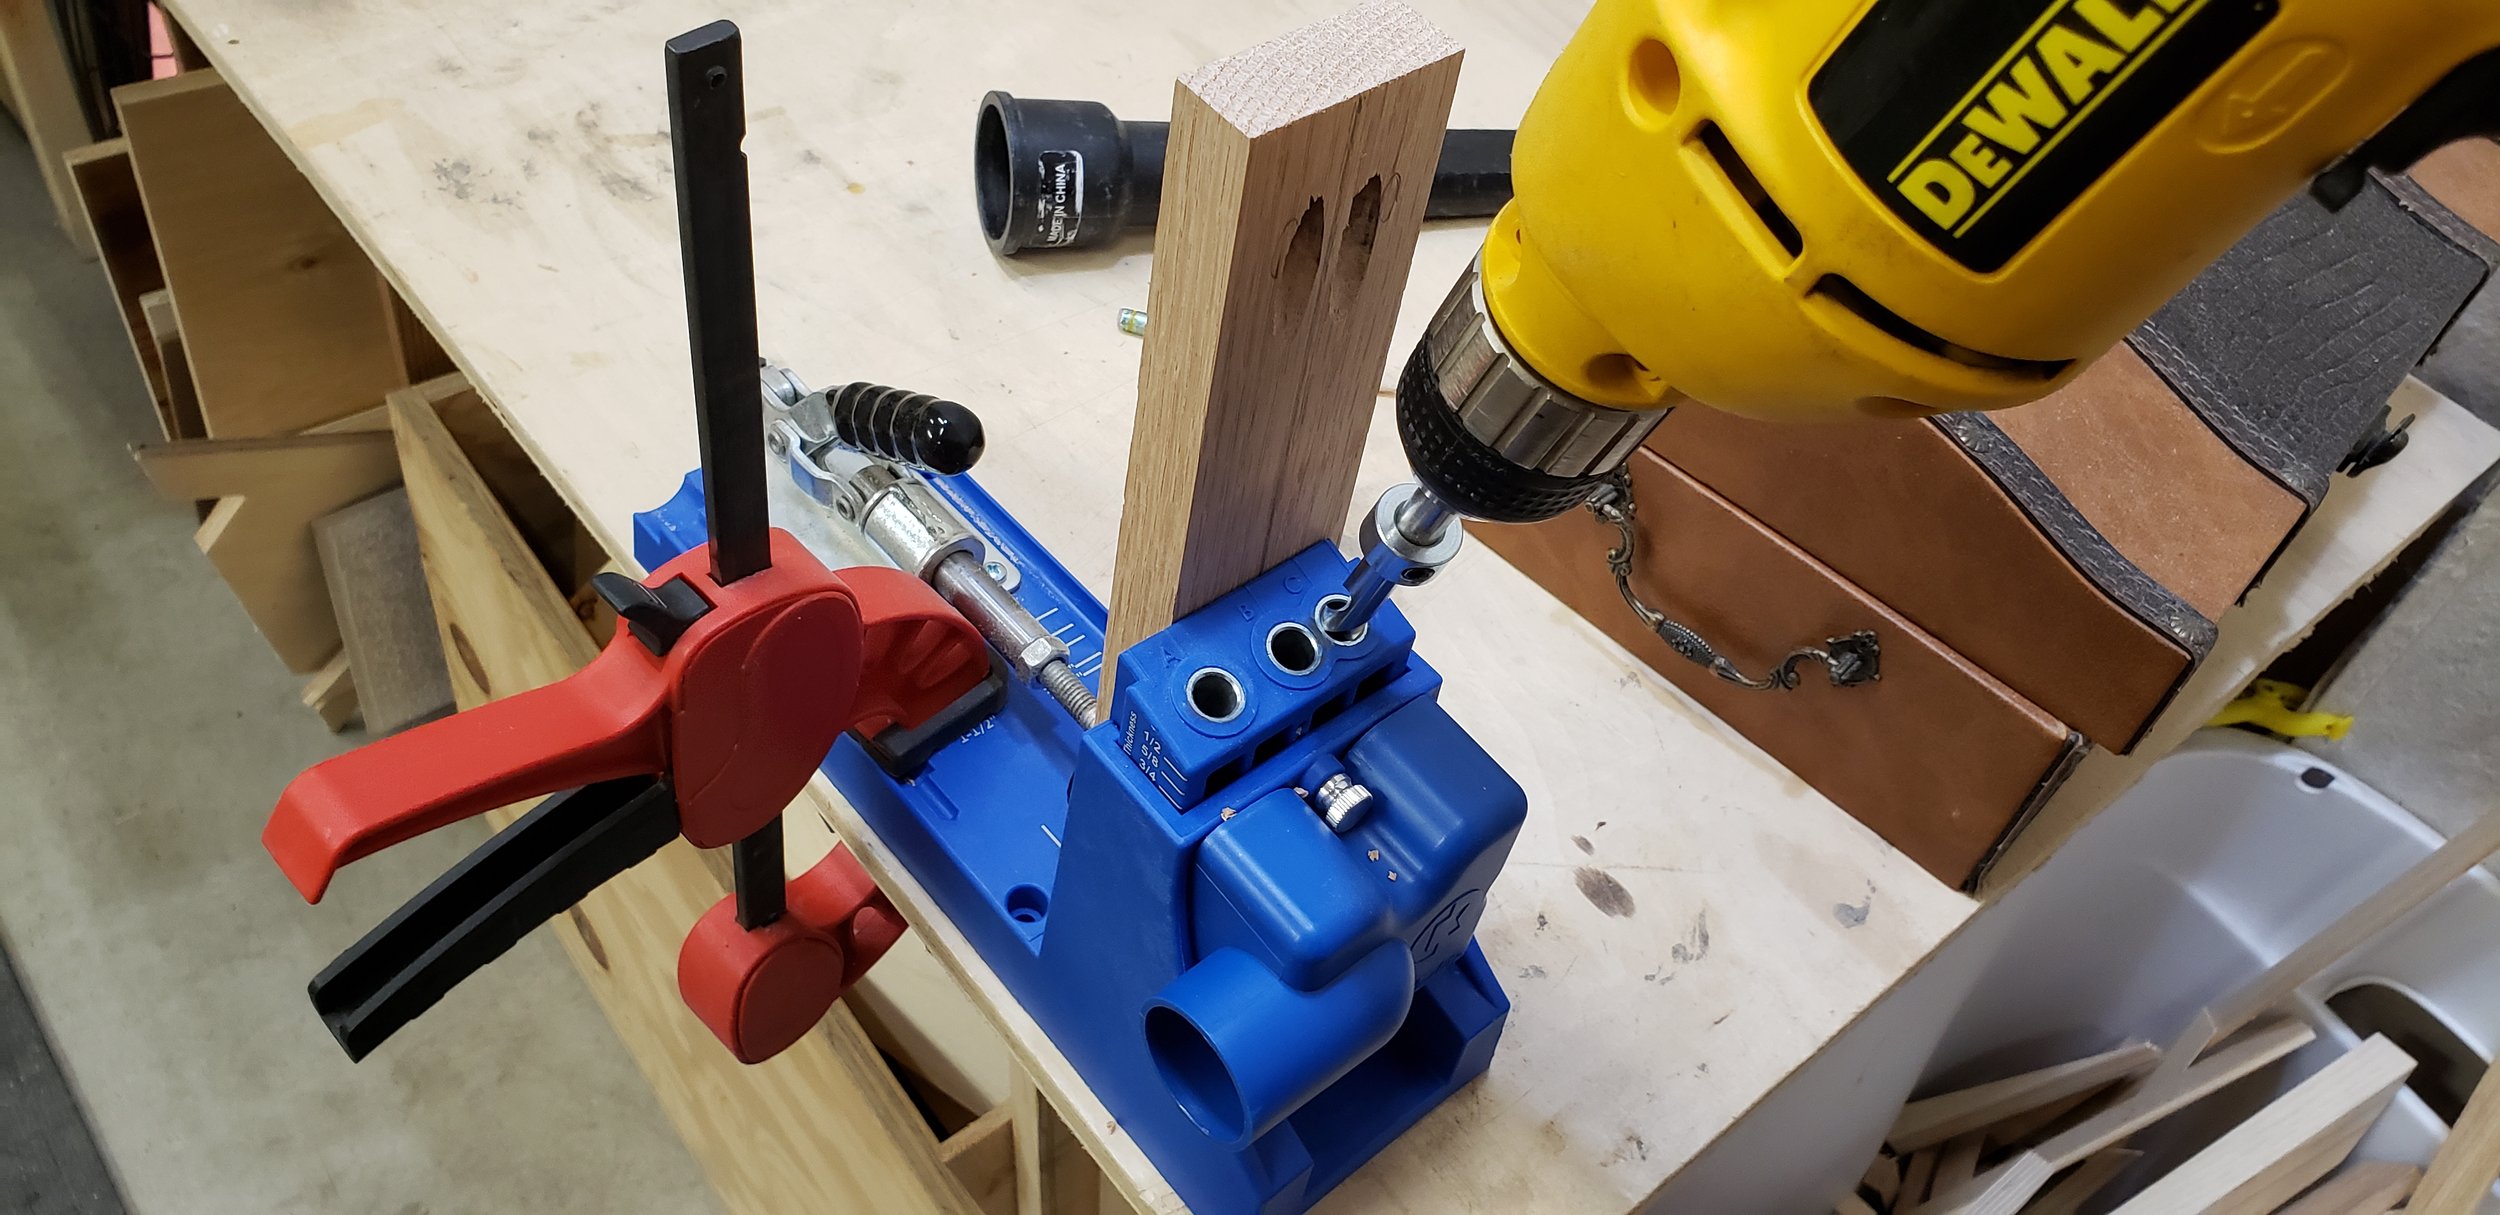

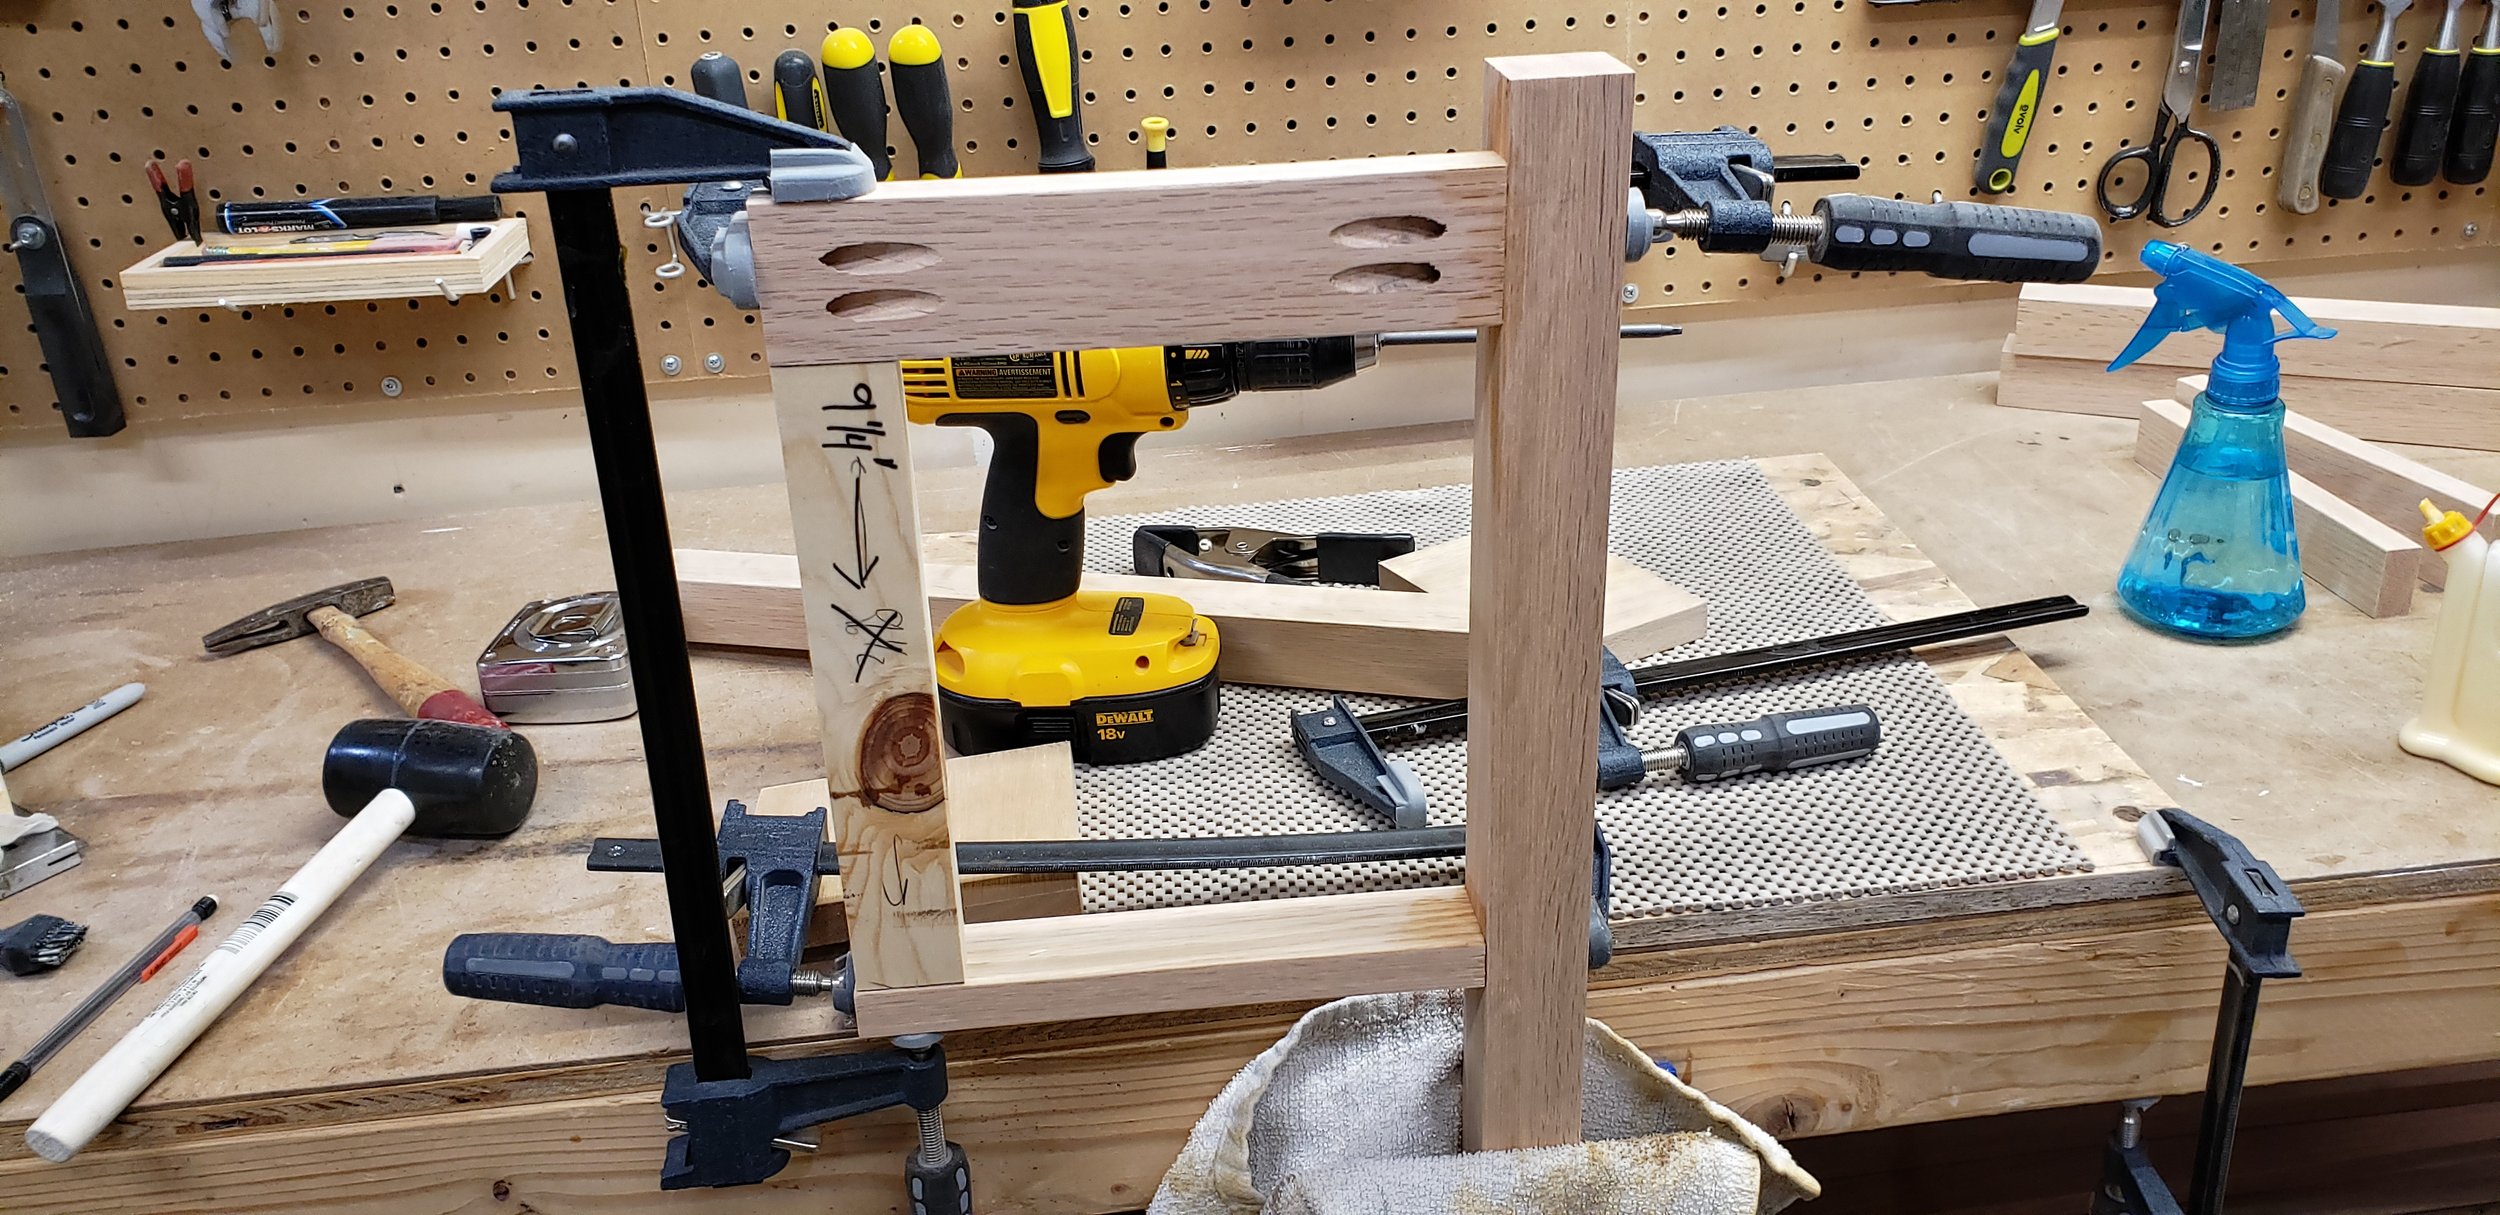
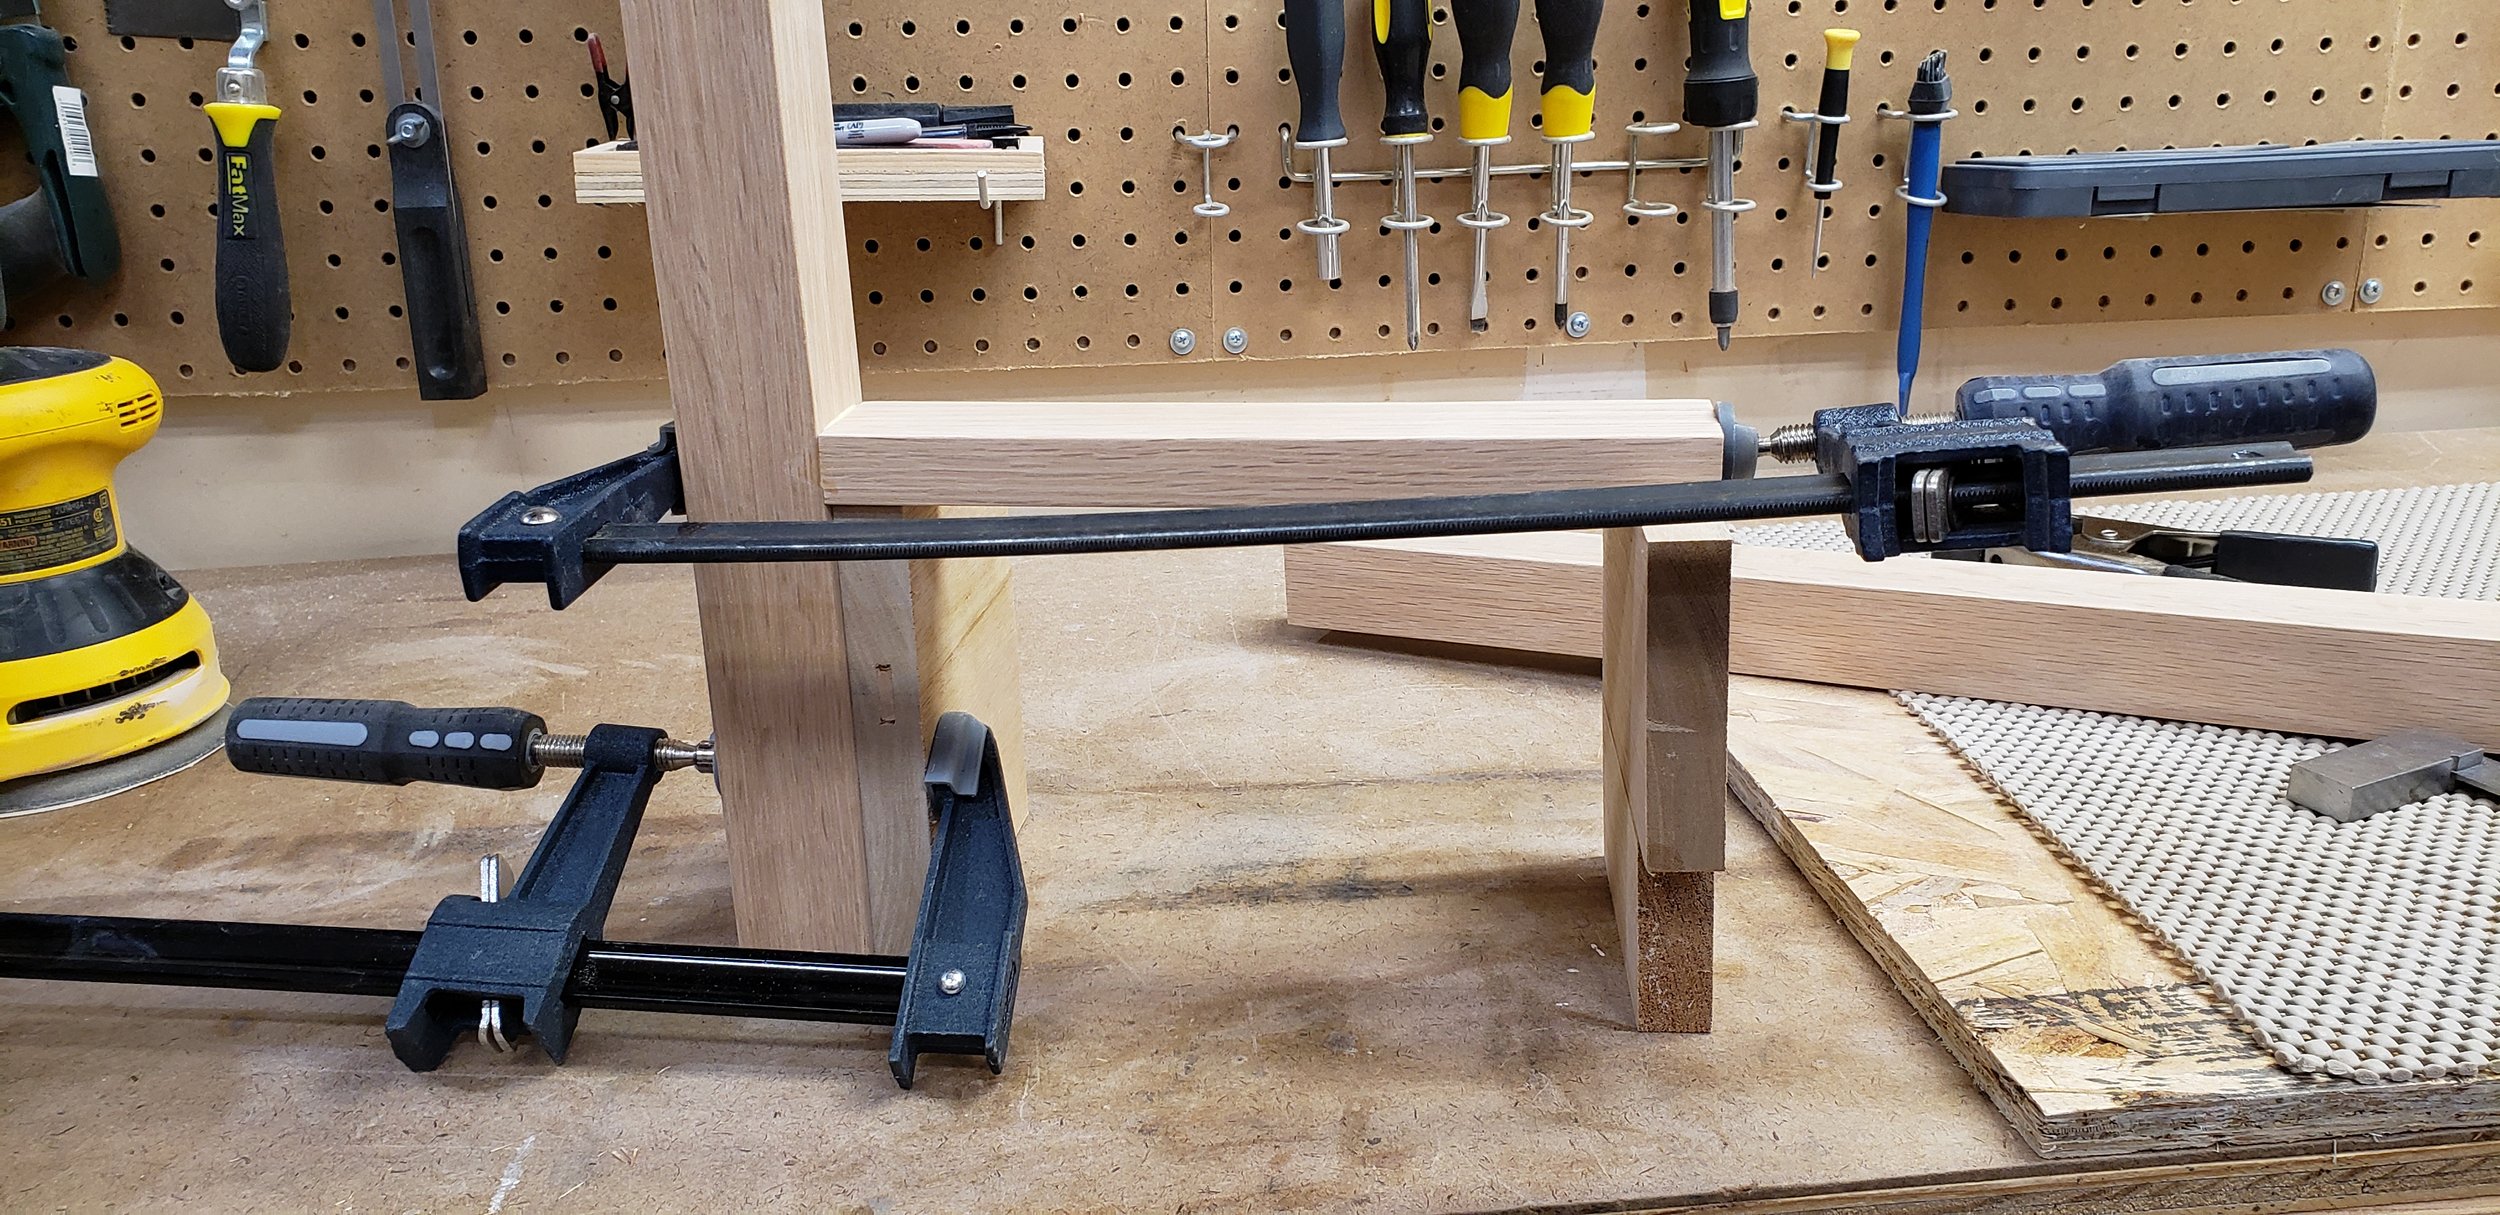
Almost everything was attached with pocket screws on this project. I used my new Kreg jig to accomplish this. I had to use a mix of spacers and clamps to keep everything aligned straight while gluing and screwing.

My favorite way to trim off pocket hole plugs is using a multi-tool with a little bit of clean-up sanding.
Slats

The slats are only 1/4" thick, so I figured this was a good time to use up some old scrap wood. I planed down this previously stained oak and ripped a bunch of them to width and crosscut to size. Note: the plans assume you will be using uniformly sized lumber.
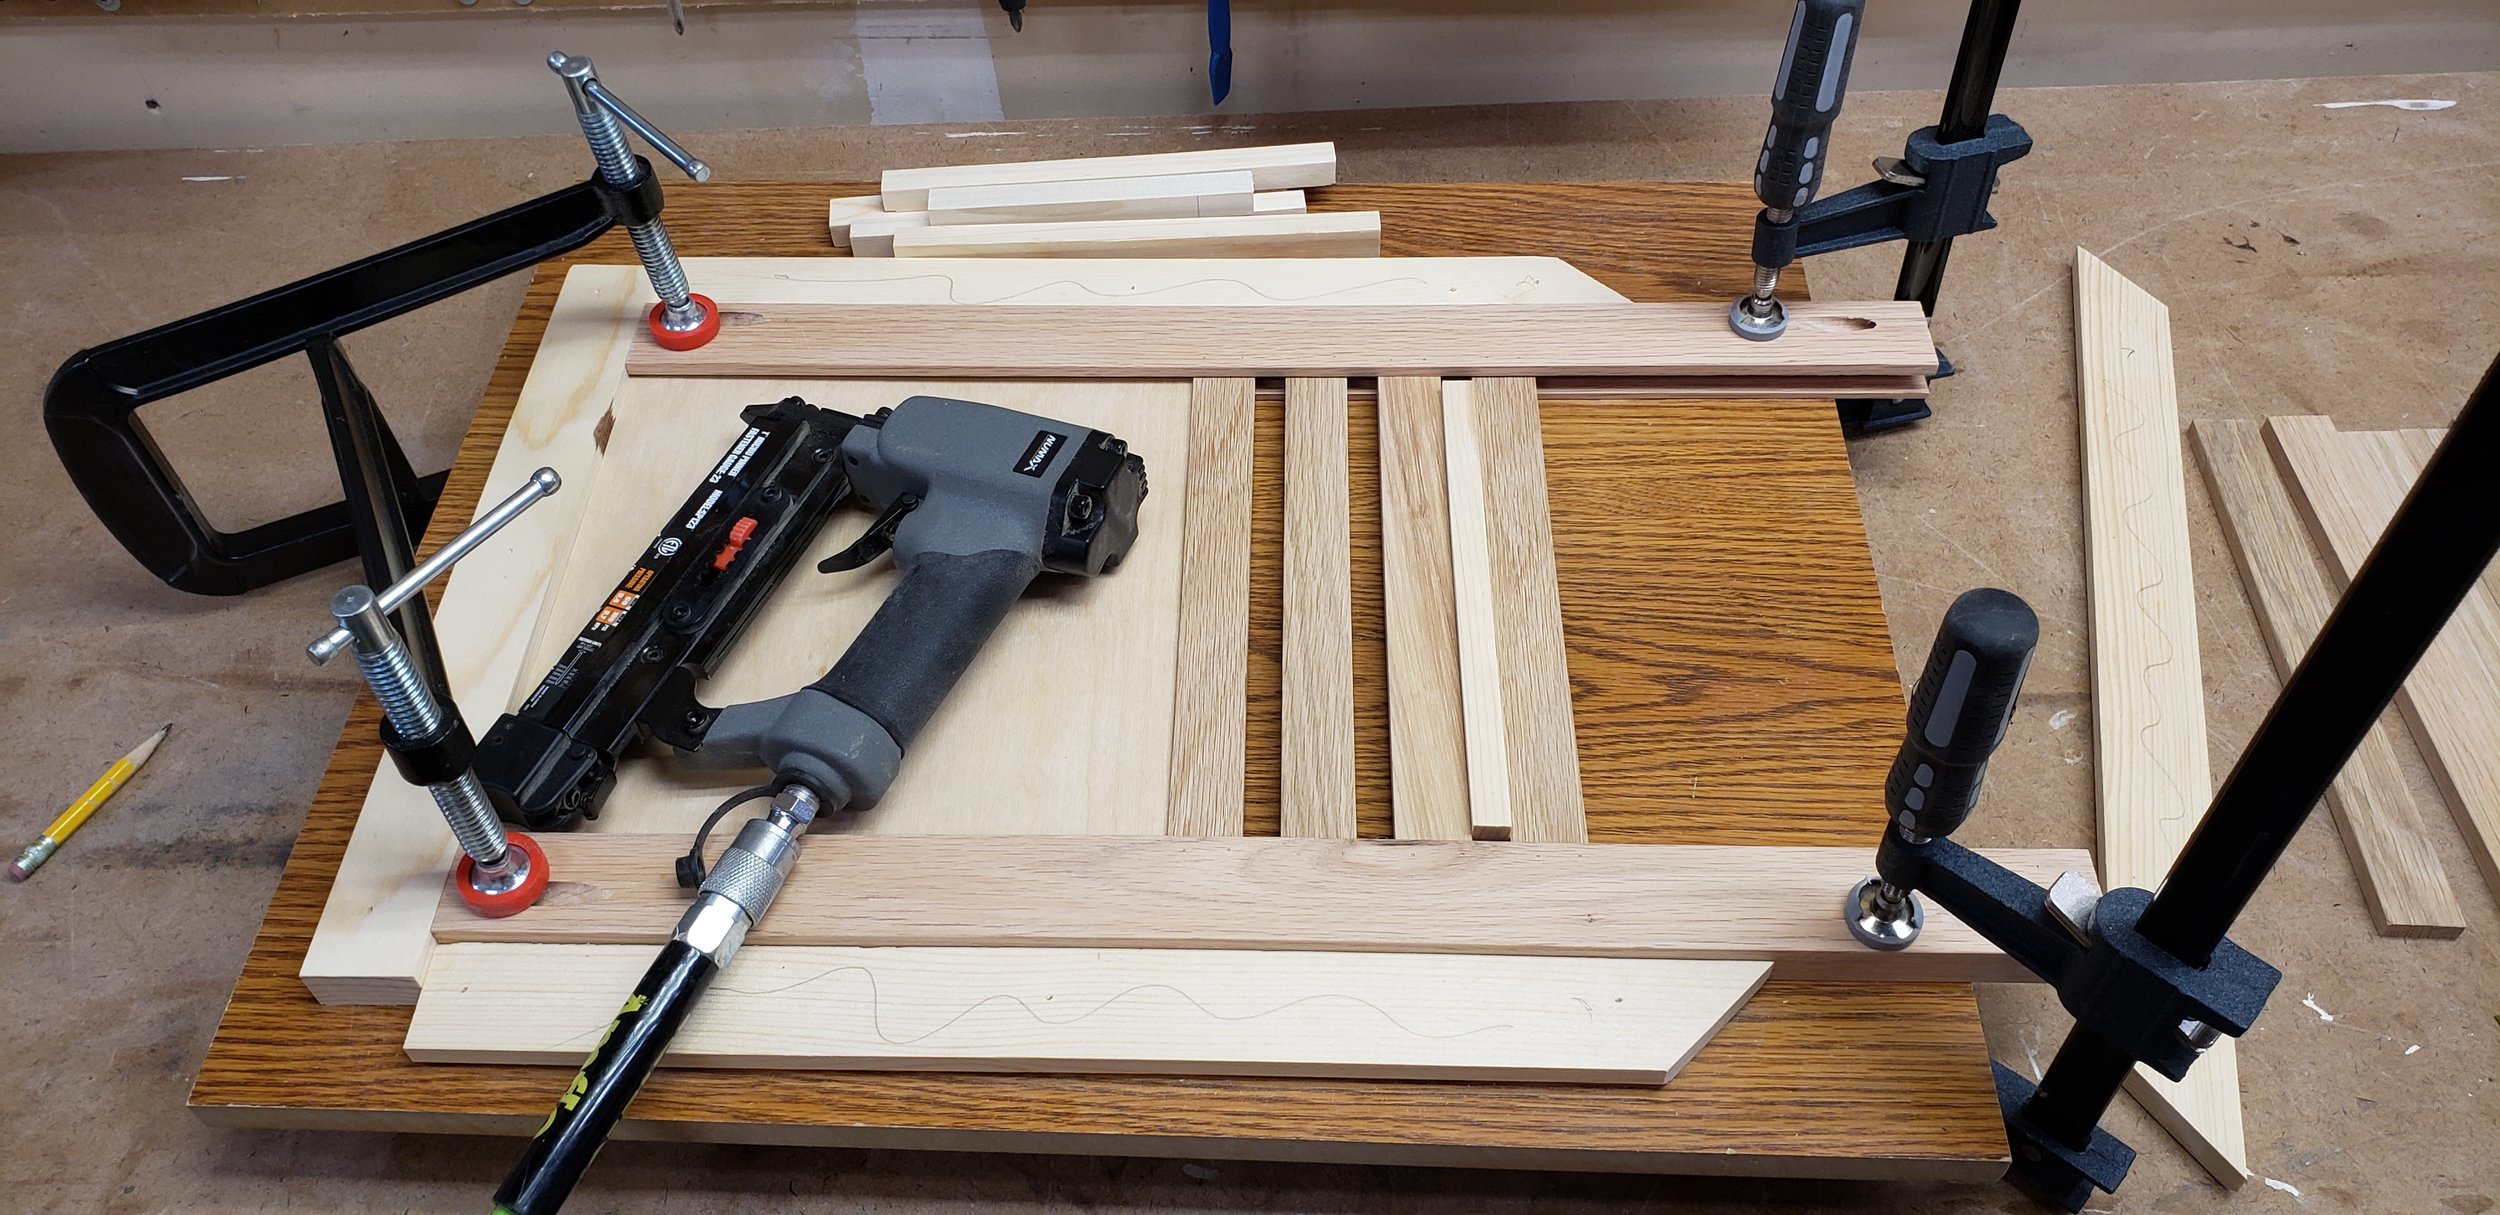

A jig always makes things easier. Using some more scrap, I created a jig that was the exact size of the final slat shelf. I then slid the long rails with the grooves in place and began pin nailing the slats in (from the bottom to hide nail holes). A spacer in between the slats keeps them uniform. I started in the middle and worked my way out so there would be even spaces on the ends.

The slat platform is attached to the frame using pocket screws.
Finishing
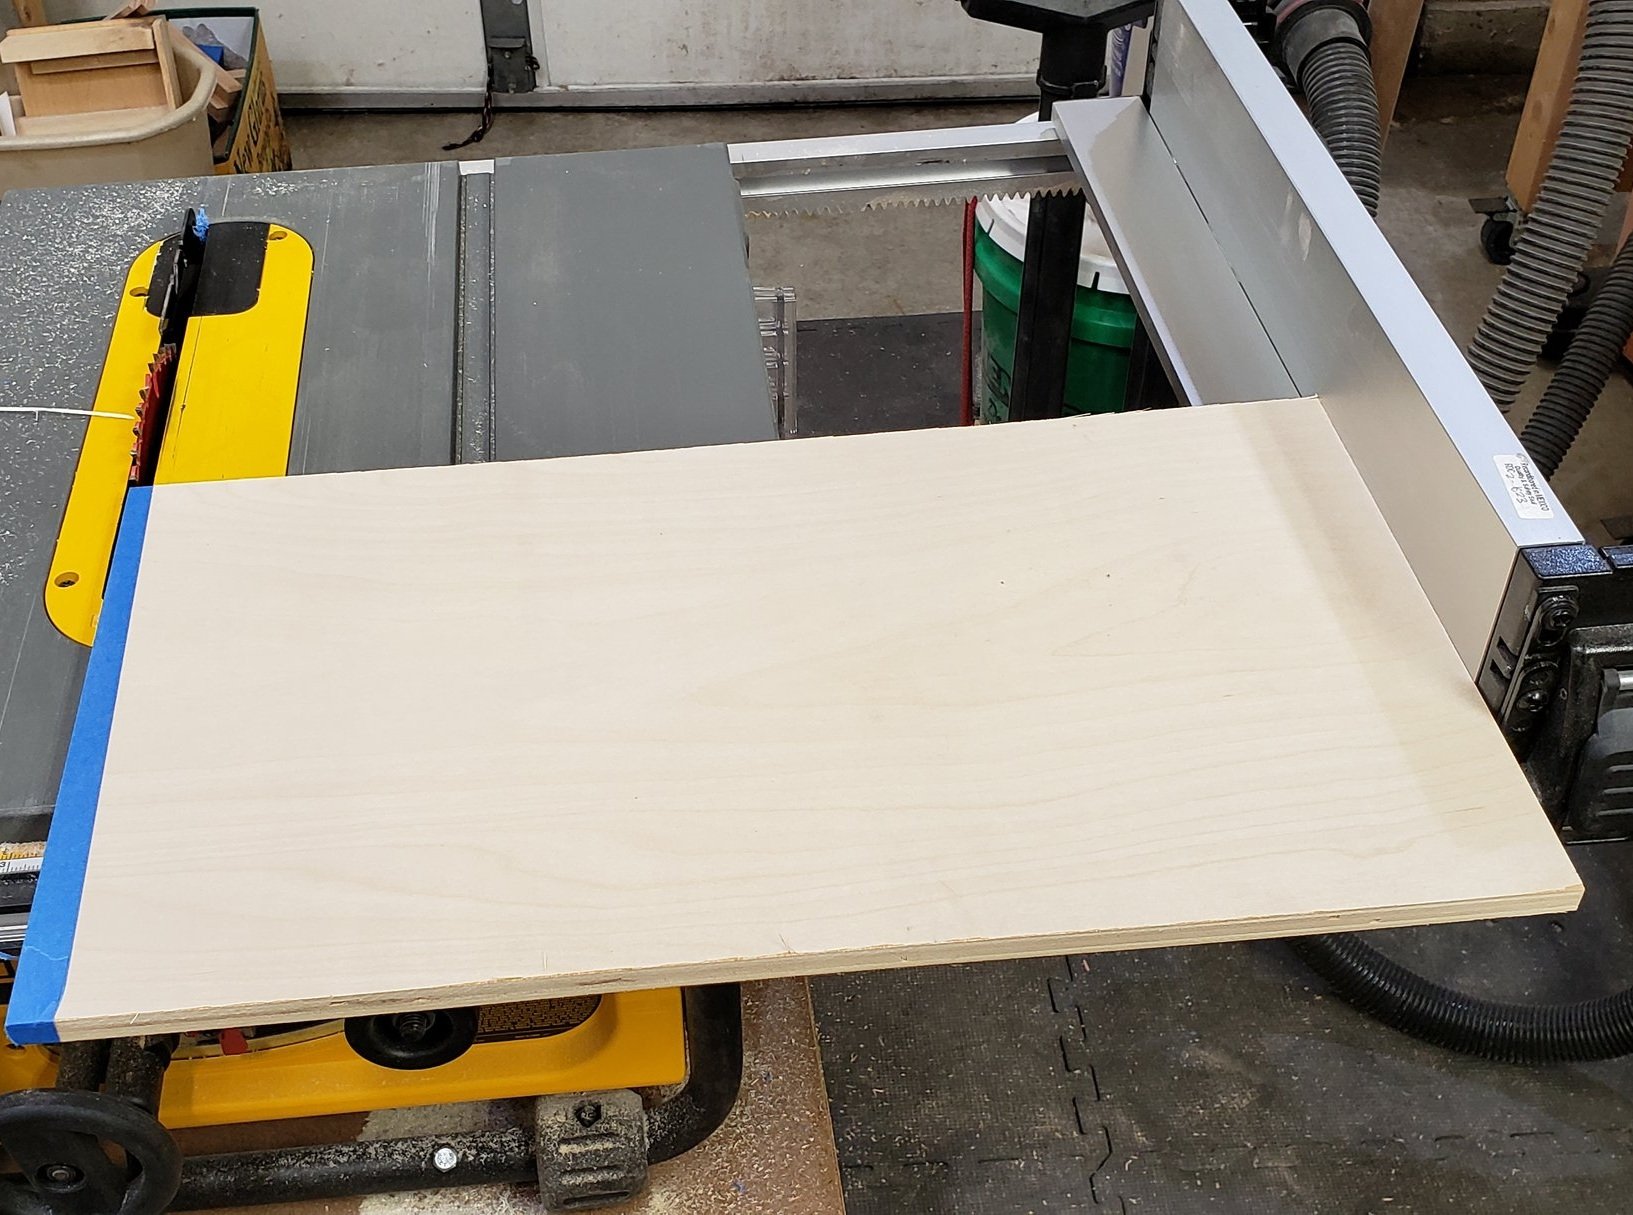
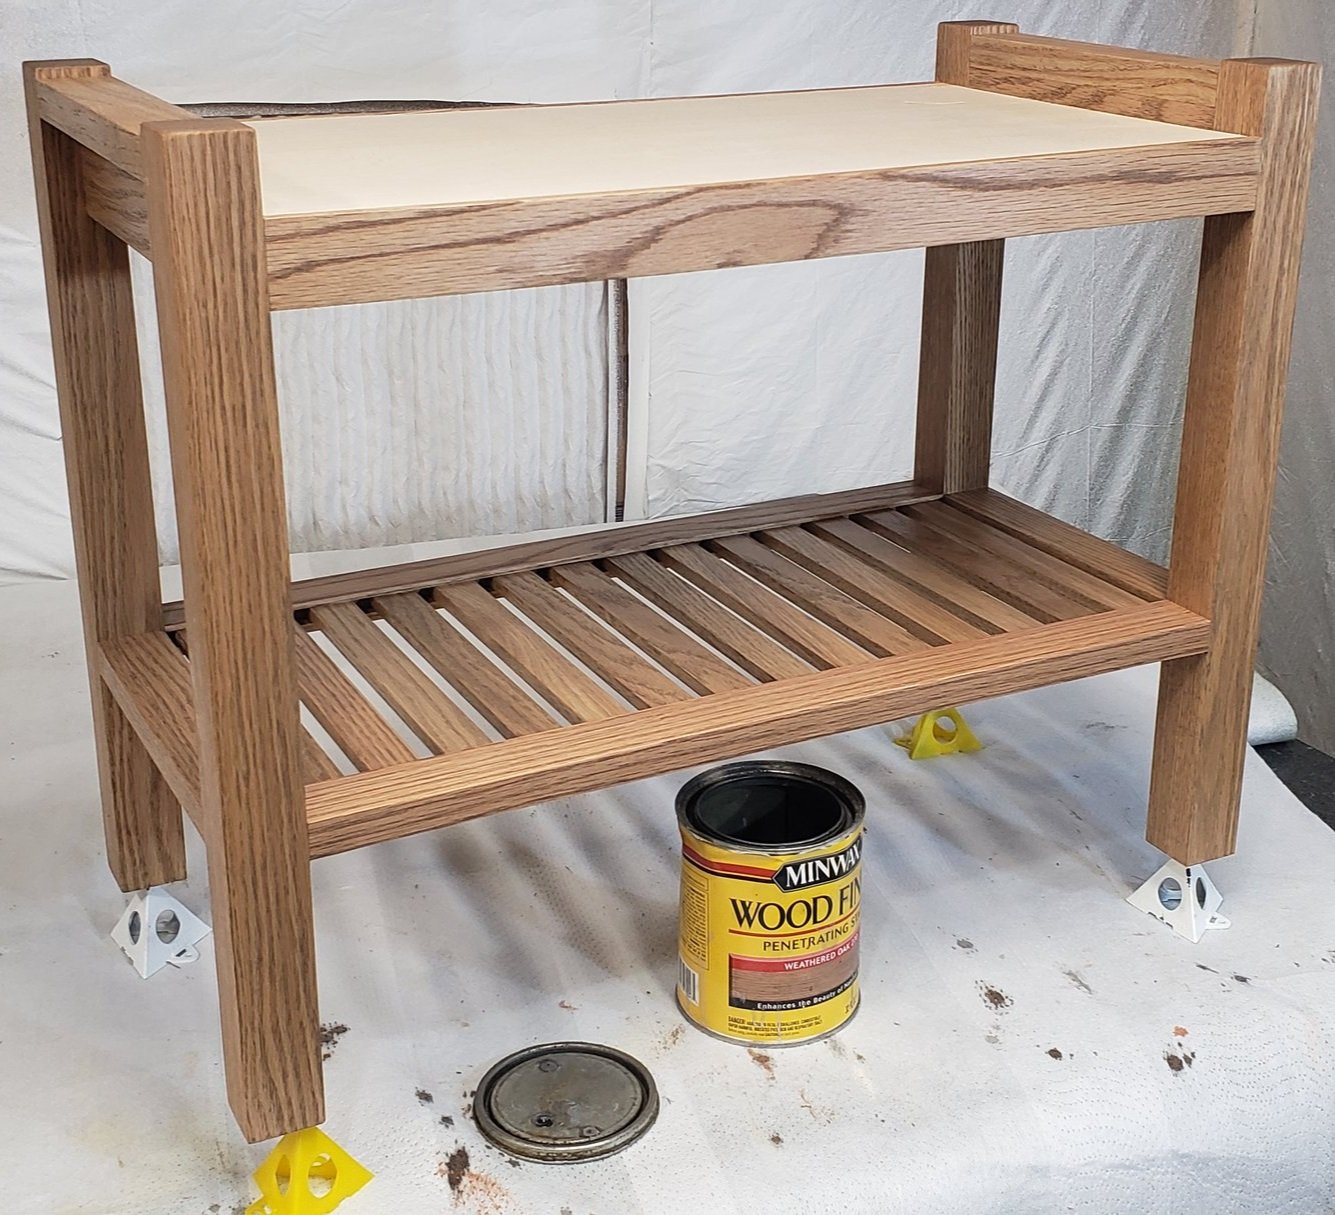
The final woodworking step was to cut out the plywood top of the shoe bench. With that cut, I set it aside and stained the oak frame using Weathered Oak Minwax stain to match some other furniture I've built in the home.

With the stain dry, I attached that top and sprayed the whole thing with multiple coats of Minwax Polycrylic, sanding lightly with 320 grit sandpaper. Using an HVLP sprayer makes quick and easy work of finishing. Most importantly, there are no brush strokes.

Nail on nylon sliders keep the shoe bench sitting level and protect both the legs and the tile floor this will sit on.
The seat
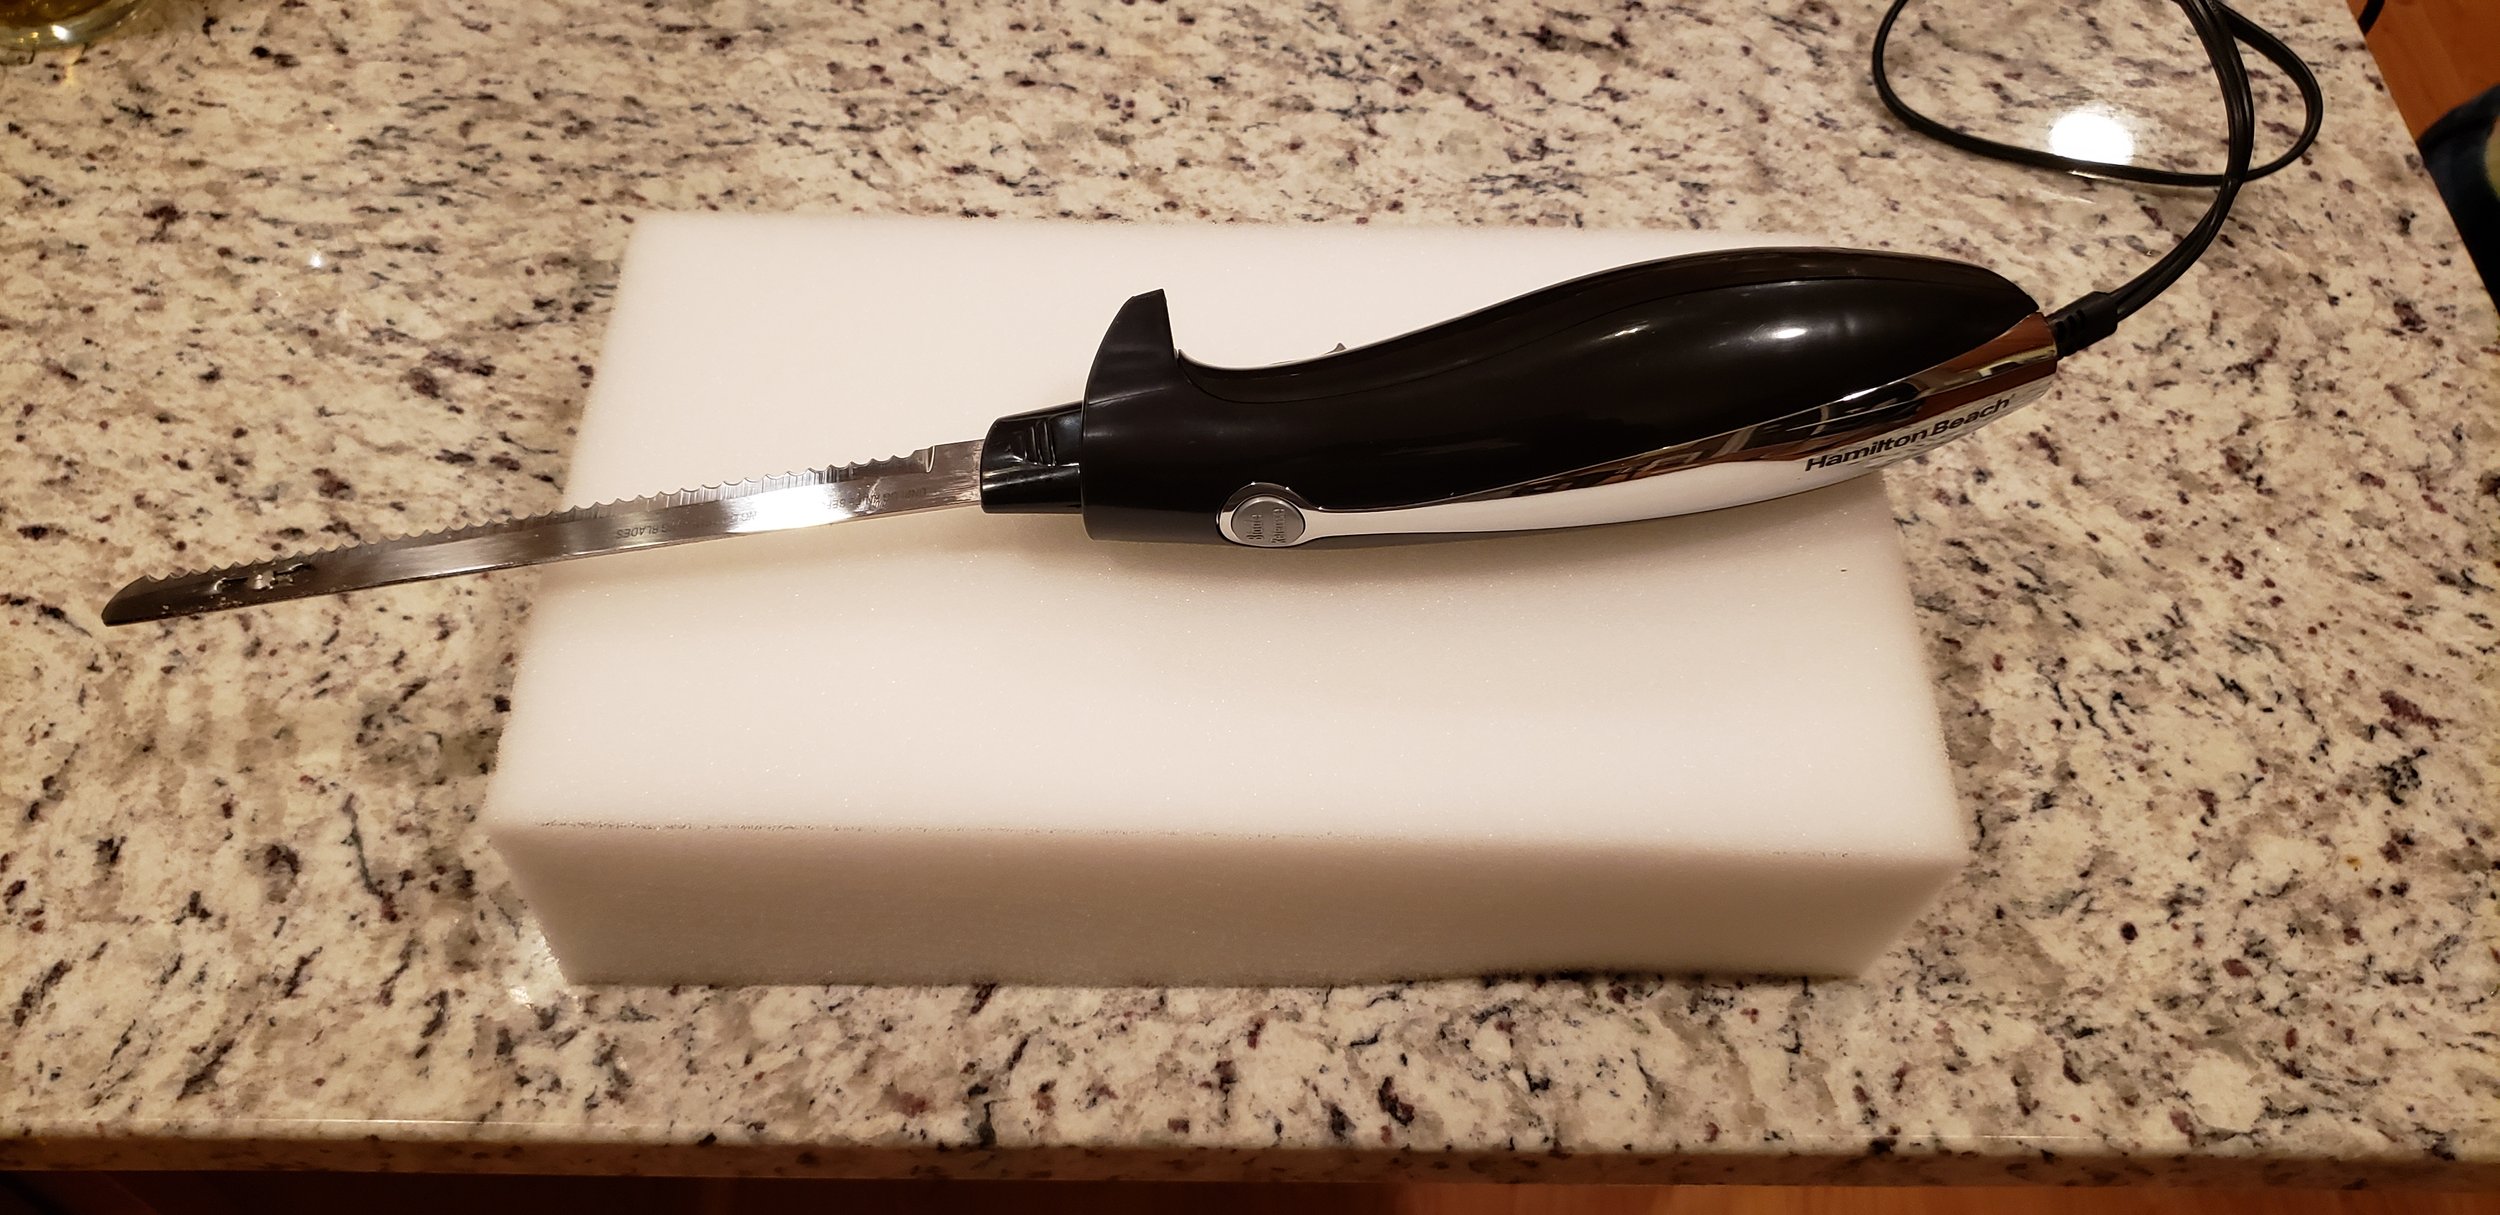
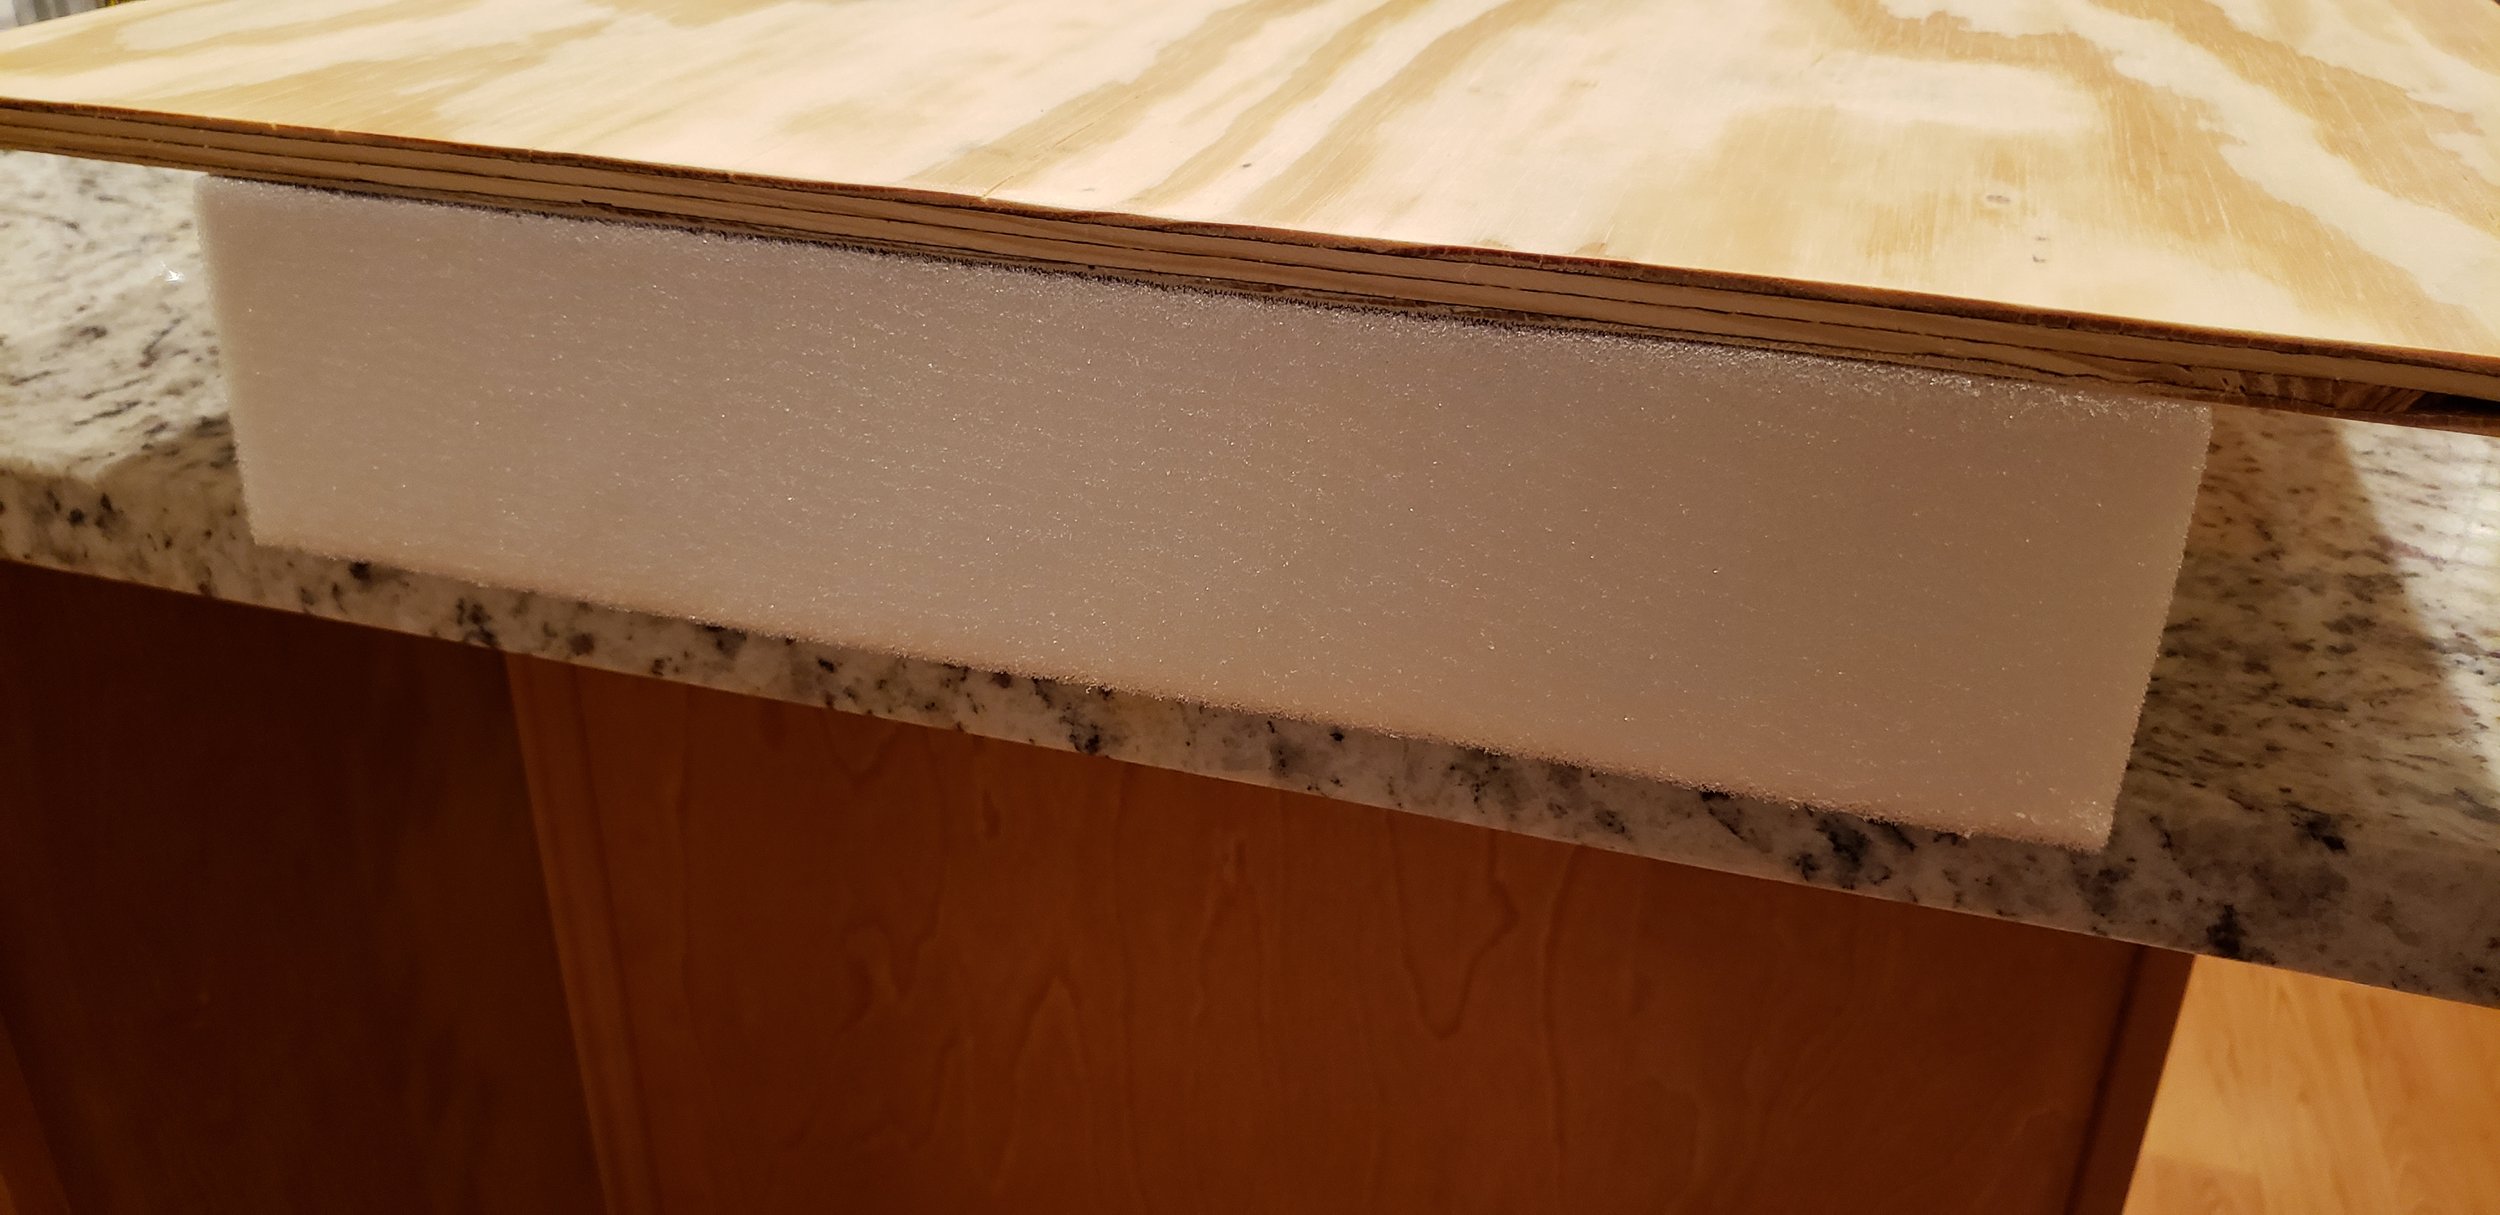
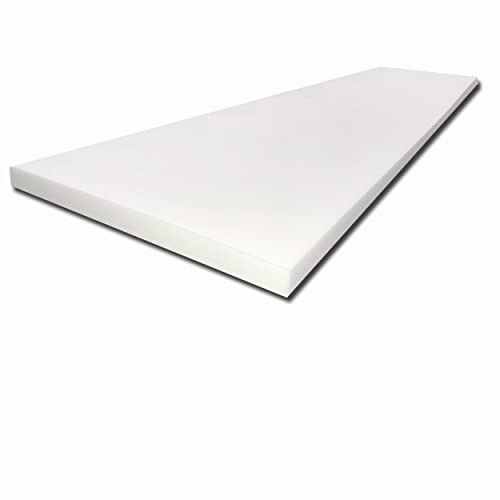
2" thick poly foam padding is used as a cushion. I found somewhere online that cutting this stuff with a serrated electric knife works and let me tell you, that is correct. A board on top of the foam acts as a guide. I ran the knife along it, making for a perfectly clean, smooth, and flush cut.
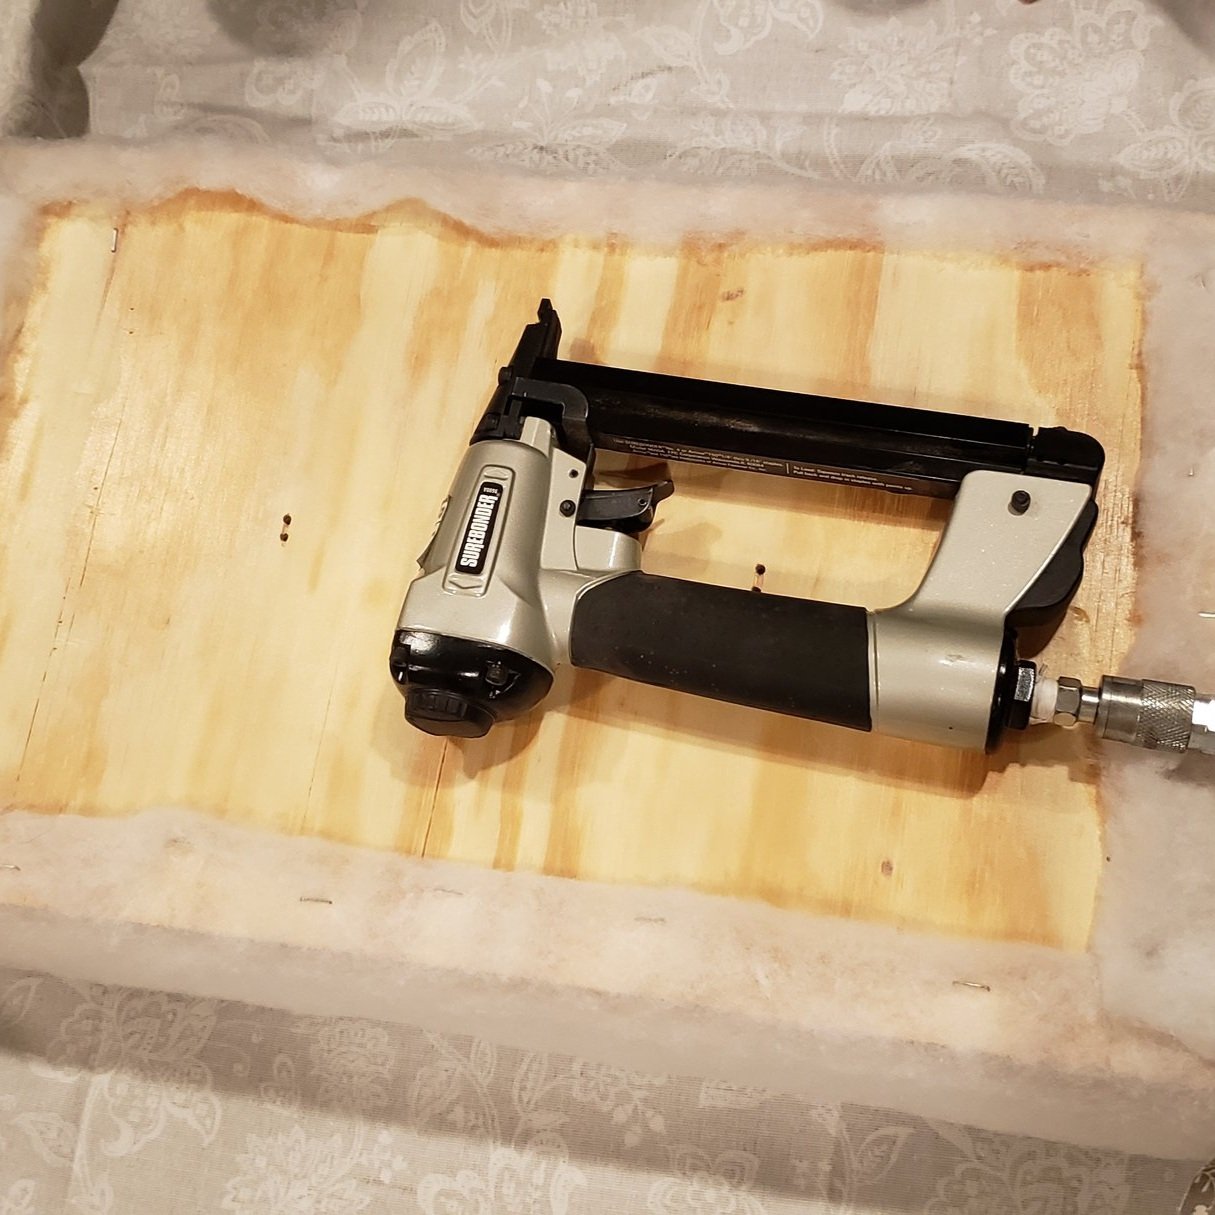
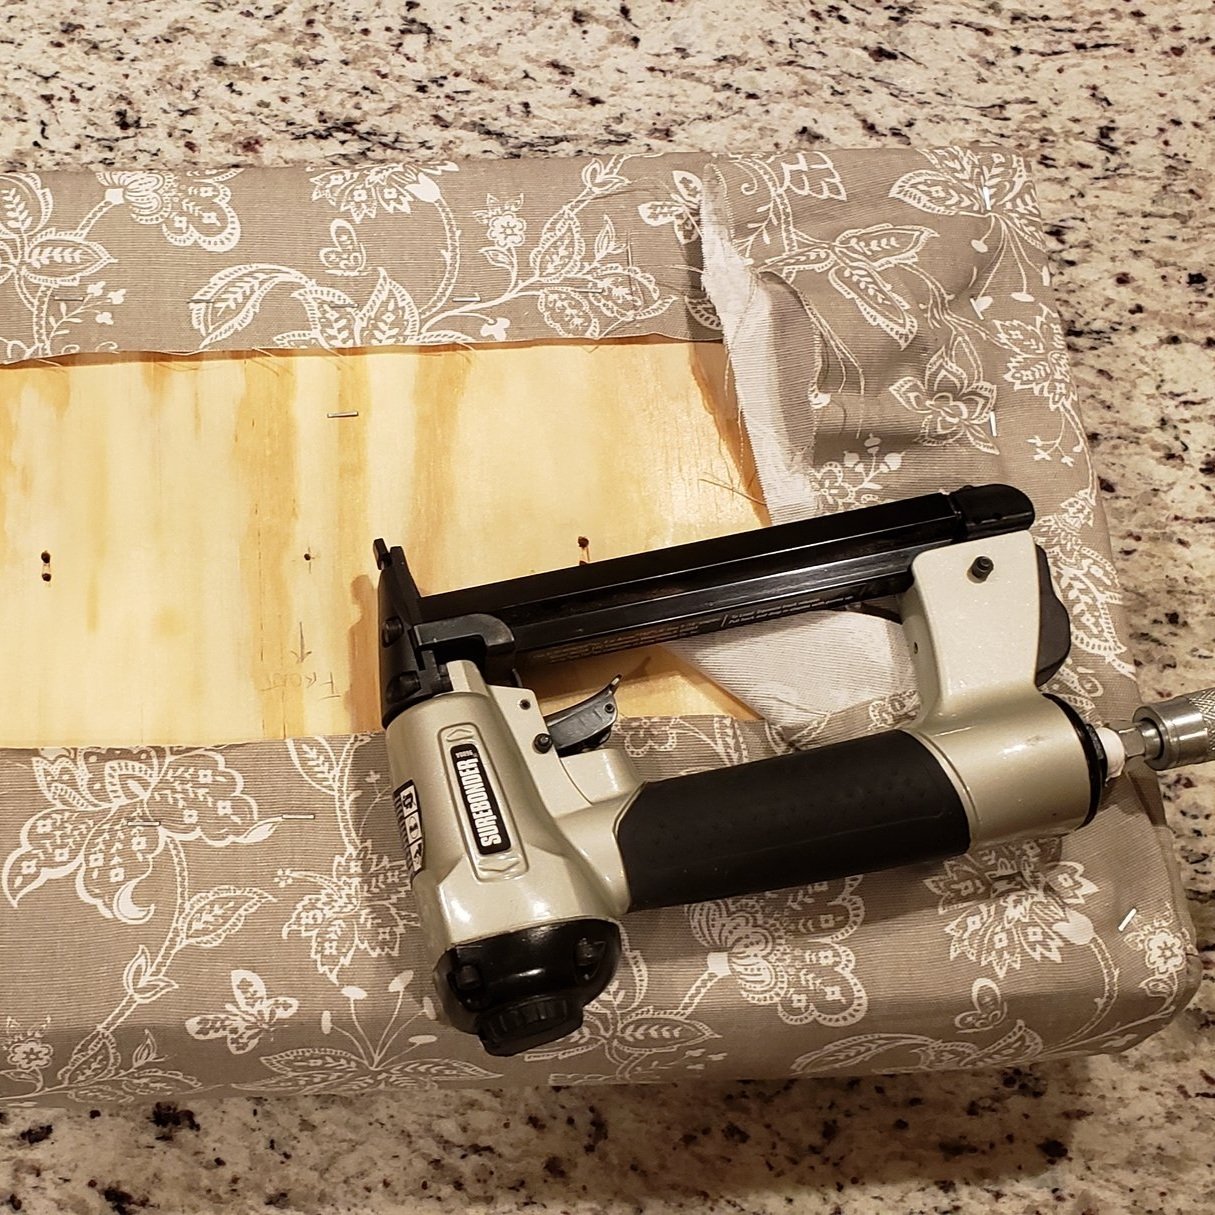
Next, I cut a piece of plywood out the same size as the top of the bench. The foam is laid on this plywood, wrapped in batting, and stapled into place. Next, the fabric we chose is stapled on over top, making sure to keep everything equally stretched around the sides. Some of the excess fabric and batting is trimmed off. This cushion with the plywood bottom will sit directly on top of the bench with some screws up through the bottom to keep it in place.

The final step is to drill a couple of holes in the plywood to run some thread through, connected to two fabric wrapped buttons. These buttons give the bench cushion some dimension and allow you to pull the fabric taught. Four screws hold the cushion board onto the top of the bench.
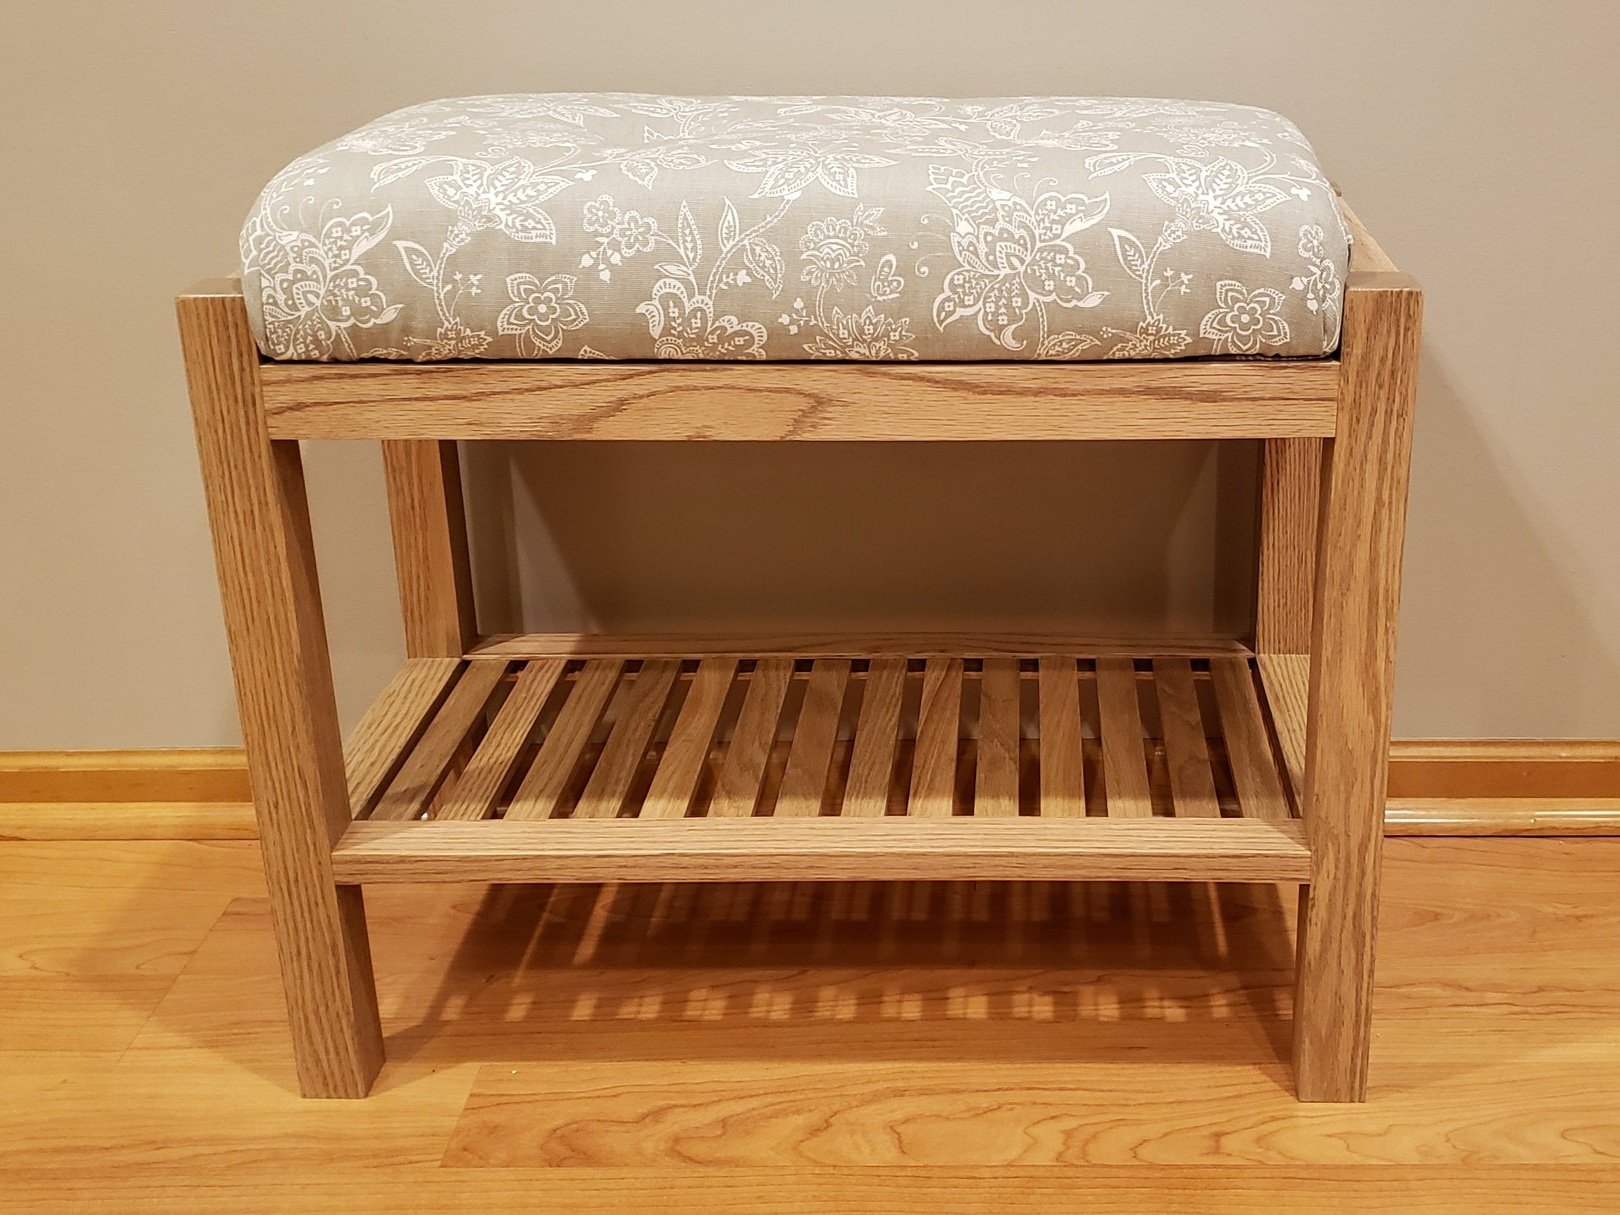
This shoe bench was a fun little project that works like a charm. We are able to fit three pairs of shoes on the ground and another three pairs on the shelf. It's really handy near the door to sit on while taking shoes on and off.

Tools and items used in this project
Power tools


The rest