How to Build a Twin Bed Frame With Storage Drawers

As my daughter was starting to outgrow her toddler bed, I knew it was time to start designing a larger one. I wanted this bed to be able to grow with her, so I sized it to fit a standard twin mattress. The bed features sturdy construction, three open storage cubbies, three large full extension drawers, and a padded headboard.


The Boxes


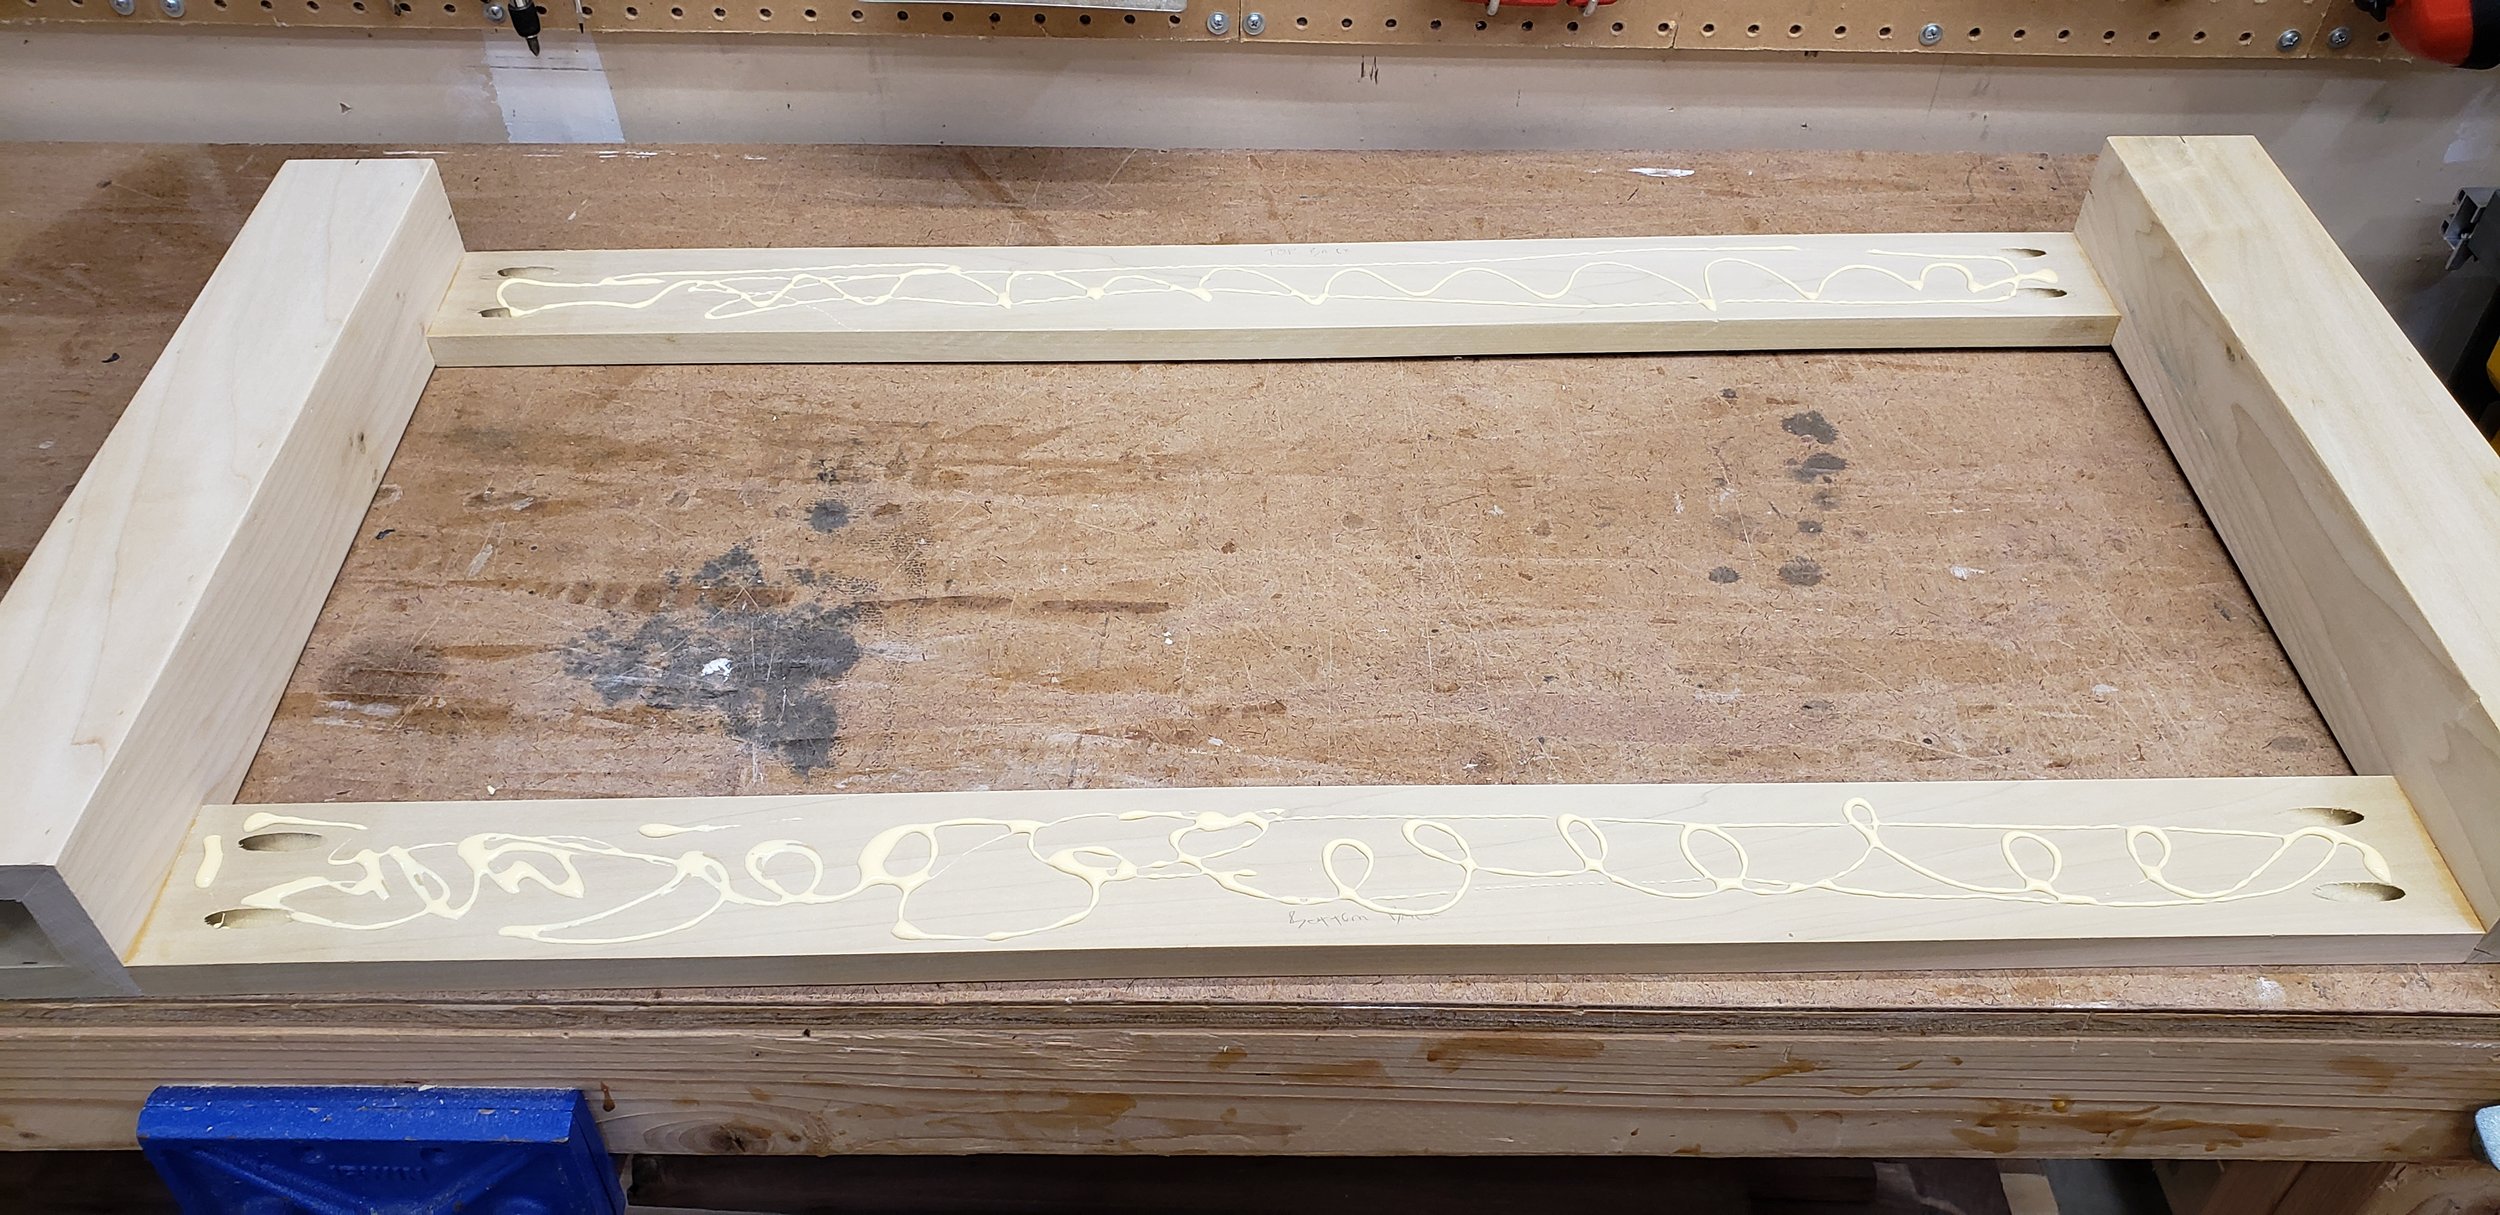
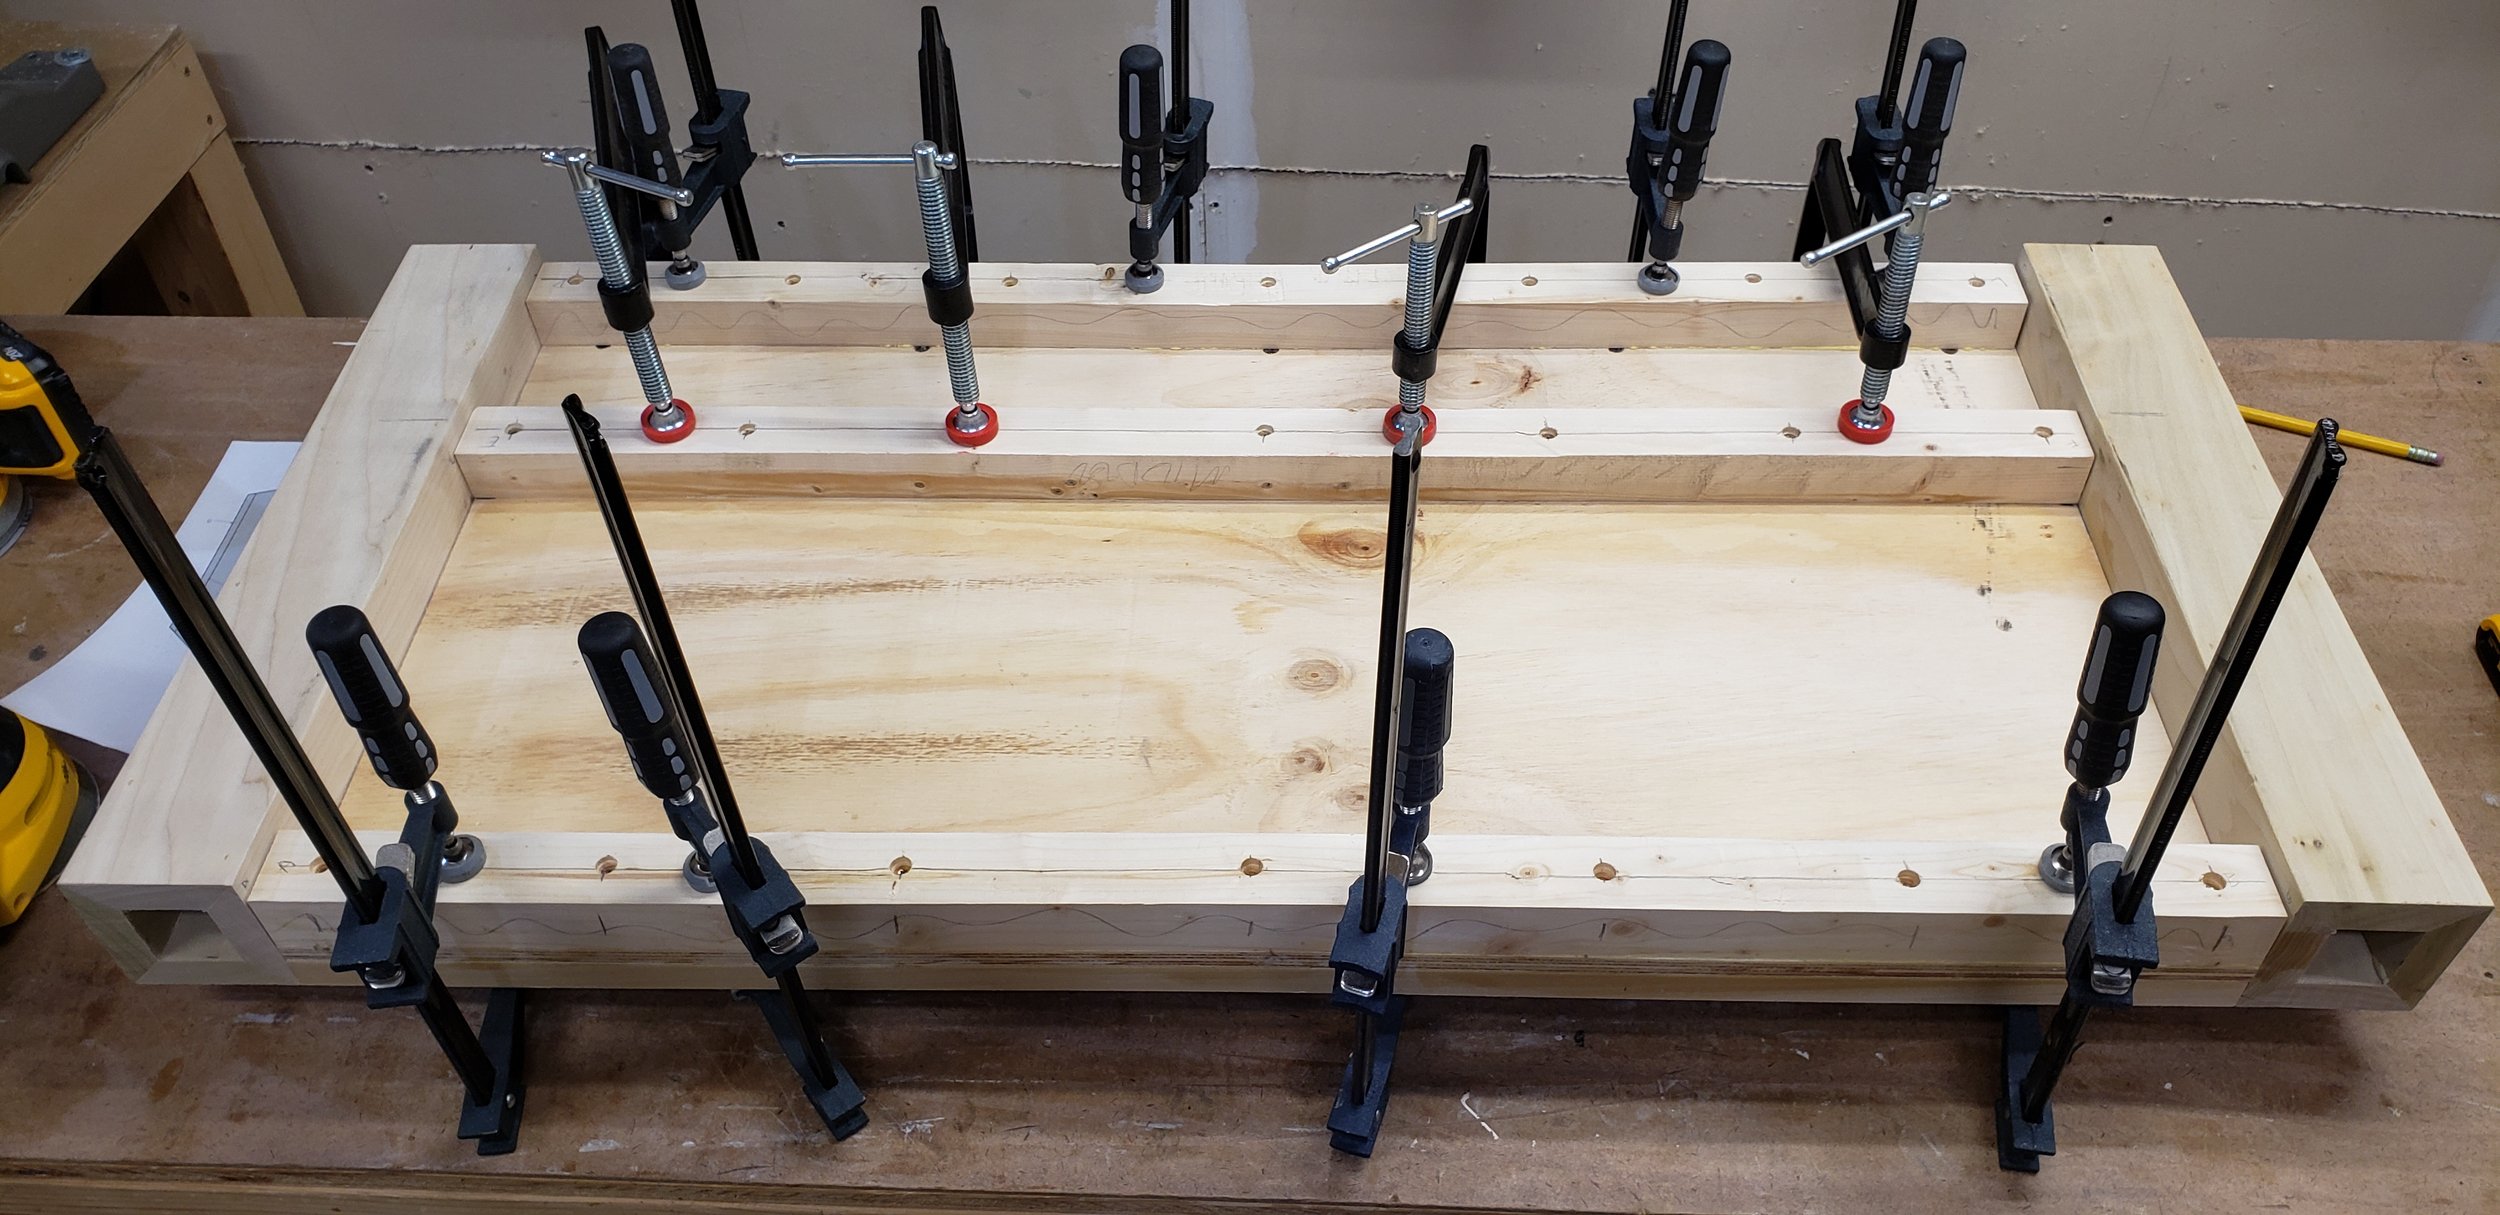
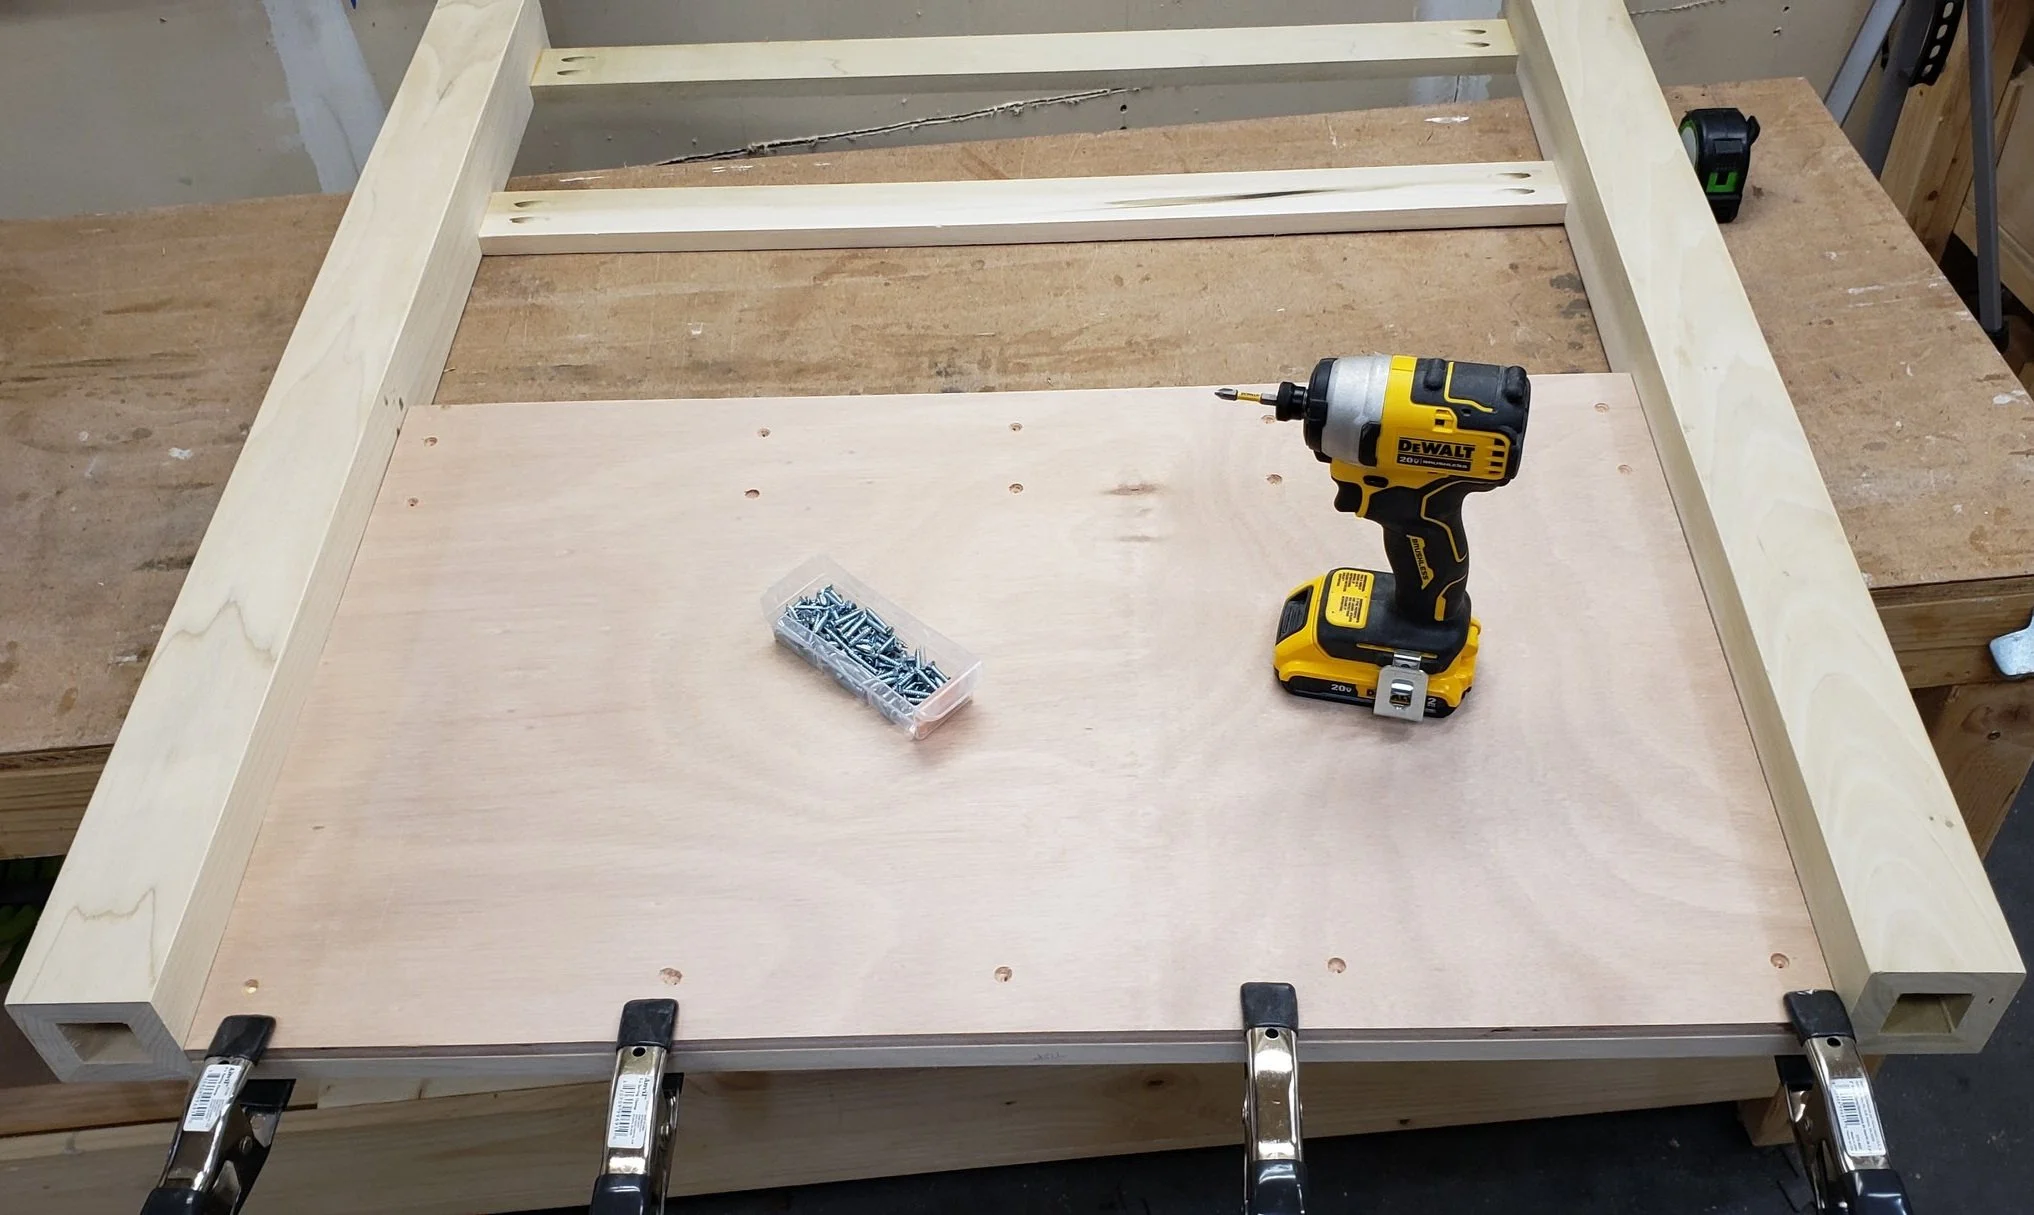
Following the plans, I ripped and crosscut the plywood for the boxes. The design and layout are maximized to only require four and half sheets of 4'x8' 1/2" plywood. Nothing fancy here, just some butt joints, glue, and wood screws. I clamped a spacer piece between each divider to ensure everything would end up perfectly square. I used lower grade plywood to save on cost. The top, bottom, and insides of this box will never be visible once the drawers are installed. I chose some better quality wood for the side with the three cubbies.

Once both boxes are complete, it's on to face frames. Each piece is ripped to 1 1/8" on the table saw and crosscut to size. The center pieces are a bit wider for better visual appeal between drawers. Hold off on attaching these until the drawer slides are in place. If you are building this with no drawers, the face frames can be attached to each side at this point and the next section on drawer construction can be skipped.
Drawers


I went with another simple design for the boxes. 1/2" plywood is edge banded on the tops using an iron, then sanded, and brad nailed together. I picked up these really handy right angle clamp squares that keep everything at a woodworkers favorite number: 90.


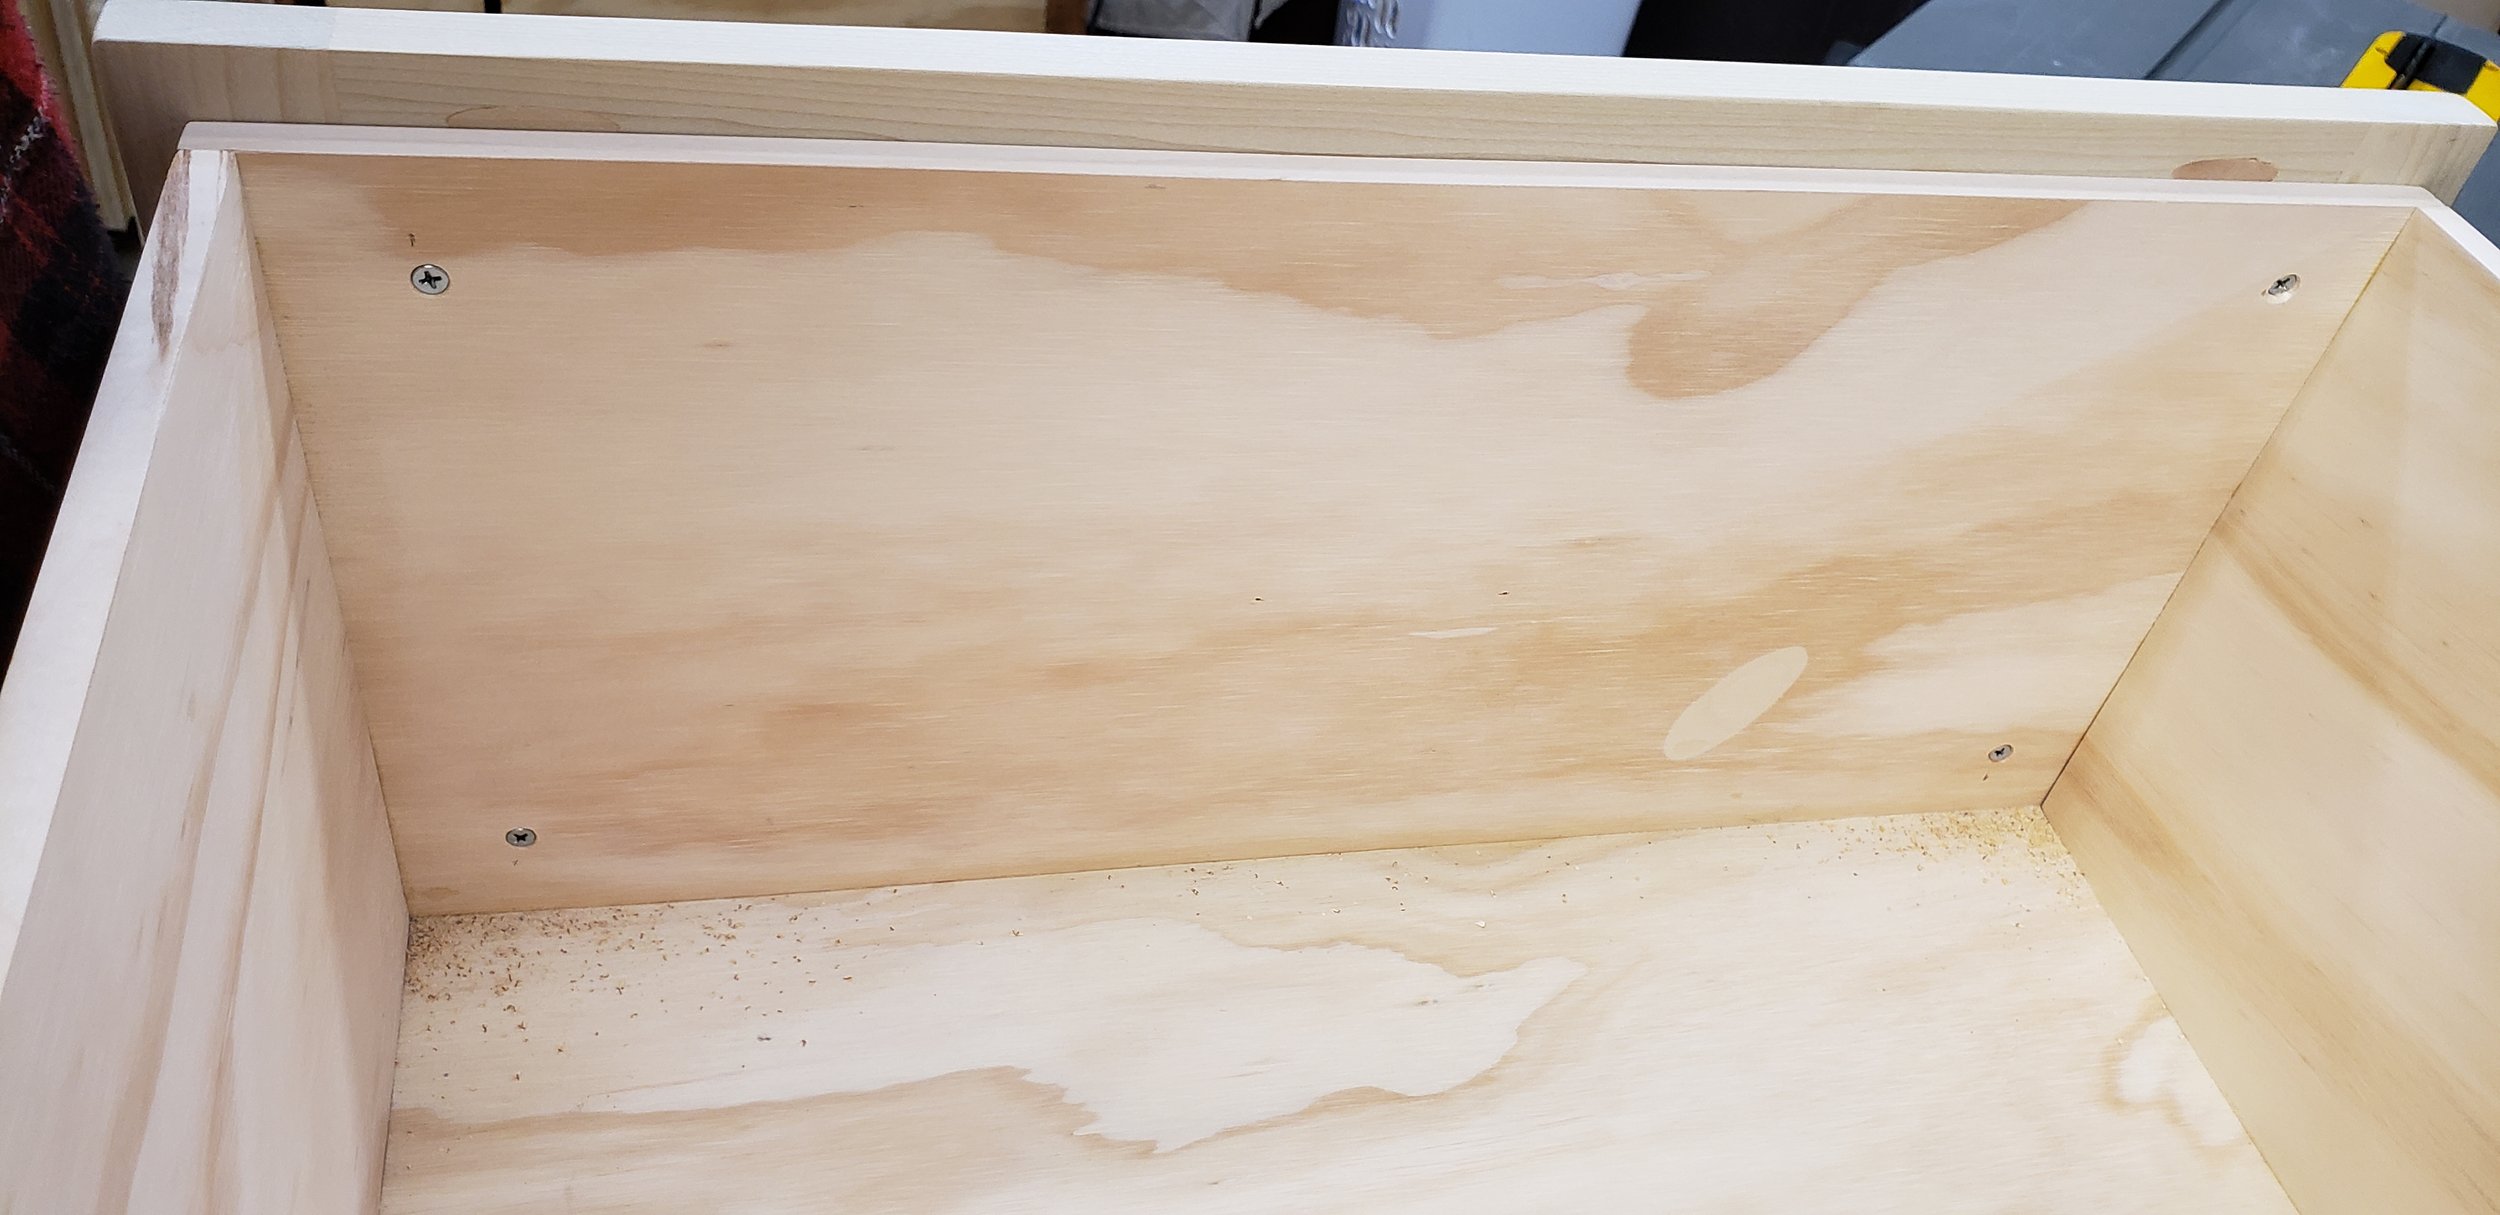
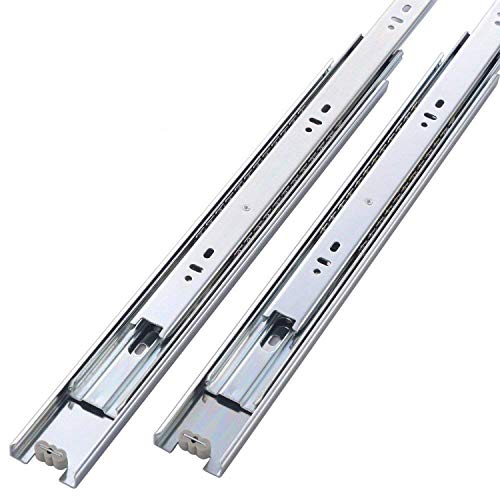
Back at the boxes, a spacer is used to align horizontal filler blocks for 16" full extension drawer slides. The spacer allows the slide to clear the face frame. Before attaching it, I marked a center line and pre-drilled for the drawer slides.


The face frame for the drawers is screwed together with pocket holes on the back. I filled the holes with plugs and used a multi-tool to trim off the excess.


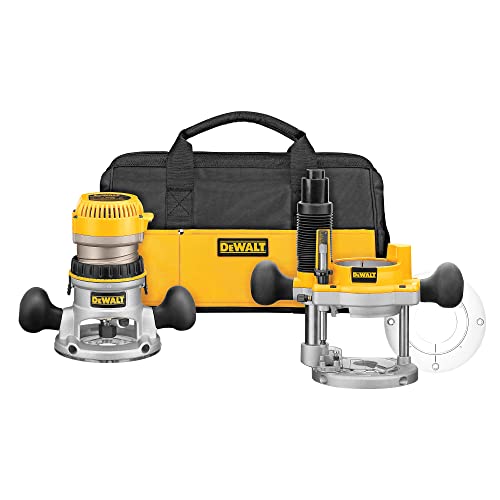
The drawer panel is 1/2" plywood, which means a rabbet is needed in the back of the face frame to hold it. Quick work on the router table with a rabbeting bit does the job. Router bits leave rounded corners, so I used a chisel to carve the corners square. Scoring the lines with a razor knife helps the chisel follow the proper path.
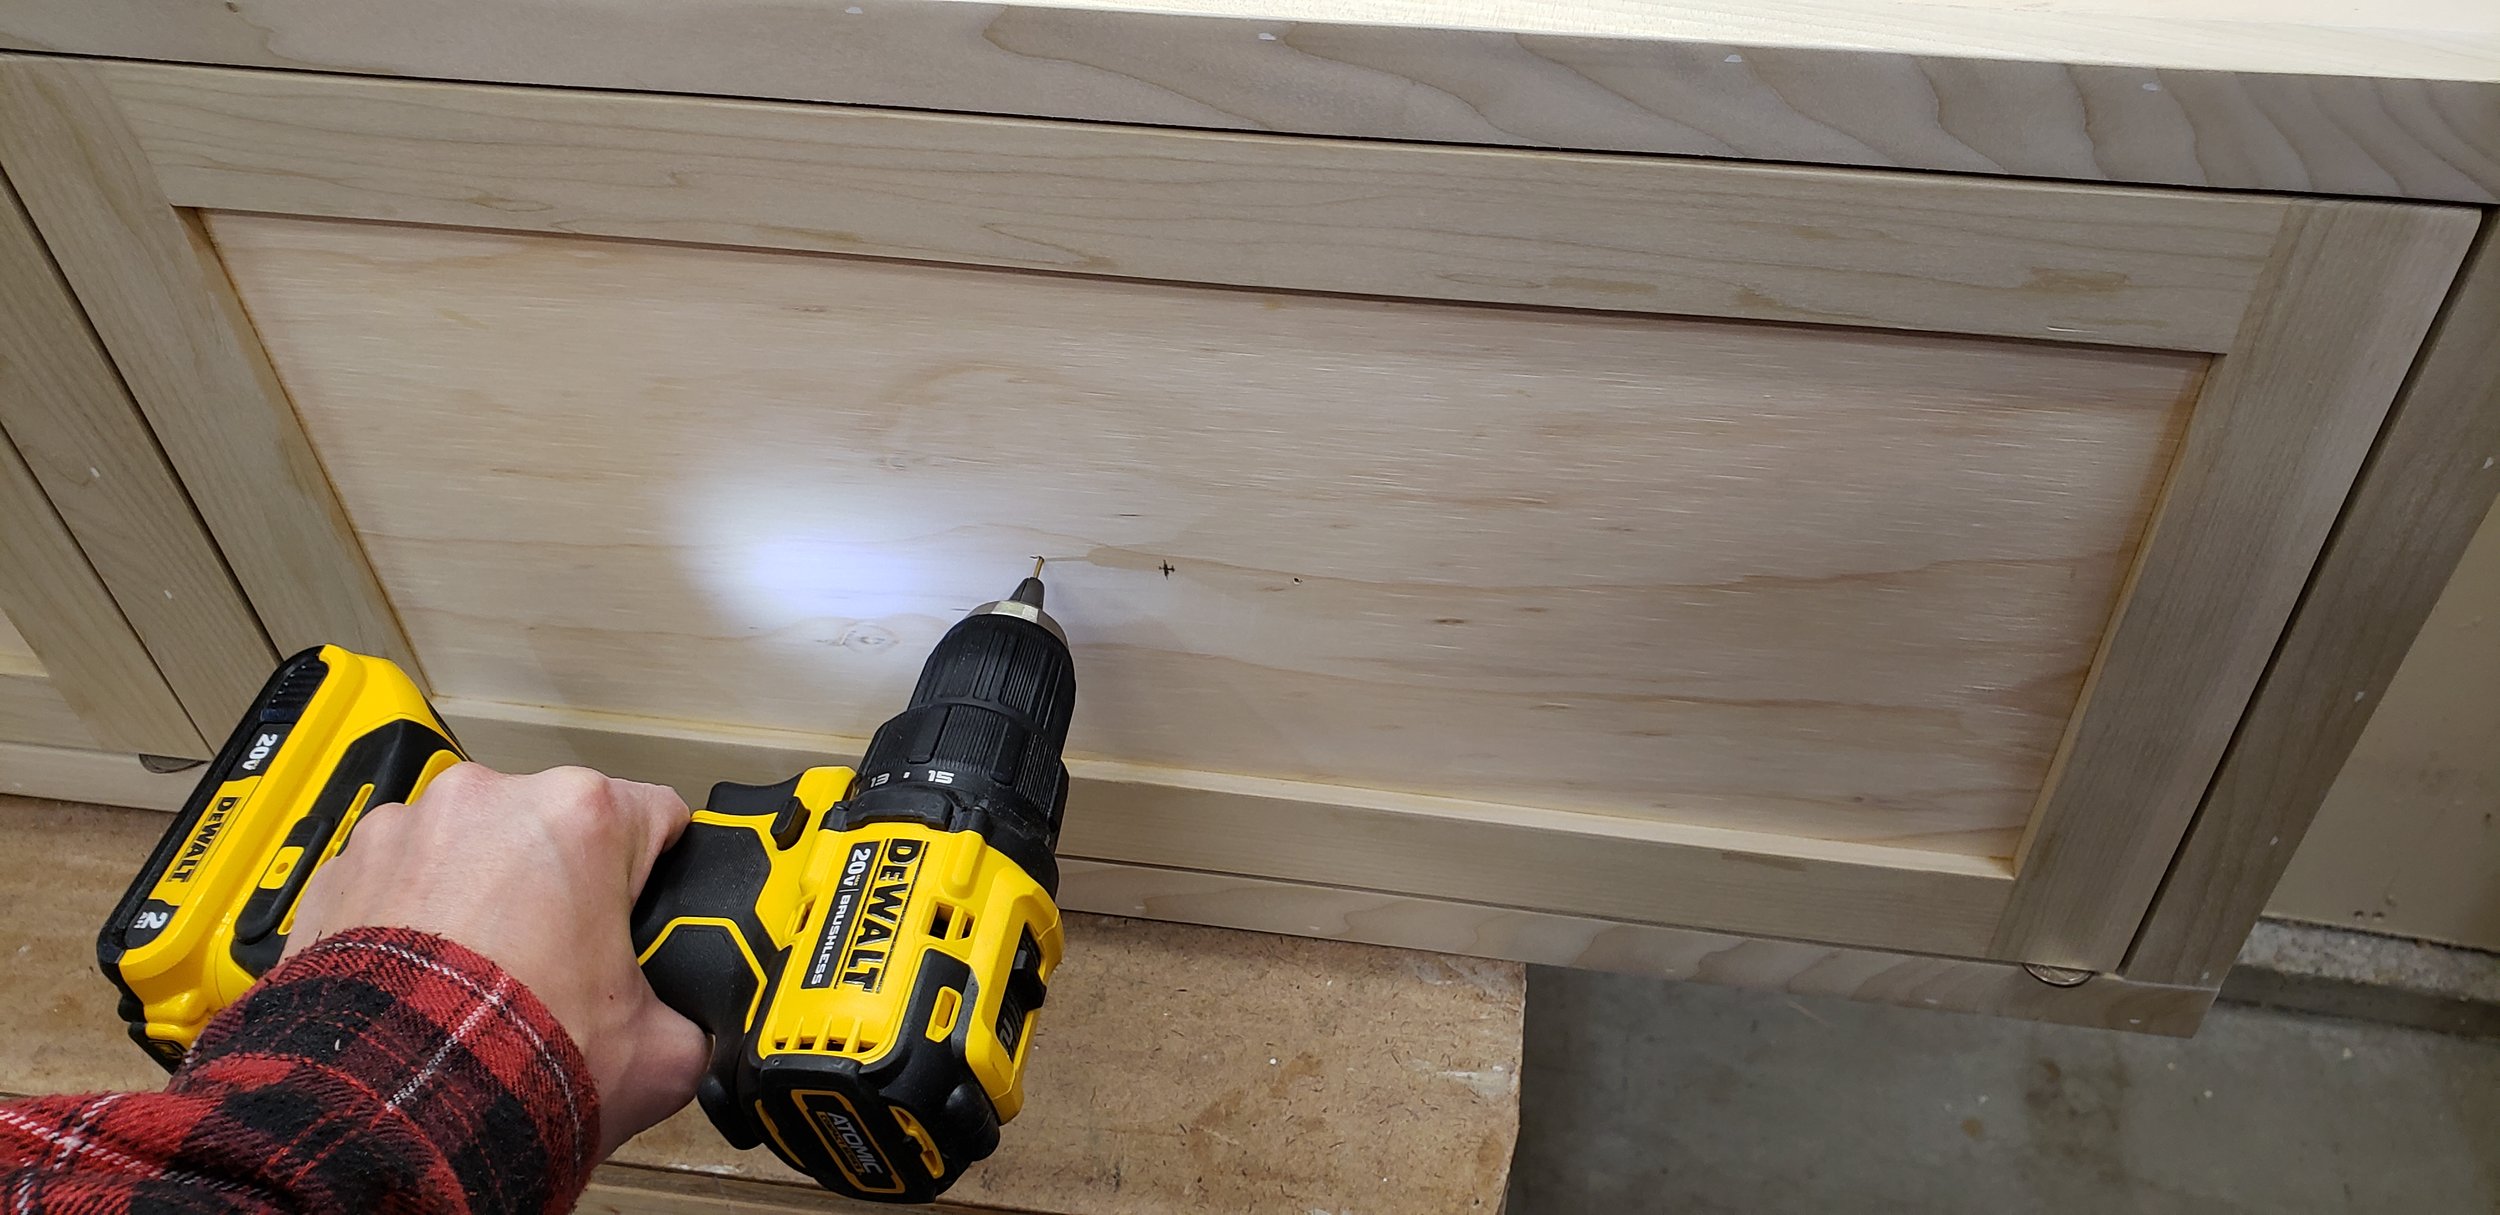
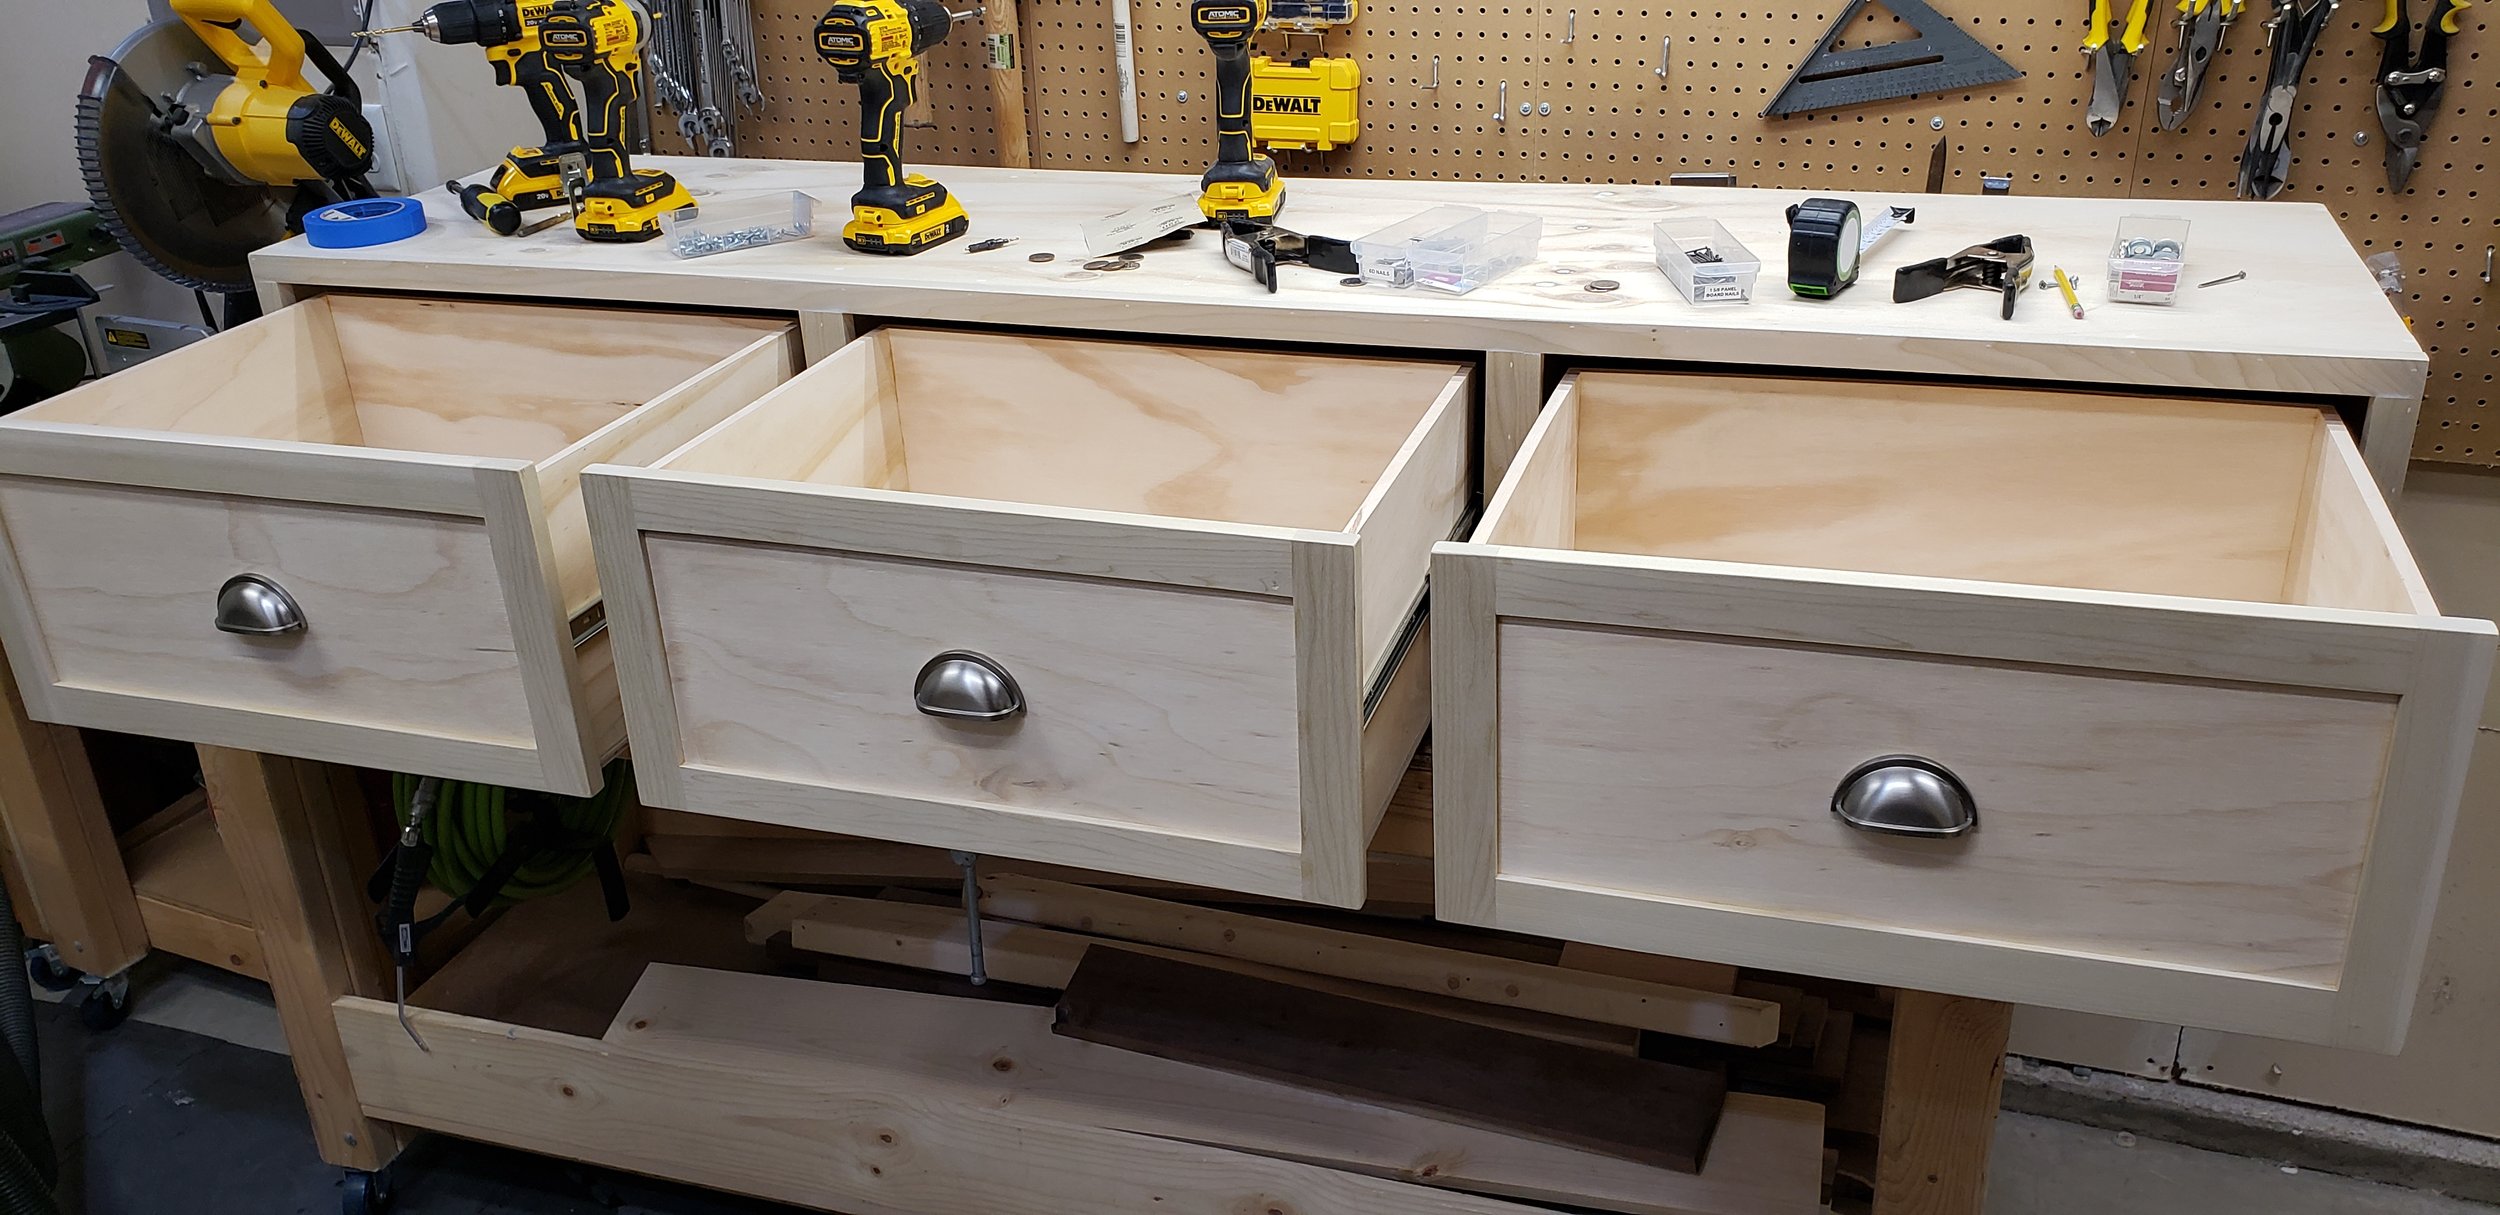
After attaching the drawer fronts and installing handles, one side of the frame is complete. I opted to leave the opposing side open to be used as cubbies. Another set of duplicate drawers could be added now or in the future. The plans have asterisks on steps and materials that needs to be duplicated if building a set of three drawers on each side.
Headboard and Footboard


The legs could have been a few different ways. The first would be buying thick lumber and cutting it to the proper height. The second option is to laminate multiple boards together and rip them to the finished width and thickness. I chose a third option, use four equal sized boards joined at 45° angles. The main reason is that it saves on lumber and cost (and weight); it also leaves clean lines. I ripped the angles on the boards, used a biscuit joiner to line them up, glued, clamped, and cut to length.
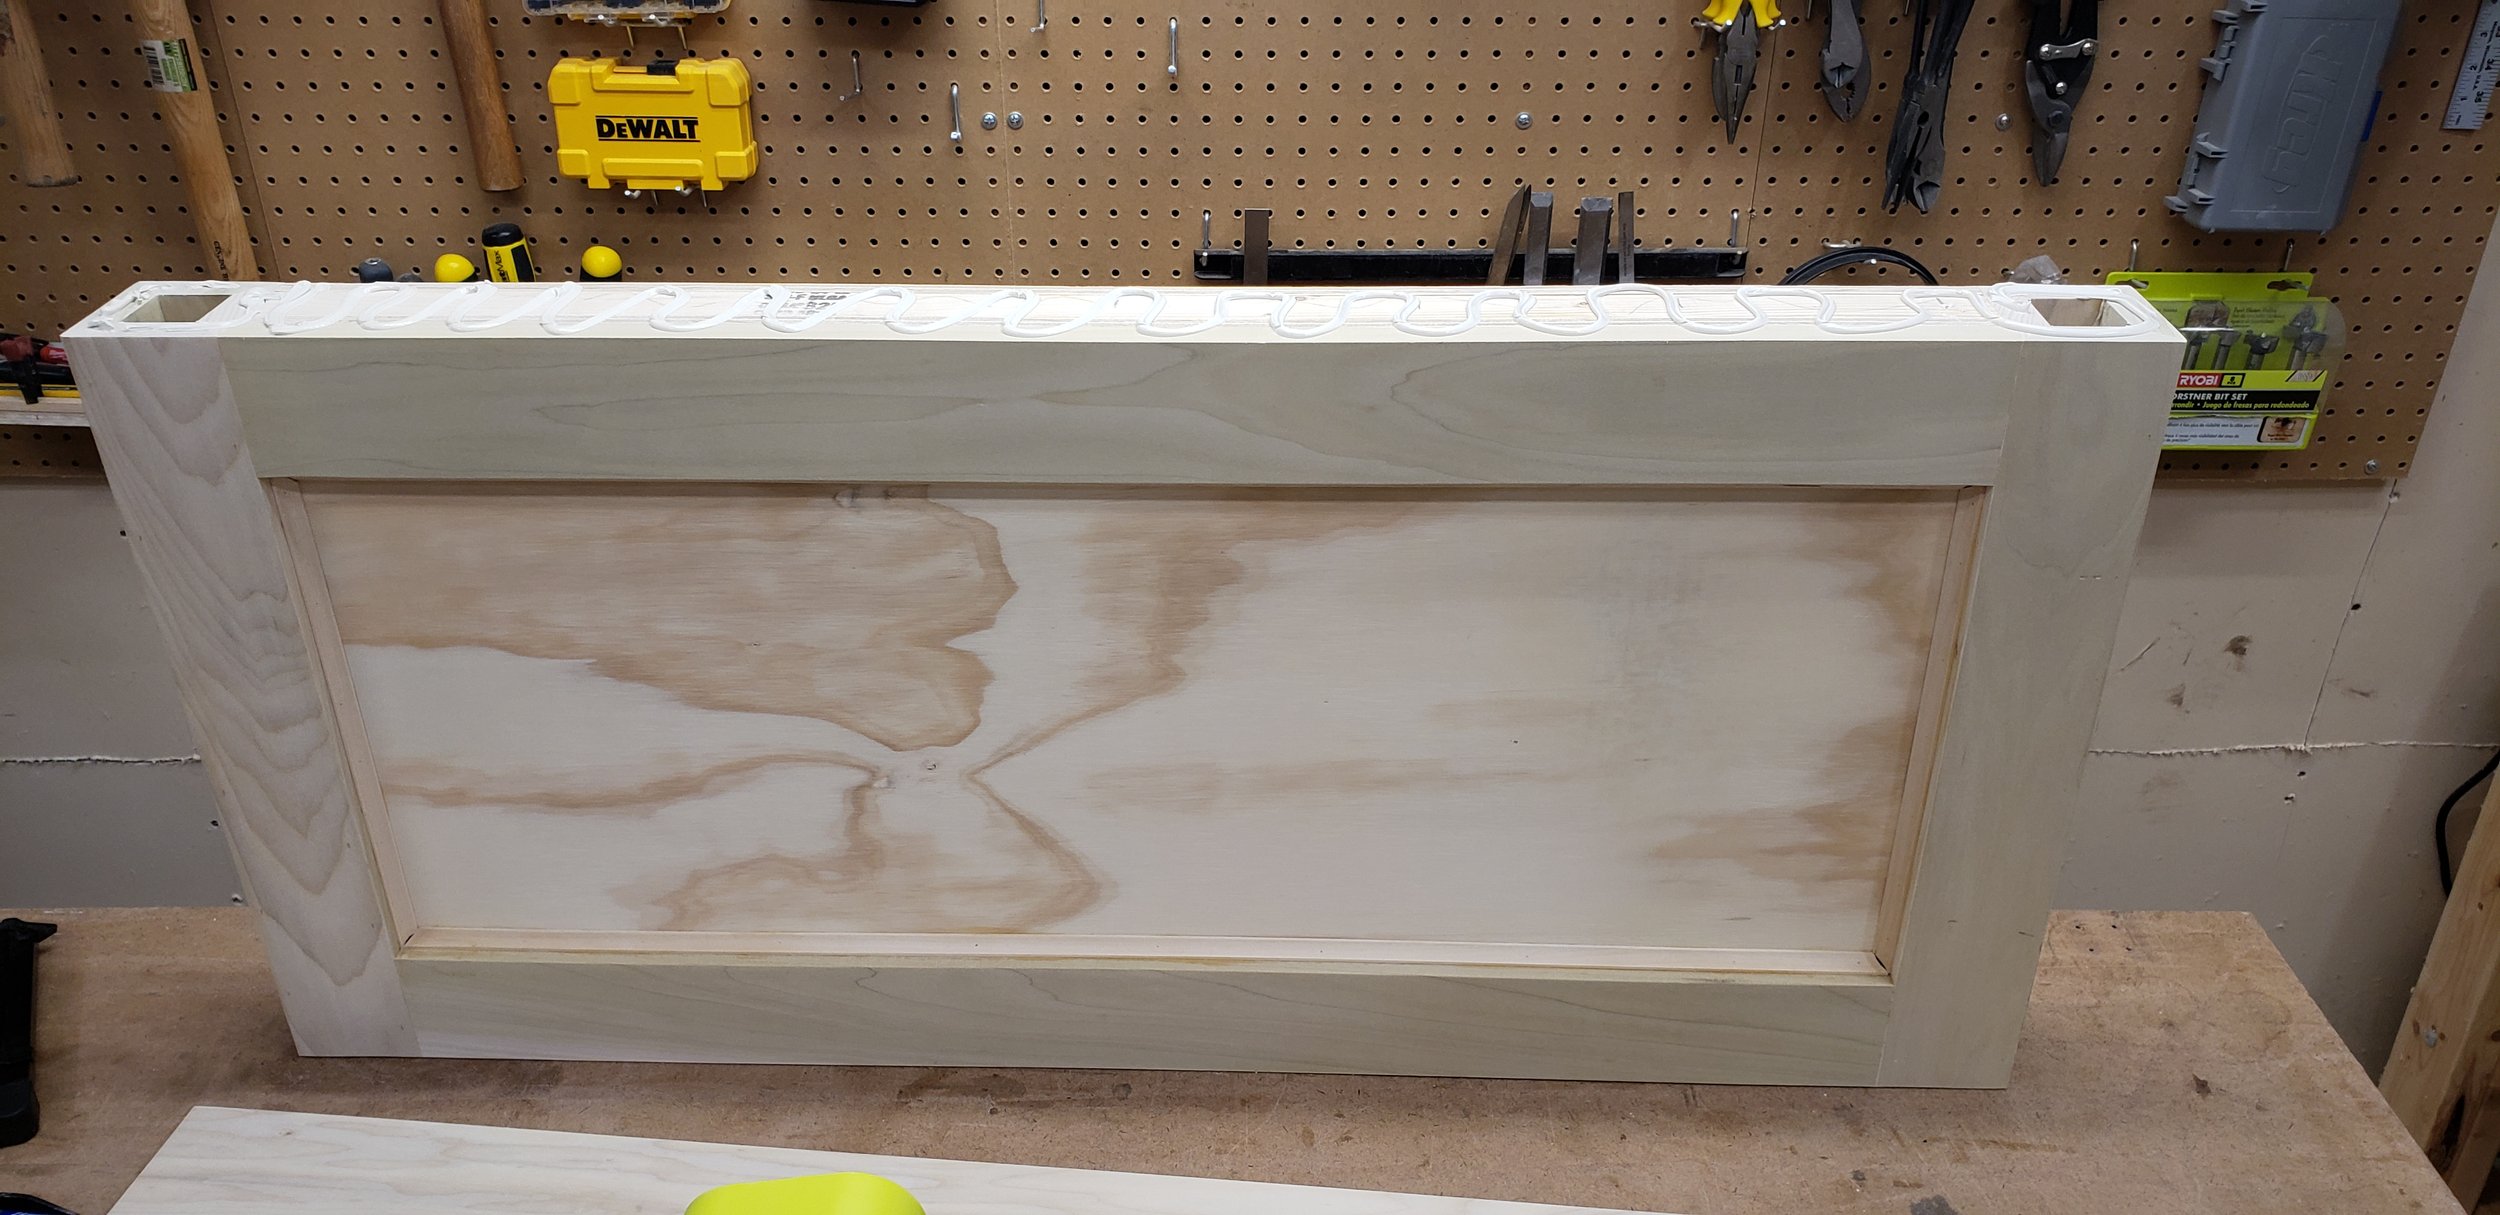
Pictured above is the footboard. It gets horizontal stiles pocket screwed to the legs with a piece of 1/2" plywood glued and nailed to the back. I used some scrap pine boards as fillers between the outer pieces of plywood to create the full thickness of the legs. Decorative trim is pin nailed on for a decorative touch. Page 15 of the plans is highly detailed on how this is constructed.


The headboard is built in a similar fashion as the footboard. The main difference is there is a deeper gap in the front to accommodate the padded headrest. If you choose not to add the headrest, some decorative trim would fill the gap, like the footboard. The final step was to add the top cap to both the headboard and footboard.
Feet


To create the feet, I printed out the template from the plans and traced them onto my wood. Using the bandsaw, drum sander, and miter saw I created some simple but elegant feet for the bed posts. They get screwed on the legs, leaving one screw out for final assembly when the whole bed comes together in it's final location.
Padded Headrest

To create a padded headrest, I purchased some foam panels and used wood glue to attach them. The internet told me that's how to do it, so that's what I did! Who am I to argue with the internet?

Some thin polyester batting is wrapped around the padding and the 1/2" plywood then topped with fabric. Everything is pulled tight and stapled on. If you're planning on doing this, there are a lot of great tutorials out there, here's one: https://www.youtube.com/watch?v=-gbxMjTFCLU. I purchased these supplies from Hobby Lobby.
Finishing


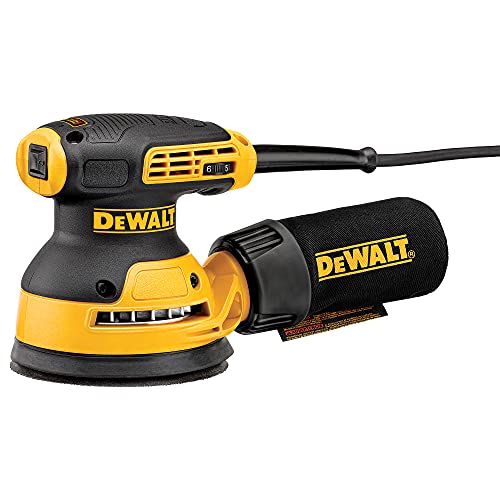
The final woodworking steps were to apply a bit more decorative trim and sand everything down one last time. My go-to for finishing bare wood, like drawers, is always Polycrylic. There is no smell and brushes are cleaned up with water.
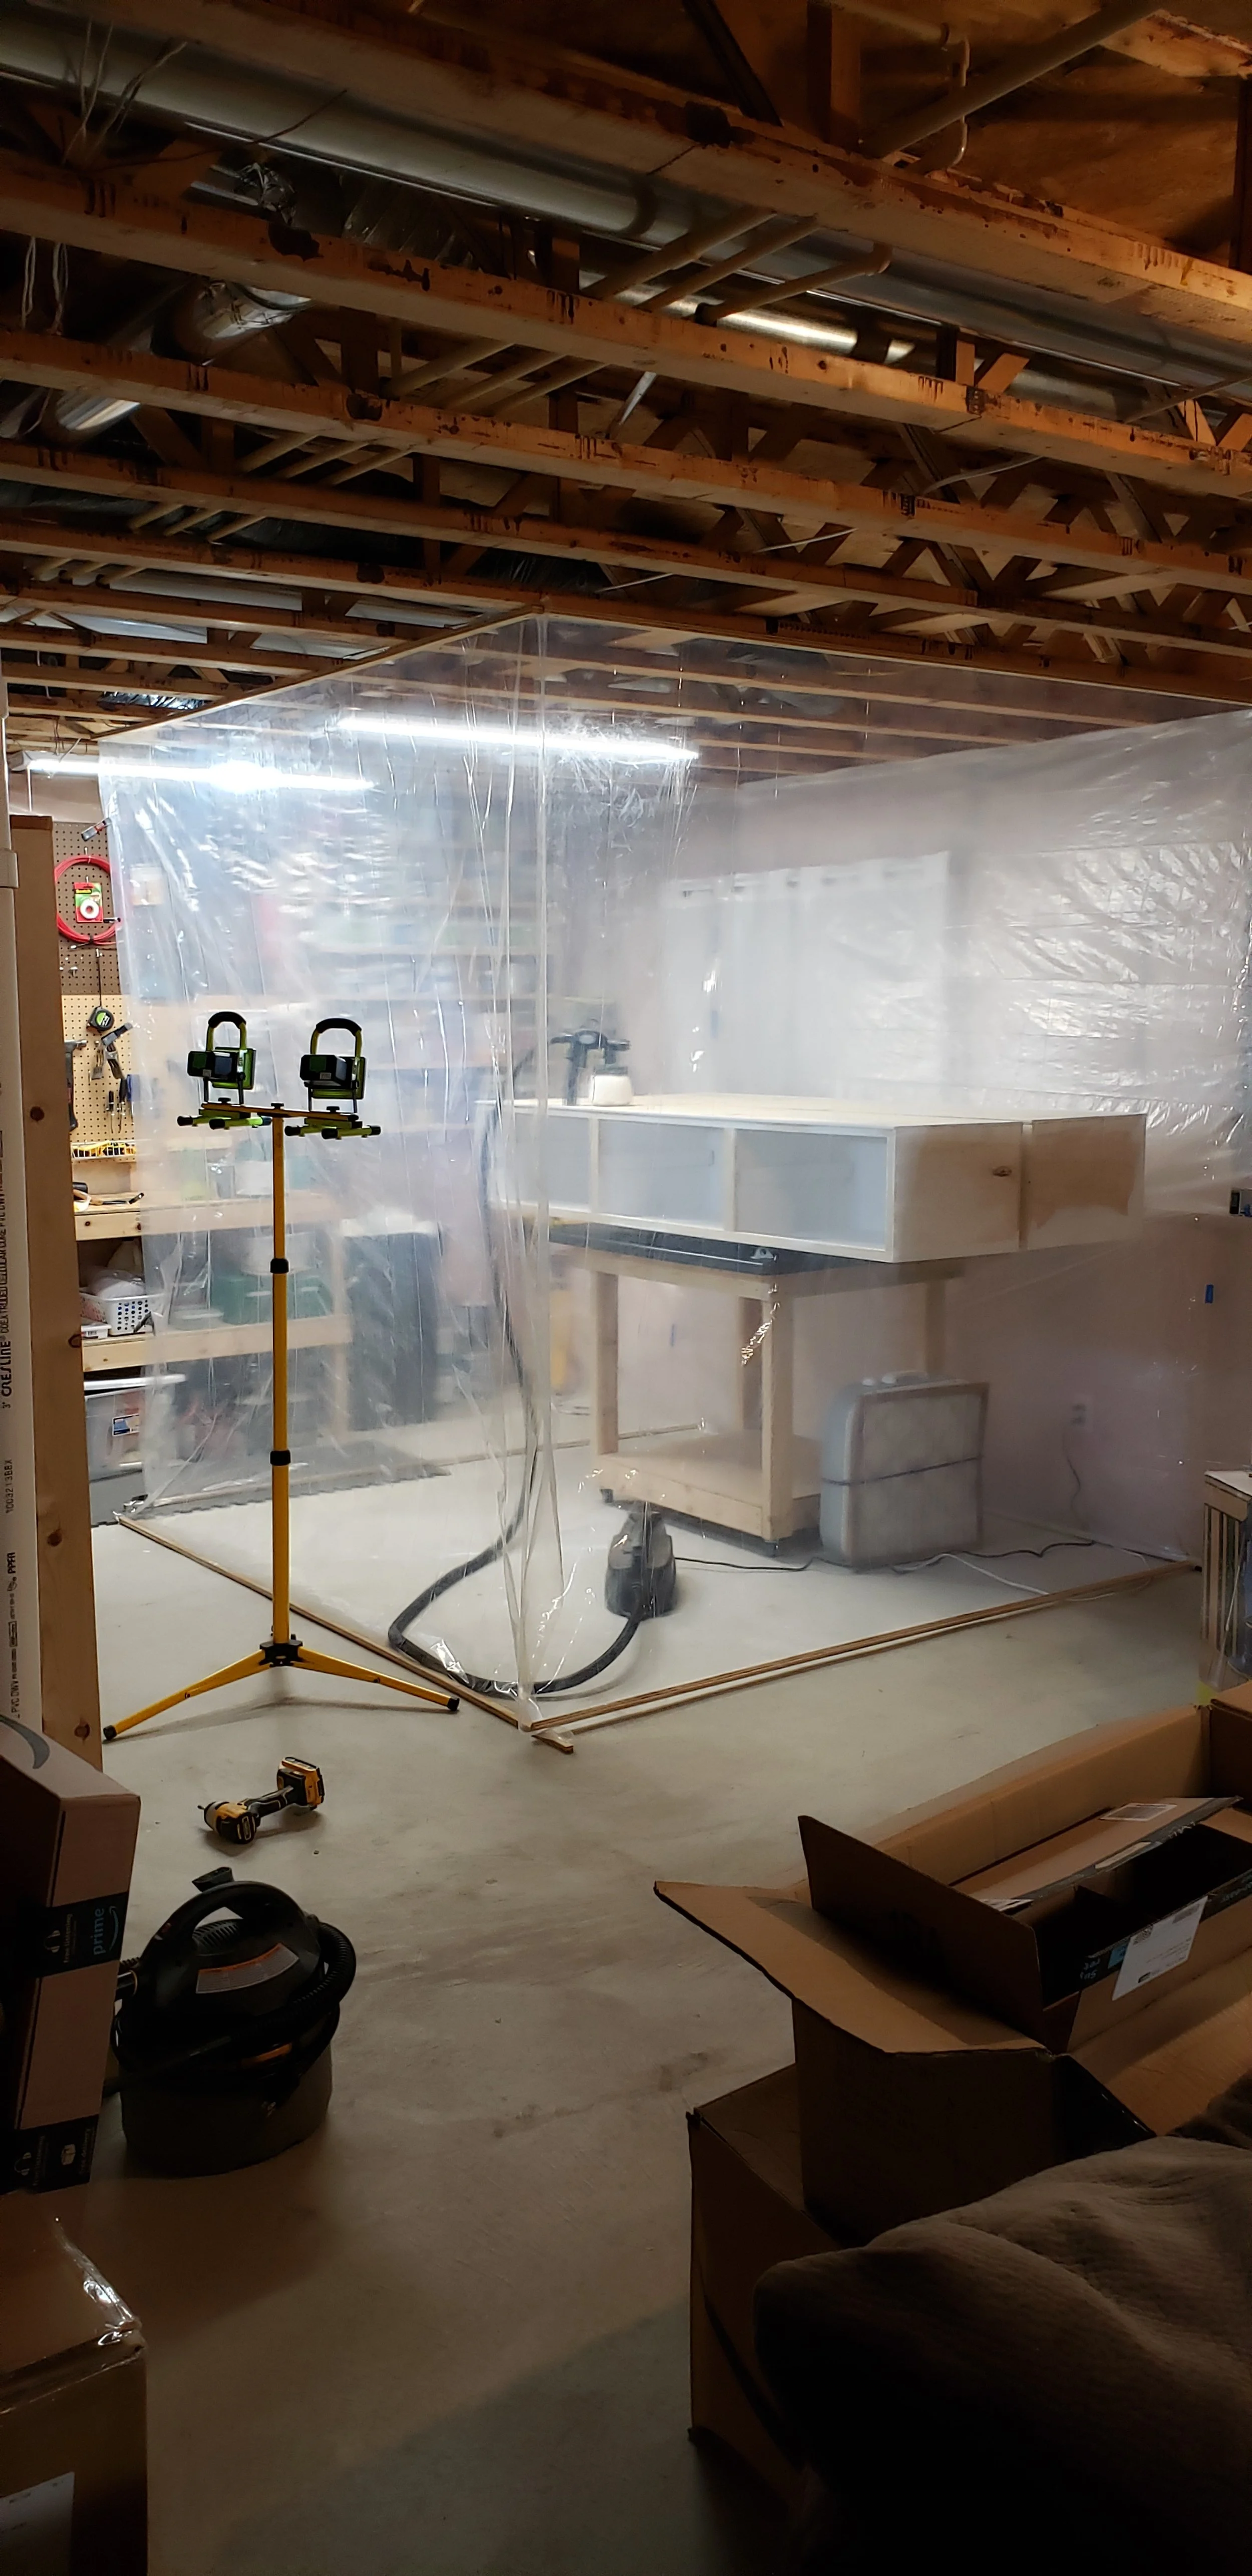
Then, I set up the paint booth and gave everything three coats of semi-gloss Enamel Interior Cabinet and Trim Paint out of the spray gun. I've had really great results with that paint so far; it sprays easily and is hard as a rock when cured. The spray gun pictured above actually broke on this project and I picked up a HomeRight spray gun on Amazon. I did a lot of research and I'm glad I did, that new gun is the best I've used yet, and I've gone through a lot!

The left side of the bed has open storage cubbies. Down the road I may add three drawers here, but for now this works well for us. I added three supportive pieces of wood under the boxes to handle any trampoline level jumping, it really made the bed feel sturdy.

The full extension drawers hold a ton of stuffed animals currently and should be able to handle anything my daughter throws at it!

I designed the bed to fit in with the end tables and bookshelf I created for this room and couldn't be happier. Thanks for reading and feel free to email me or message me on Instagram if you have any questions while building one of your own!

Tools and items used in this project
Project specific items

Power tools


The rest