How to Build a Toddler Activity Table and Chairs
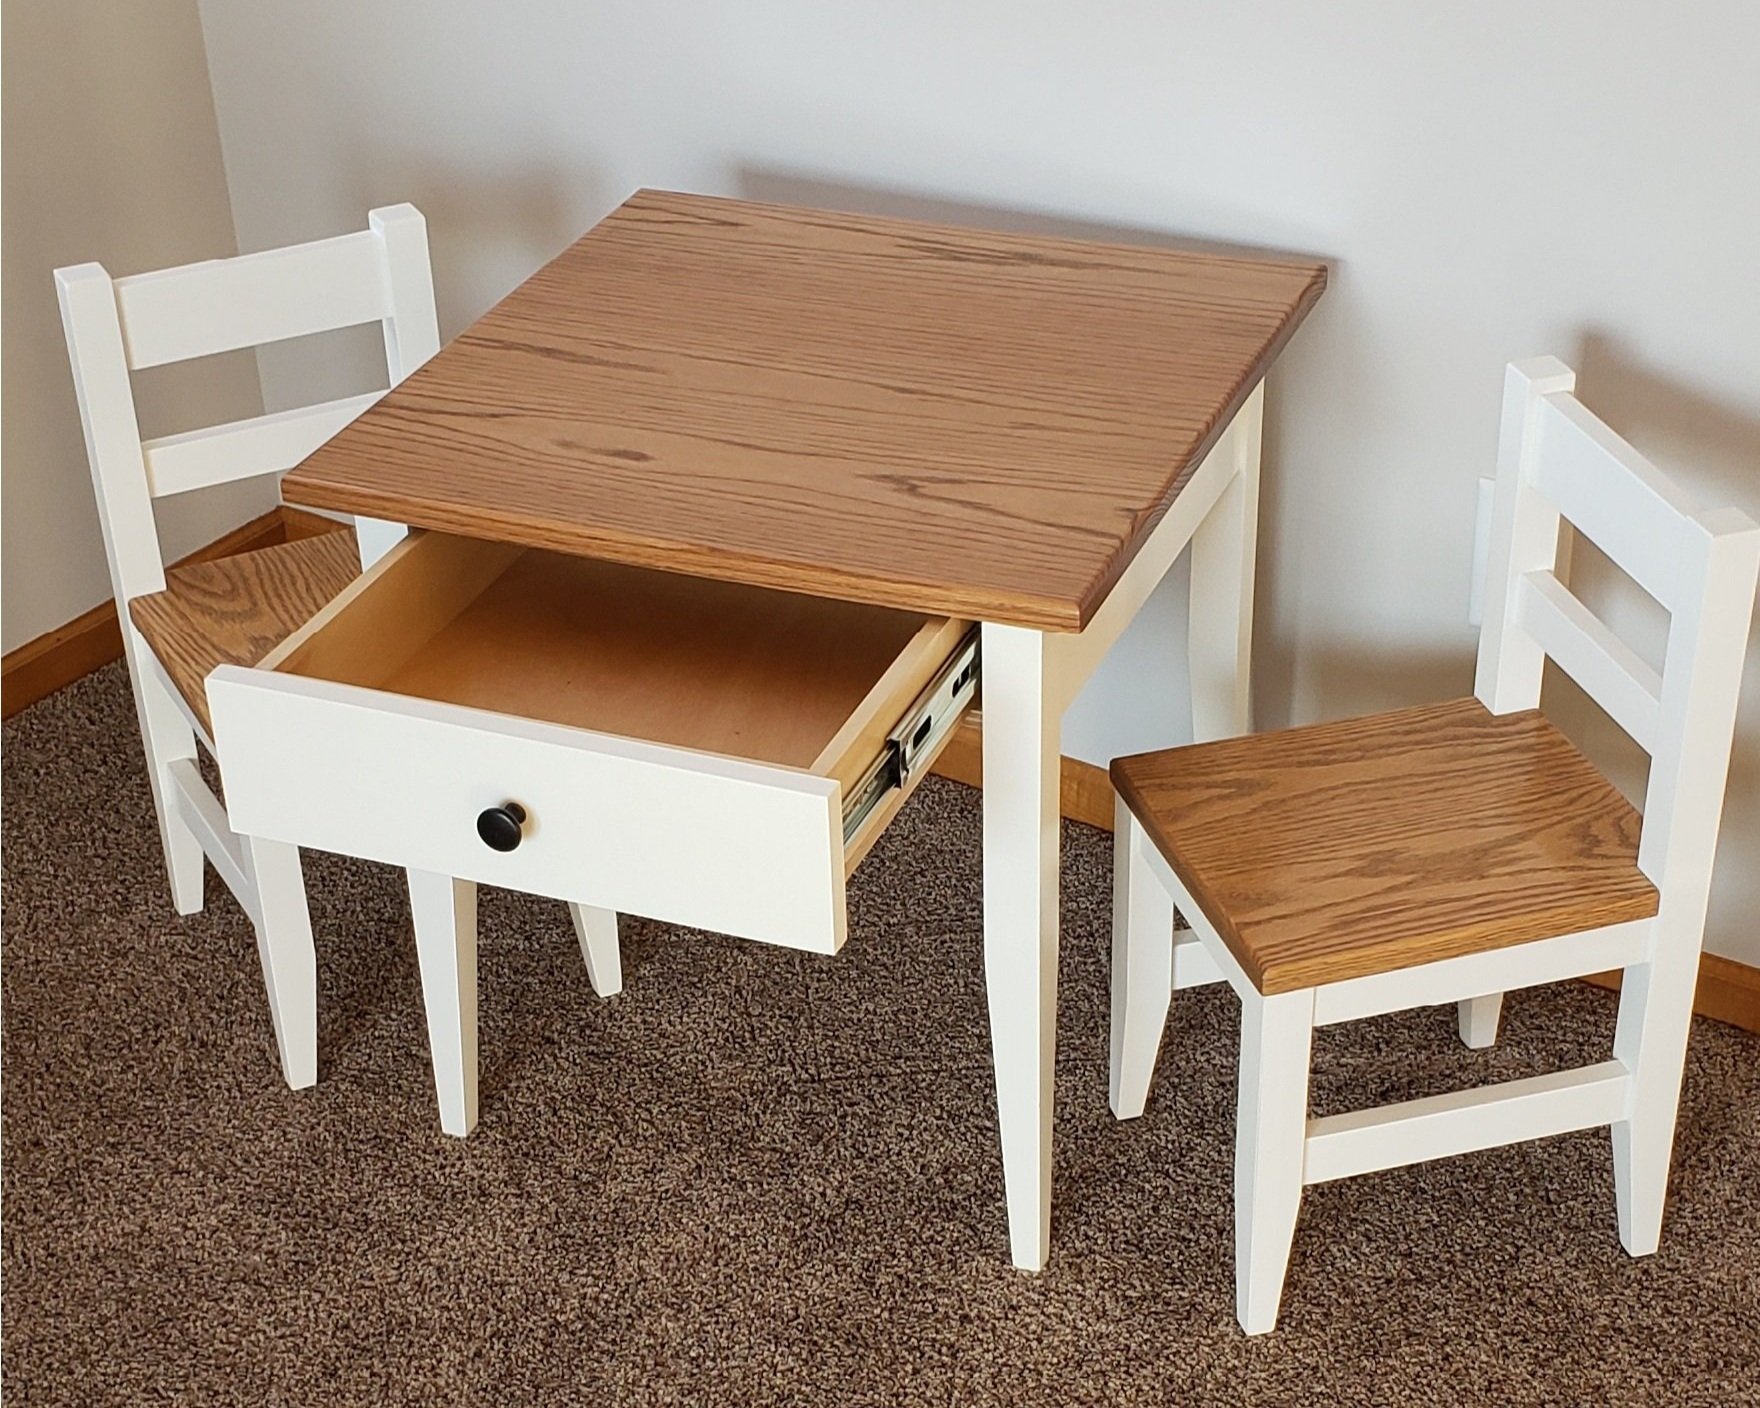
After not being satisfied with the quality of toddler tables I was finding in stores, I decided to take matters into my own hands and design/build a set that should be able to withstand the abuse of children for years to come. This table and chairs is built out of painted poplar and stained oak, with multiple coats of Polyurethane to give a durable finish. The table top is 21" x 21" and stands 22" tall. The chair seat is 12" off the ground. A large drawer with full extension slides fits all of the markers, crayons, coloring books, and occasional hidden bits of food that a toddler needs!
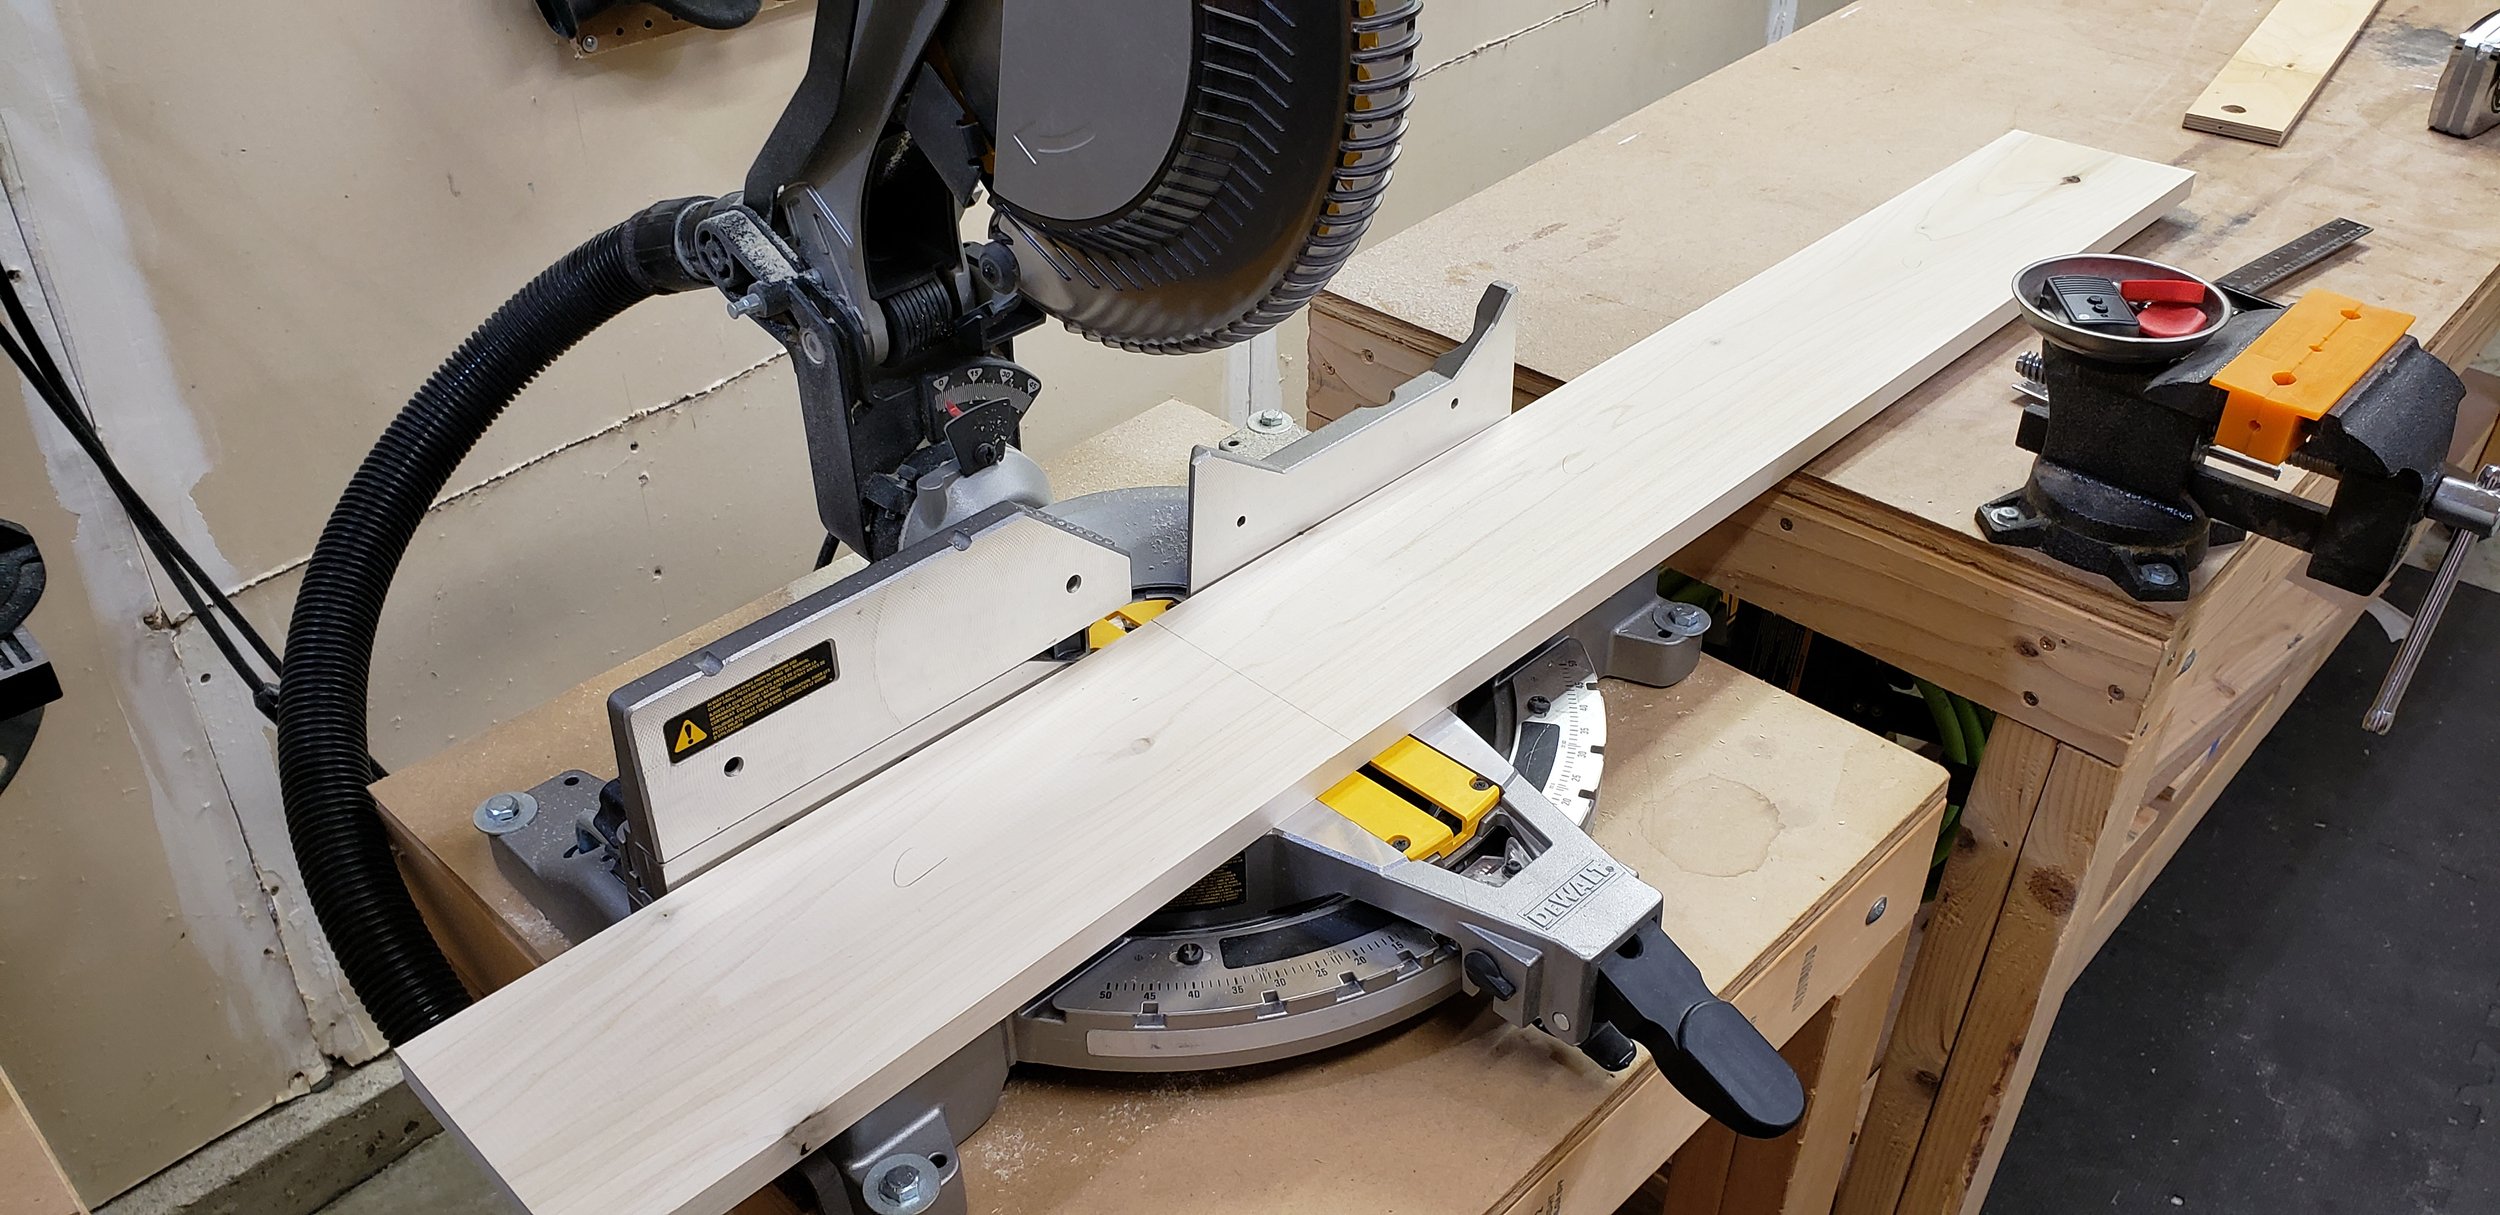

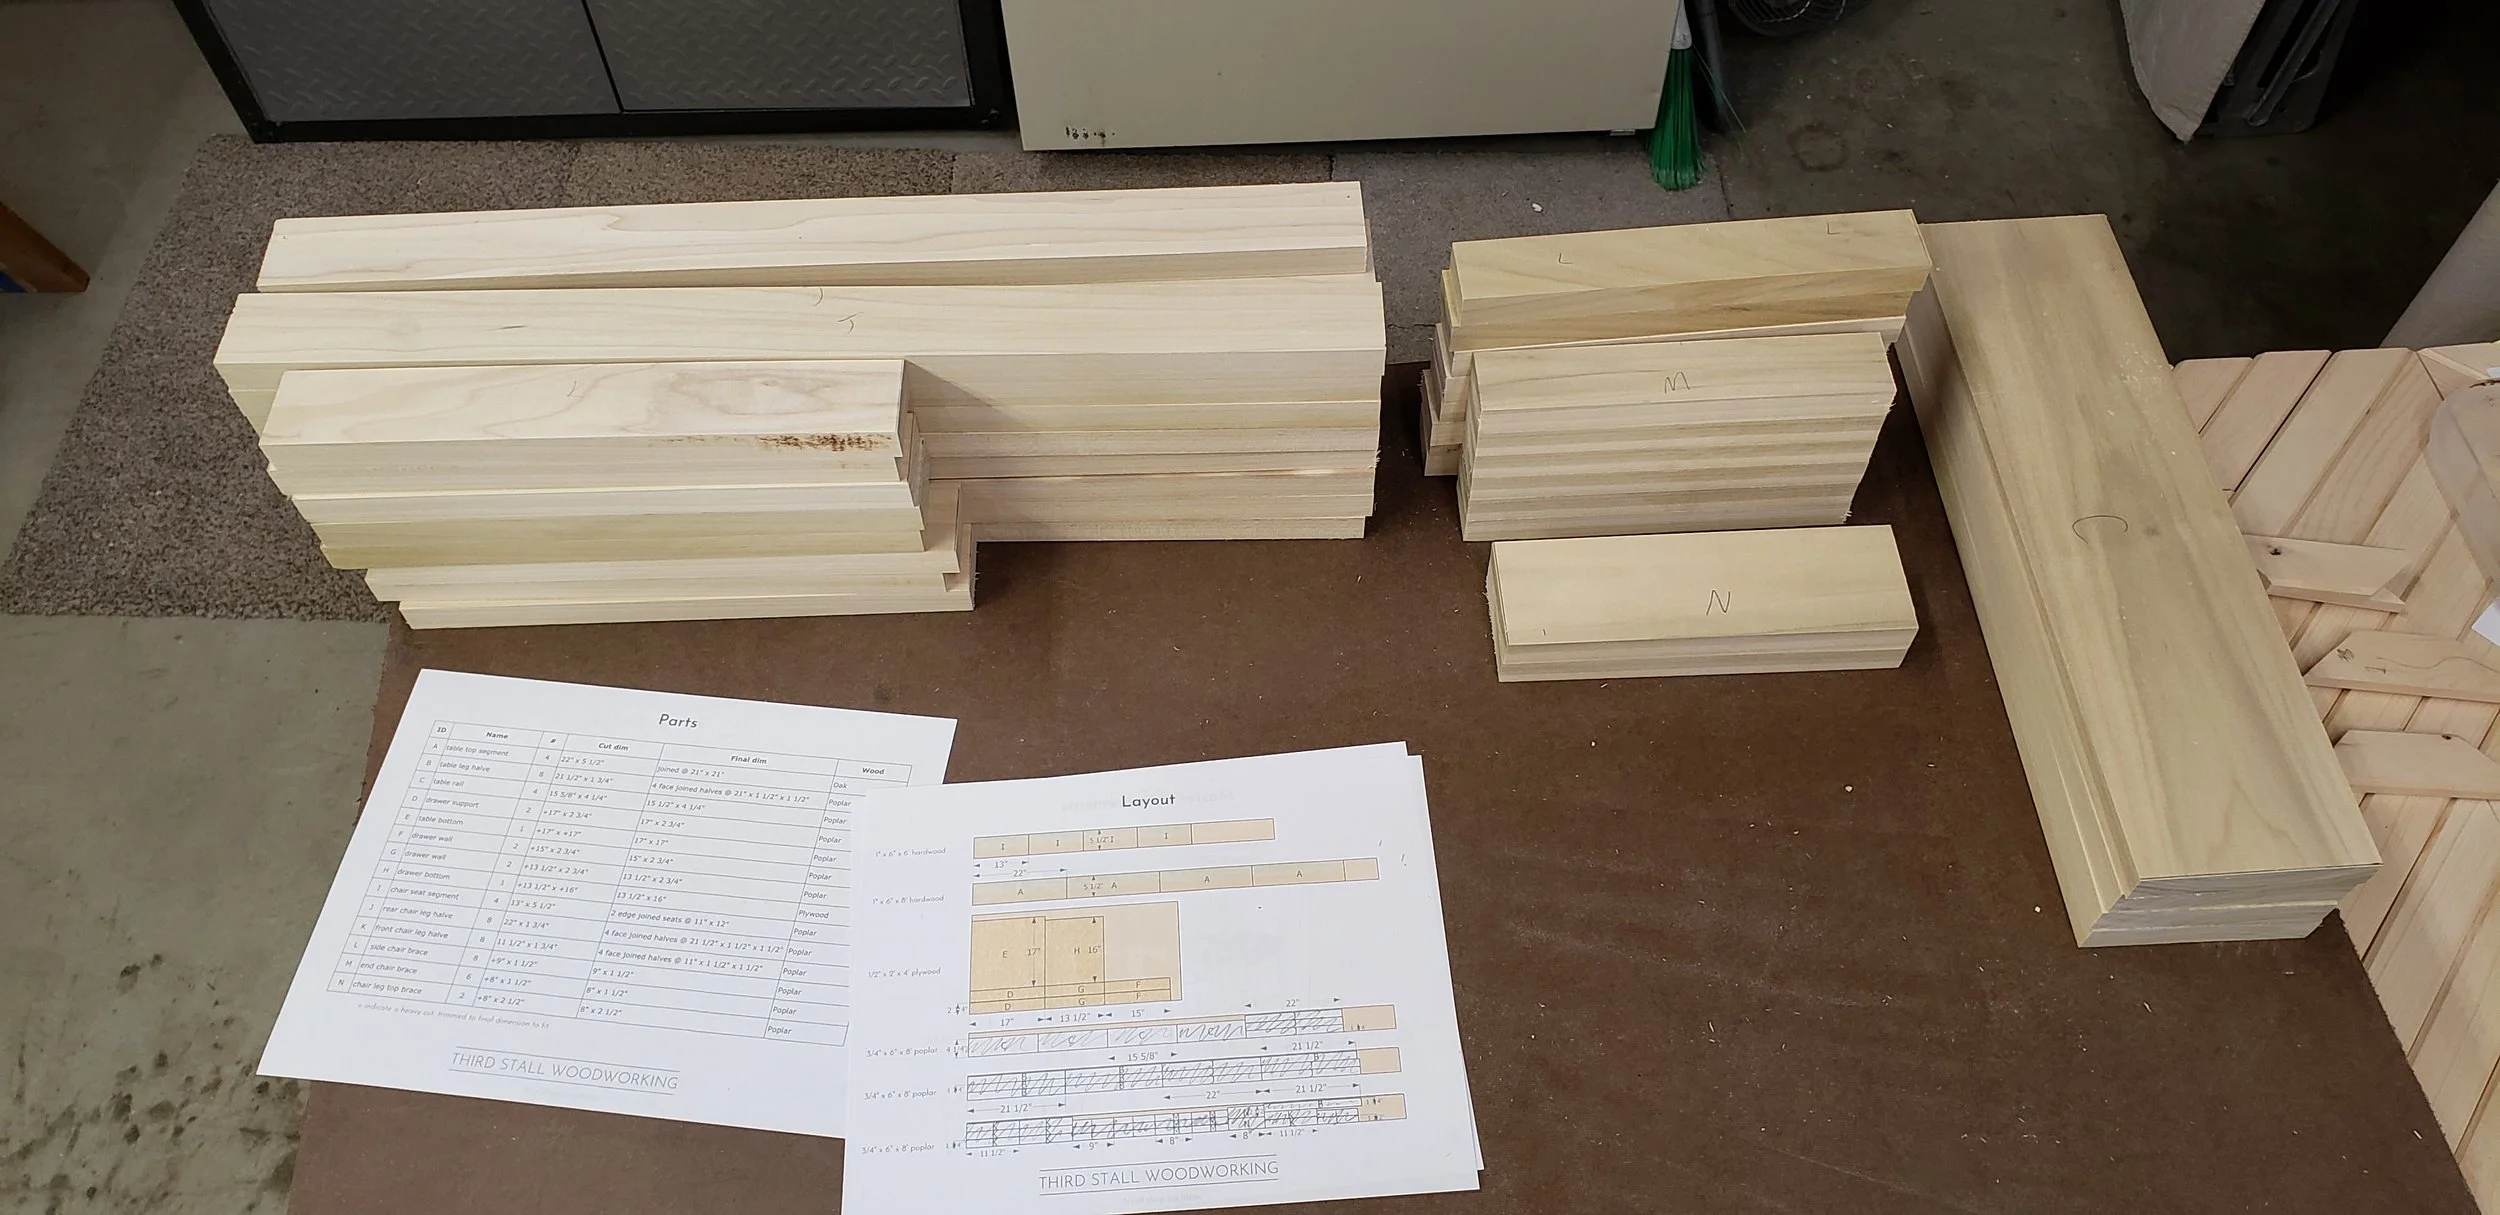
The first step in any project is to start by breaking material down. I followed the plans and cut up the majority of my pieces, at least to a rough length. Final dimensions will be cut as the project moves along, allowing for more precise parts.
Building the table frame

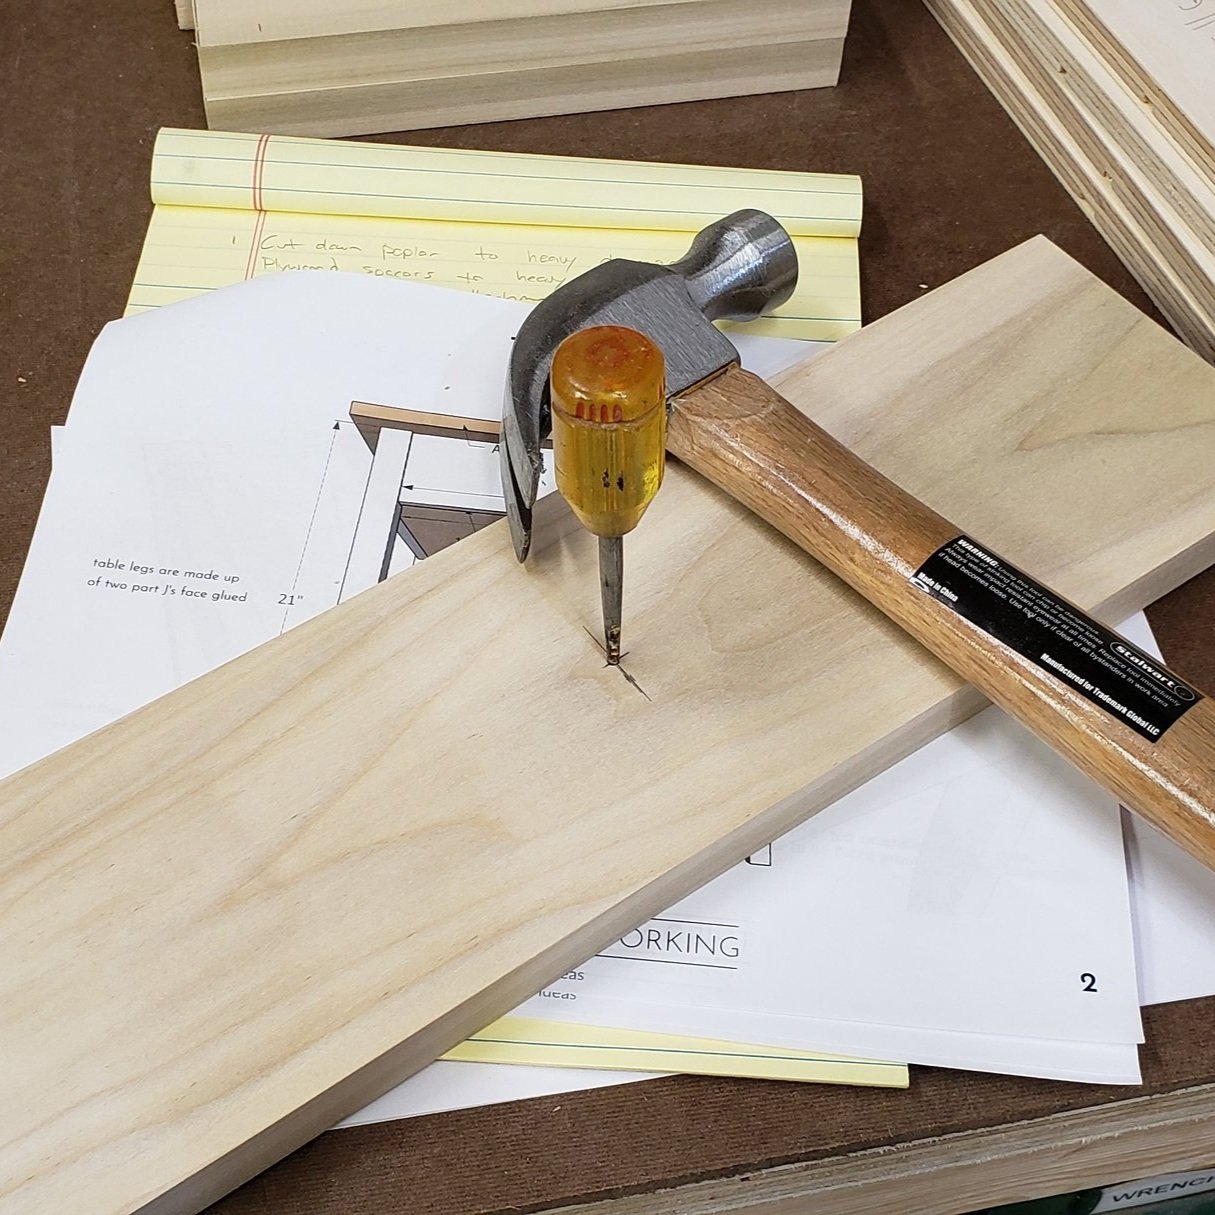
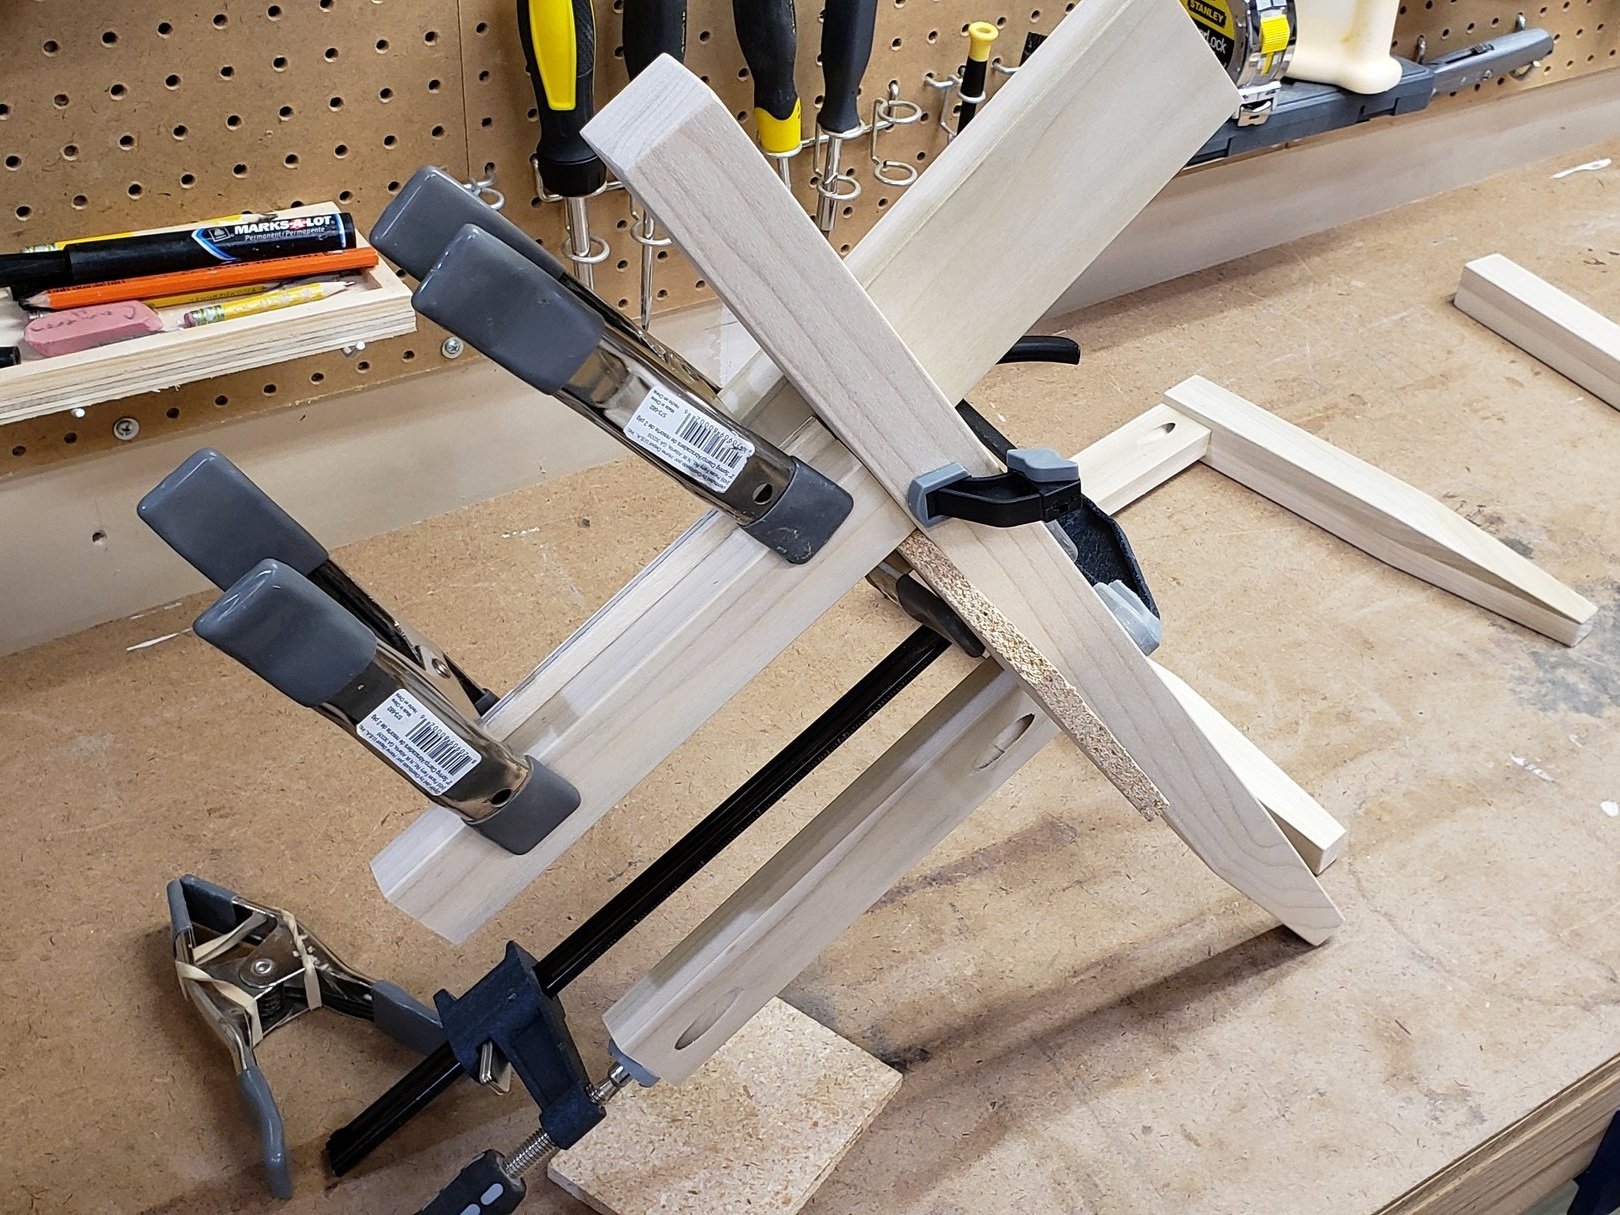
I decided to build the table from the ground up, literally. Starting with the 1 1/2" thick legs. Since the boards I'm using are 3/4", I had to cut eight pieces and laminate them together in sets of two.
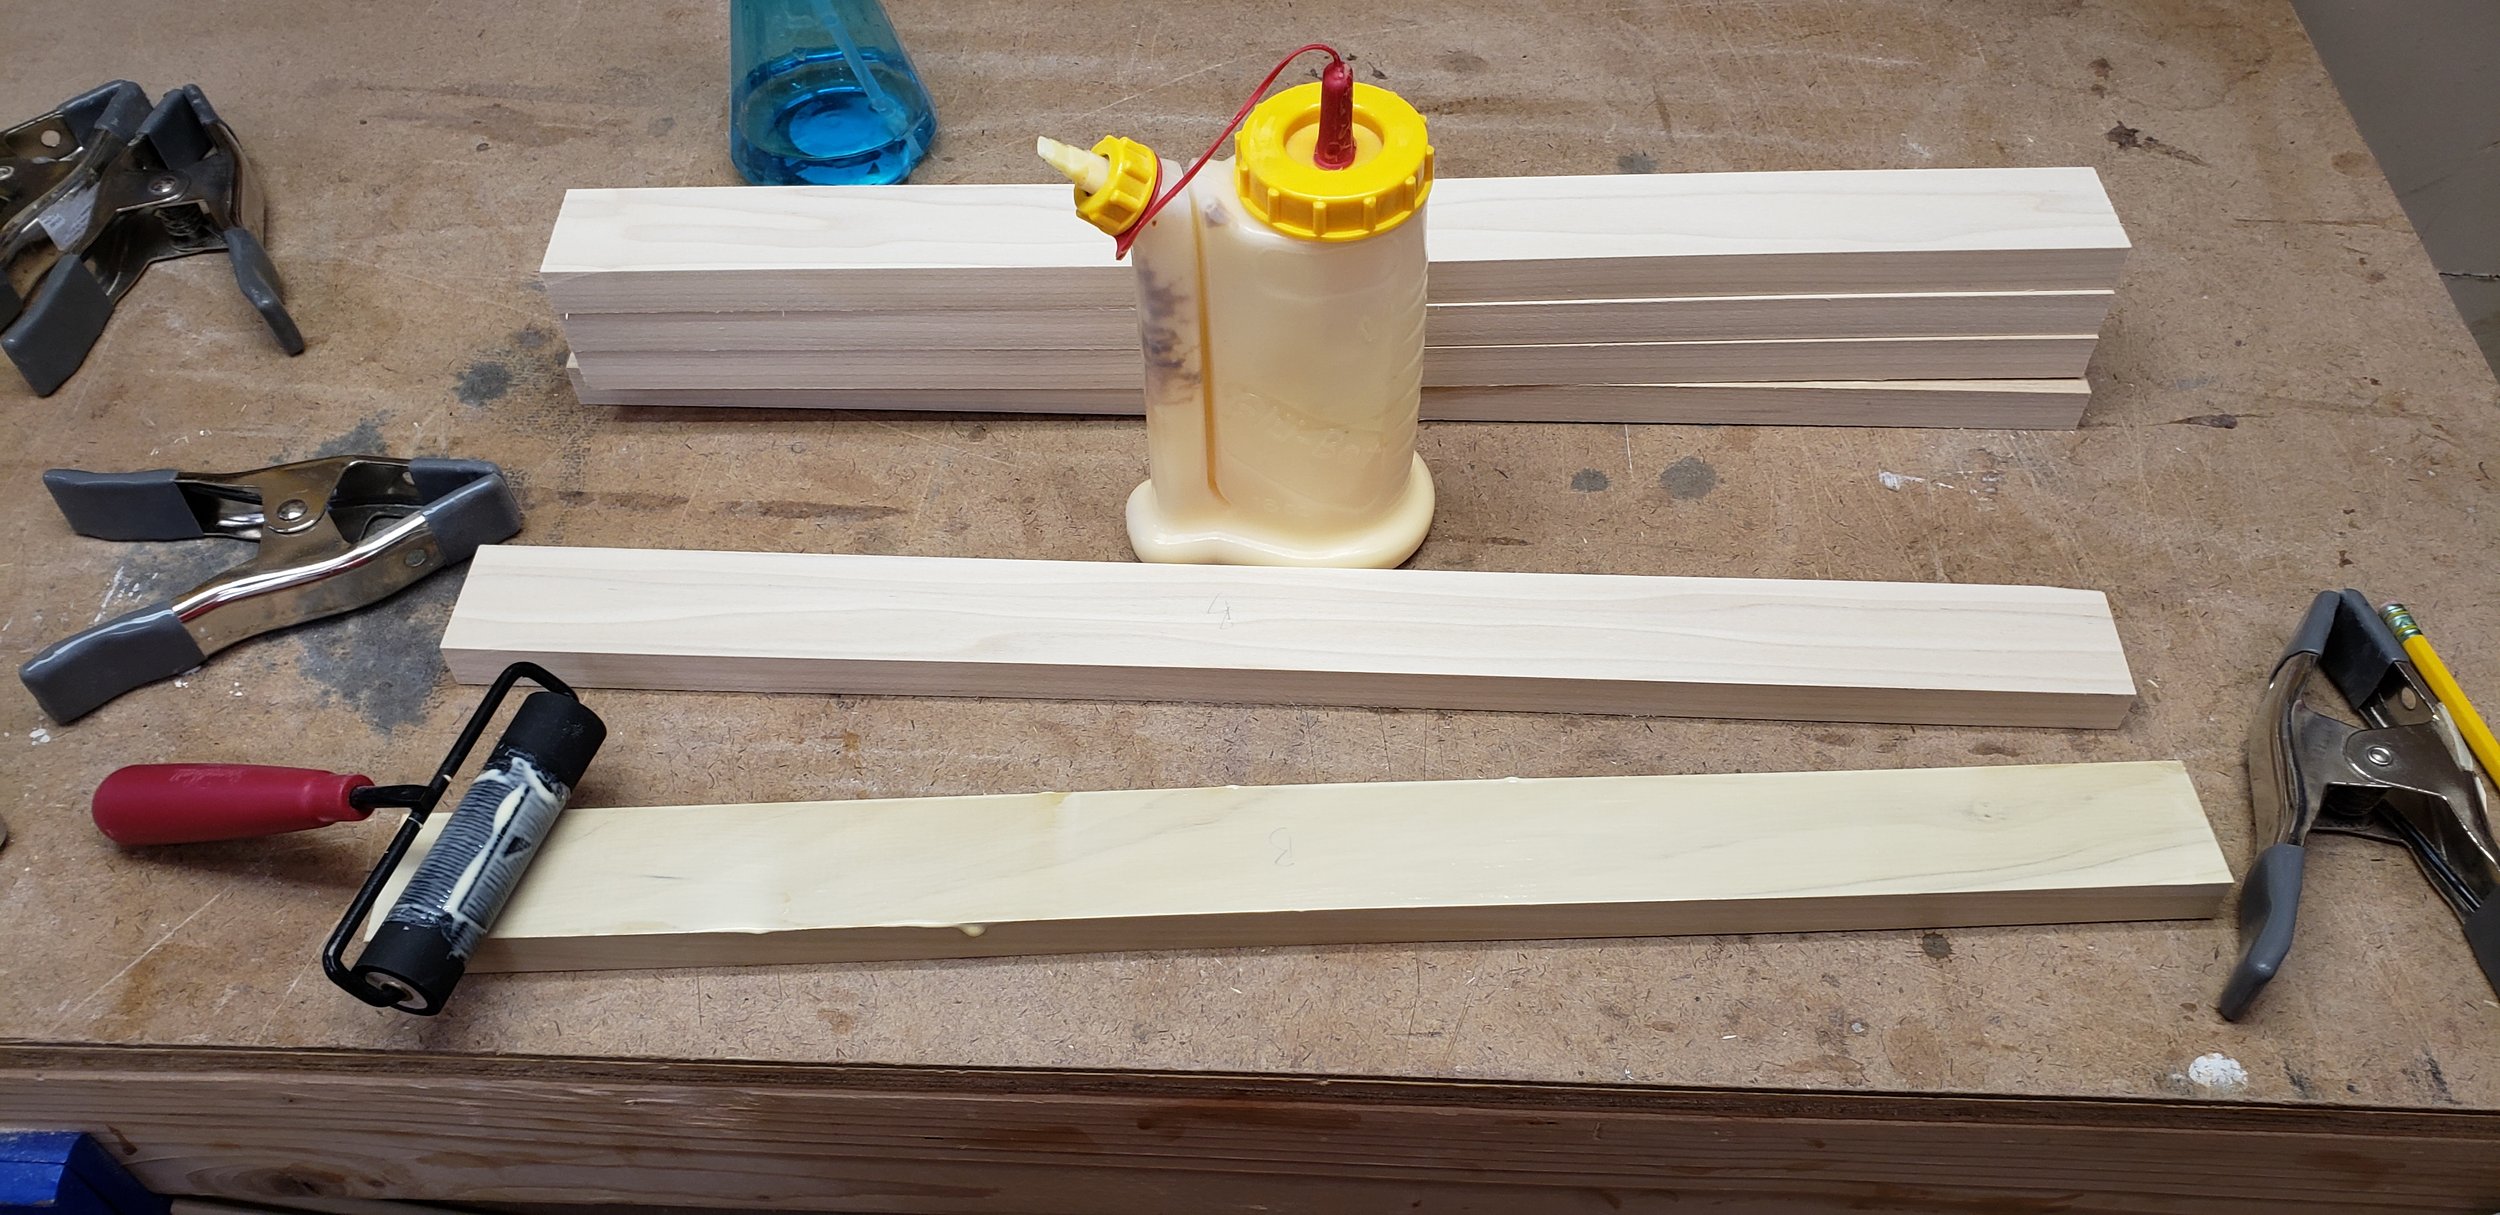
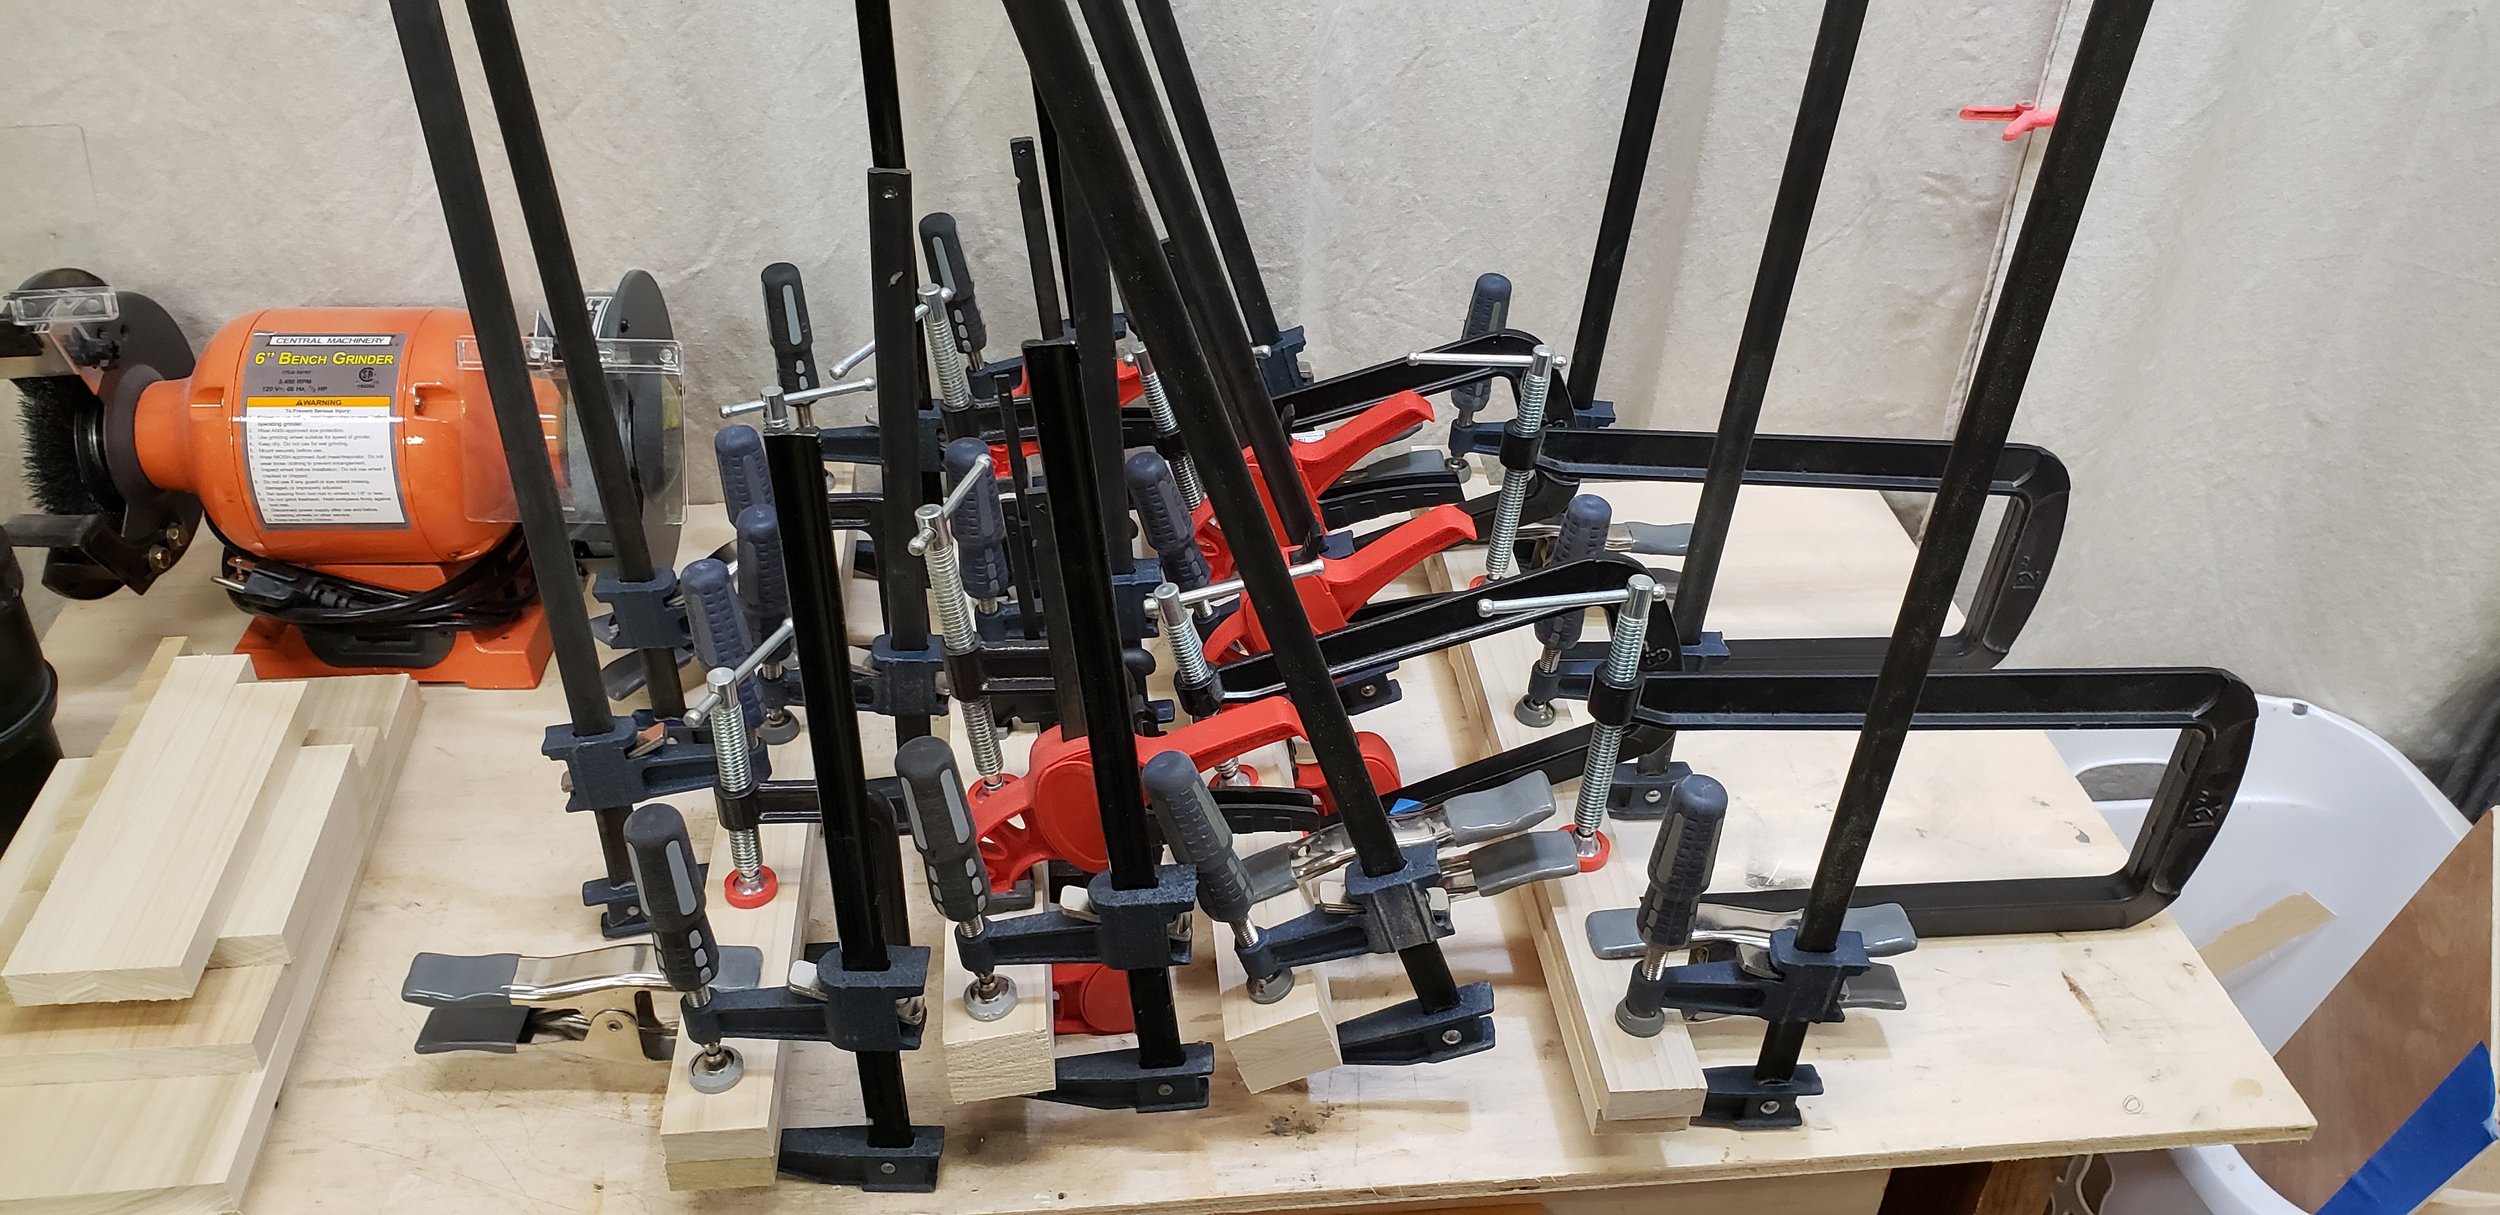

Each face gets glue rolled on and then clamped together to create the four legs. Whenever I glue up legs like this, I leave a slight 9~1/16" overhang on one side. Once the glue is dry, I have a straight edge to run along the table saw fence to trim the opposing side. Then I can flip leg the over and trim to the final 1 1/2" width, as seen above.

I used my tapering jig to taper the legs up about 10", leaving a 3/4" x 3/4" base on the bottom.
Here is a great tutorial on one method of building a tapering jig.

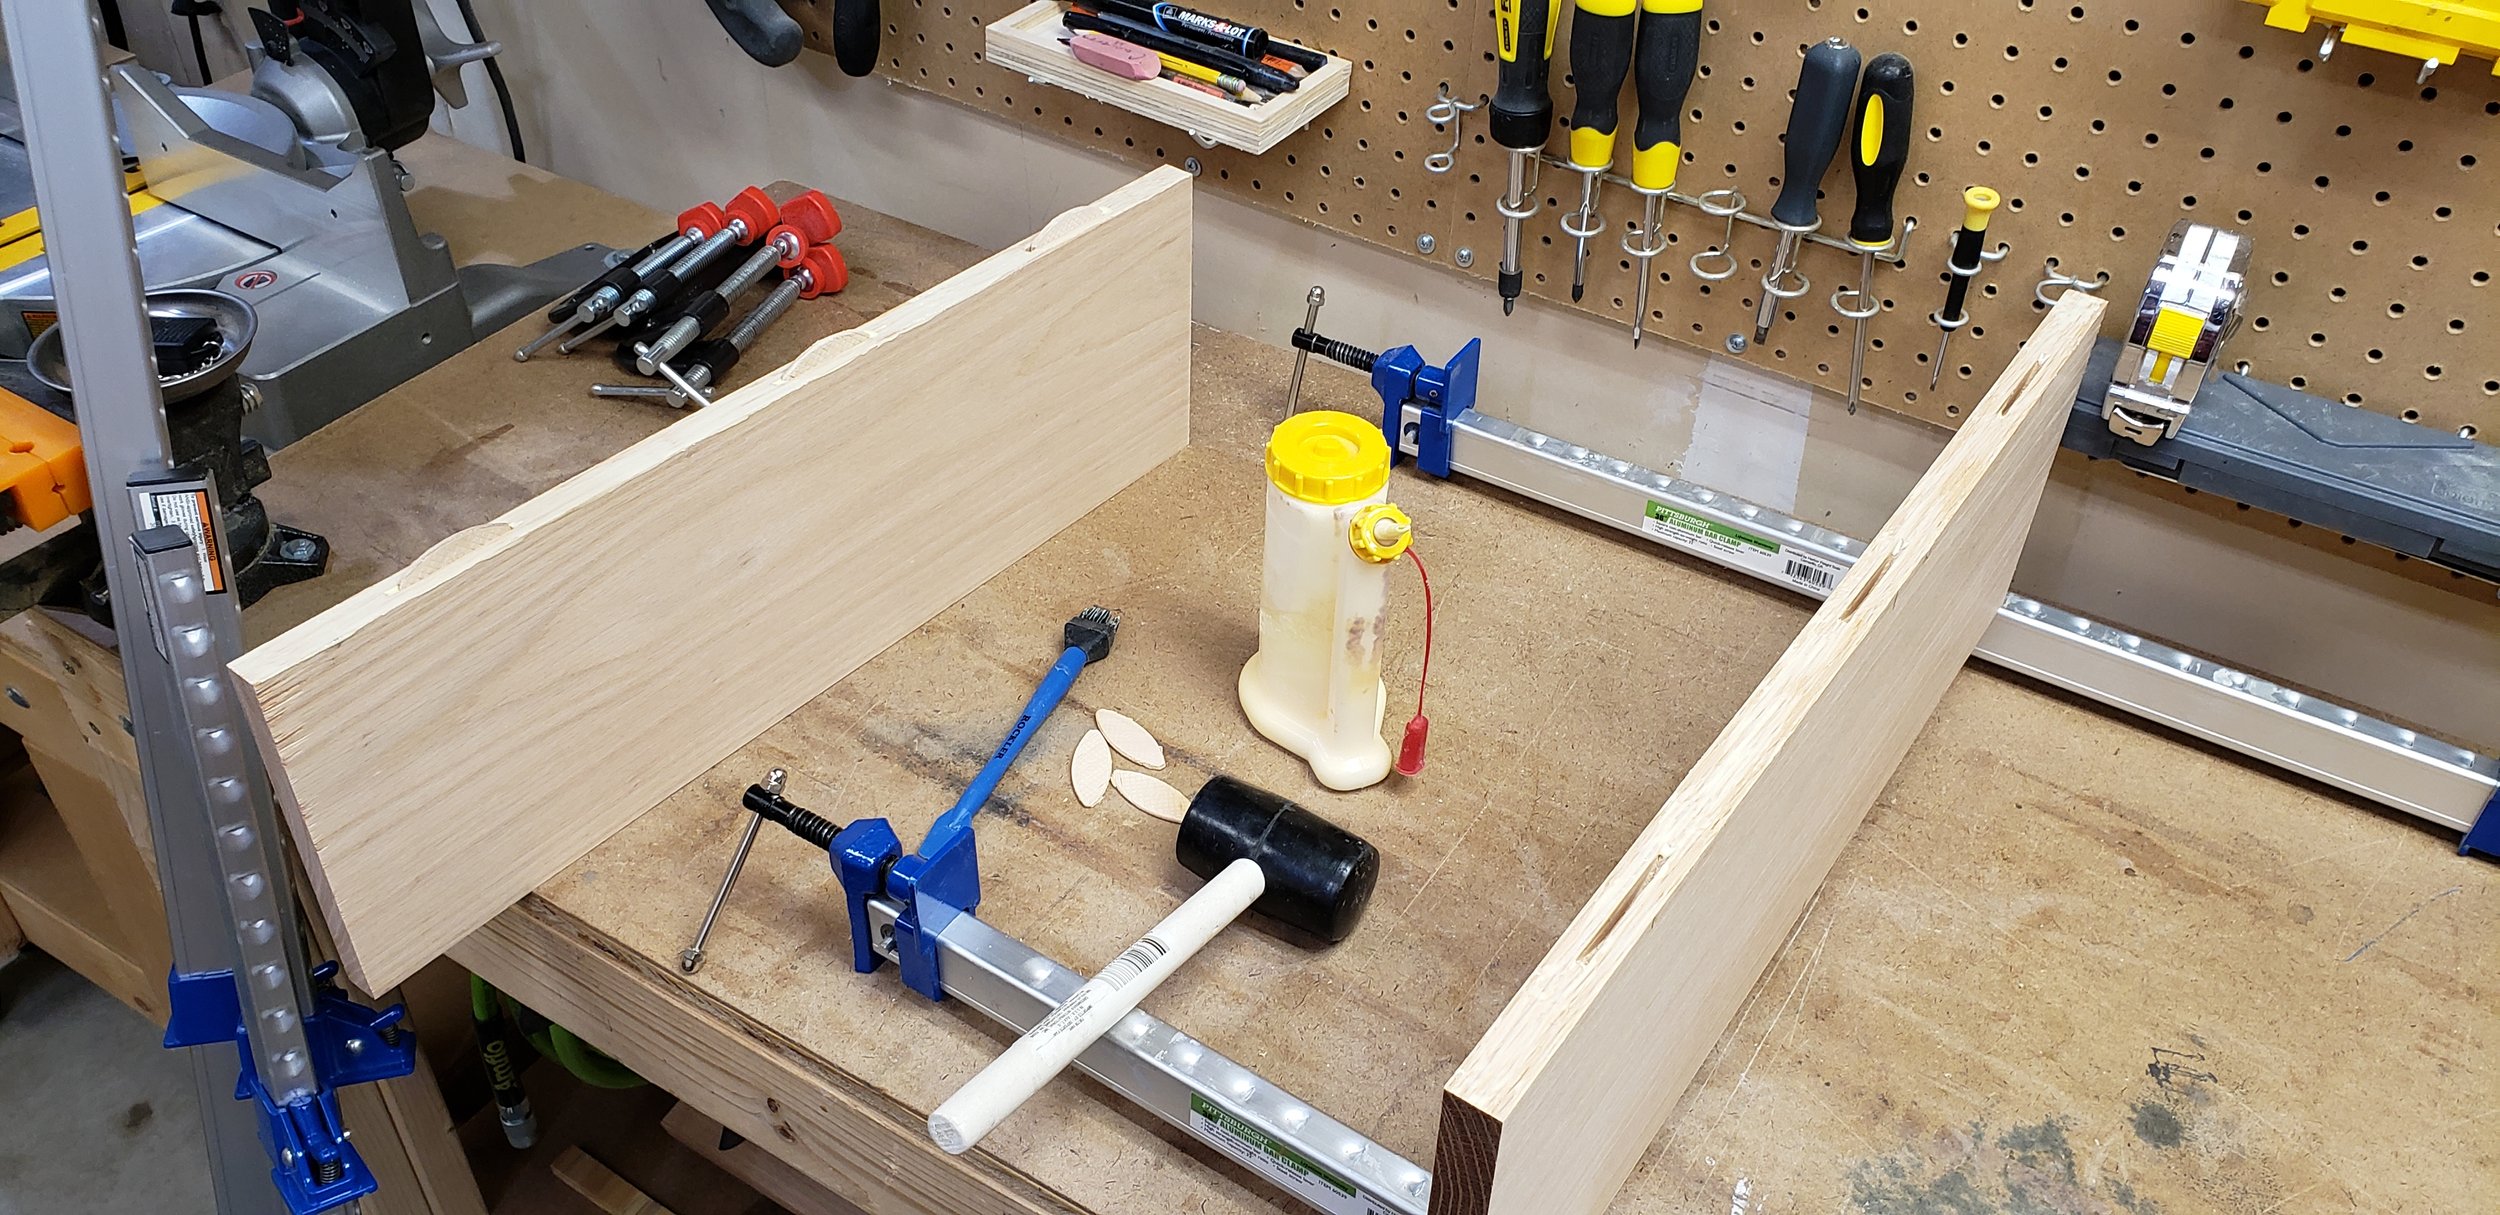
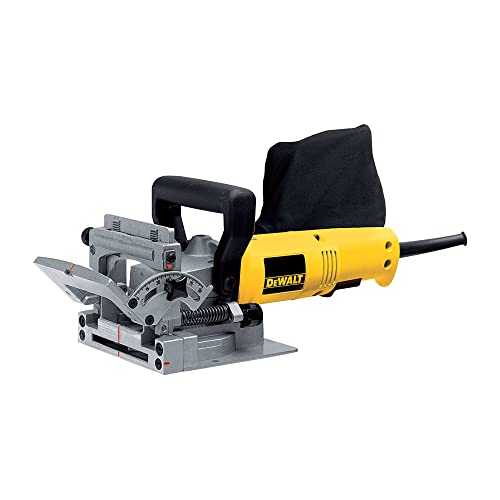
The table top will be fastened with table top fasteners from Rockler, I love using these. They allow the wood to expand/contract and are attached by using the biscuit joiner to cut a slot, then screwing the hardware to the underside of the table top.

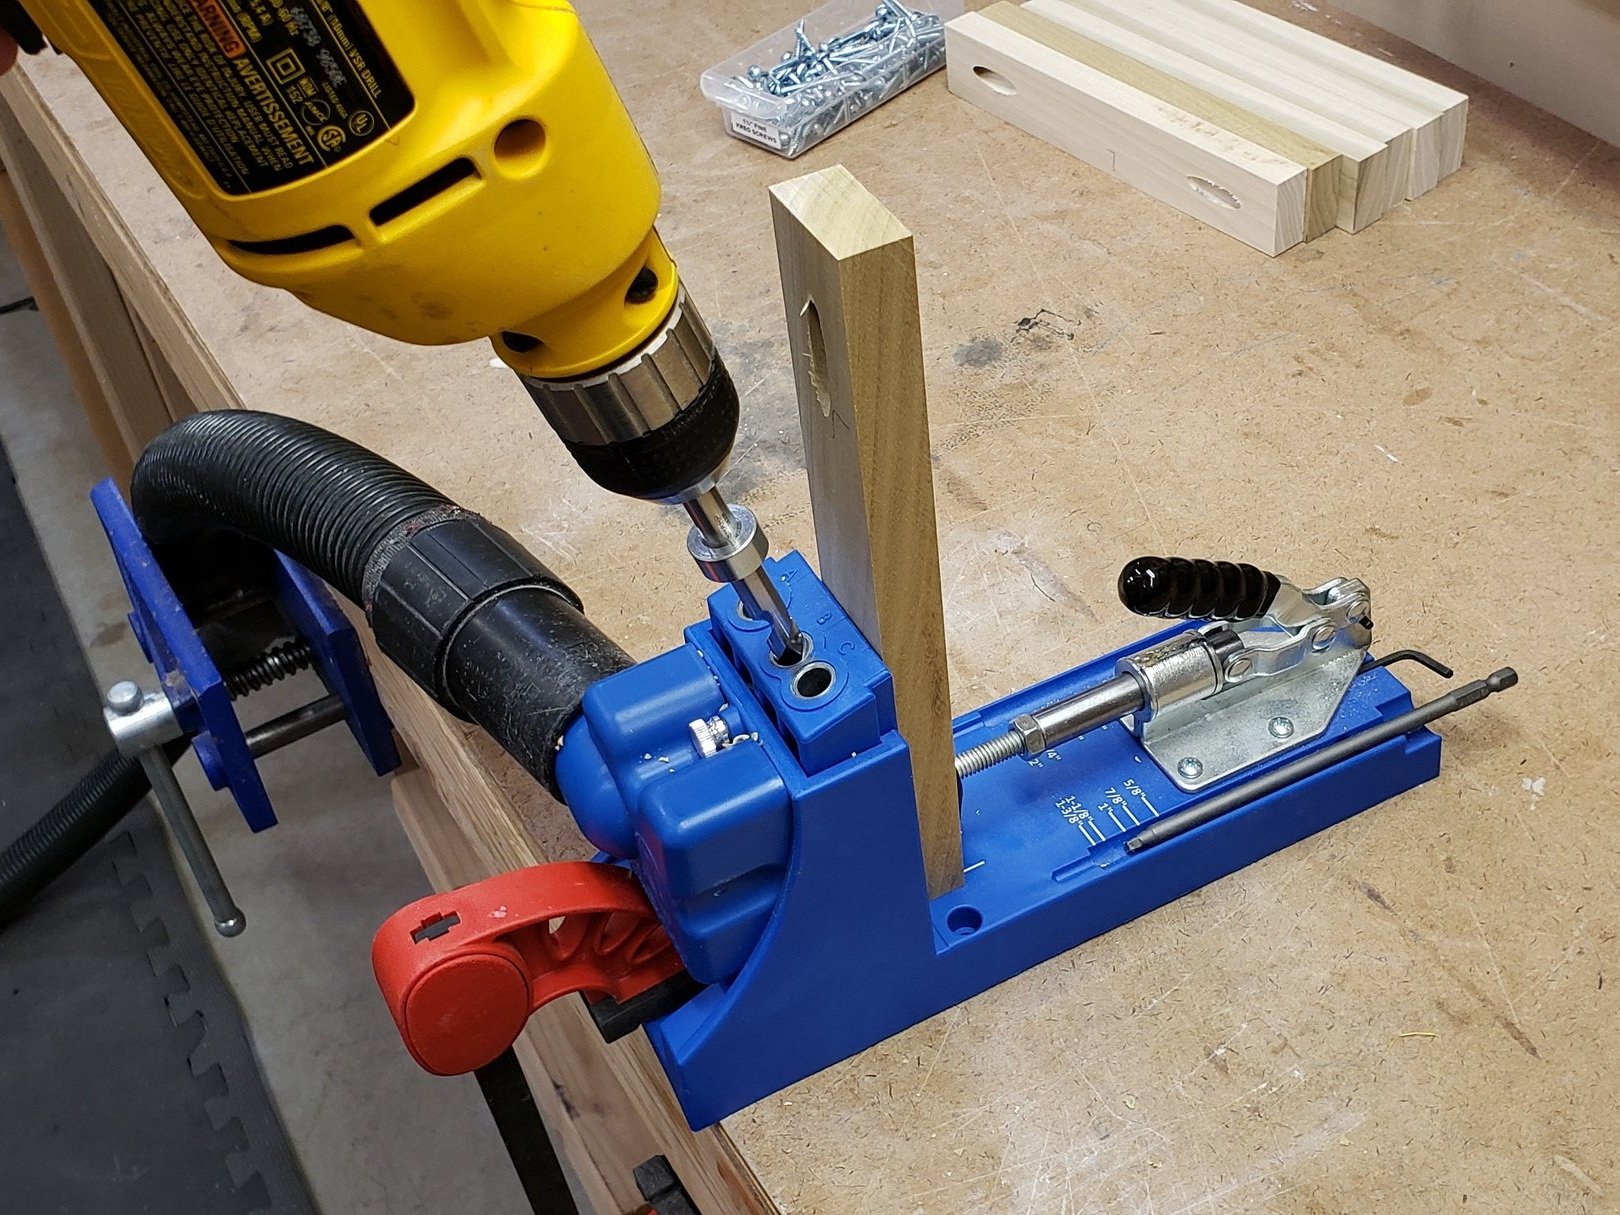
Most parts on the project are connected with pocket screws, which just make life easier.

Using a scrap wood spacer to offset the rails to the legs for a better visual appearance, I glued, screwed, and clamped the parts together.

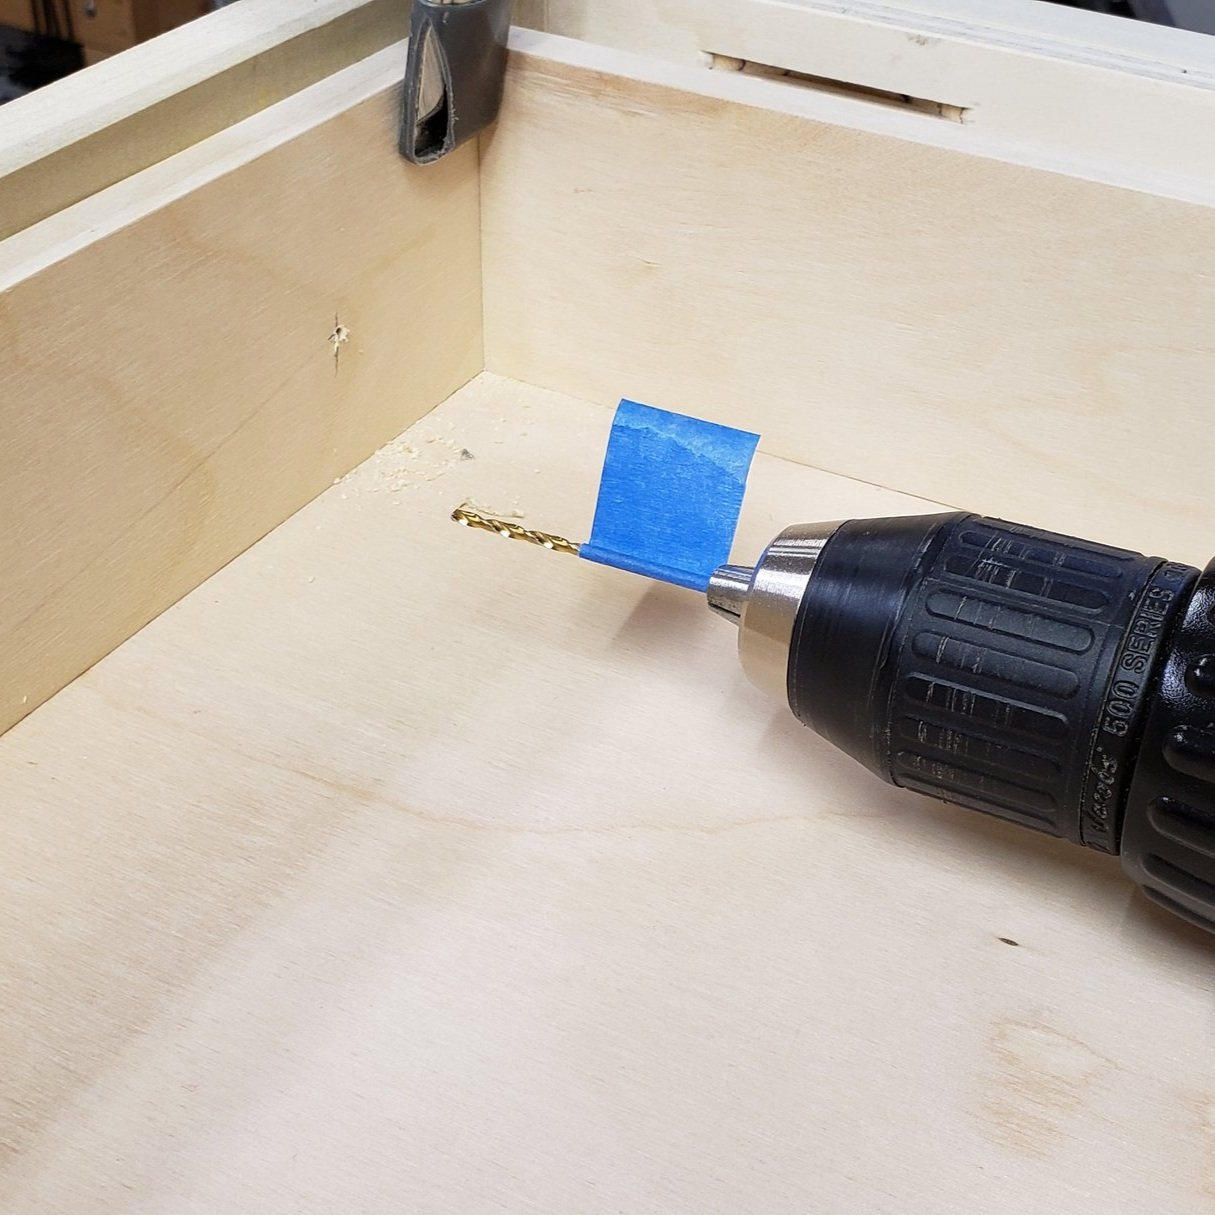
The left and right sides need a filler block on the inside in order to later attach the drawer slides. I pre-drilled some holes and attached the filler with glue. Here you can get a good idea of where the table top fasteners will attach to the top. The front piece is just clamped on for now to help with the glue up, it will be the front to the sliding drawer later.

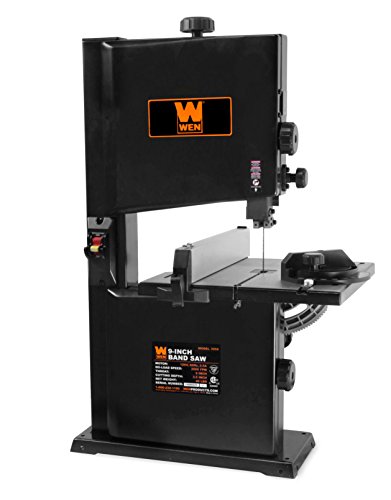
The bottom of the table will probably never be seen, but I still wanted it to look nice in the event I trip, fall, and am trapped underneath. To do this, I cut the bottom to it's full size, then notched out the corners to fit around the table legs on my little shop band saw.

The drawer

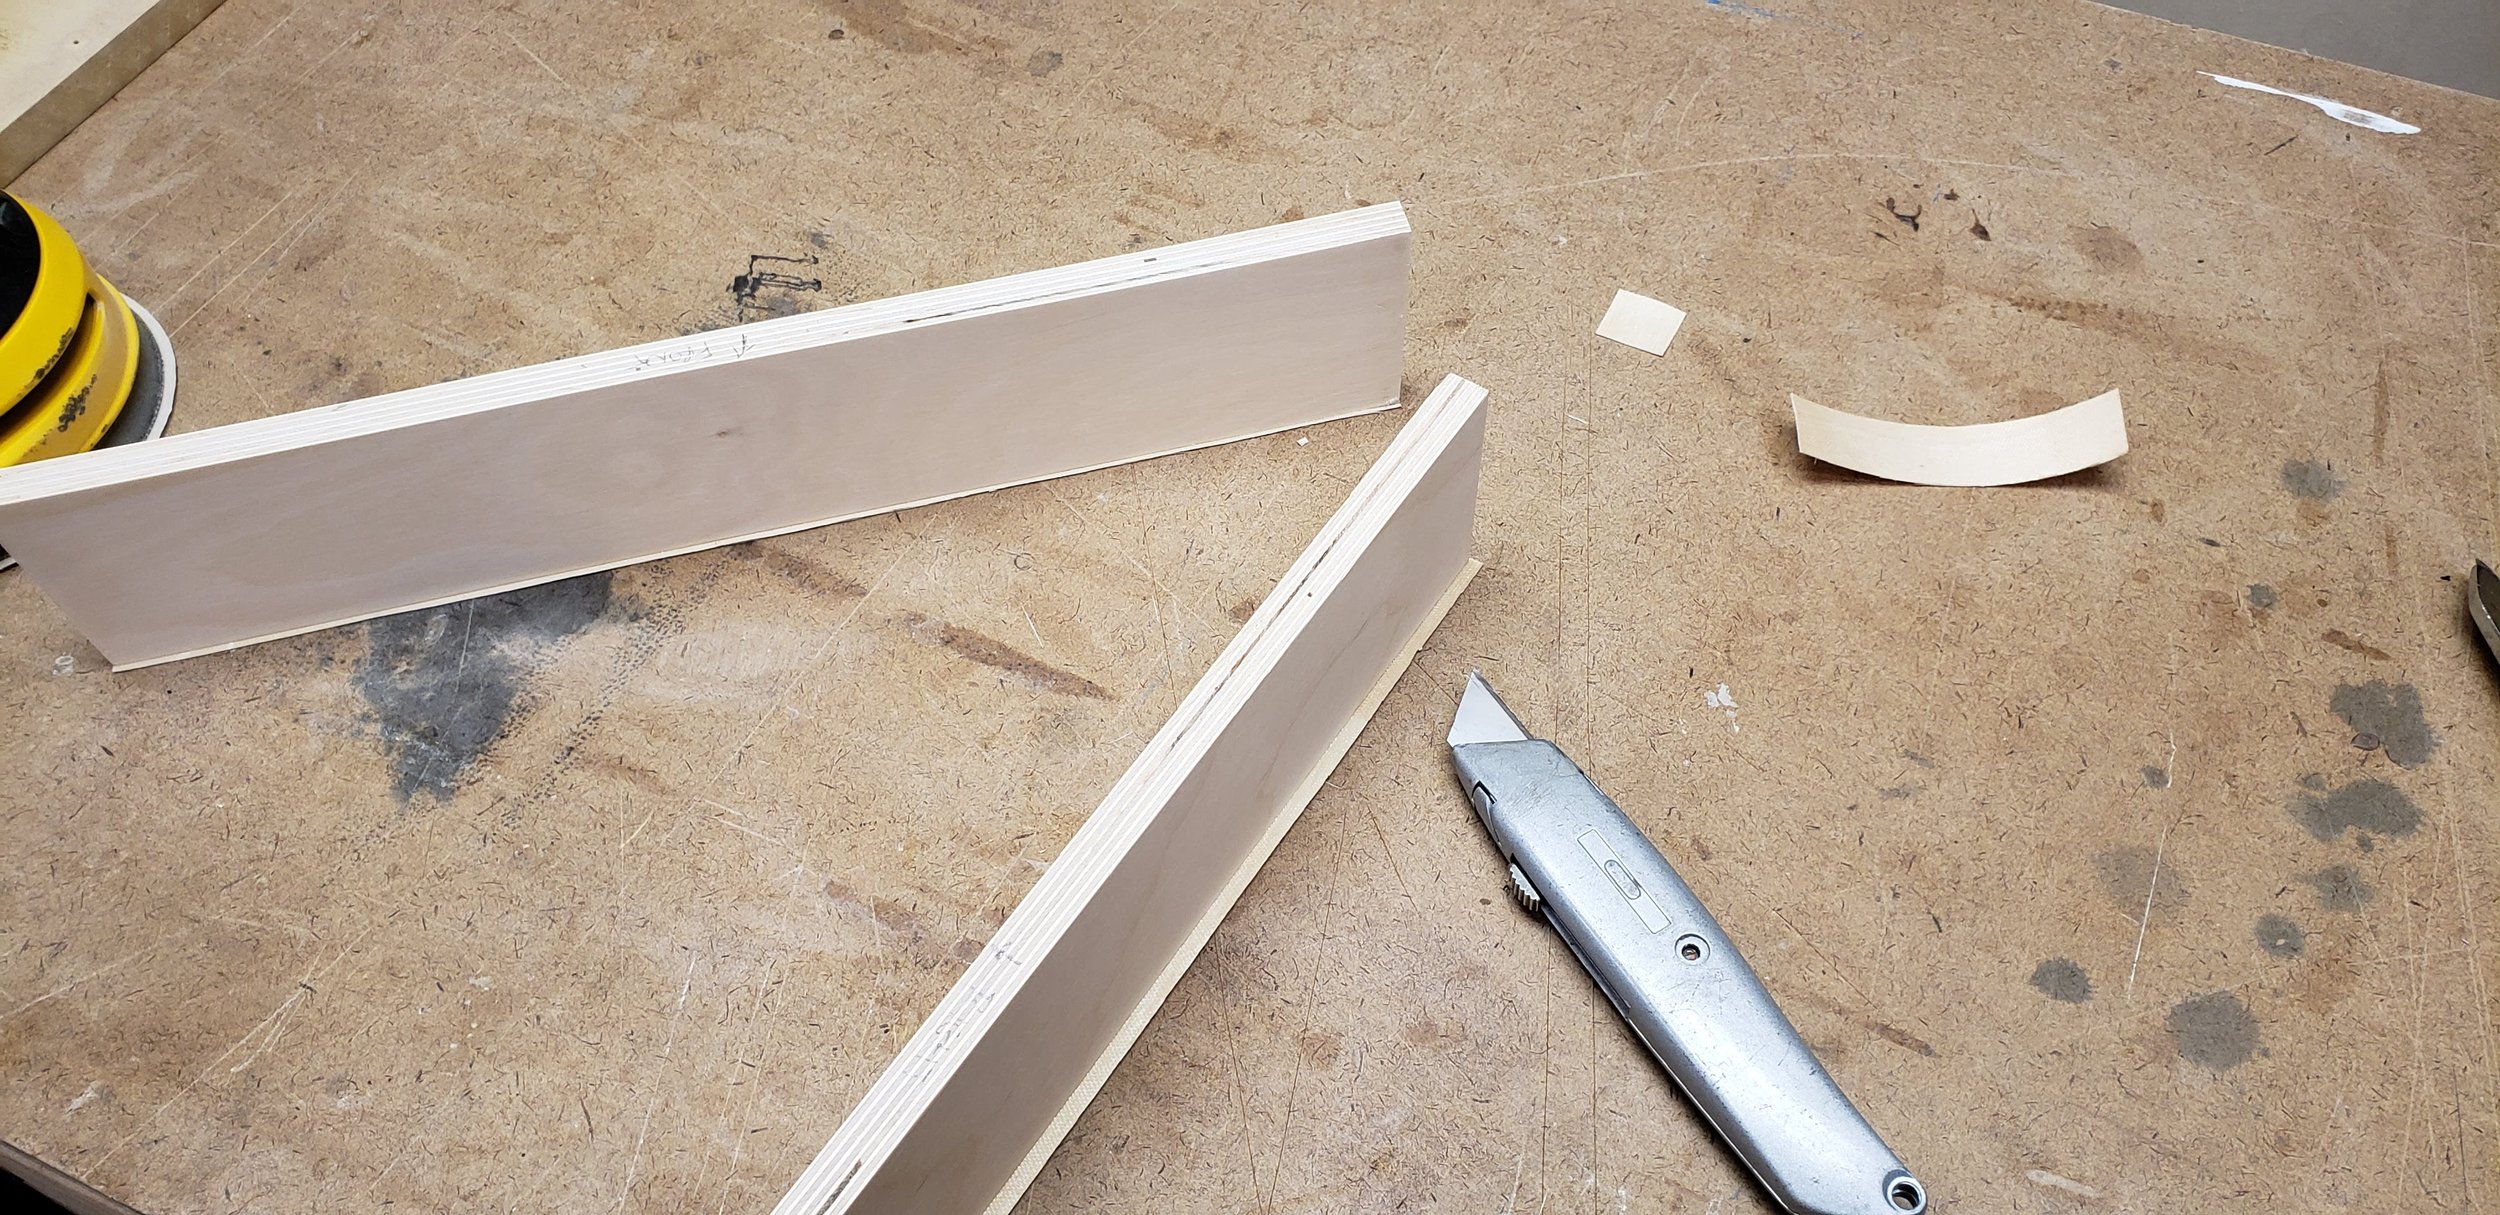

Drawer construction is a bit boring, so I'll touch on the main parts. Following the plans I cut all of the plywood parts to size. Next I used some 5/8" iron on edge banding on all of the top faces. I gave each piece a good sanding down to 220 grit and glued/brad nailed it together.

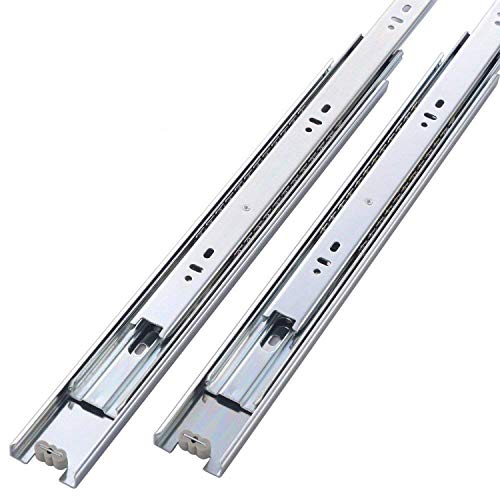
I picked up some full extension ball bearing drawer slides and attached them according to the instructions. The basic idea is to align them to the front of where the drawer will stop, raise them up to the center, and screw them in, advancing the slides as you go. Ana White has a great tutorial on this.

Attaching the drawer front wraps up the table carcass.
Tabletop

The tabletop is the piece of the project that first catches your eye, and also takes the brunt of abuse from little ones. A happy medium was to use oak, which looks great with stain and is durable. Using the biscuit joiner, I joined three boards.


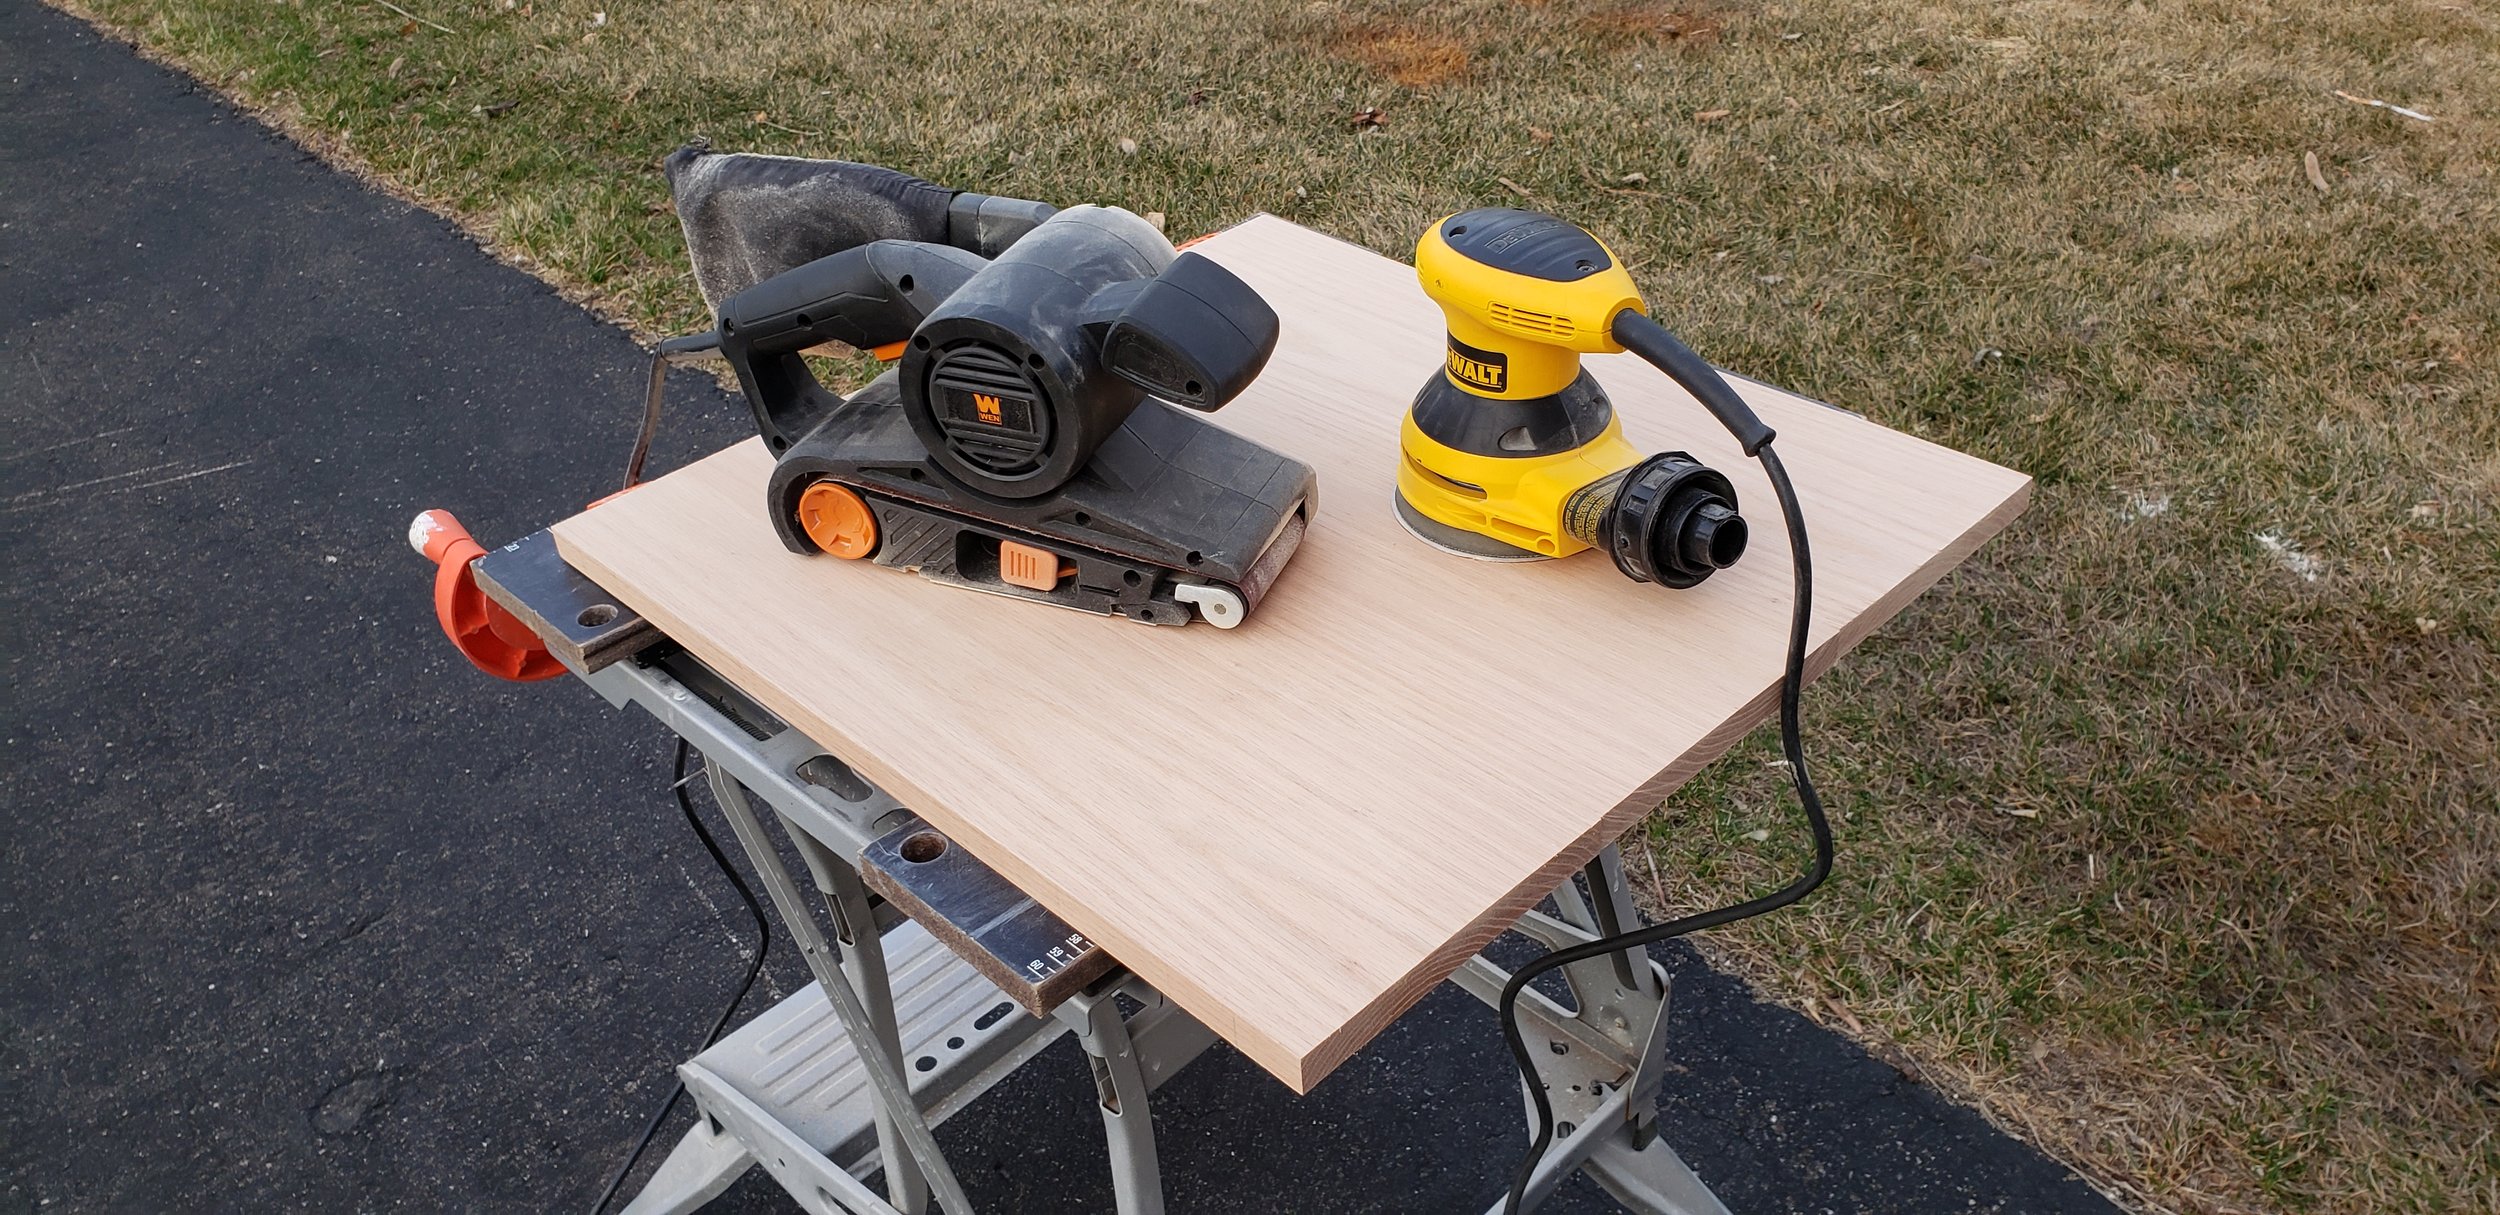
After inserting biscuits into the slots I clamped the boards together with plenty of glue. Once dry, I scraped away excess glue and sanded the tabletop flush with a combination of an aggressive belt sander and orbital sander.

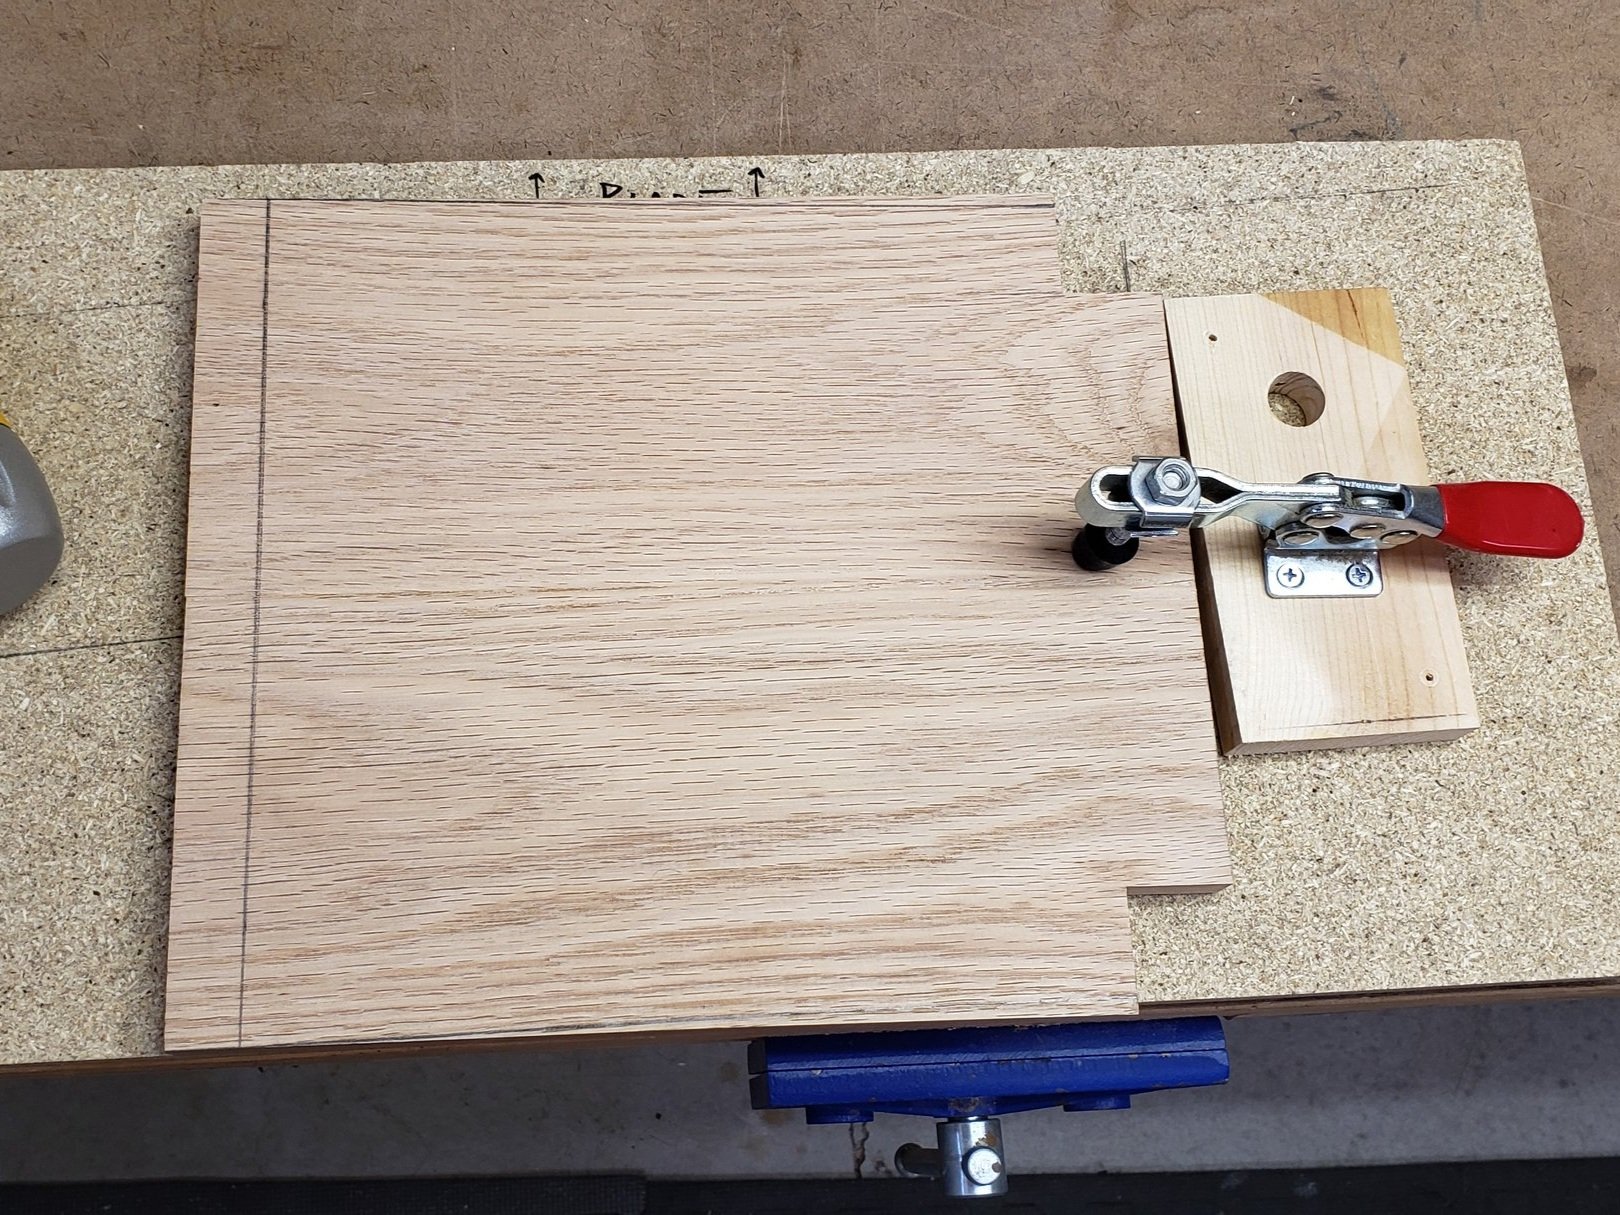
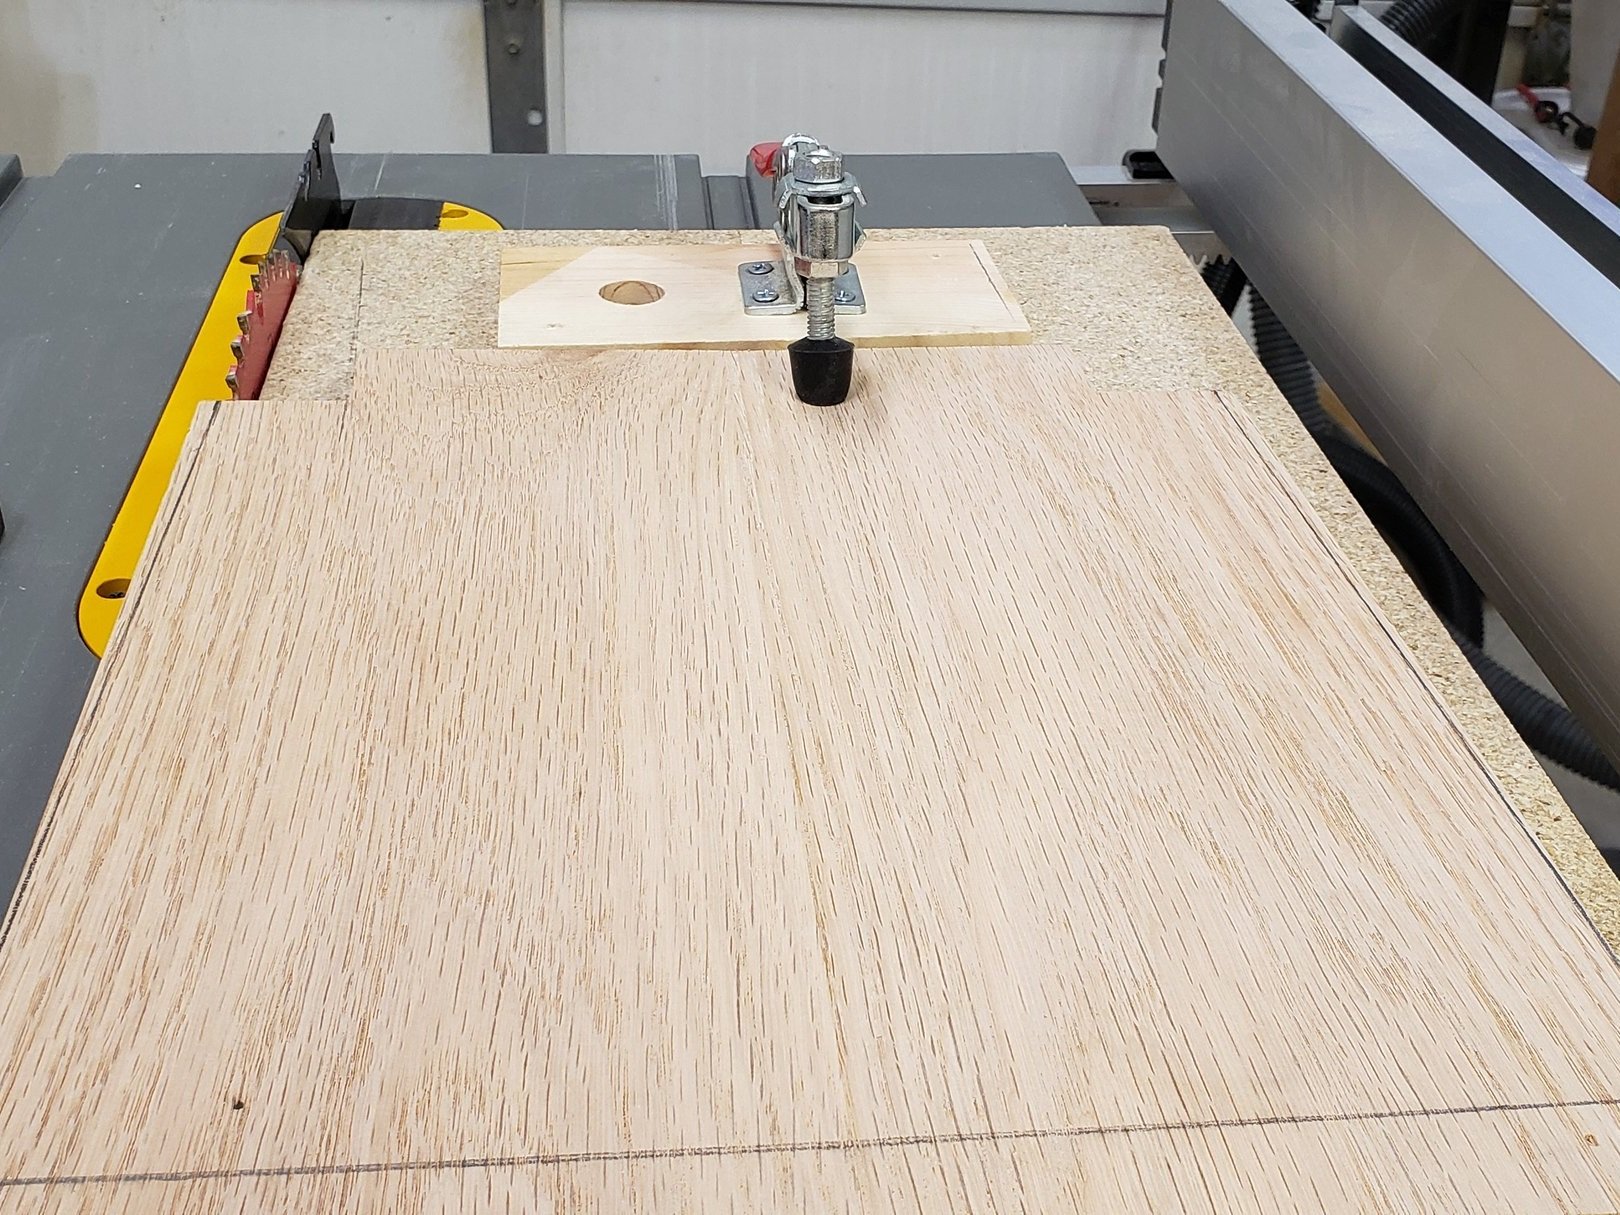
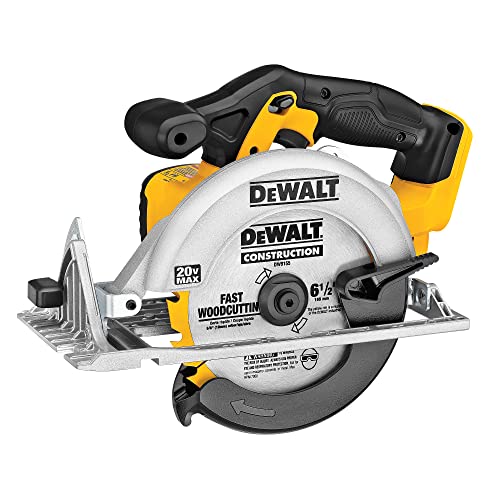
The end of the joined boards are uneven, and can't be run through a small shop table saw sled. A door board in combination with a circular saw is a great solution for these types of cuts.

With the tabletop sanded to 220 grit and trimmed to size, I used the tabletop fasteners mentioned above to attach it in place.
Chair construction
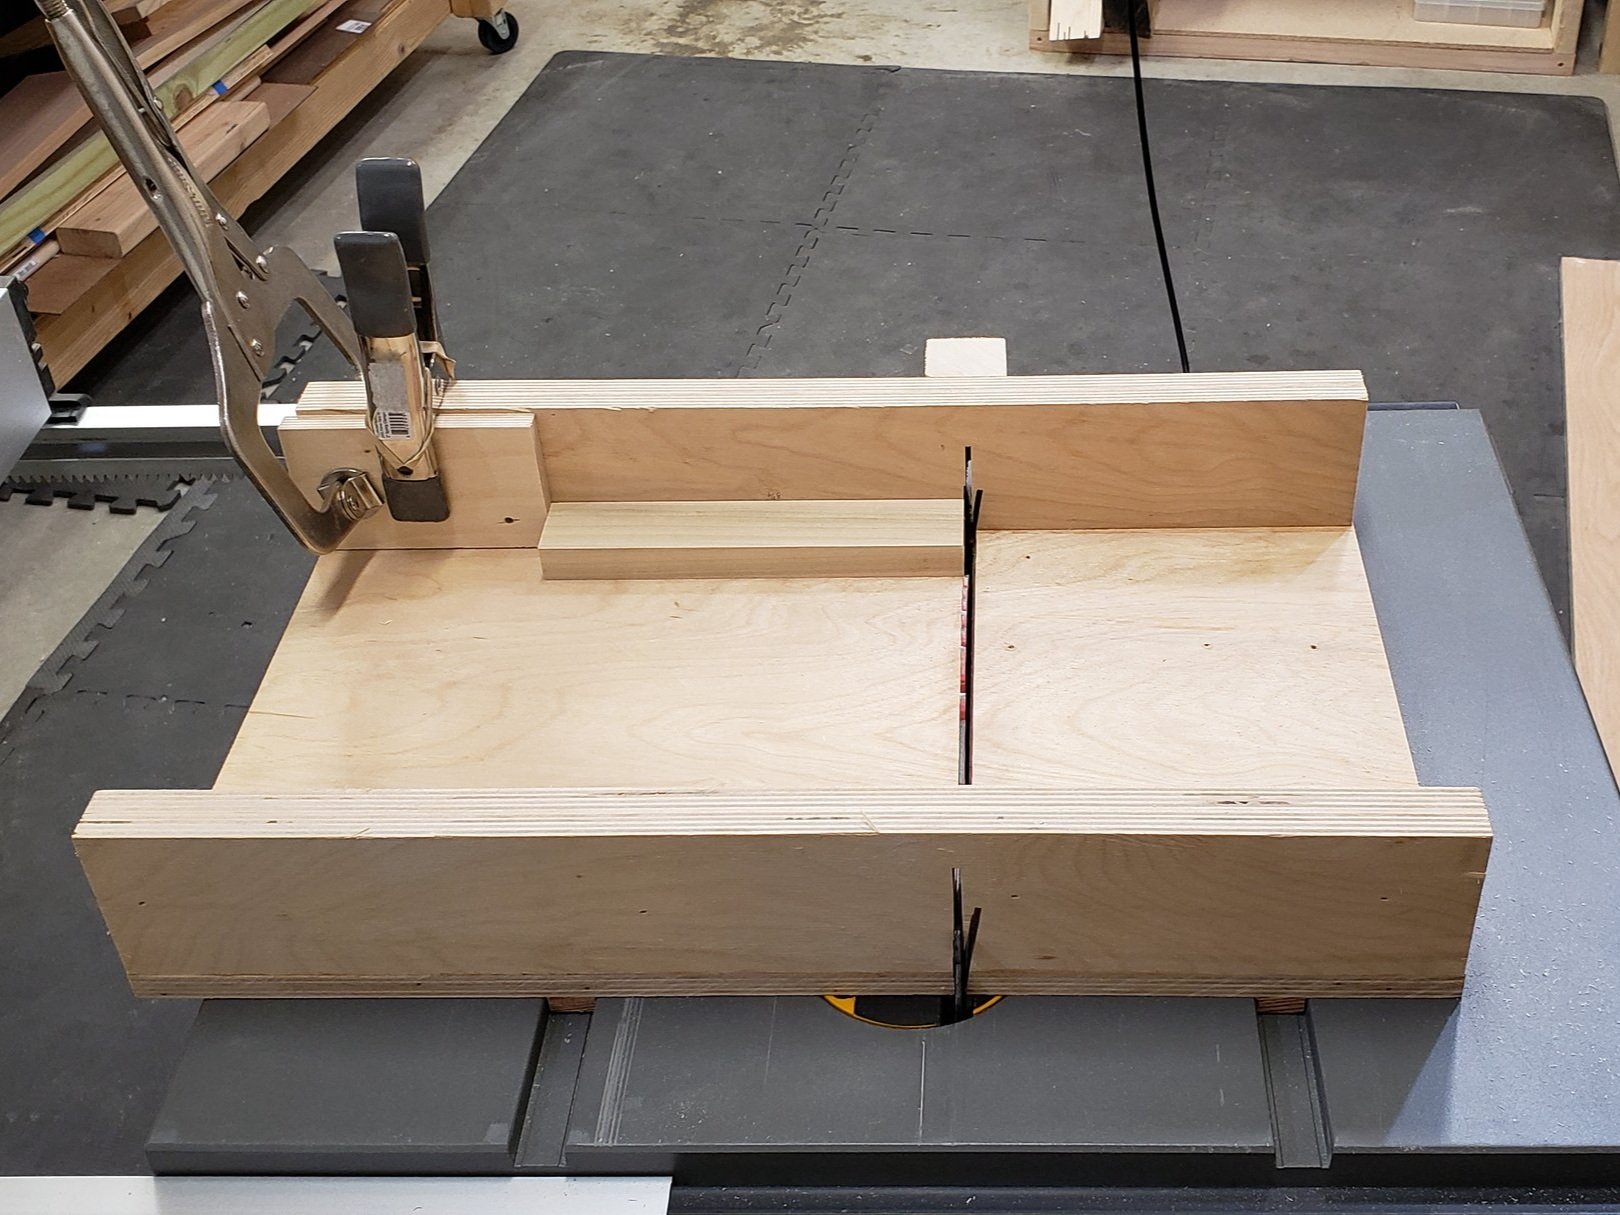

Similar to the table frame, the chairs are connected with pocket screws and glue. I used a miter sled on the table saw to ensure the cross rails were the exact same size. Nothing too fancy here, I just followed my plans and glued them up, making sure there was even spacing all around so the chair ends up sitting flush on the floor.

The easiest way to trim down pocket hole plugs is to use a flush trim wood blade in an oscillating-tool. I used to use a hand saw and then sand it flush, this tool does both tasks in seconds.

Using the bandsaw, I knocked the corners off of the chair seats for a nice tight fit. The chair tops were biscuit jointed just like the table top.
I wasn't crazy about how the seats looked; they were too.. boxy. That same taper jig from the table legs on the table saw was used to give a nice angle to the seat. The rear is flush with the chair frame, tapering out to an aesthetically pleasing overhang on the front.

A round-over bit in the router leaves a nice soft edge.

Tabletop fasteners were used on the chair as well. A total of 16 were used on the project.
Finishing

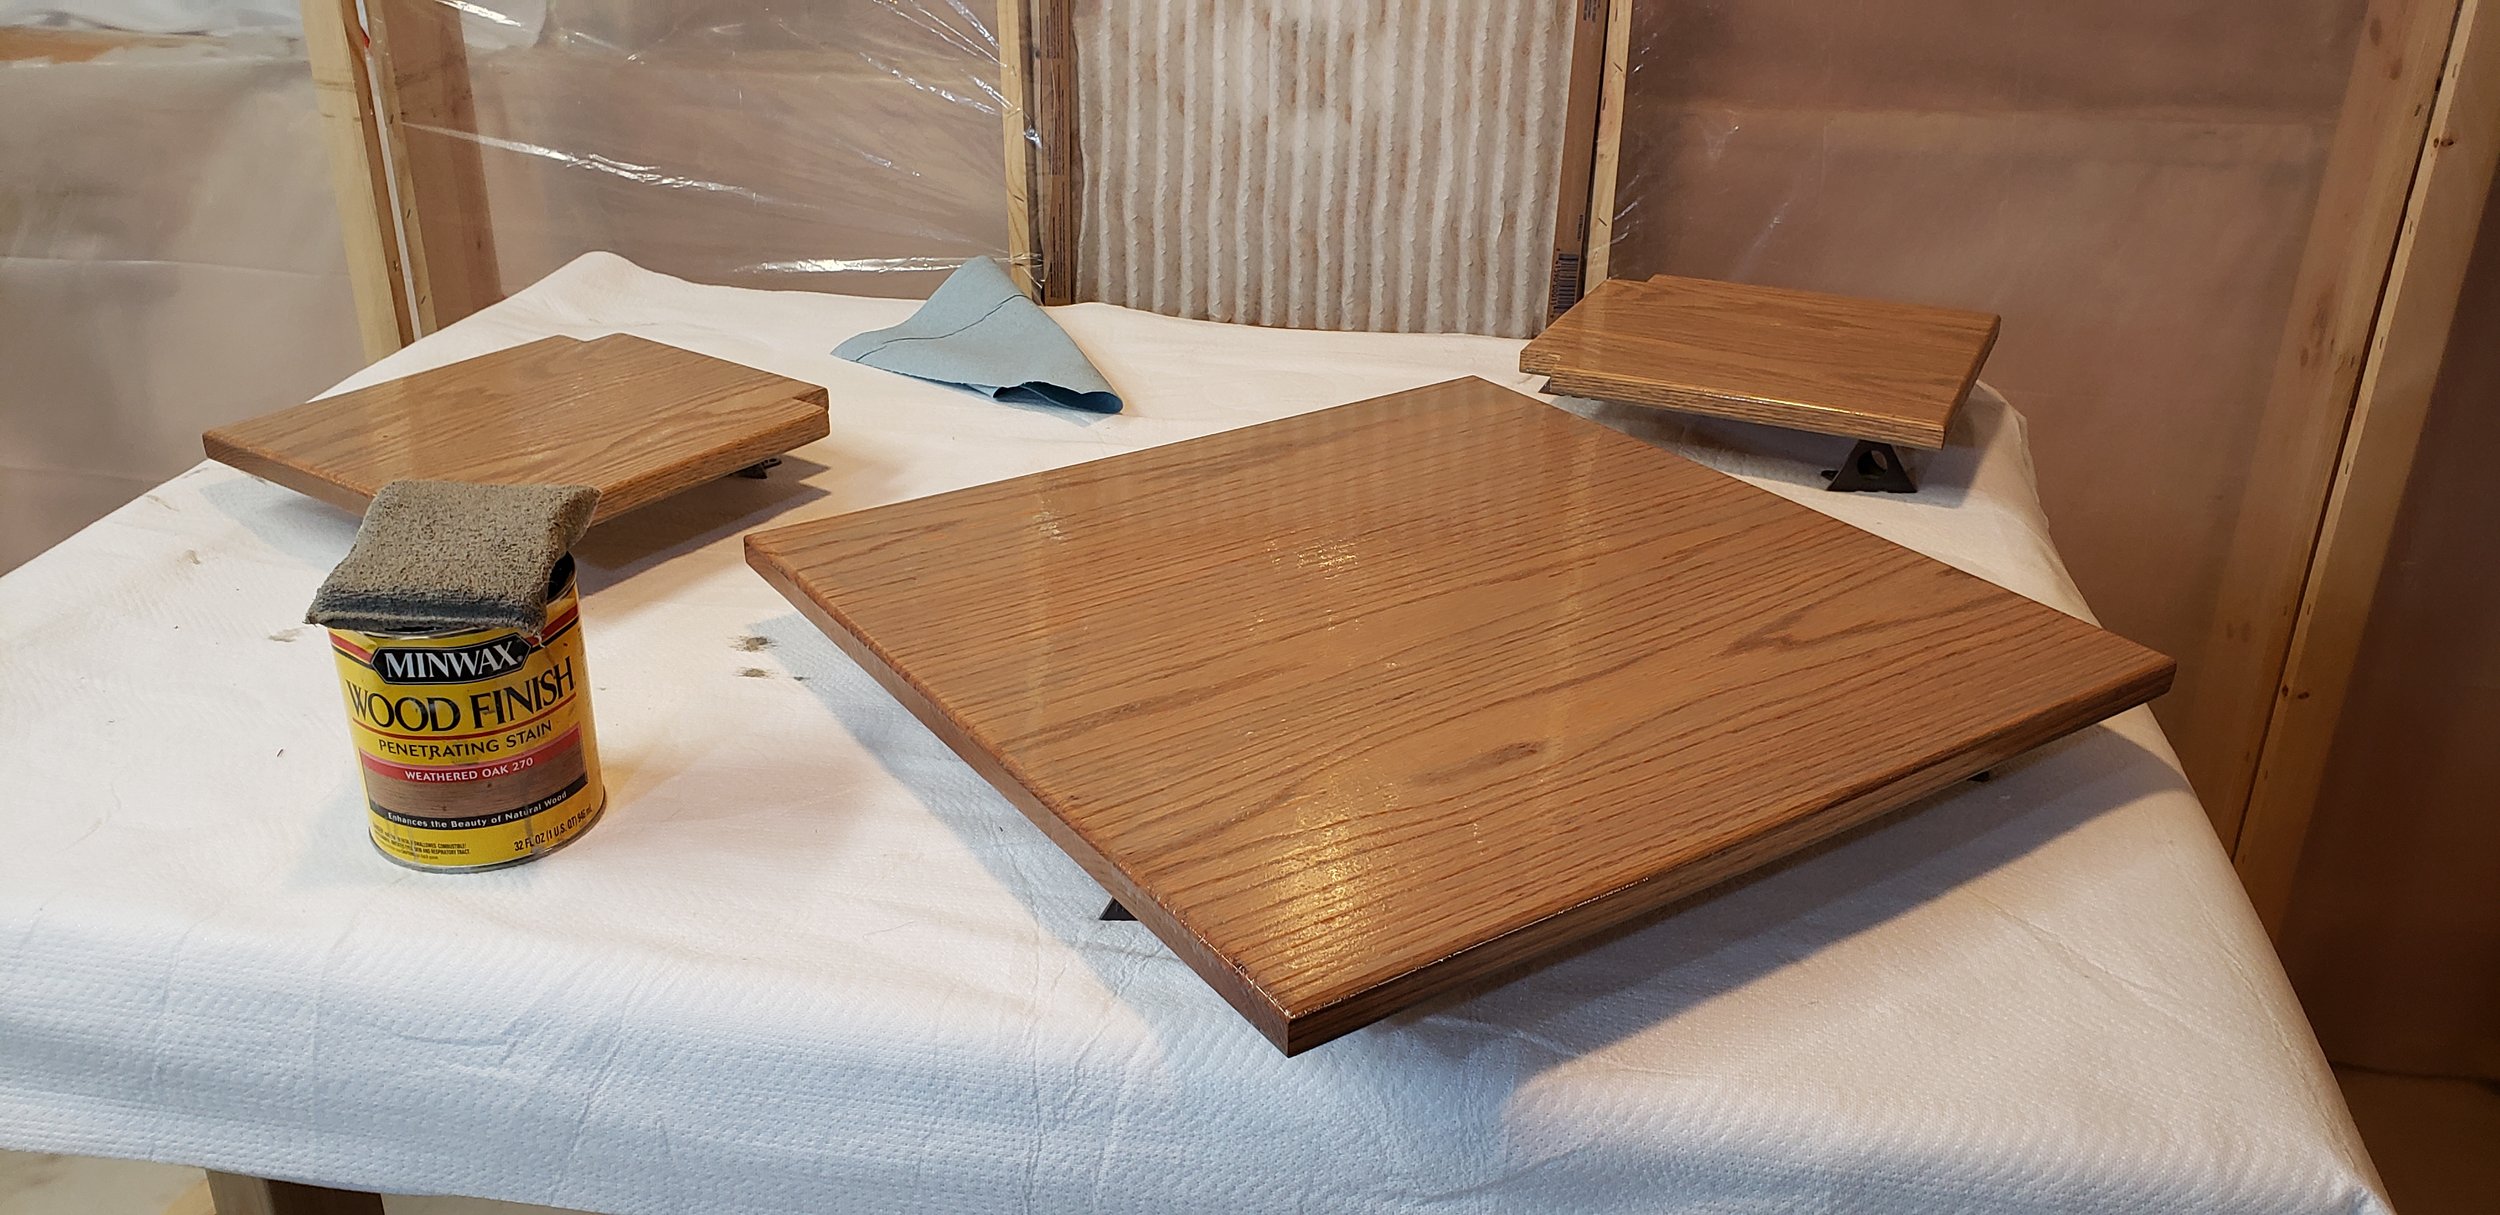
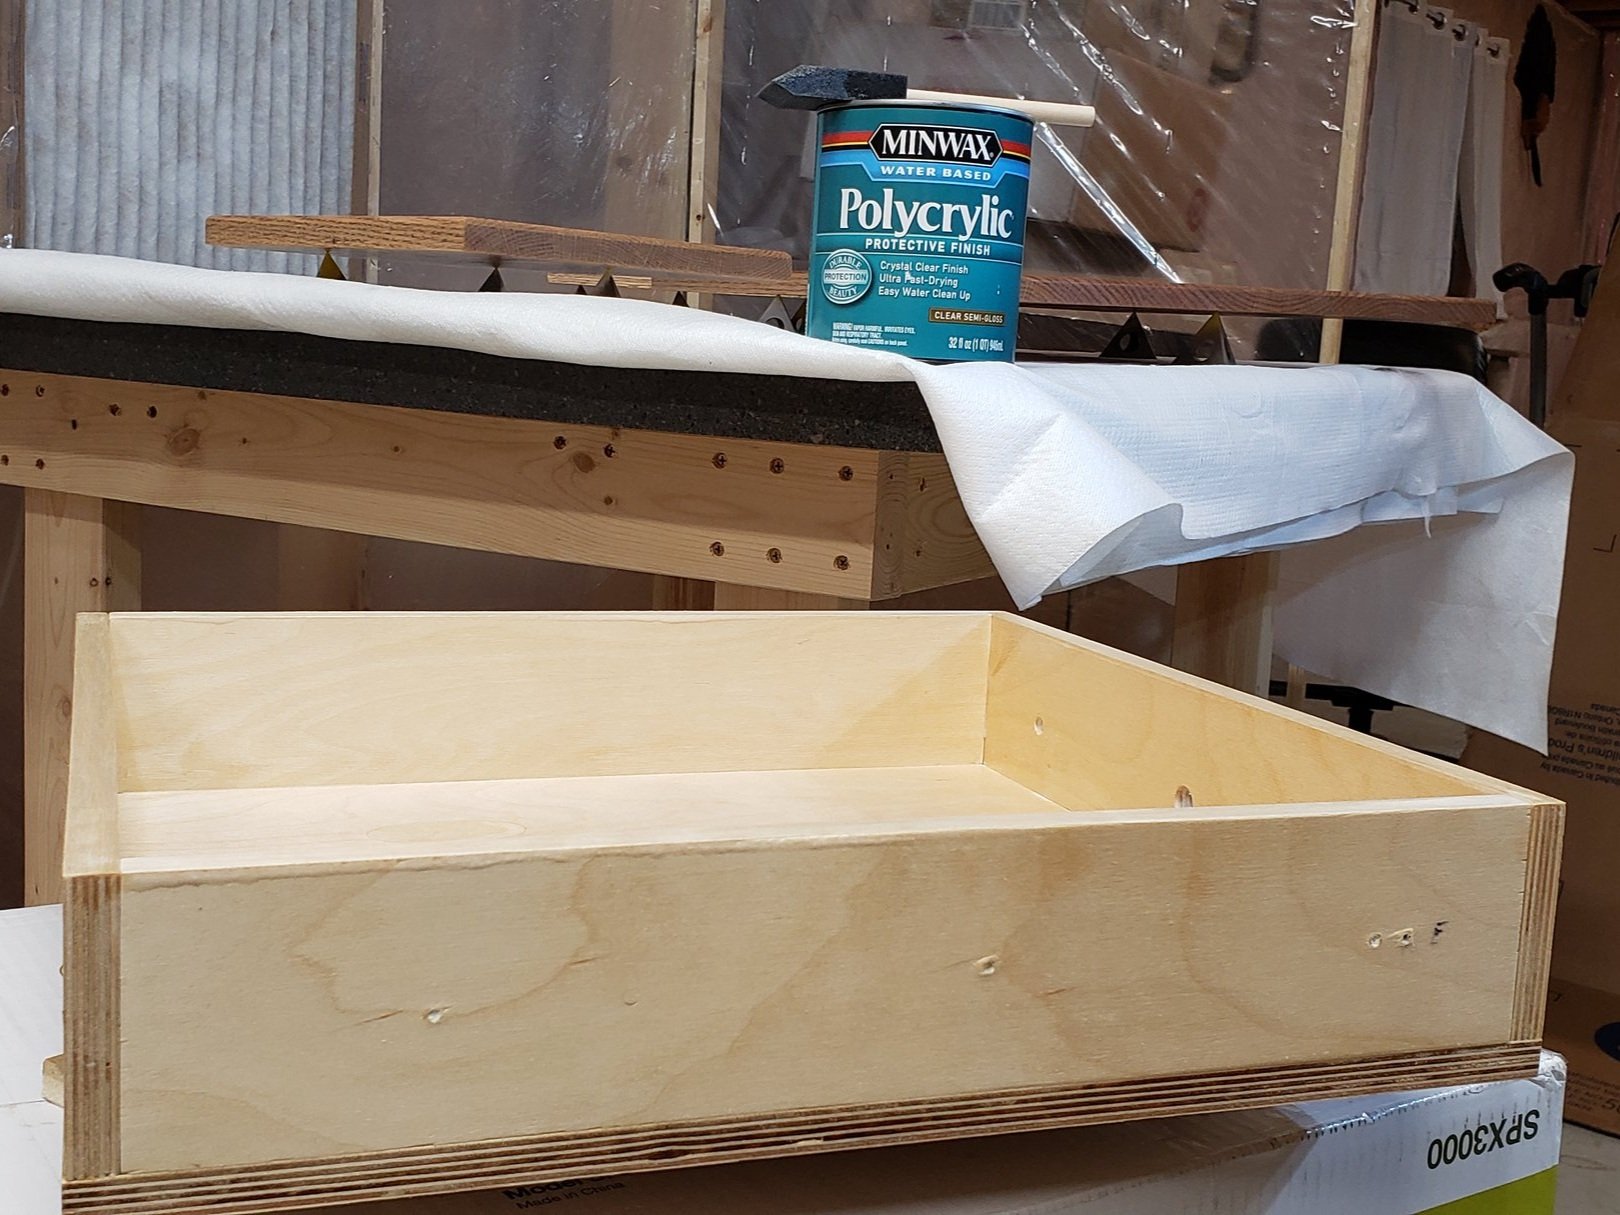
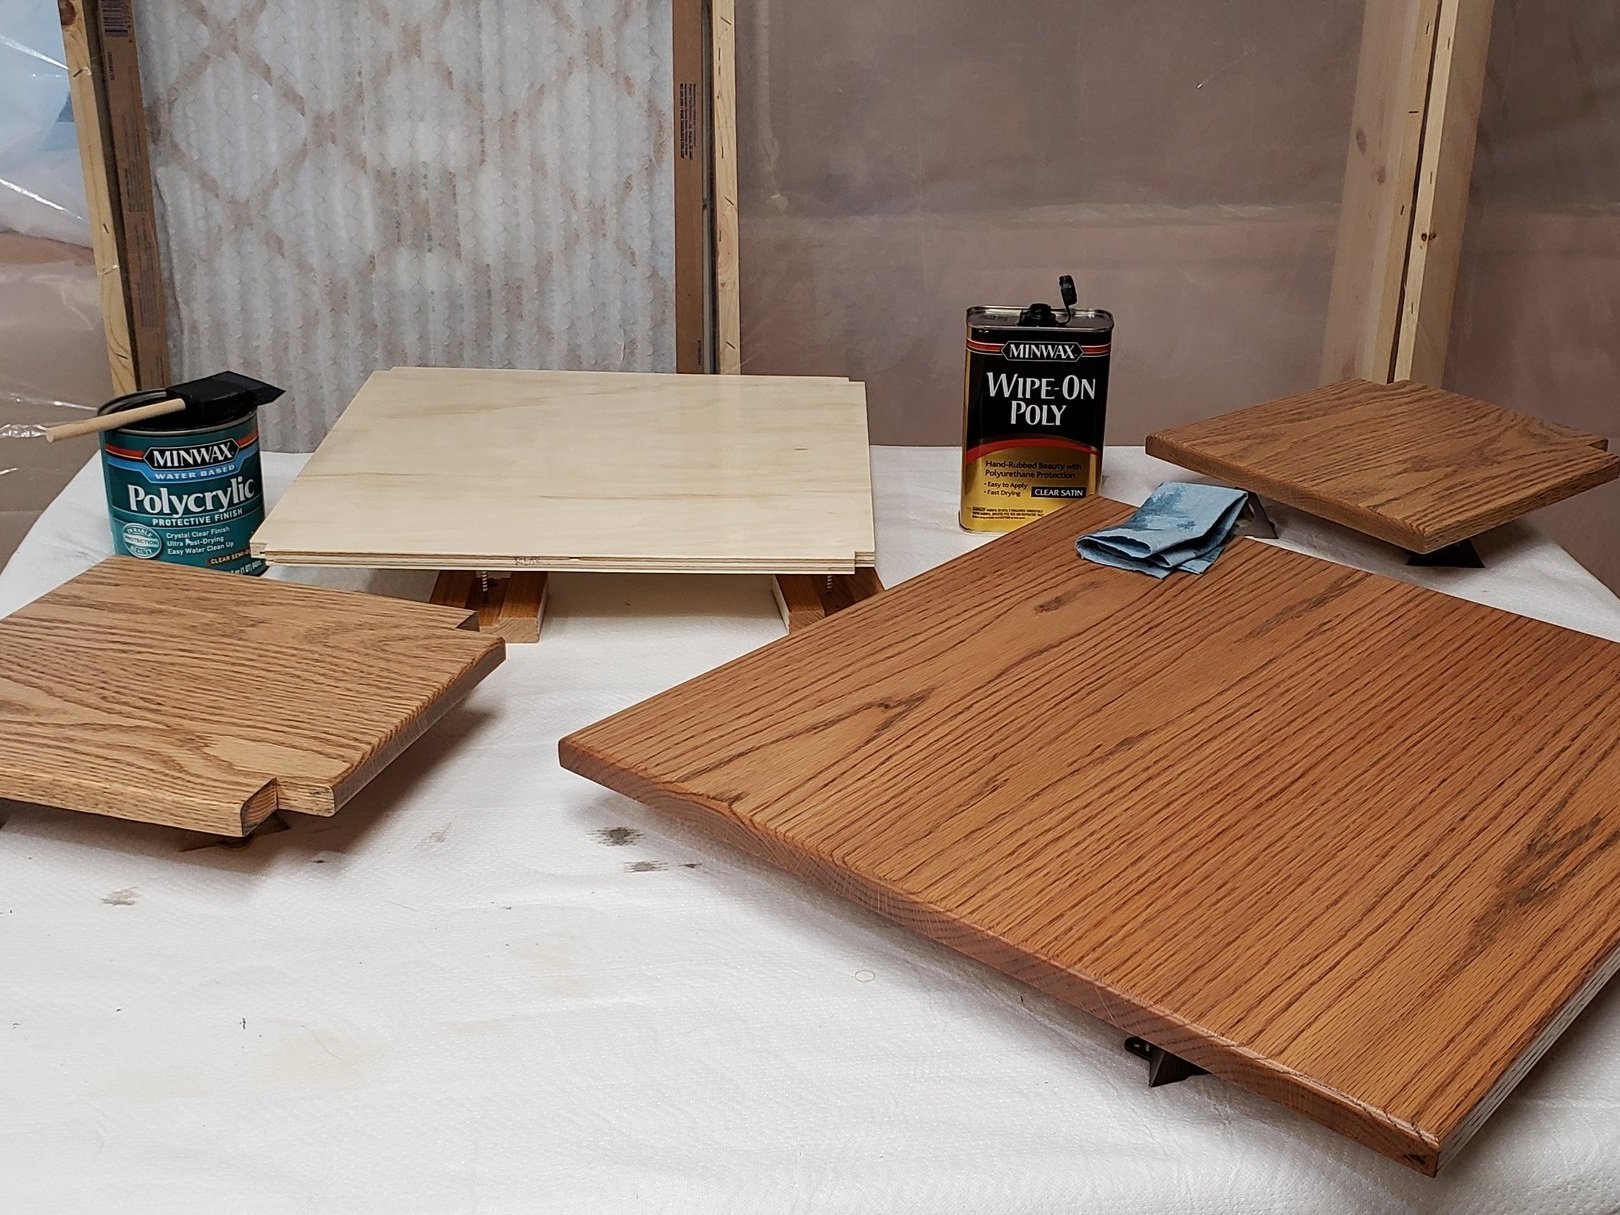
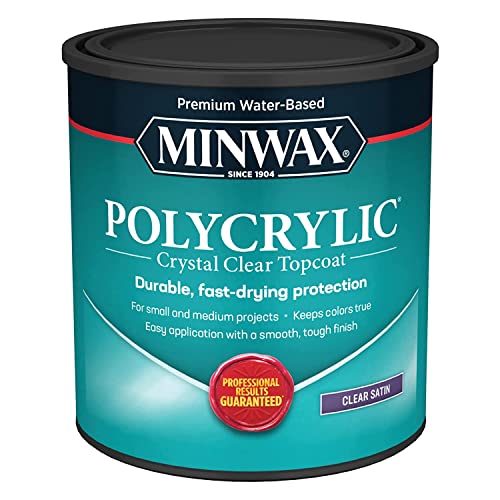
Before any finish went on, I used a tack cloth to wipe off any remaining sawdust that hung around after vacuuming. This was the first time that I used stain pads, and they worked great, nice size and they hold the perfect amount of stain. The drawer box got a few coats of Polycrylic with a foam brush. The stained pieces all got multiple (6ish) coats of wipe on Polyurethane. The wipe on Poly is time consuming due to so many coats, but the lack of brush marks from standard Poly is worth it to me.
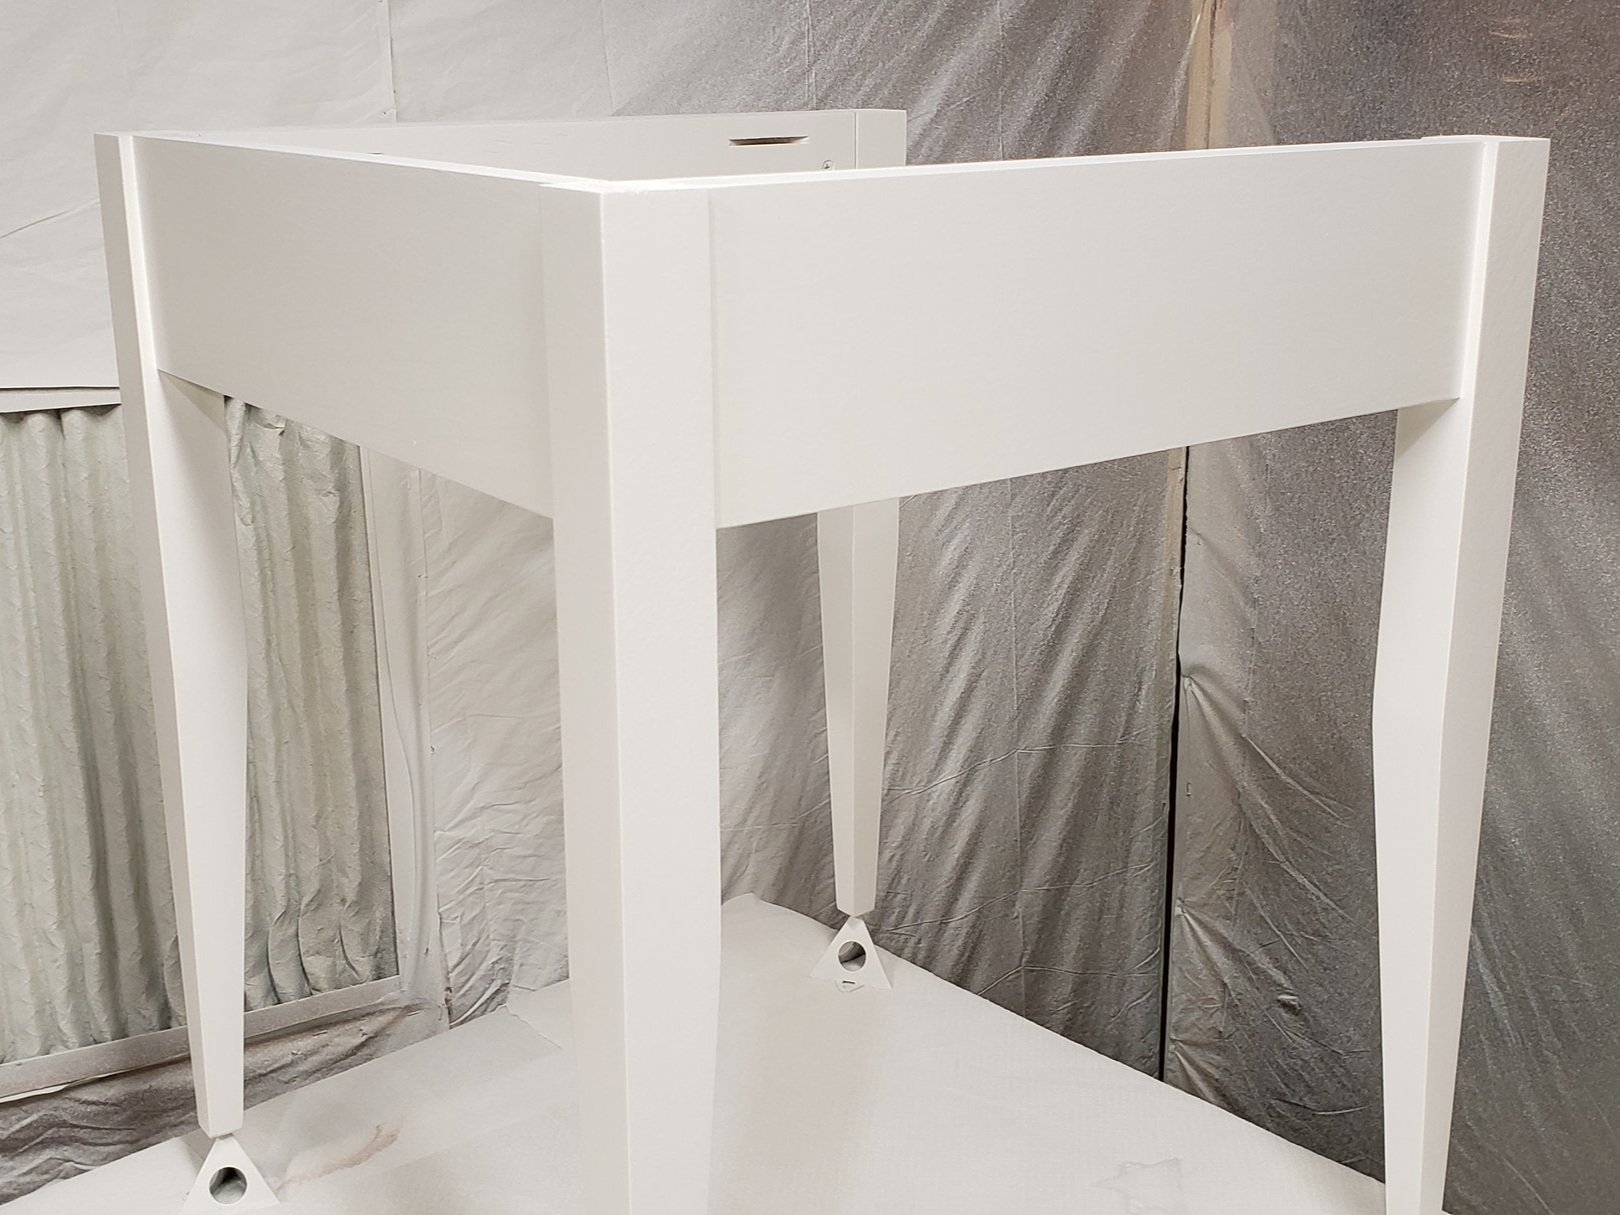
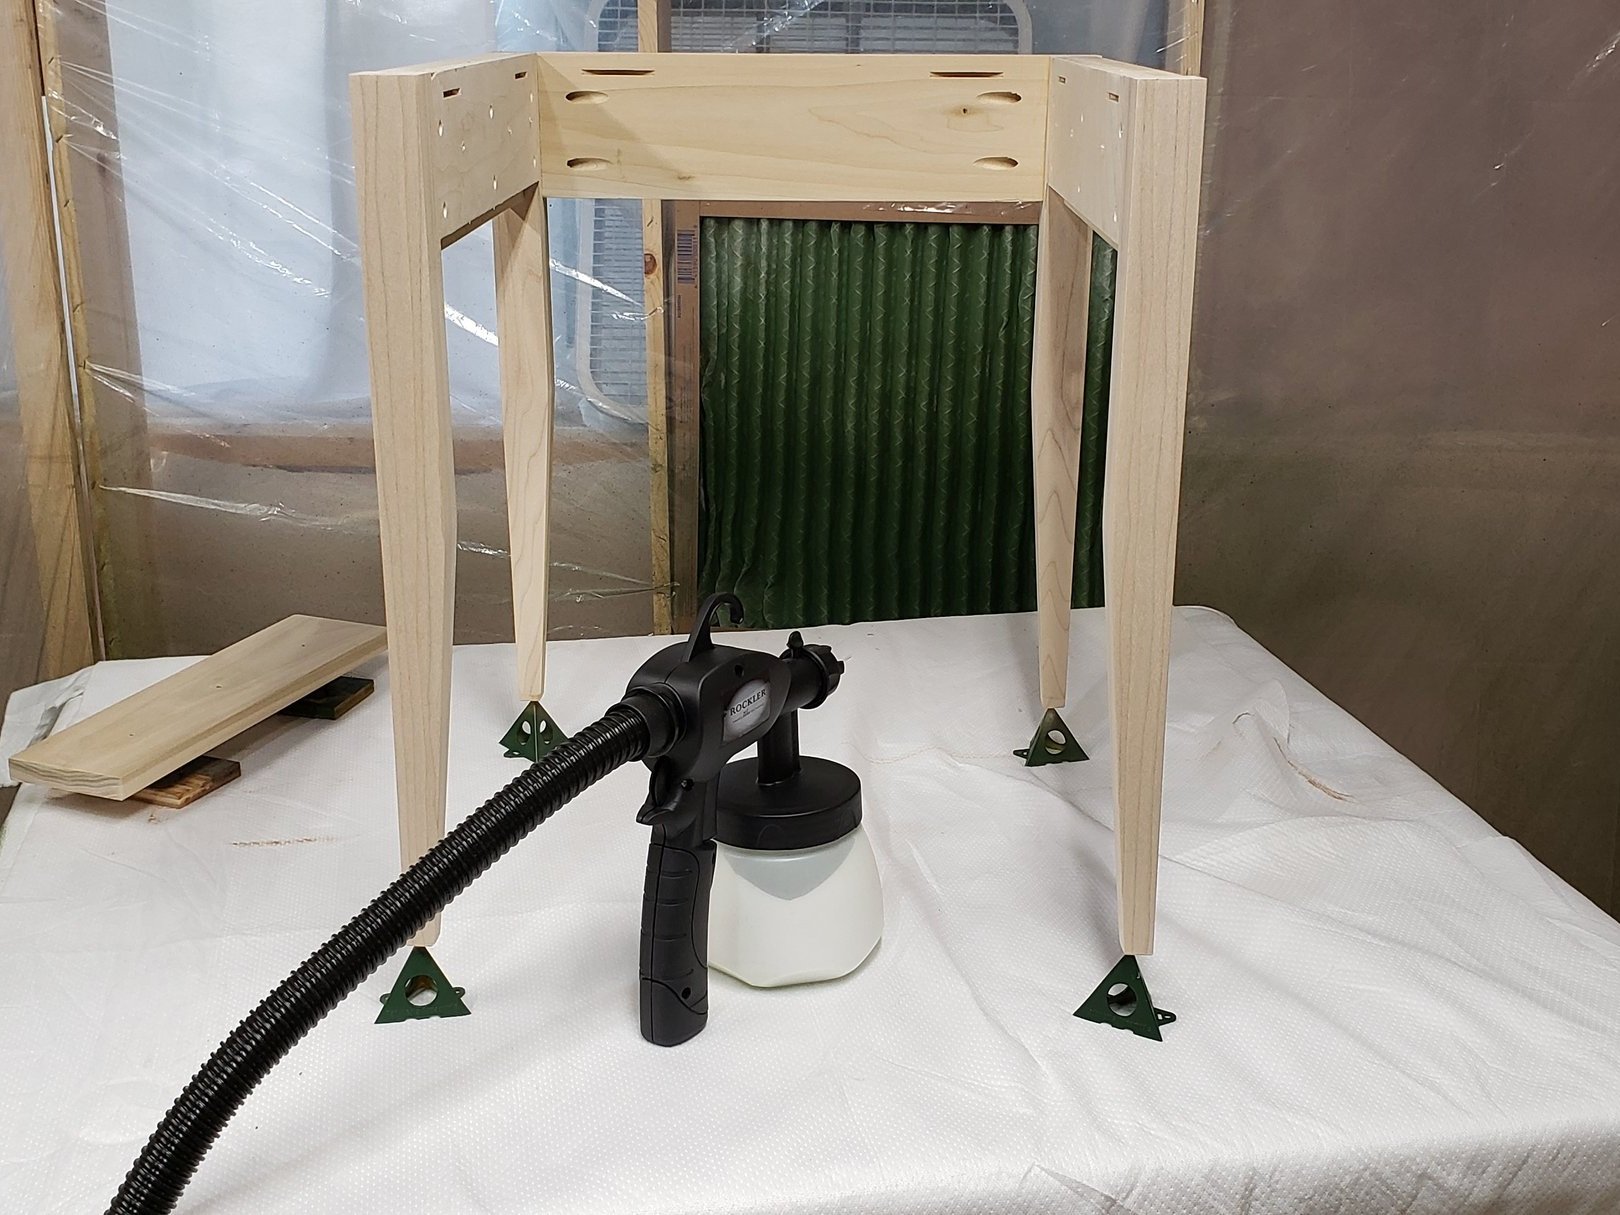
After painting so many projects, I decided to up my game and get an HVLP spray paint gun. The pump sits on the ground, which makes the gun loaded with paint much lighter. I picked this one up from Rockler and wished I would have done it before I painted my first project. Professional paint job from a fair priced tool.

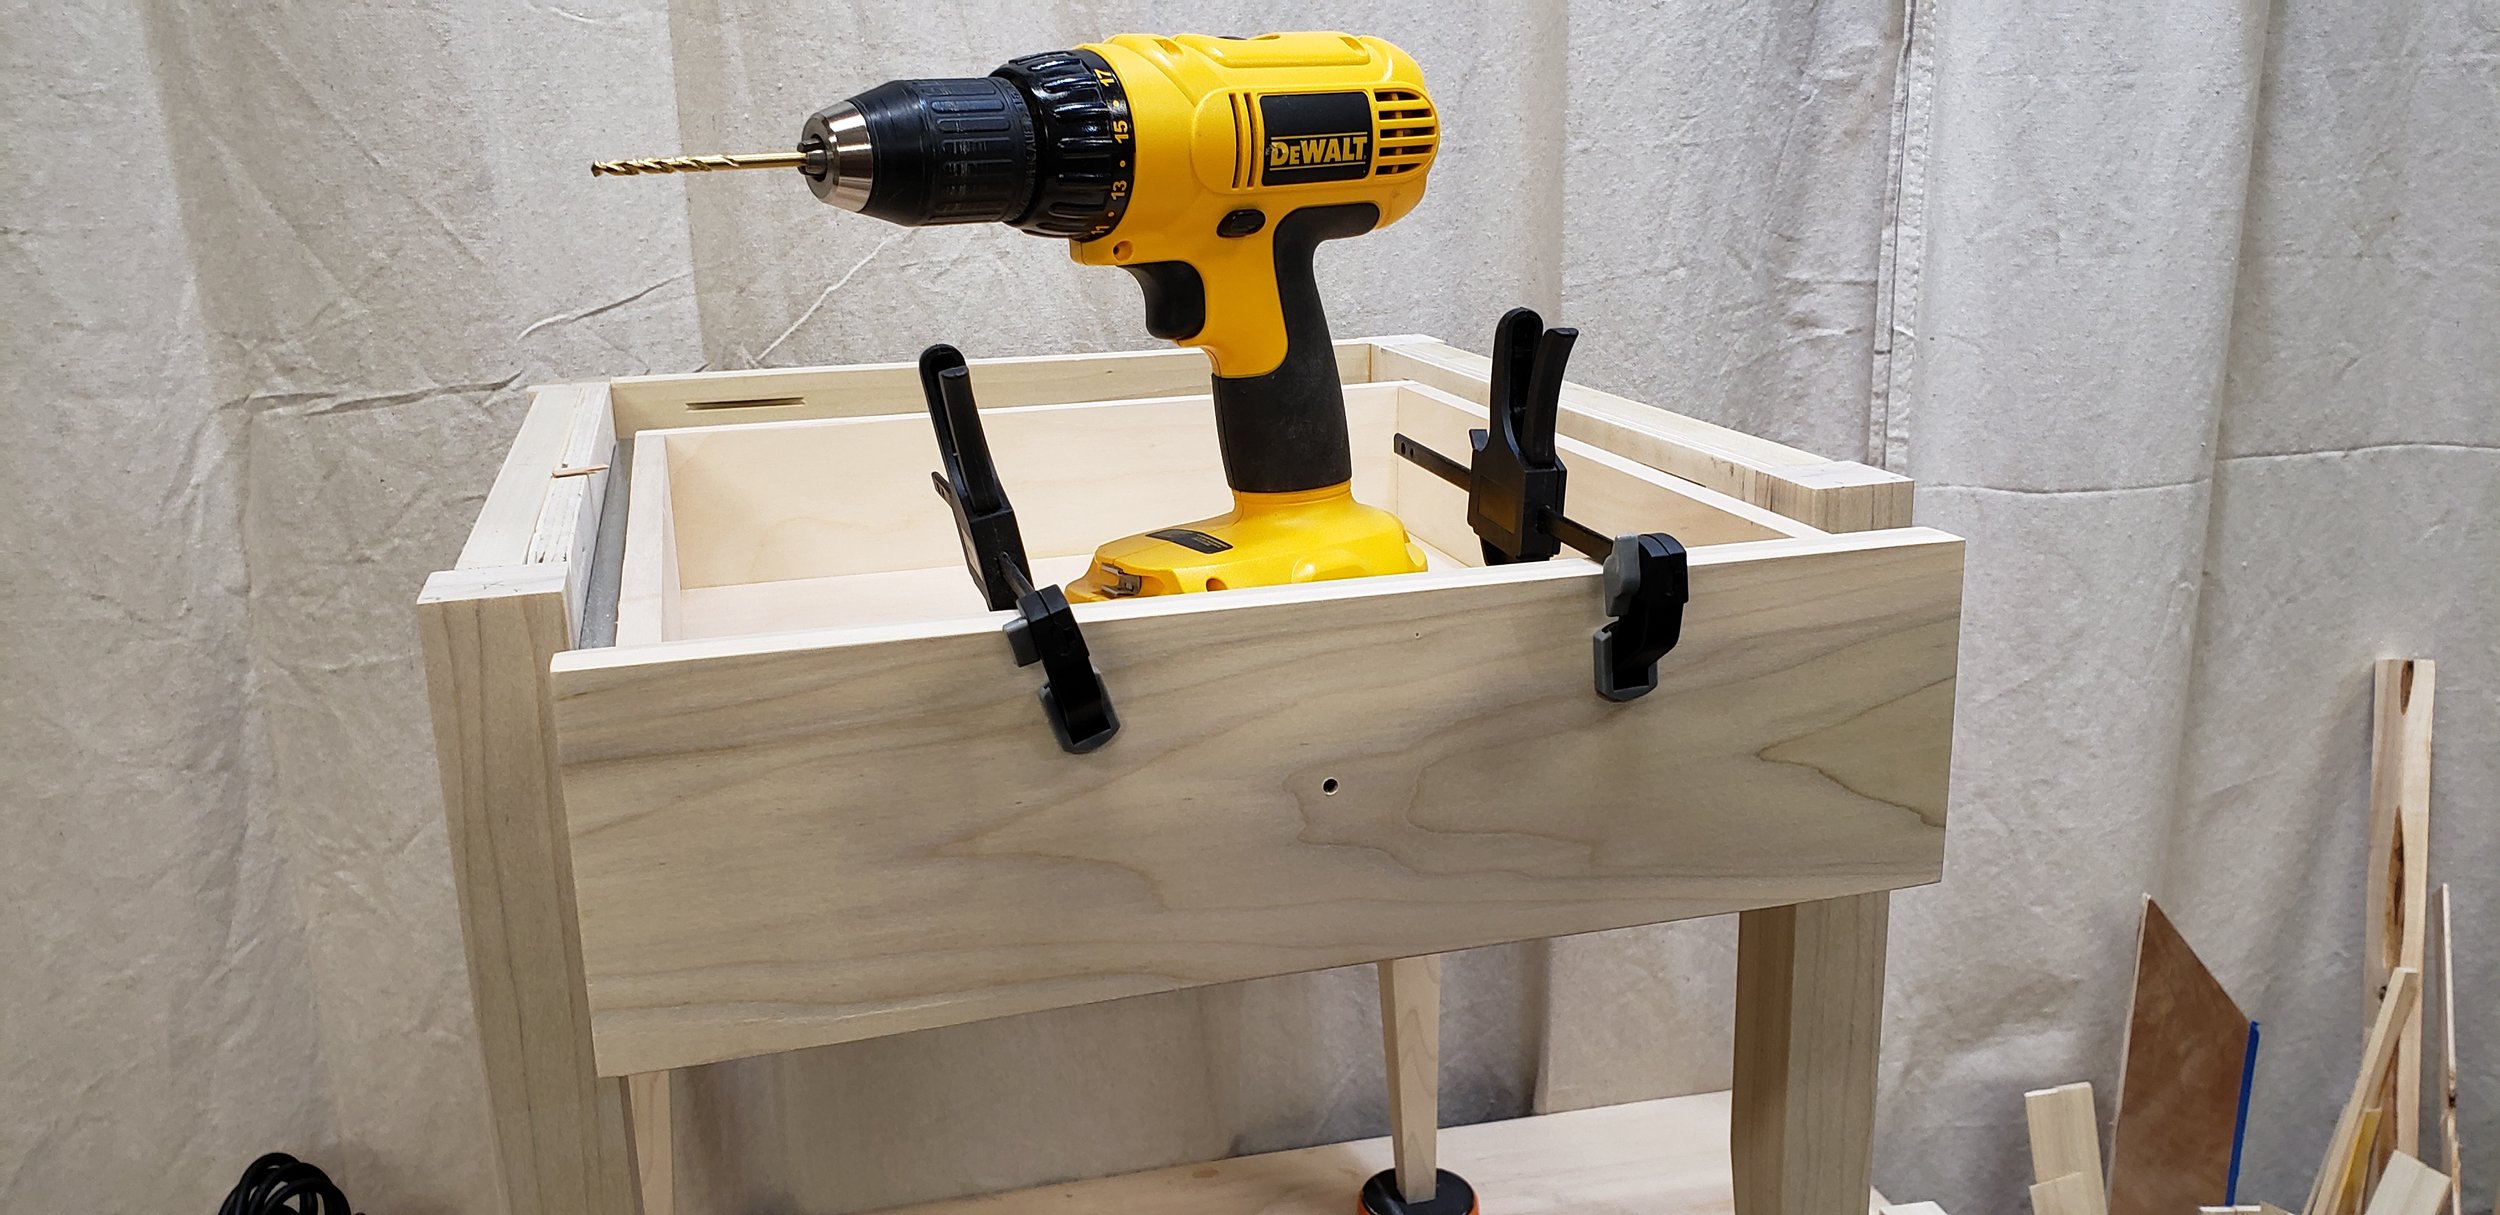
Here you can see just how far the full extension drawer slides reach.

Building projects for my daughter is so rewarding. She has used this table almost every day since I built it, and it still looks like the day it was finished. Cleanup is simple with a wet rag and dings or dents are rare due to the strong wood used. The table and chairs look great in our house and should get many years of use!

Tools and hardware used in this project
Power tools


The rest