Pantry Drawers in a Standard Cabinet


The pantry to the side of the fridge has five shelves on the lower half, five on the upper half. The shelves are 2 feet deep, which causes quite a bit of wasted space. The solution I came up with was to make four slide out pantry drawers for the lower four spots.

Like usual, I created a Sketchup model to visualize the project and figure out how much wood I would need.
The first thing I did was create a test drawer to make sure the dimensions were right and everything would work out. I made this out of some scrap wood and it fit like a glove on the first try! I also loaded it up with what I figured a max weight would be. The slides are meant to hold a max of 100 lbs which would be fine for this application.

Used the trusty ol' crosscut jig with my circular saw to rip the depth of the drawer bottoms. I used high quality 1/2" birch plywood for the project.

Using the Sketchup model, I created a layout to determine the best use of wood for the components. I was able to arrange the pieces on a 4'x4' sheet of plywood. This is one of the main reasons I use Sketchup to model even the simplest of projects.


For added strength I used a rabbet joint on the drawer fronts. I created this using a 1/4" straight bit in the router table.

Here's what it looks like when attached to the side.

I laid all of the pieces out and marked them for biscuits.

You can see a biscuit slot cut in the top sheet of plywood. The biscuits help greatly when aligning the drawer and add some strength.
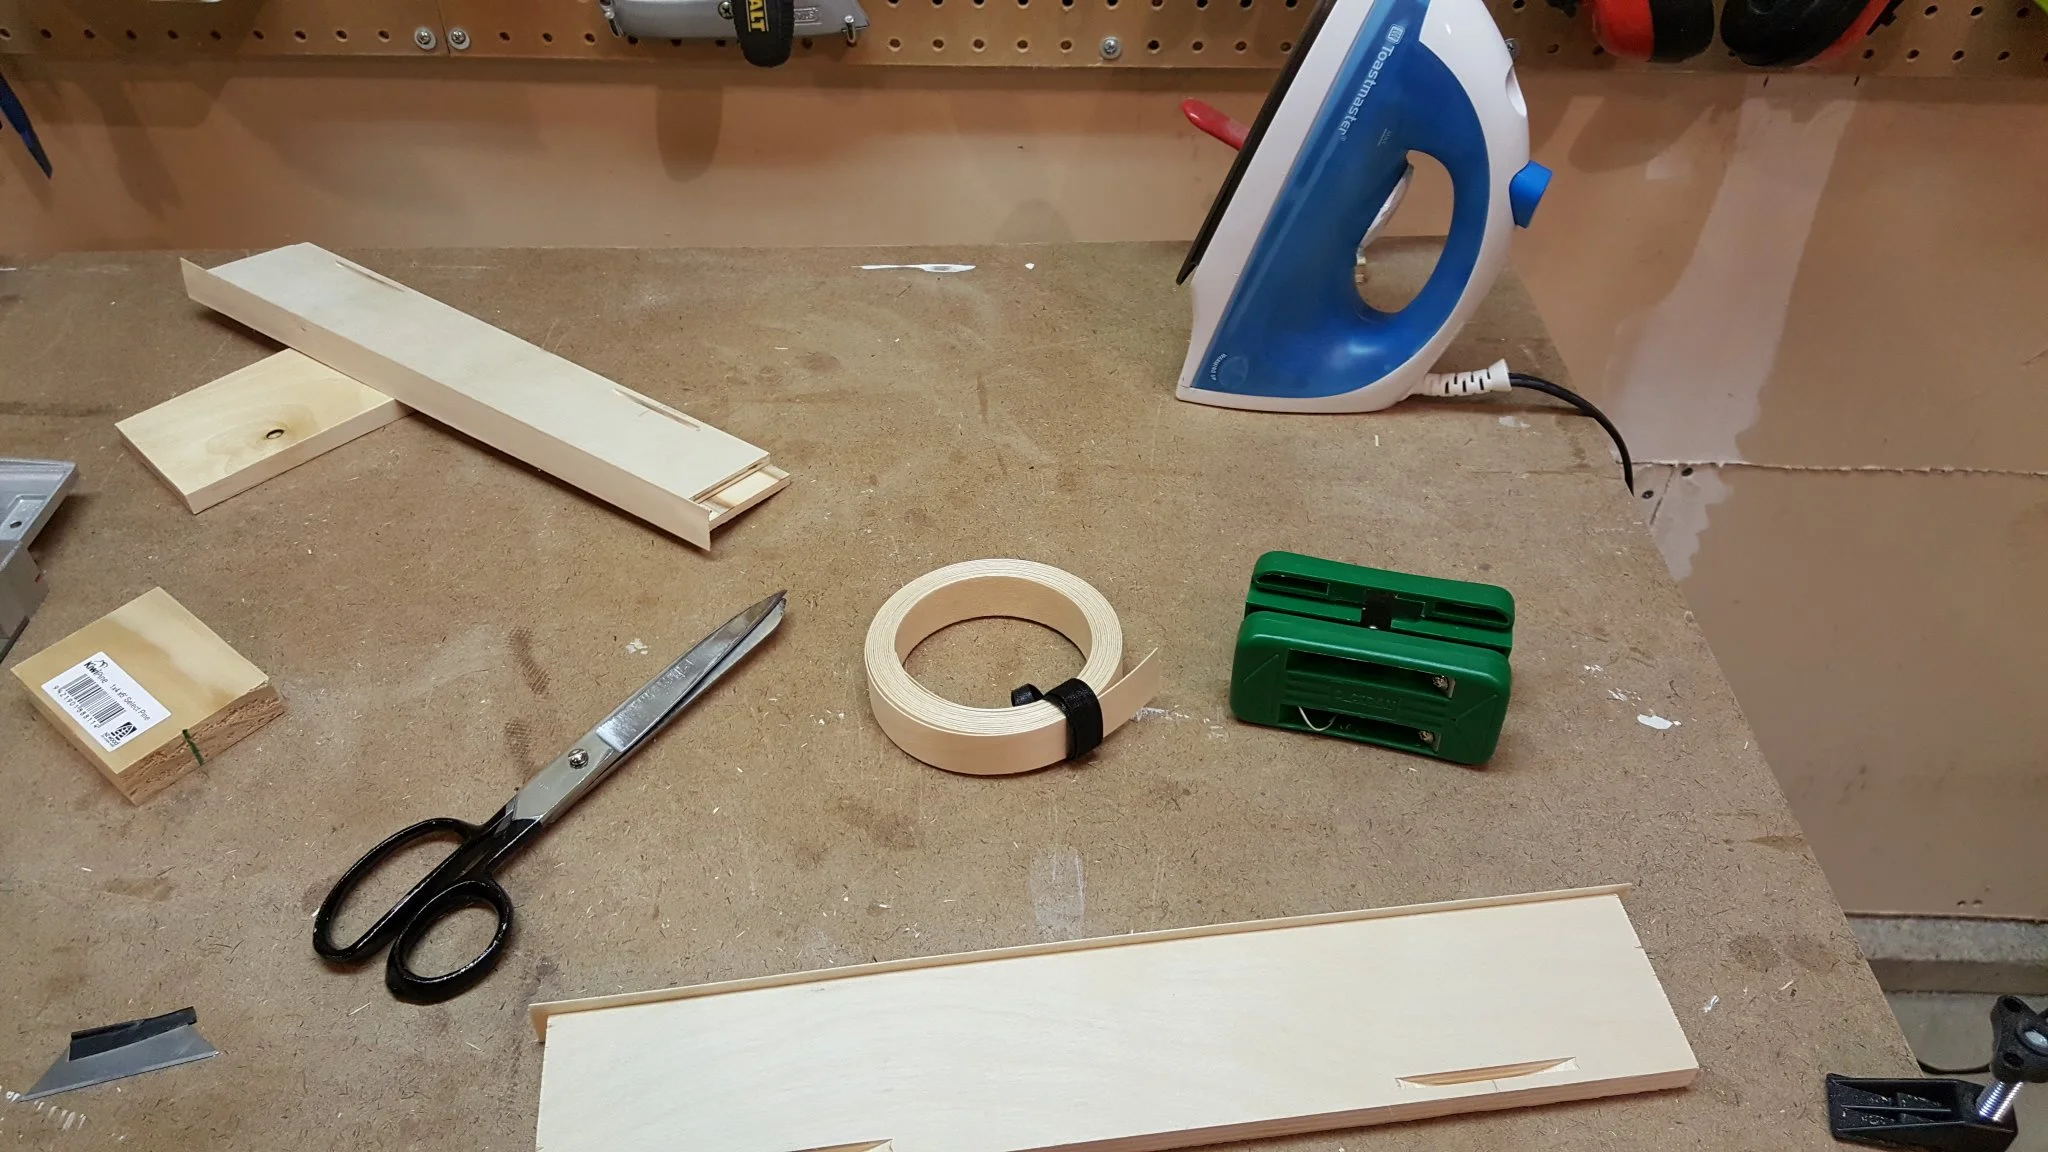
Ugh, edge banding. I edge banded the tops of all the sides before attaching them. I picked up that green edge banding trimmer when I started this project and it cut the time in half, at least. It was meant for 3/4" stock but I modified it to work with 1/2" material and it worked like a charm!

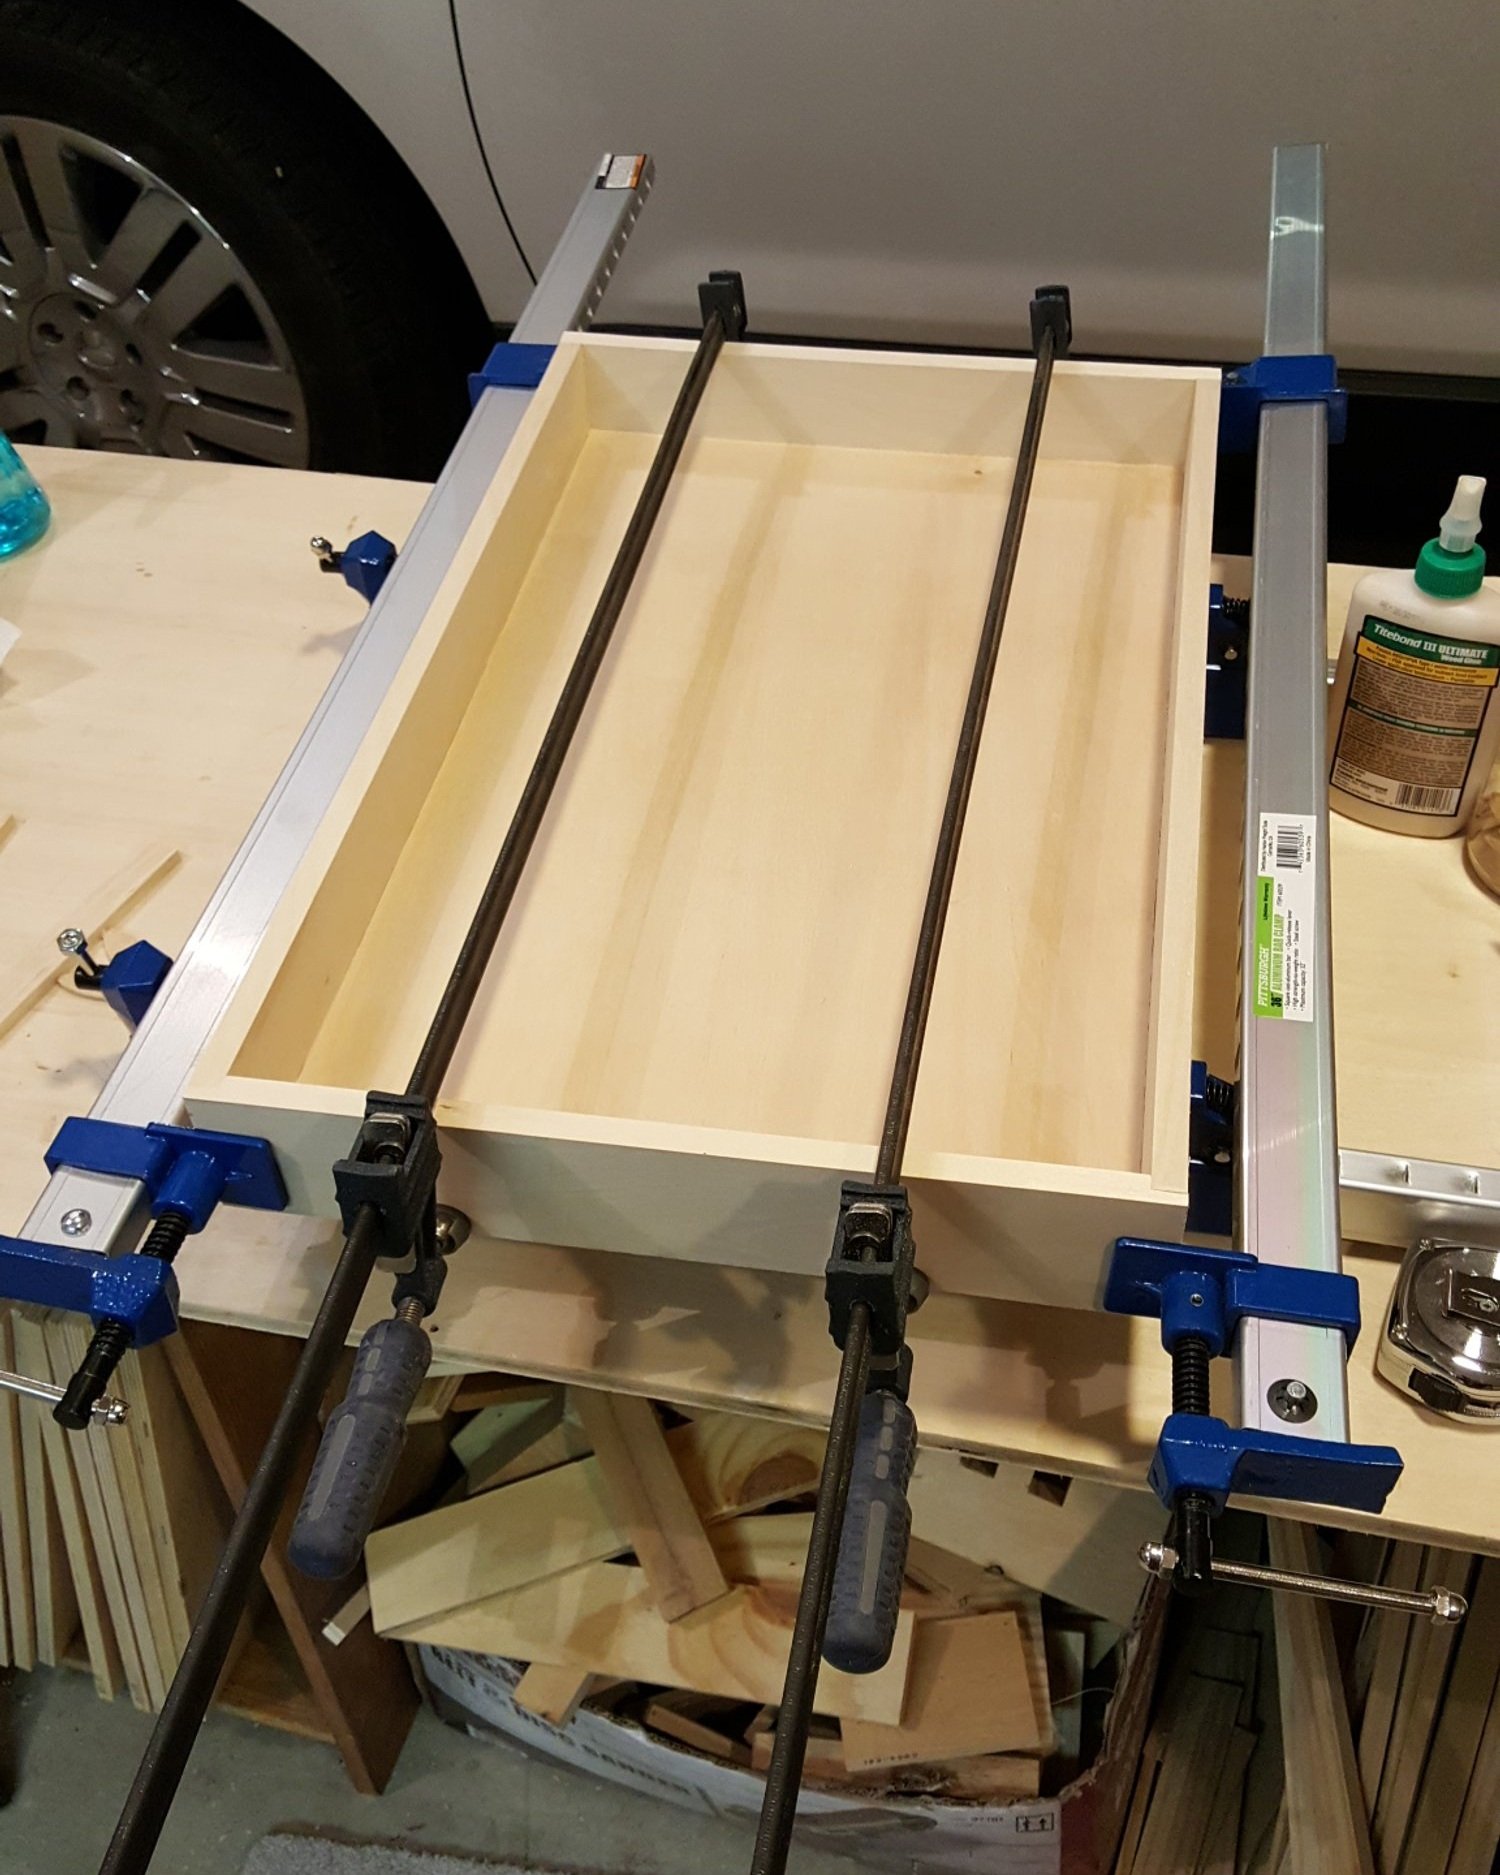
The blue and silver clamps on the bottom and sides were another recent shop addition. They allow for clamping on the bottom while balancing the shelf on them and offer great uniform clamping pressure.

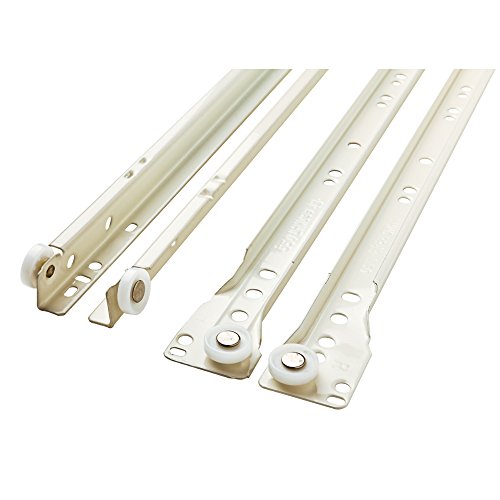
I added some spacer blocks on the sides behind the slides for added strength. I just didn't feel comfortable with the "rear mount" only drawer slides. The slides are meant to hold a lot of weight, but to me that seems like a lot of downward force on a few screws through plastic.

Next I applied three coats of Polycrilic to each drawer, sanding with 220 between coats. I highly recommend this finish, it applies easily and looks great with low odor. Polycrilic is water based (vs. oil), so cleaning up is a breeze.
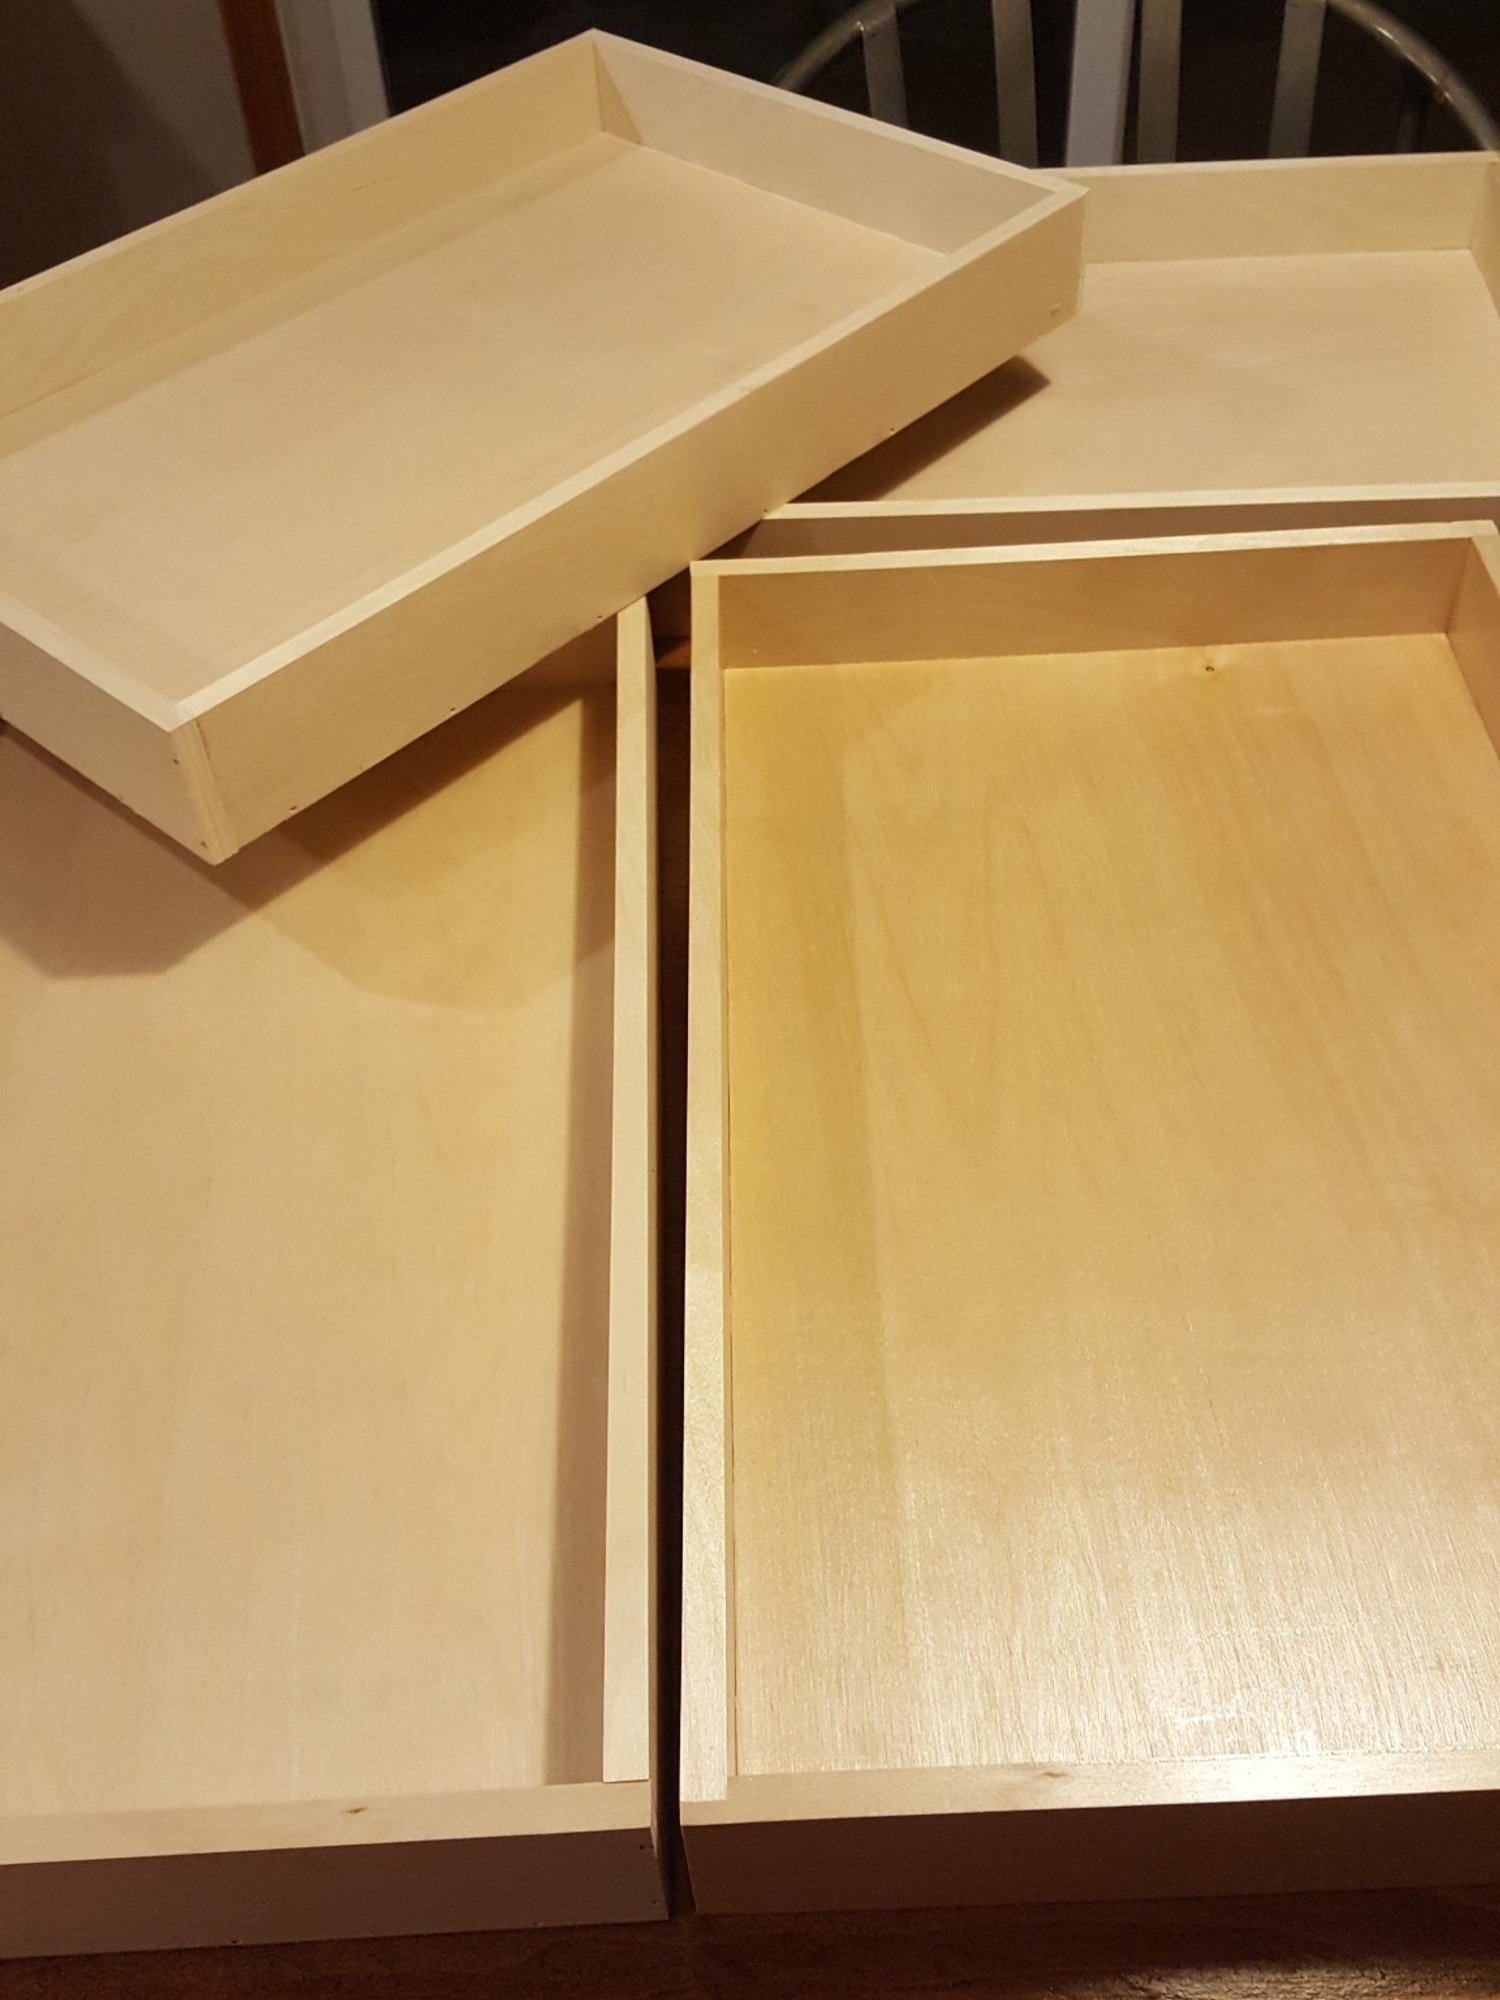
All of the pantry drawers are now put together. You can see how the lower right drawer looks after one coat of poly.

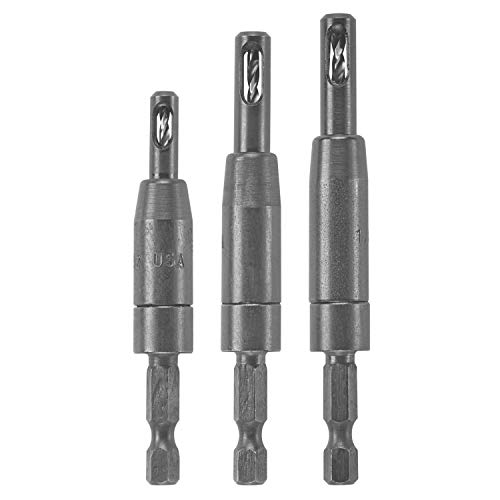
I love buying tools, as you may have noticed. I have always disliked attaching drawer slides. The screw heads are the exact same diameter as the holes they go in, so if the pilot hole is not absolutely centered, there is a bit of a lip on the screw sticking out, causing the drawer to hang up on the rollers. I finally purchased a self centering drill bit! The tip has a taper and rests in the hole and when you push down a spring pushes the drill bit in the center of the of hole.
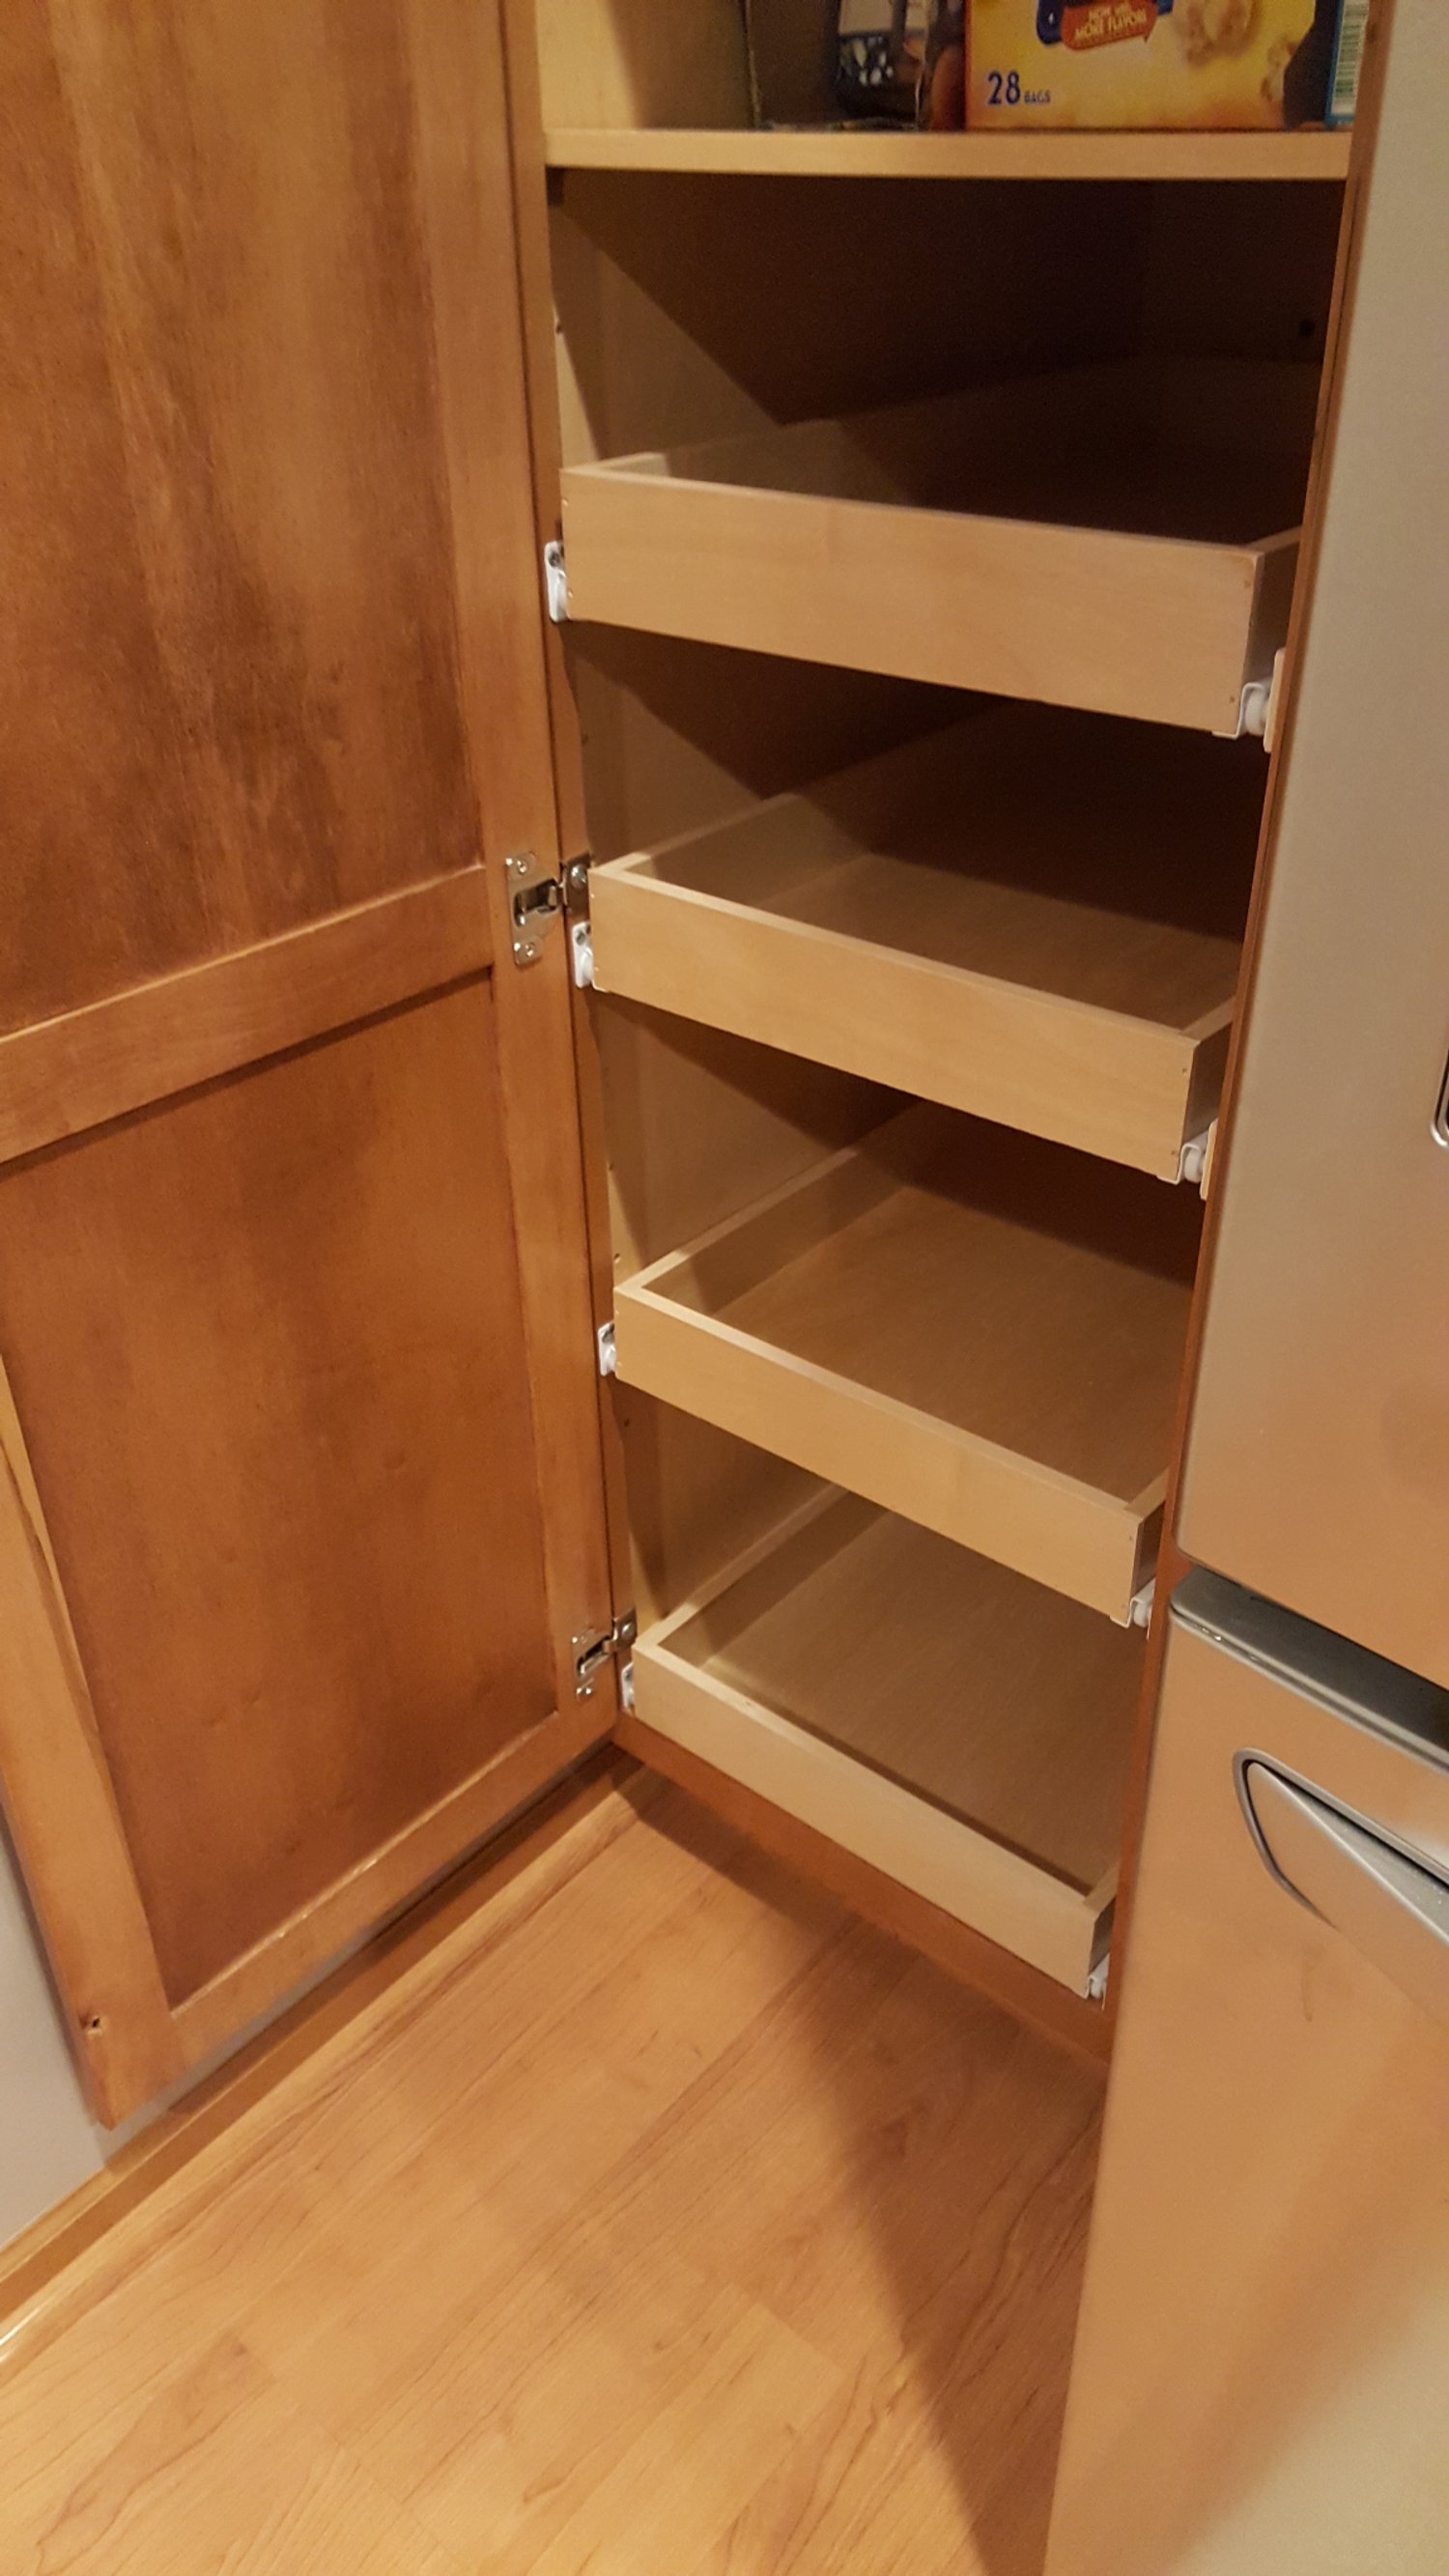
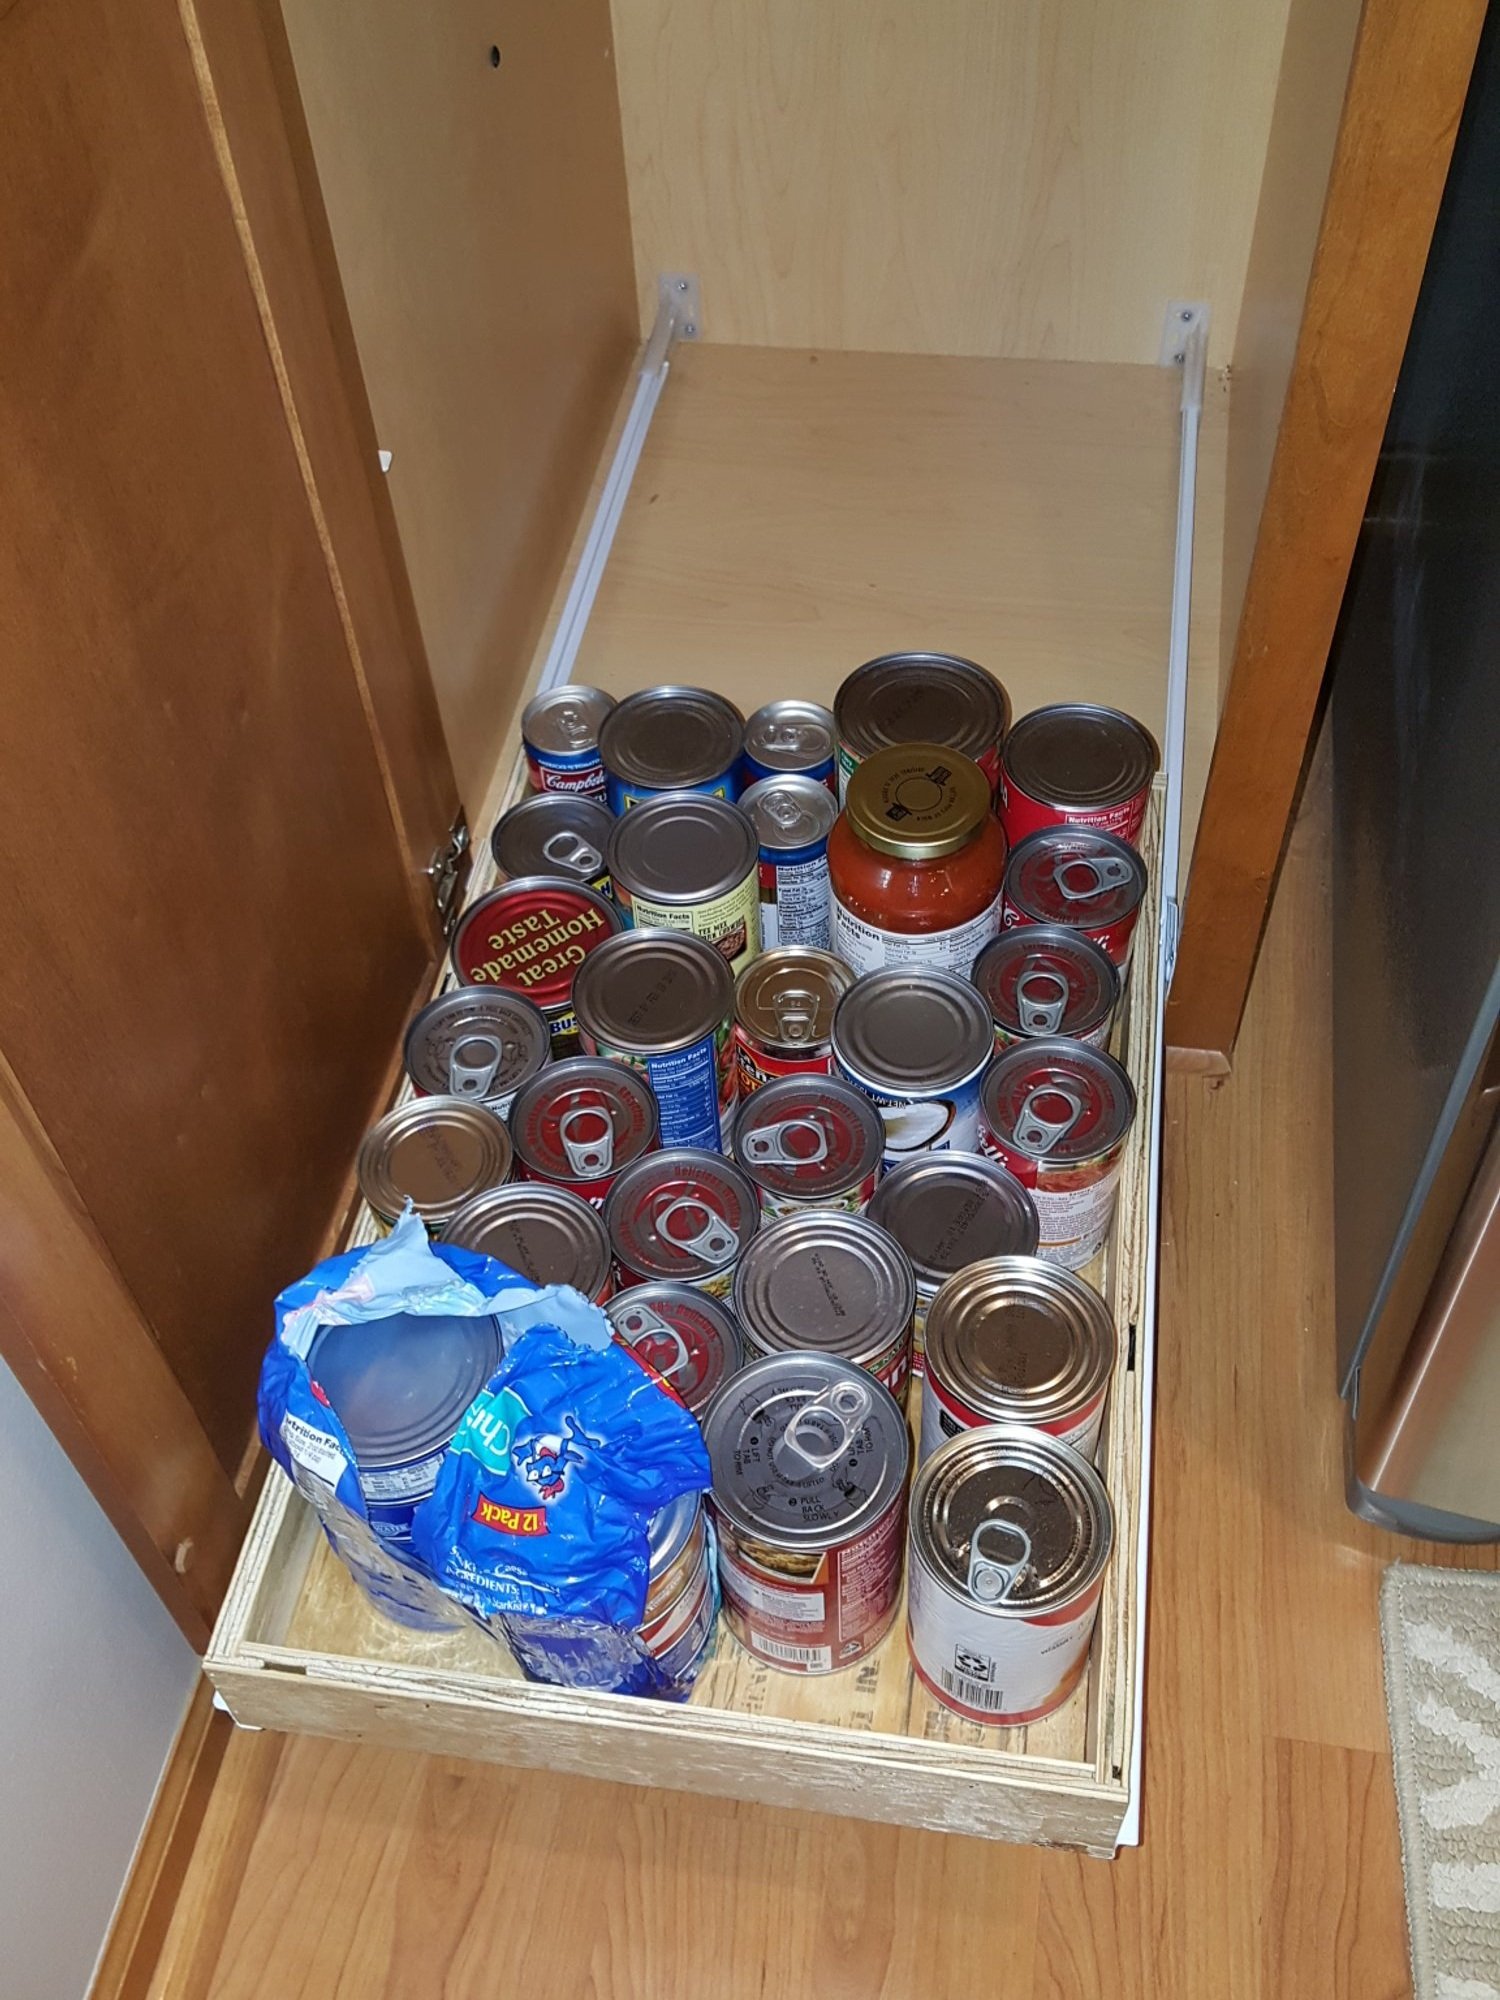
All four pantry drawers in place and looking good!
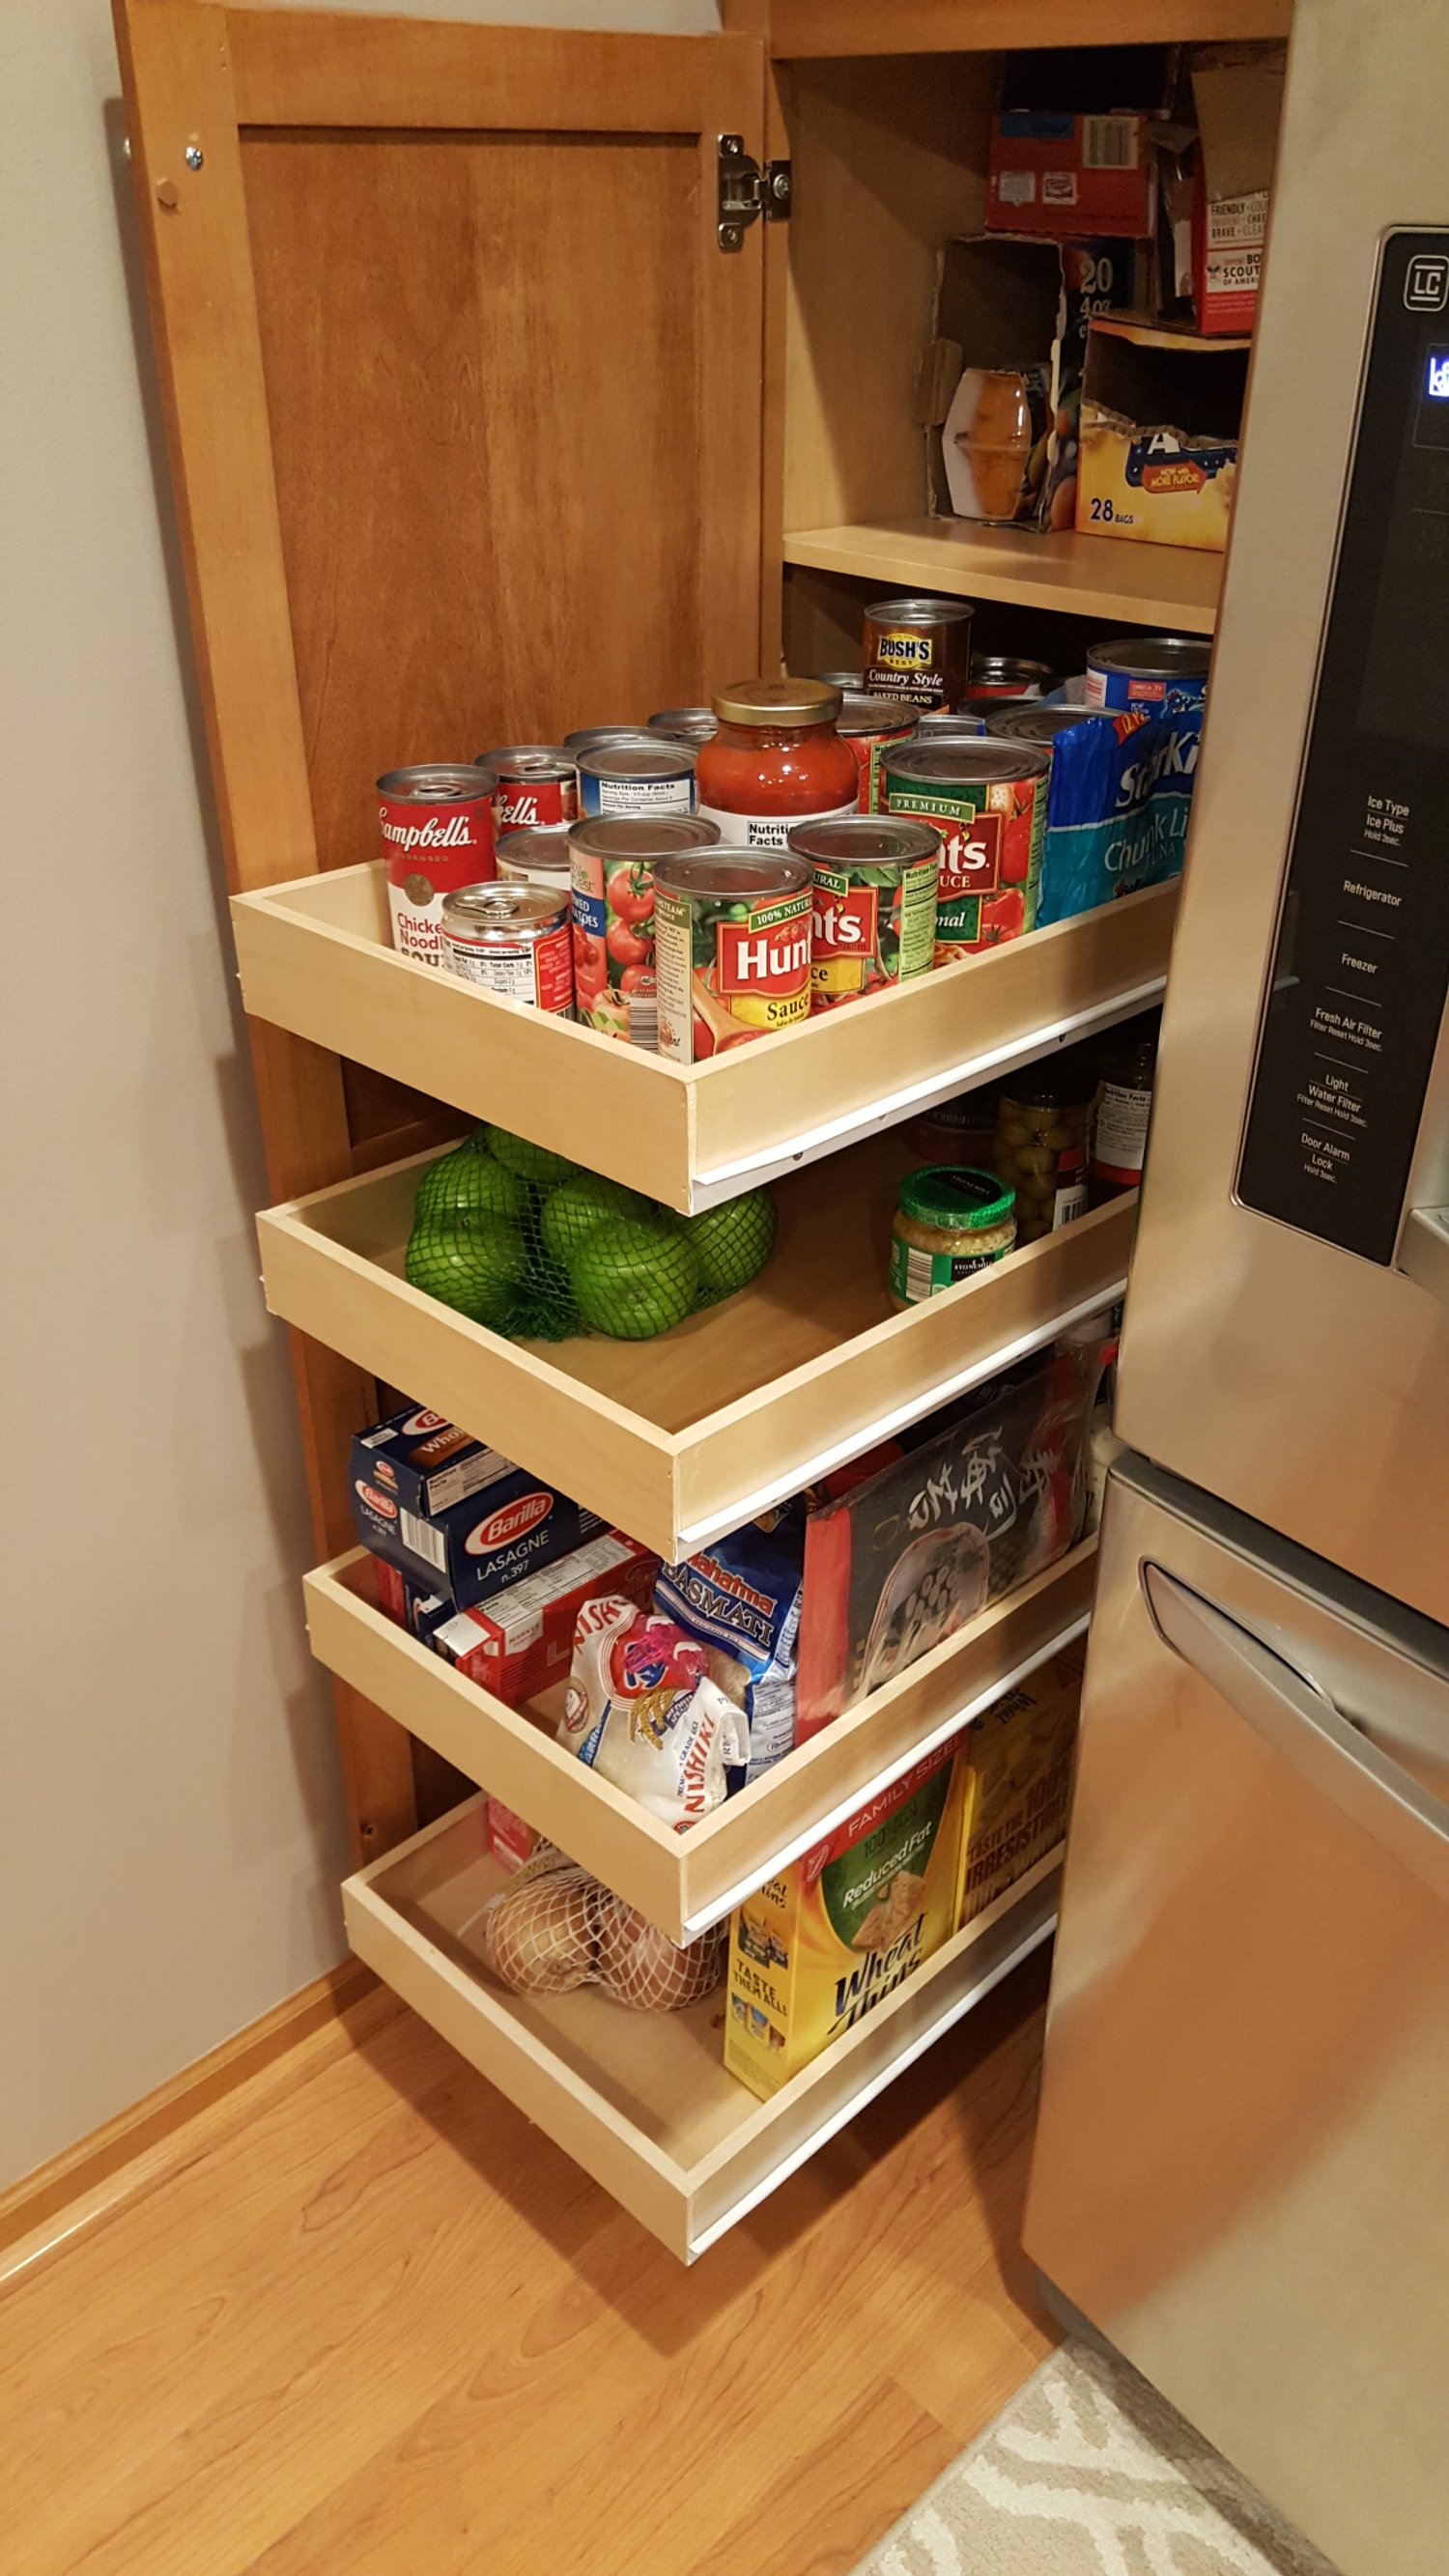
A ton of storage room was reclaimed with the addition of pantry drawers. In the past, the back half of the shelves were unused or filled with items that would never be found again. The best part about doing your own home improvement was that this only cost me $40 (in material..)!
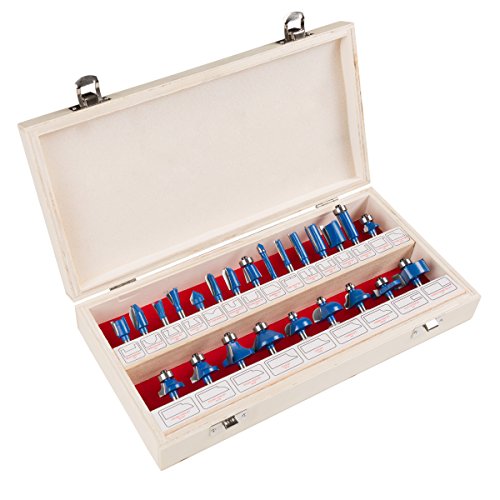
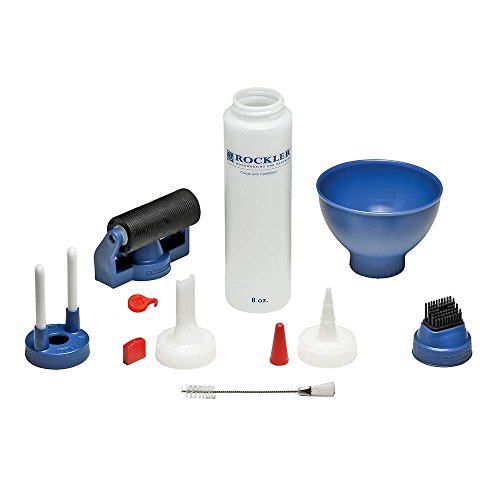
Tools and products used in this project
Power tools


Accessories and other items