Garage Curtain for Dust Protection and Heat Retention


Third Stall Woodworking gets its name from where I do my woodworking; the third stall of my garage. Creative, I know. The problem with working in my garage is that there are other things in there besides lumber and tools to get covered in dust. Most frustratingly my vehicles. My lawn equipment also doesn't exactly enjoy having a think layer of sawdust on the motor, hence the cover on the riding mower above. The secondary problem to working in the garage is most evident in a Minnesota winter; heat. I use a very small propane heater to keep the area warm while I work, but I can generally only keep it around 45 degrees when it's below 0 outside. My solution to these problems is a sliding garage curtain "wall" that can separate my shop off from the other two stalls.

I came up with this idea in my head and went to the store with a rough plan. I purchased two large canvas drop clothes which would cover with length of the garage, some 1/8" steel cable, a grommet kit, thimbles, cable clamps, and tension turnbuckles. All of the items I used to construct this are also listed at the bottom of the article.
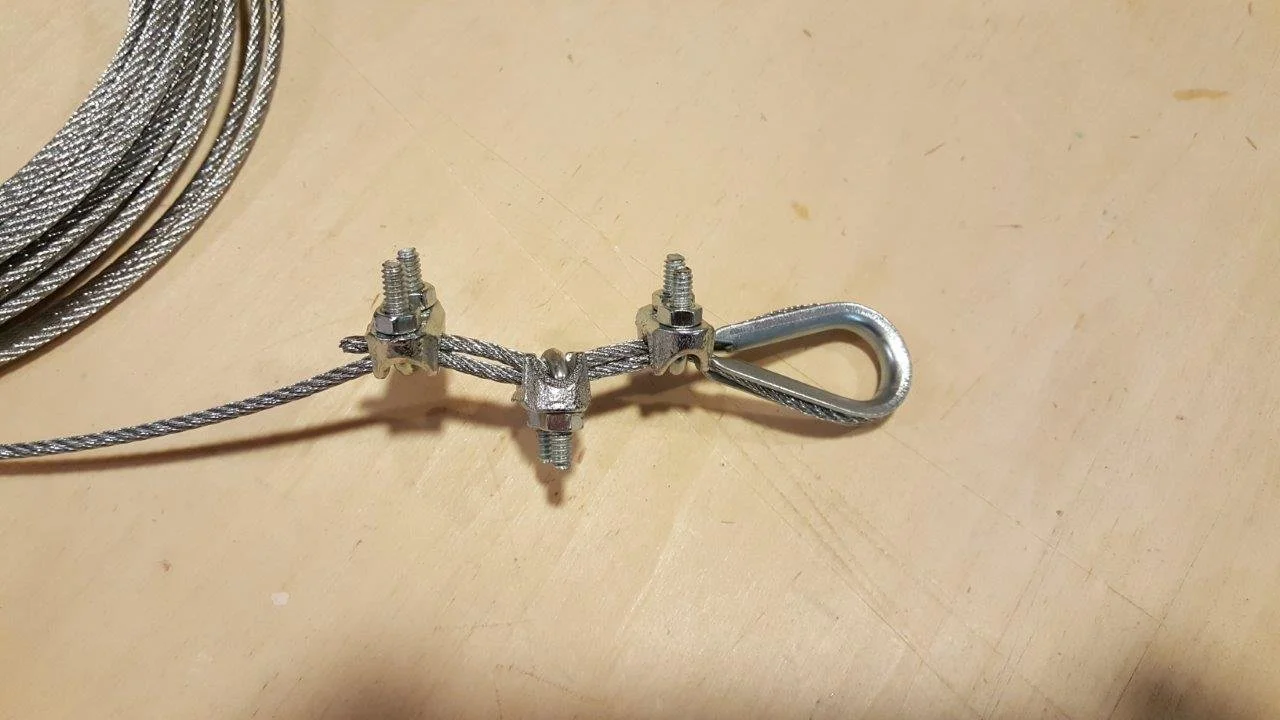
The first thing to do was "loop" one end of the wire. The rounded piece at the end is called a thimble, it prevents the cable from being kinked too hard at one end, which would allow a weak point in the tensioned wire. I used three U clamps in alternating directions to secure the wire. I put these in the vice and cranked on them with a ratchet to ensure they would be able to handle a lot of tension and weight spanned from wall to wall.

Steel cable is extremely difficult to cut. Luckily I had a metal cutoff wheel for the angle grinder. Made quick and smooth work of the wire.

These garage door brackets are securely attached to the studs in the ceiling, so this seemed like a great place to attach the wire to. I could have stretched one single wire across the length of the garage but I thought two separate shorter cables would be a bit safer and easier to deal with. The bracket is just about the distance from the wall as the length of one garage curtain, so it made sense. I used a carabiner to attached the loop to the garage door mount.

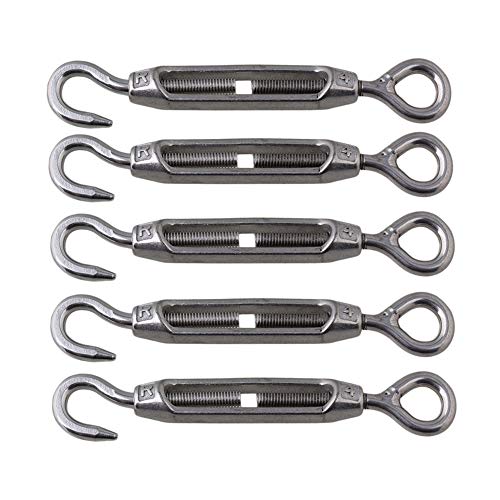
The other end of the cable gets attached to the wall with a heavy duty hook drilled 3" into the stud. Between the hook and the cable is a turnbuckle. This was my first encounter with a turnbuckle, super useful piece of hardware! When you turn the center of the turnbuckle with a wrench, it pulls both ends in closer and closer until the wire is extremely tight. I was surprised at just how tight I could tension the wire. I think I could have kept cranking until I snapped the wire or ripped the stud right out of the wall! This wire should have no problem supporting the heavy garage curtain.
Here's a video on how turnbuckles work.

One wire down, one to go.

After the second wire was strung, I hung one of the drop cloths using clamps to make sure my measurements were correct and that this idea would work before I started cutting and putting holes in the drop cloth.

I purchased a very inexpensive grommet kit. A grommet is like an eyelet; a hole in a fabric that allows you to string hooks or wire though, like a standard window curtain. This kit was made for tarps but worked on the slightly thicker drop cloth. I actually used my Dremel to sharpen the cutter, other than that it was really simple to use. To create the hole you simply set the hole punch in place and hit it with a heavy hammer.

Next a few components come together to smash an inner and outer portion of the grommet together, again, with a hammer.

Leaves a very professional looking eyelet!

If I were to do this again, I would have picked something like this handled grommet kit which would give you better leverage and remove some of the complexity. This one states it can puncture 10mm material.

I brought the drop cloth in the house to cut three feet off of one end to create a "door".

Both curtains hung up using shower curtain hooks. The metal on metal slides very well makes it simple to open or close the wall. There is about an inch gap on the bottom which is perfect, it keeps the canvas from soaking up any spilled liquids and doesn't catch on anything.
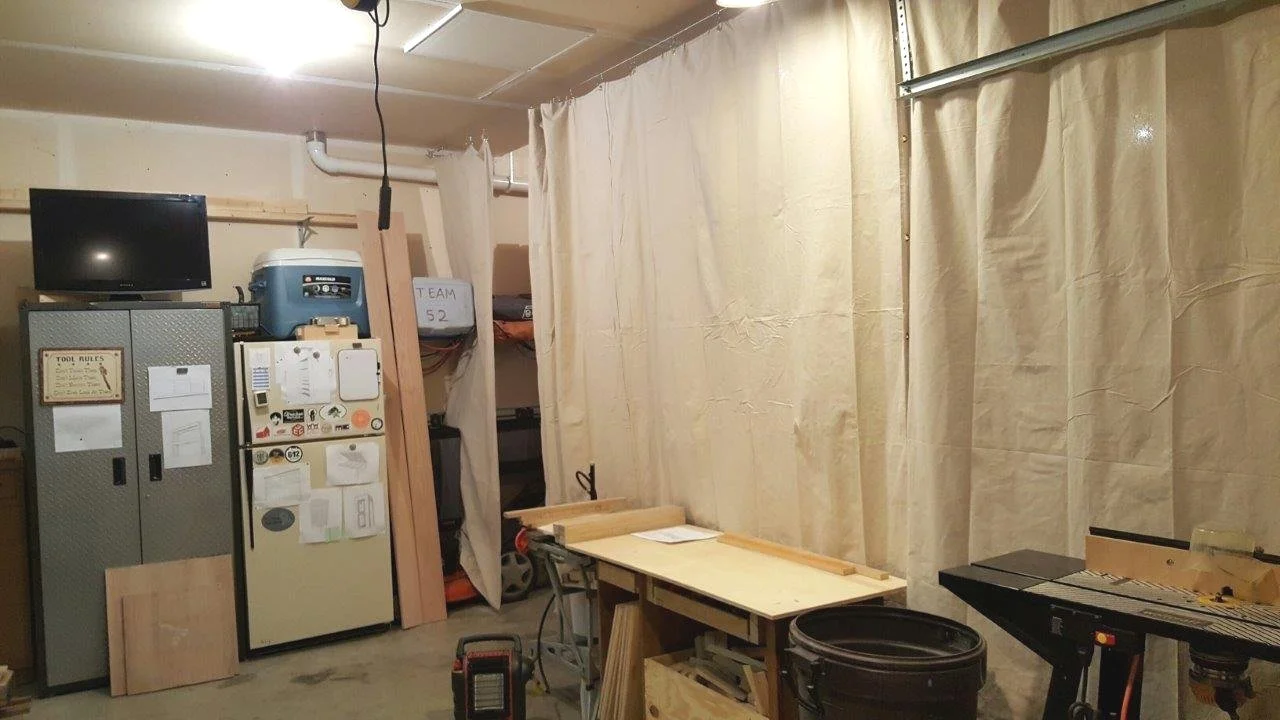
Here you can see the "door" from inside the shop.

I attached two bungee chords to the walls on either end to secure the drop clothes when the garage curtain is fully opened. This whole plan worked out way better than I had thought it would. Now hopefully it keeps the dust and heat contained!
Update!
After years of having this curtain in place, it has been performing phenomenally! I recently installed an electric garage heater and decided to revisit the curtain design.

I made two changes; the first was to staple the drop clothes to the wall on either side to prevent heat and dust from escaping through there. The second was to add an extra section of drop cloth on the ceiling to stop heat from rising over the curtain and escaping into the other side of the garage. To accomplish this, I ripped 1” wide boards the length of the garage. I cut a drop cloth into 24” strips and stapled them to the boards. The boards were then screwed to the studs above the steel cable which closes off that ceiling gap.
Tools and hardware used in this build
Hardware


Tools