Headboard for a King Guest Bed

Now that I had built the nightstands for one of the guest rooms, it was time for a headboard for the king bed. I based my plans off of Jon Peters design found here. I'm a big fan of his work found on his YouTube channel, a lot of the skills I've learned have come from Jon's videos. If you're interested in woodworking I highly recommend checking him out.

I made up my design in Sketchup based off the bed and its frame and prepared a cut list. I built the project out of poplar, pine, and birch plywood.


The next step was cutting the top and bottom of the main frame to size on the table saw. My work bench is on casters and is set 1/8" below the height of my table saw, allowing me to use it as a large 6' out feed table.

Laying the frame out to get an idea of how it would look.

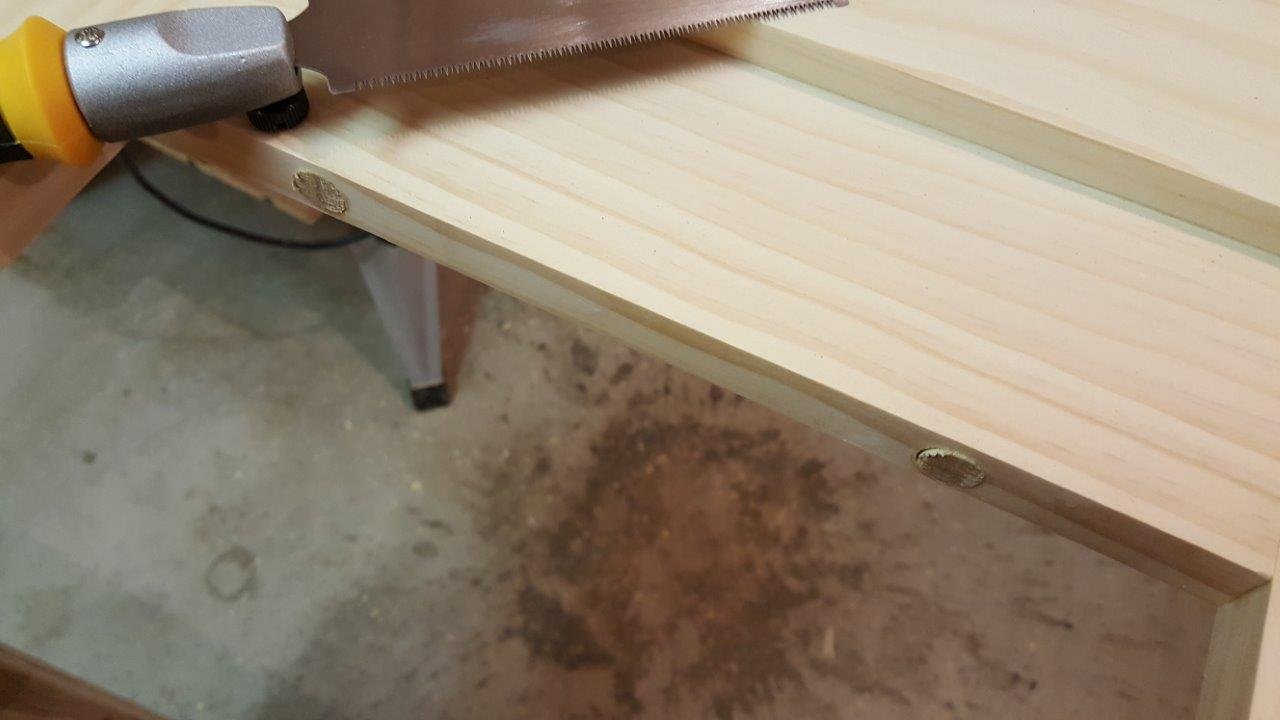
The two stiles closest to the camera are the outer pieces of the frame. For reference, a stile is the vertical section of a frame, the rails are the horizontal segments. I drilled a hole all the way through with a 12" drill bit, then counter bored them out with a Forstner bit. This will allow me to connect the frame to the legs with a reasonably sized screw and fill the remaining hole with a wooden dowel. Below is an example of a counter bore.


All three stiles have pocket holes to connect them to the frame rails. The top rails have the pocket holes drilled through the top, the bottom rails have their holes on the bottom. These layouts allow me to hide them as much as possible, even though they will be plugged.

Starting to connect the stiles and rails. The pocket holes are on the back of the frame. With the addition of glue, these joints become very strong and very simple to make. If you aren't familiar with pocket holes, check out Kreg's website.

Glued, clamped, and drying in the warm house.

Back to the legs. I left a slight overhang on the over sized legs so I could have a straight edge to rip along the table saw fence, then flip it over and rip to final width.

Using those counter bored holes, I drove some long screws through the stile and into the legs.
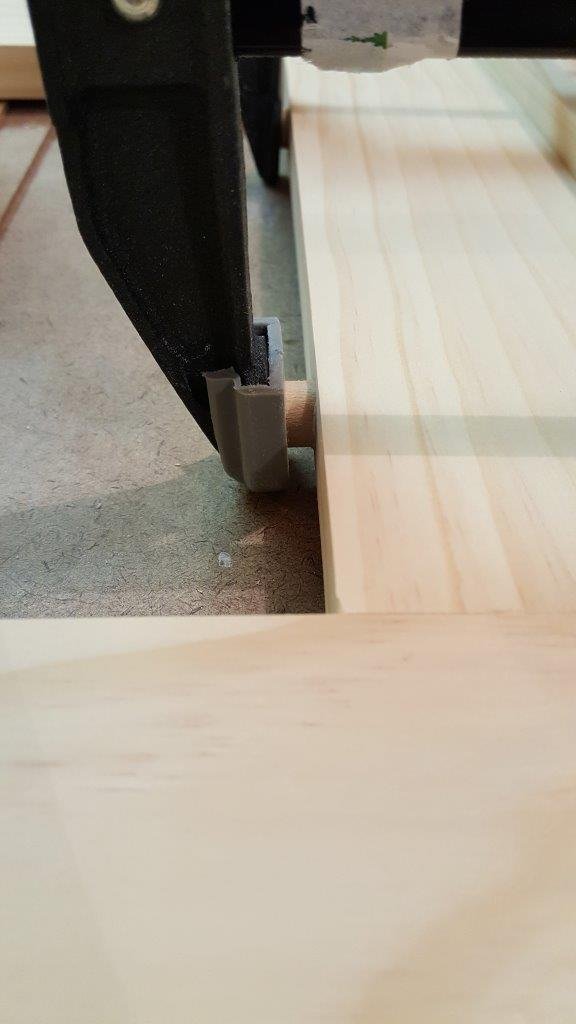
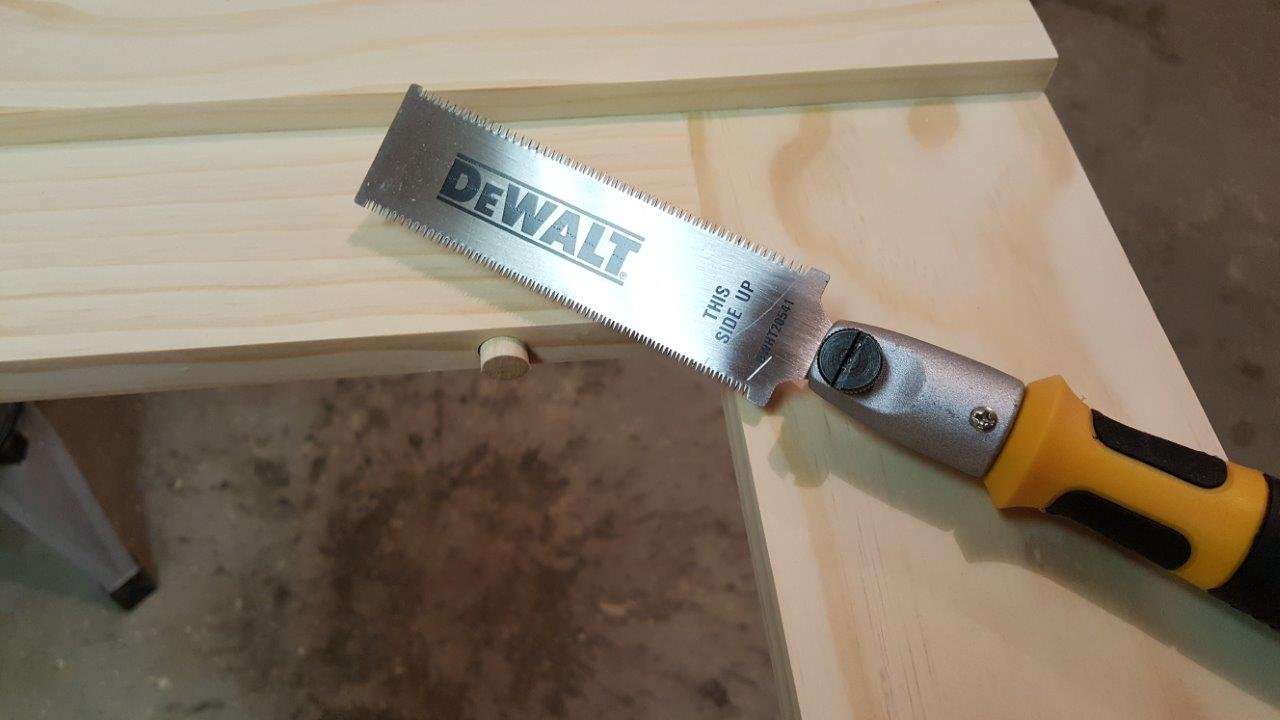
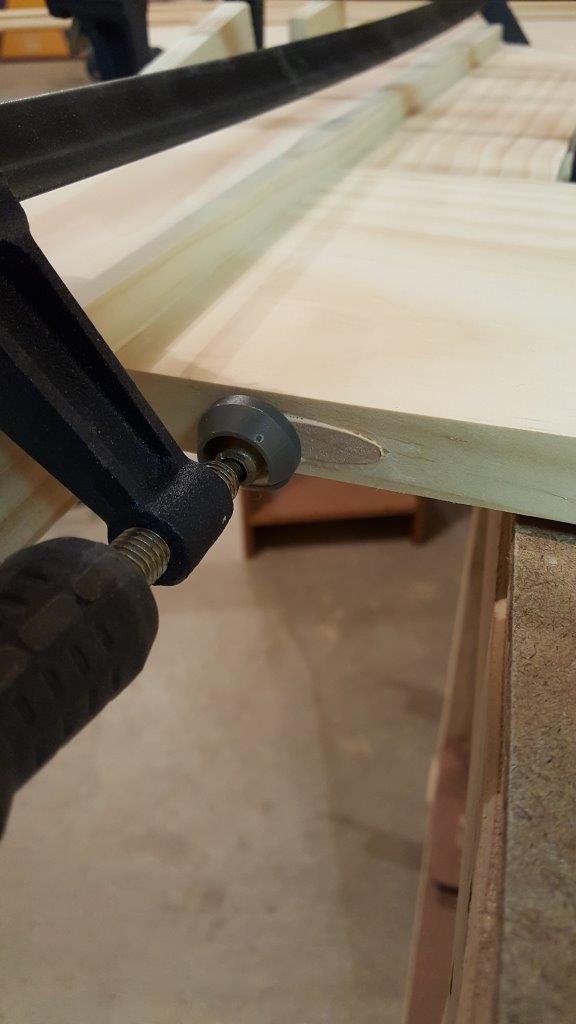
I used some dowels to fill the holes where the screws reside. Once the glue dried I used a flush cut saw to take off the excess. Pocket hole plugs fill the pocket holes after the screws were in place. Once they were dry I sanded them flush to hide them.

Lots of sanding to hide any imperfections and make sure everything is smooth. I really like the little detail sander to get close to the legs without worrying about cutting into them.
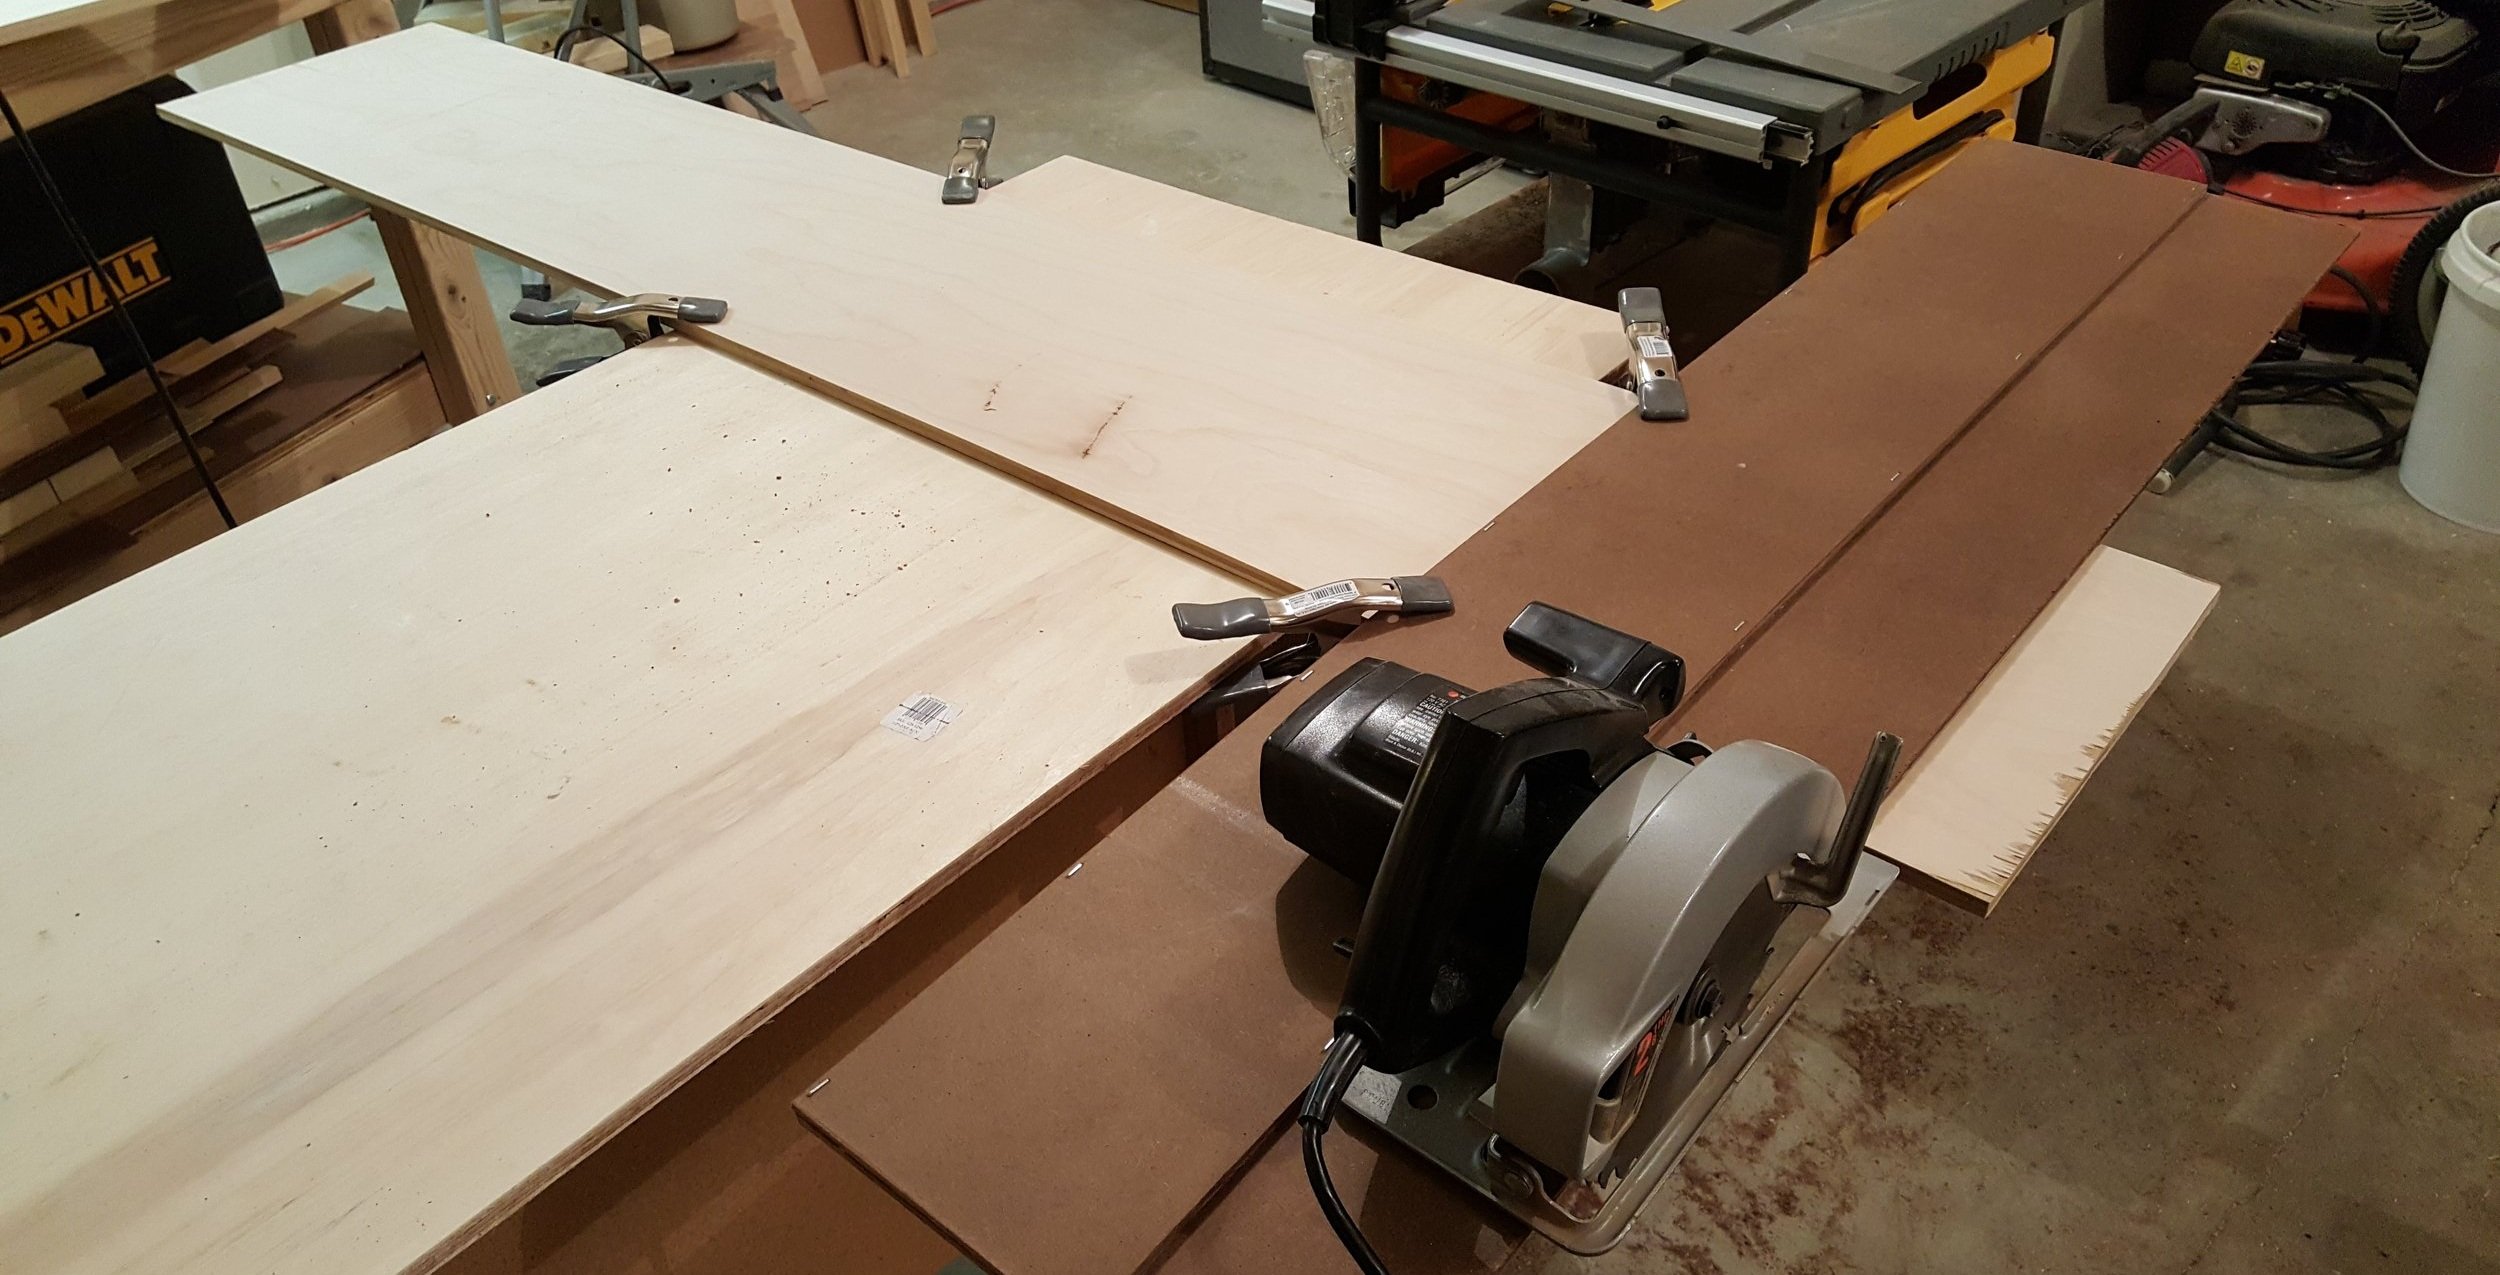
I used 1/2" birch plywood for the main frame. I used my circular saw with a straight cut jig to crosscut it down to size. A straight cut jig is simply a track that the saw fence rides against, allowing you to line up an exact cut.

The pocket holes on the back side of the top will allow the connection to the top overhang.

Laid down some glue and screwed the back into place using 1" countersunk screws.

It looks like a headboard!

Next the top overhang was cut to size and given a round over on the bottom side with the router.

Used the pocket holes on the frame and glue to connect it.

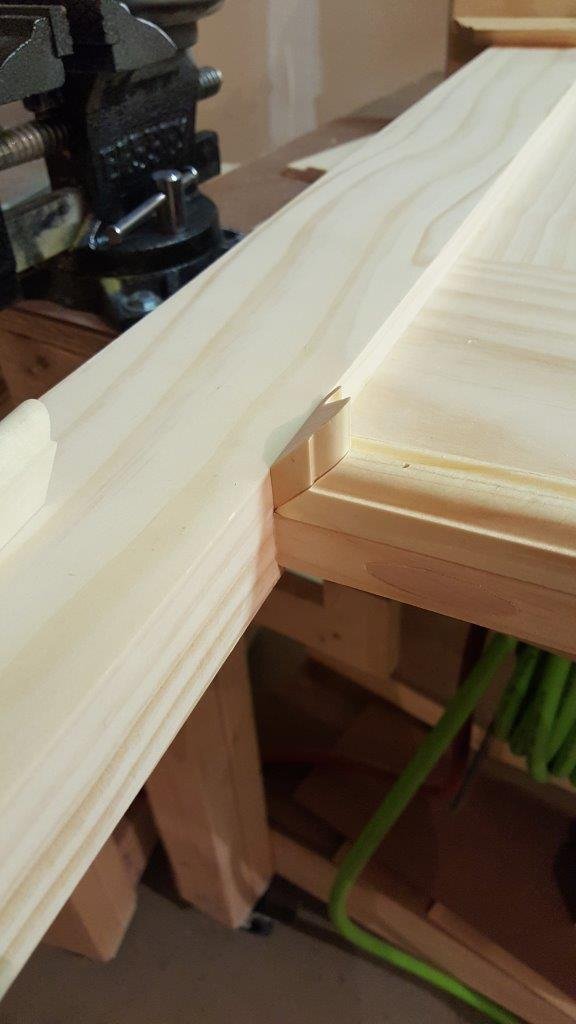
Picked up some molding and cut trim for the inner frame sections on the miter saw.

At this point I realized I should probably make sure this thing fits. I hauled it upstairs and checked the sizing of everything, looking good. The trim is just pushed in place here. I cut it all to fit as I went so the corners were nice and tight.

Continued with the molding along the top. These angles on the bed molding were ridiculously tricky to figure out. I made so many wrong angled cuts that I had to buy another section of trim. Once I got the hang of it I had no issues cutting the rest.
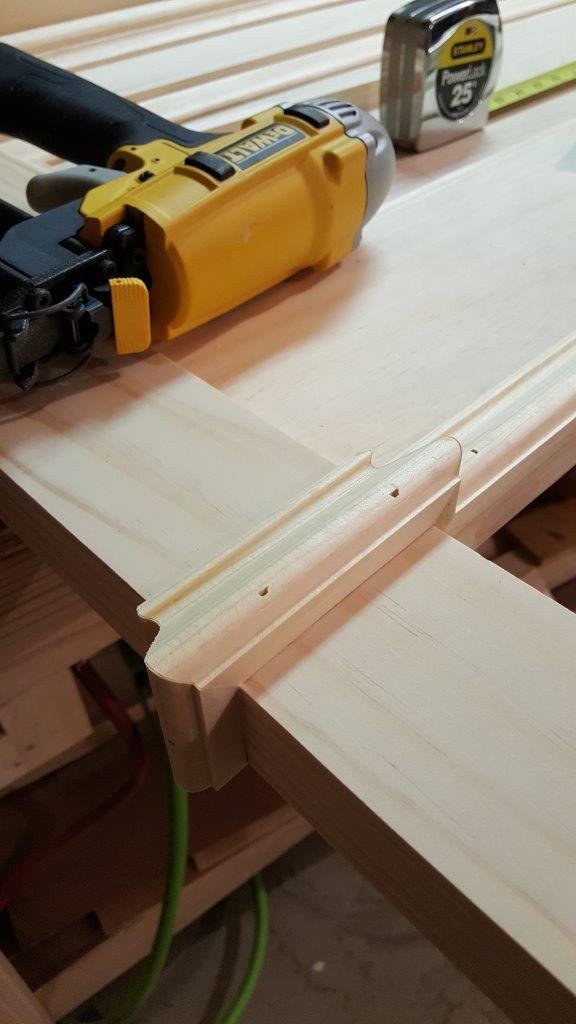
Wrapped a different style of trim around the bottom of the frame and continued it around the legs. All of this trim is attached with brad nails from the nail gun. The holes are easily filled with putty and sanded flush. I really think this trim is what makes the headboard look so good. The rest is just simple squares and harsh edges but the trim adds a professional look.

Woodworking portion of the project done!

The headboard took a trip to the basement paint shop and got a coat of primer with the spray gun.

I used wood filler to fill all of the trim brad nail holes. There are always a lot more holes than I remember at this point in a project. Once the filler was dry I hand sanded it smooth.

A semi-gloss off white paint was used as the final coat.

Dried up and looking good.
I put some painters tape on the legs to avoid scratching while marking out the holes for the bolts which connect the bed frame. I then drilled out the holes and bolted everything together.

Really proud of this build!

Here's the final look of the room with the night stands I previously built. This is one of my favorite projects so far; it really did a lot to pull this guest room together and fits well with the bedding and color of the room. I may end up building the same pieces for a queen bed in another guest room but I have quite a few projects lined up before that happens!
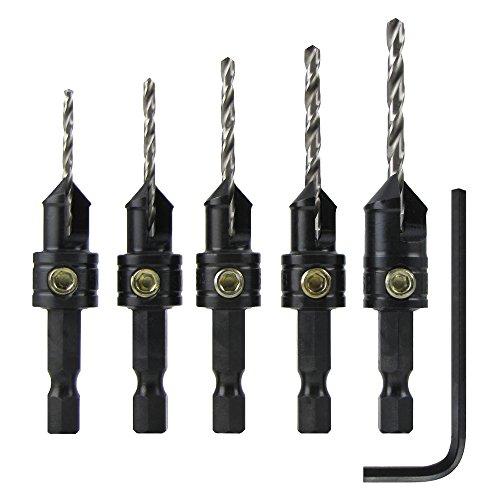
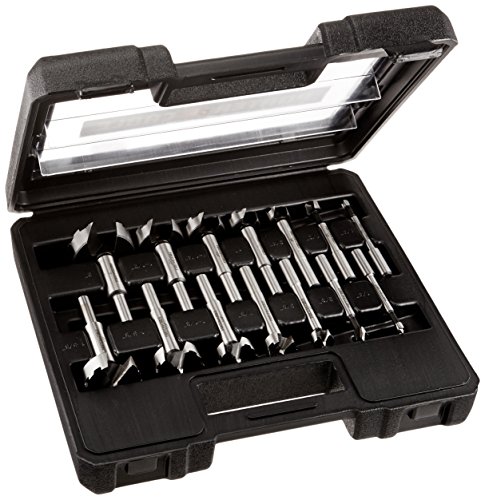
Products used in this project
Power tools


Finishing


The rest