How to Build a Children's Bookshelf

When my wife was pregnant, I decided that I wanted to create my future child a large woodworking gift that would last her years. At one of the baby showers, books were given instead of cards, with messages written on the inside covers. We ended up with dozens of books, all needing a home.
A few features of the bookshelf I designed are three adjustable shelves, a large full extension storage drawer, and a changeable fabric back wall.

The project begins with the frame stiles. The frame is made from poplar, which is my go-to for painted projects. It takes paint well, is reasonably priced, and holds up well over time. I glued up the legs in two halves, each made of 3/4" stock, slightly over sized so that I can rip them to final width as one.

The six rails for the side frame were cut from the same board. I set up a stop block on the miter saw and cut all four to the same length.

The removable back panel of the bookshelf is a 1/4" piece of plywood, and the two side panels are 1/2" plywood. Before routing out the rabbets in the frame to hold the panels, I removed the bulk of the material with the table saw. Removing that much material over a long span is hard on the router and bits. I set up the fence just under the needed 1/4" final depth.

Here you can see the rough cuts made, which removed the bulk of the rabbet area.
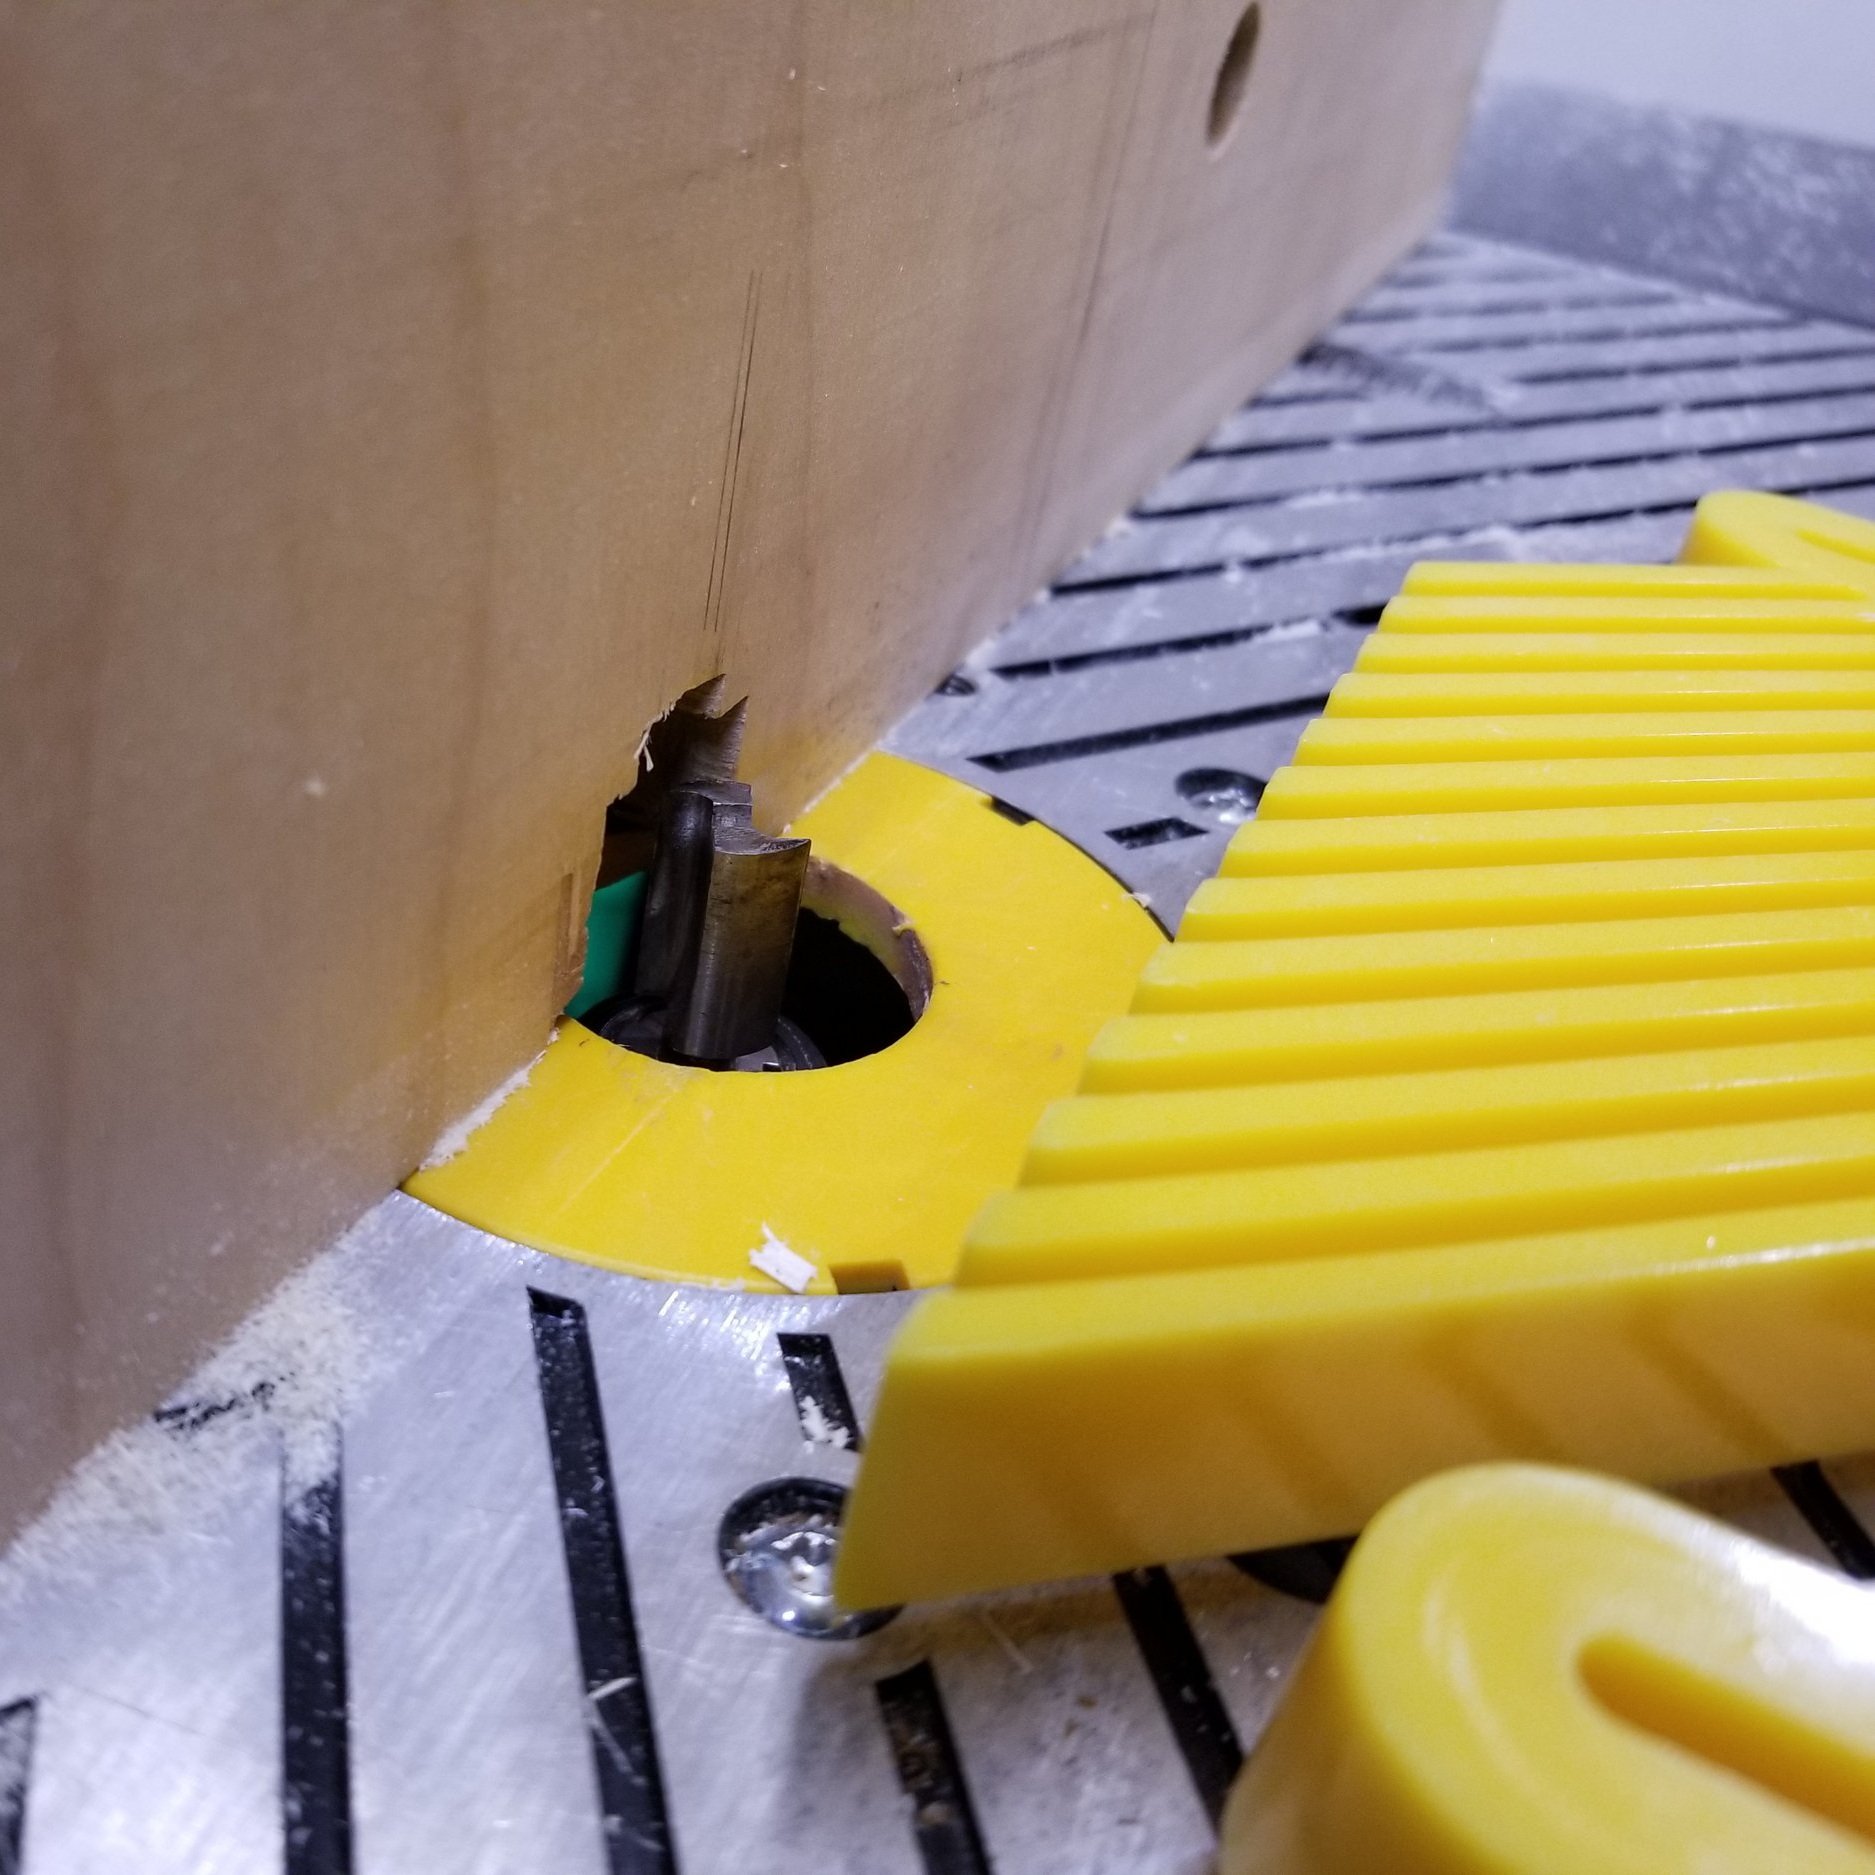
To keep the legs tight to the router fence, I used a feather-board. With the straight bit set at my final height, I cleaned up the all of the rabbets.

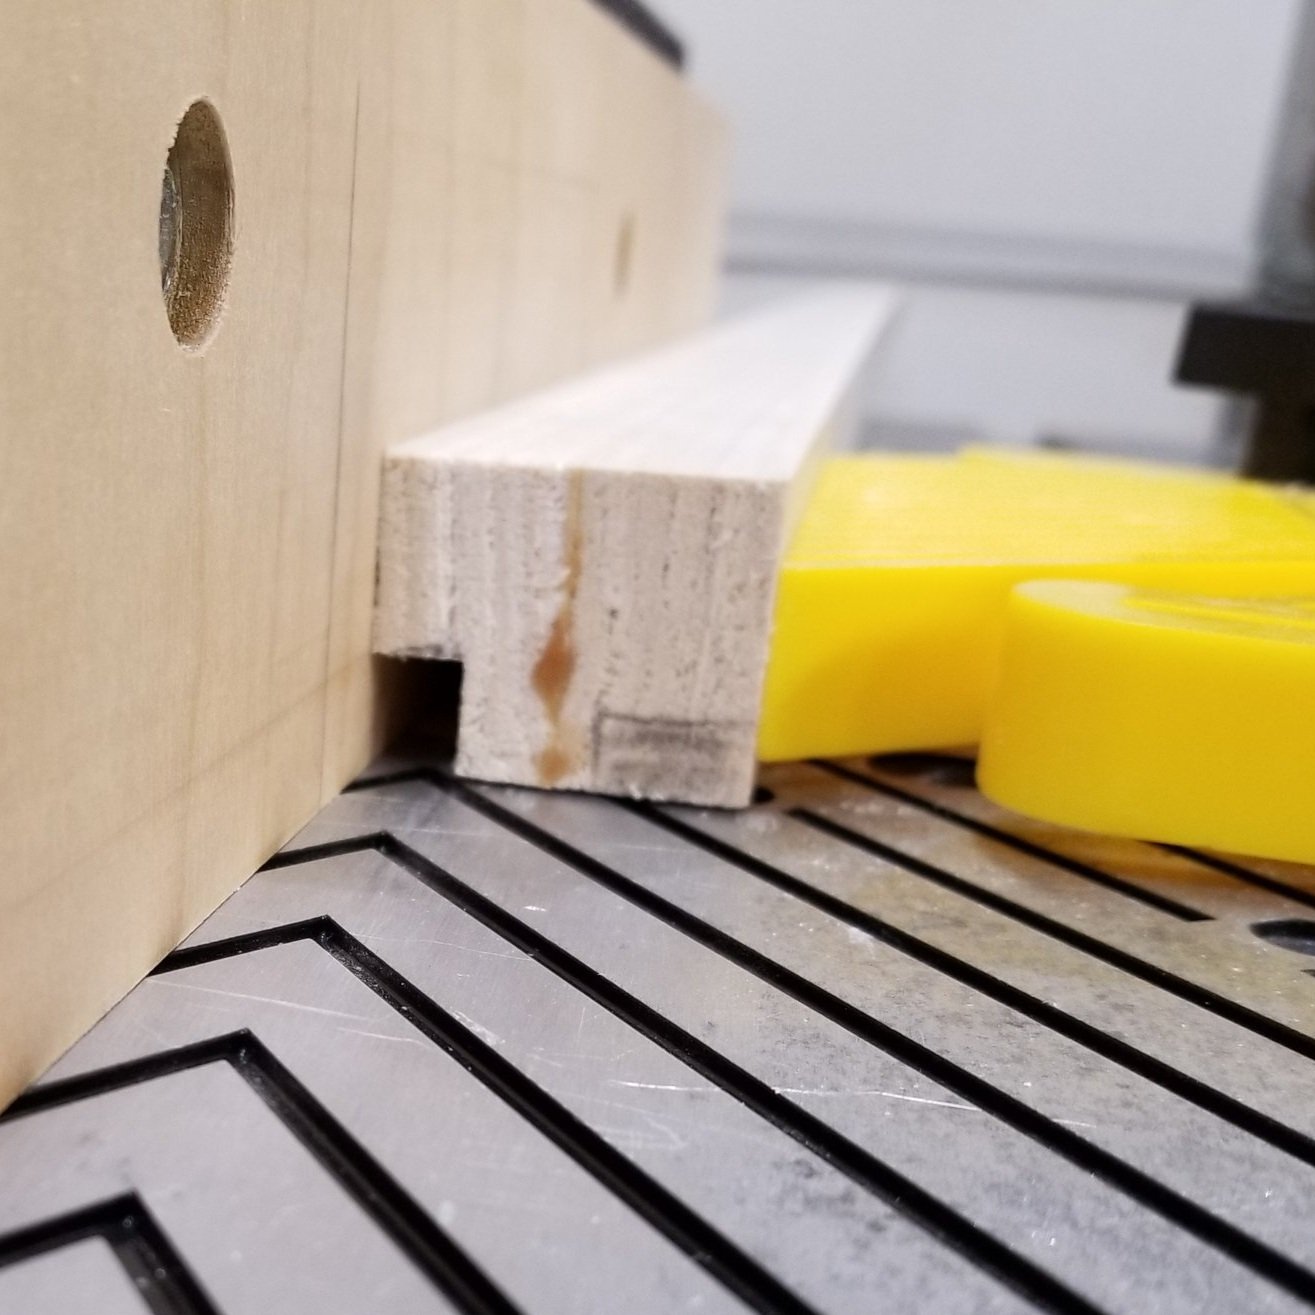
It is crucial to mark out all of rabbets on the legs. Above you'll see all four of the bookshelf legs. The front legs are on the bottom, they only need the rabbets for the side panels. The rear legs have the matching rabbets for the side panels, and the additional shallow rabbets for the back panel.
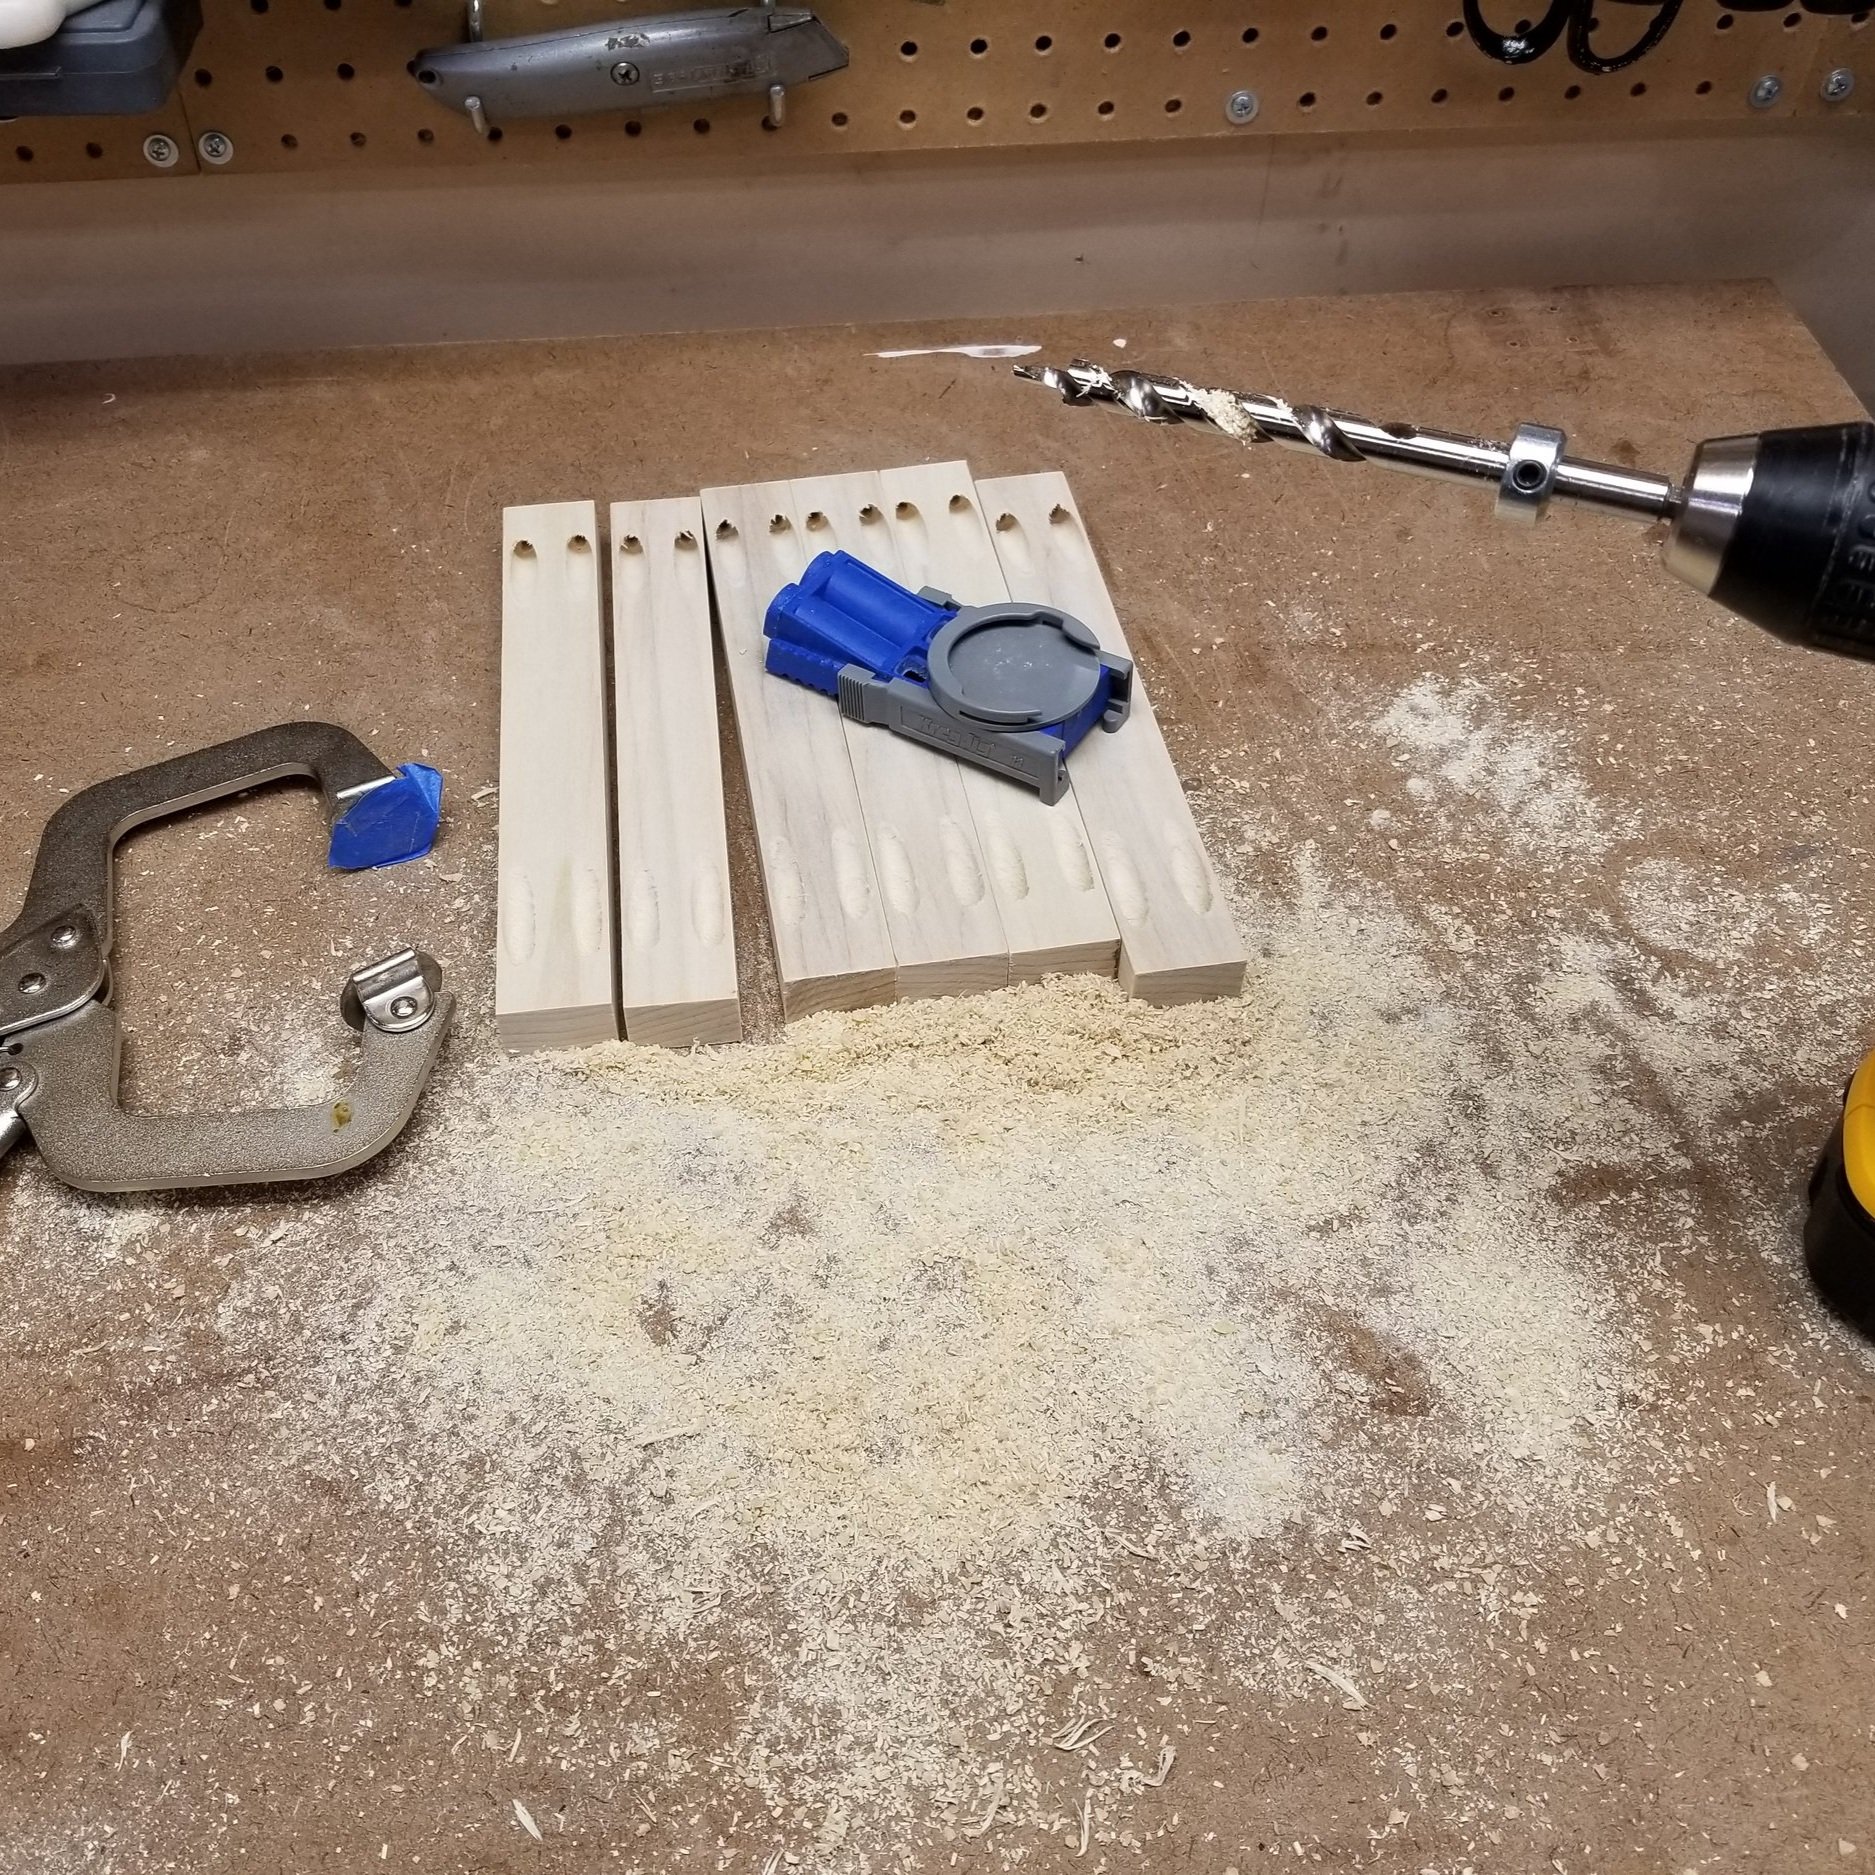

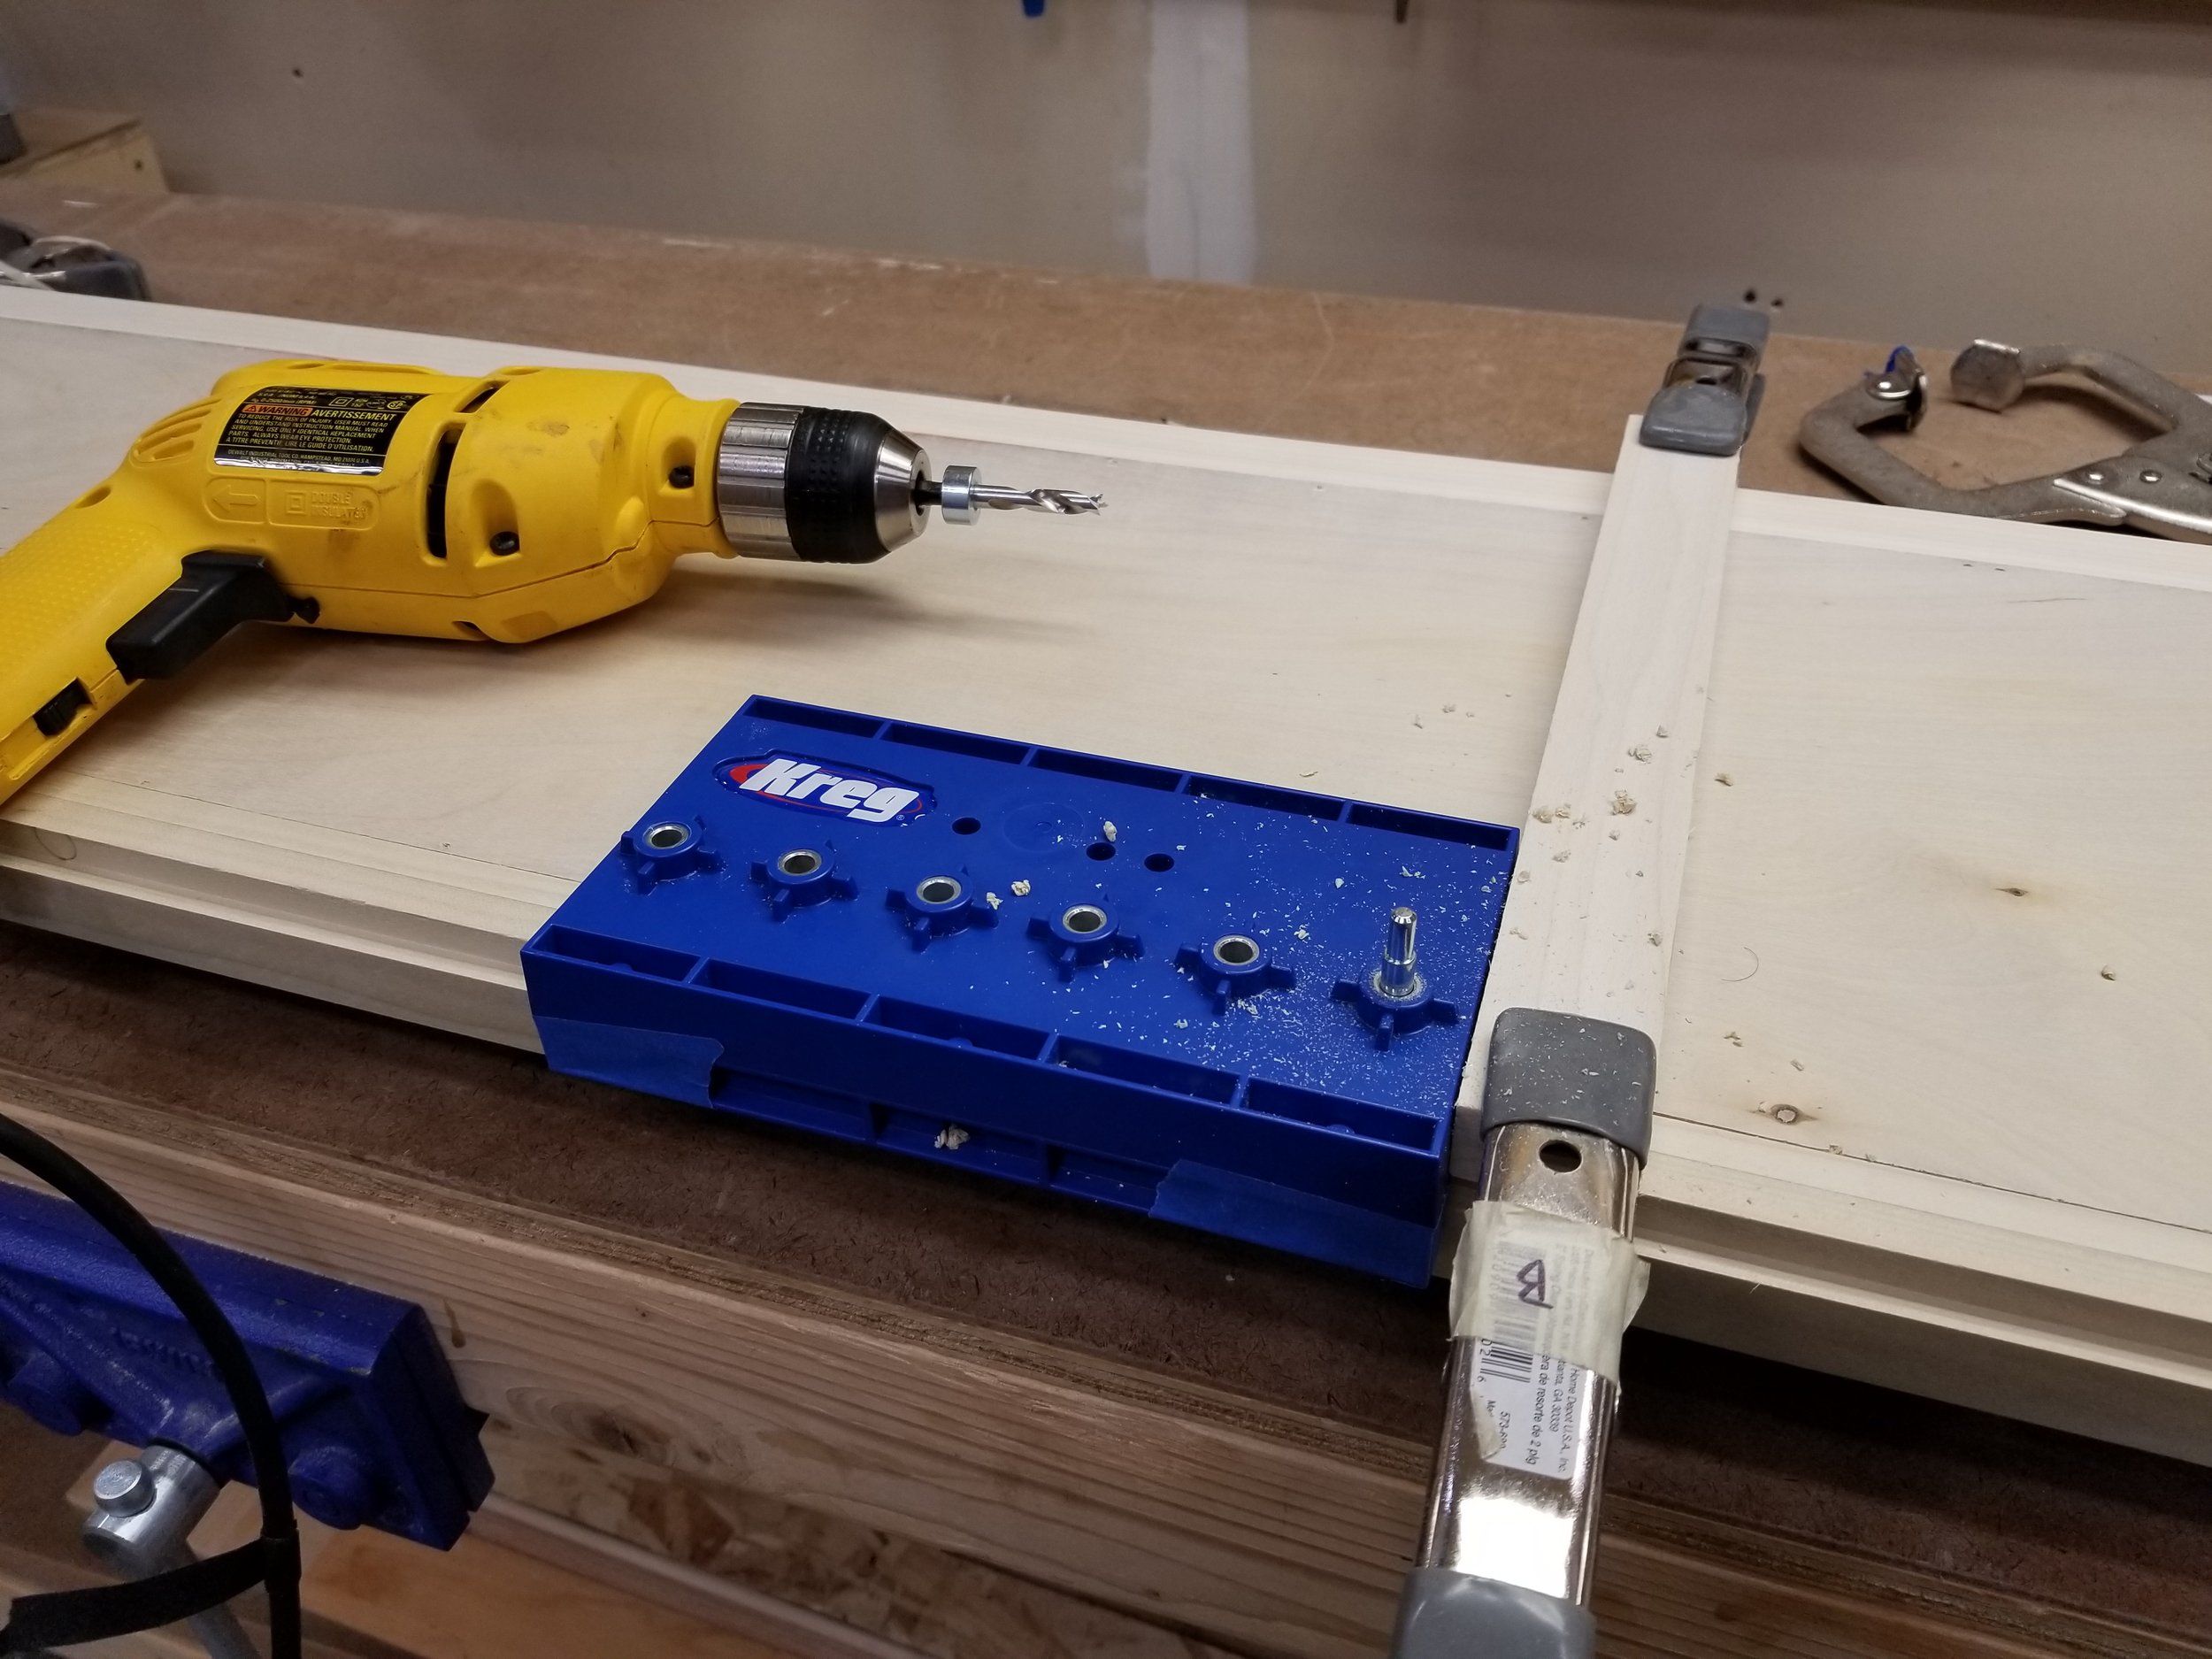
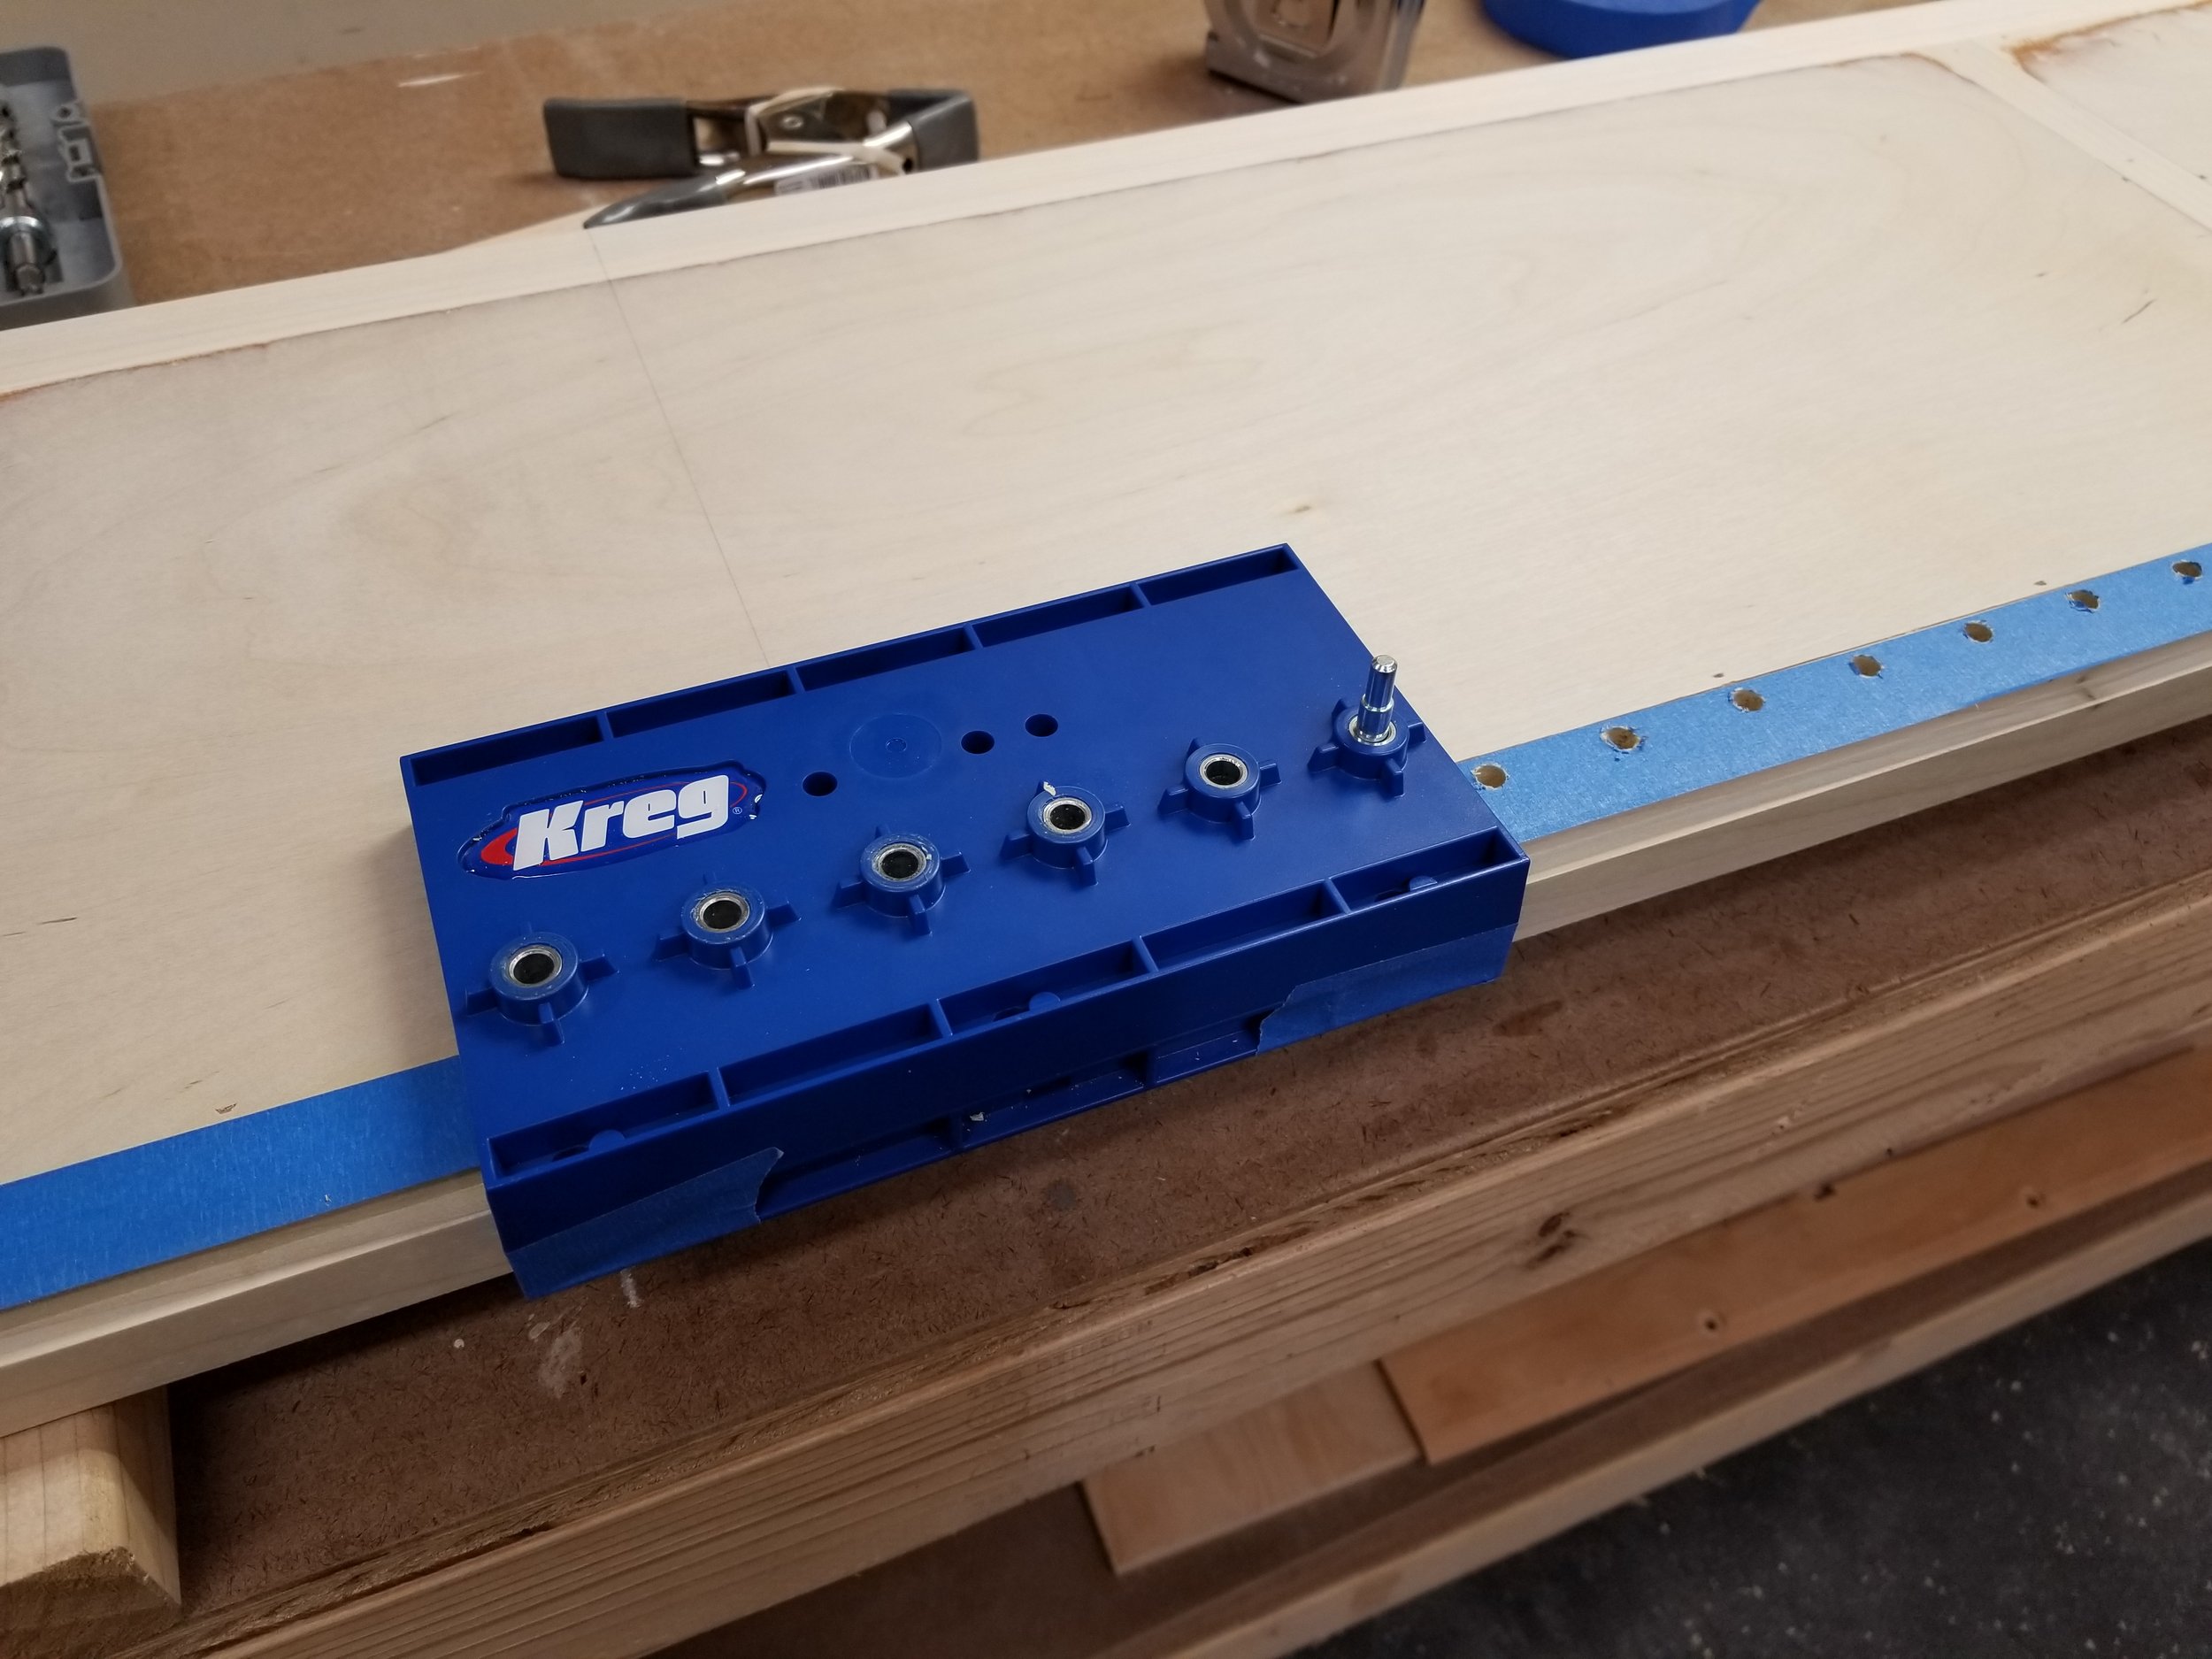
Using a Kreg Jig, I drilled pocket holes into the frame rails. I clamped them in place, aligning with a framing square, and attached them with pocket screws and glue to the stiles.
This is a view of the rear left leg. You can now get an idea of where the 1/2" plywood will sit (middle), as well as the rear 1/4" backer panel (right rabbet).

I had enough pieces of plywood at this point to make the sides out of four separate panels, rather than two full size panels, so the design was altered. I didn't like the look of the two pieces of plywood butted up against each other, so I added a spacer on the back of the center cross pieces for aesthetics.

Since I was adding the new spacers in the center, I also added them to the top and bottom, to give a cleaner look. The inside of the left and right sides are now more of a picture frame.
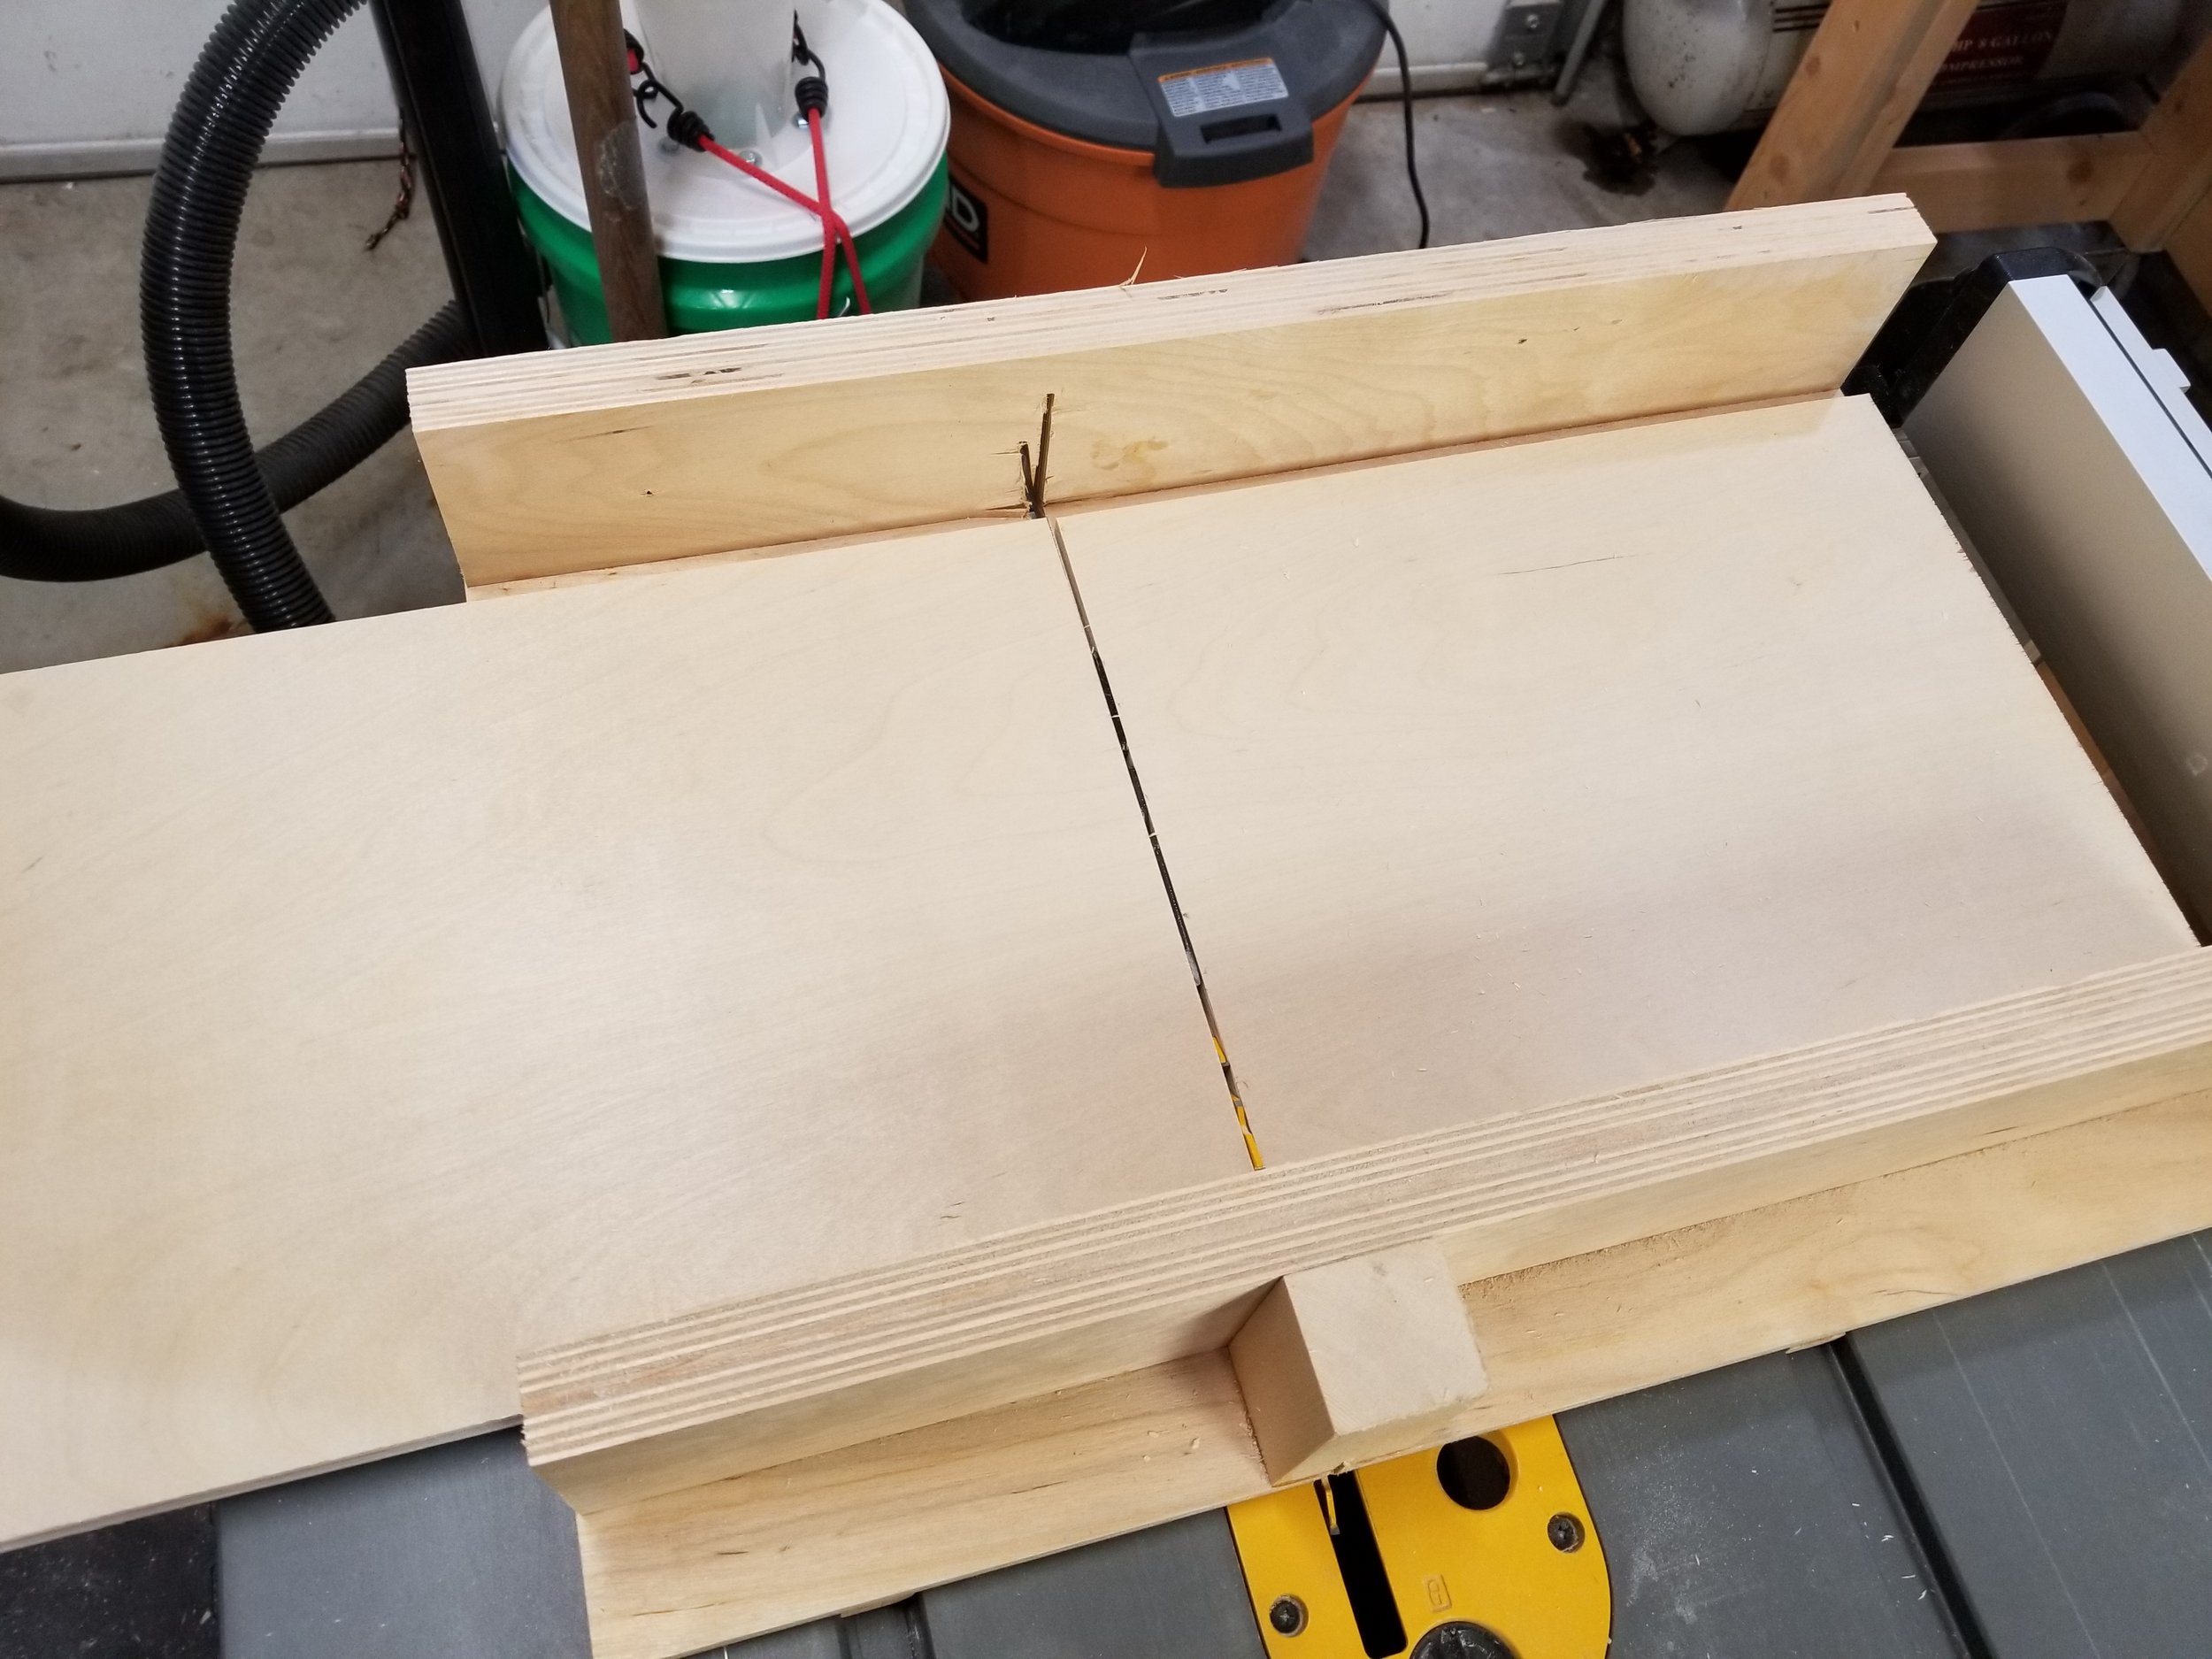
Using the cross cut sled on the table saw, I ripped the four side panels to their final size and nailed them into the frame using 3/4" brad nails and glue.

Cutting and fitting trim is one of my favorite parts of a build, especially when it's all 45° miters!
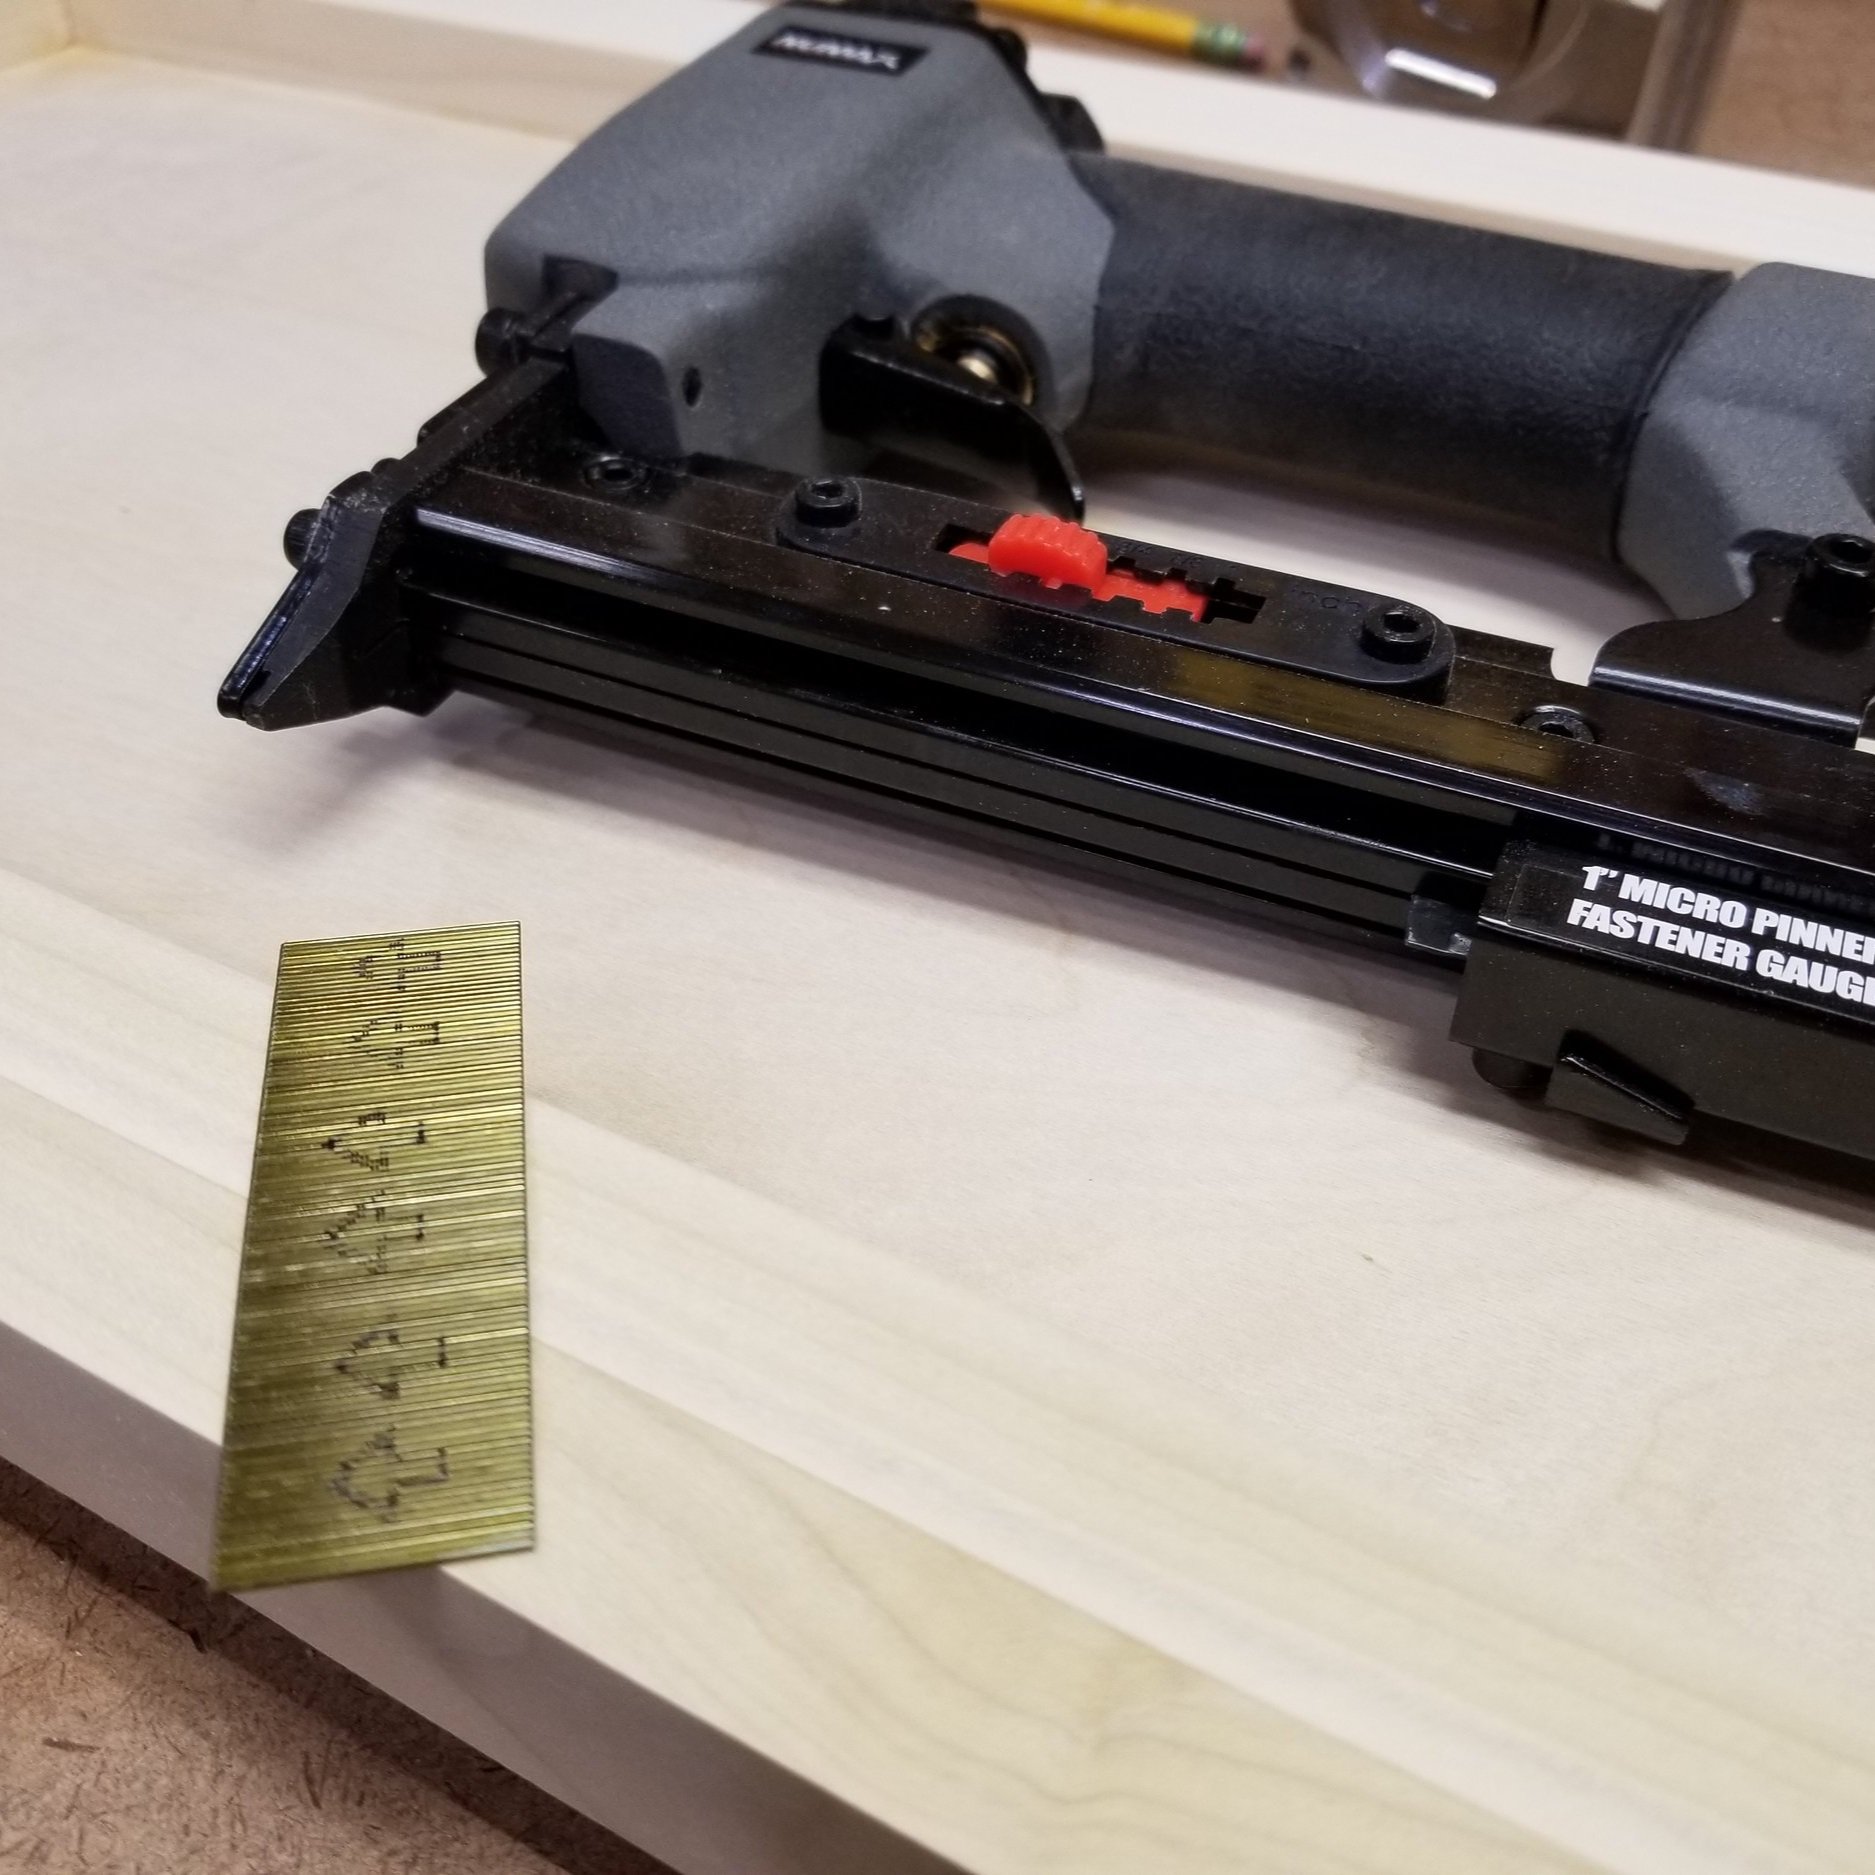
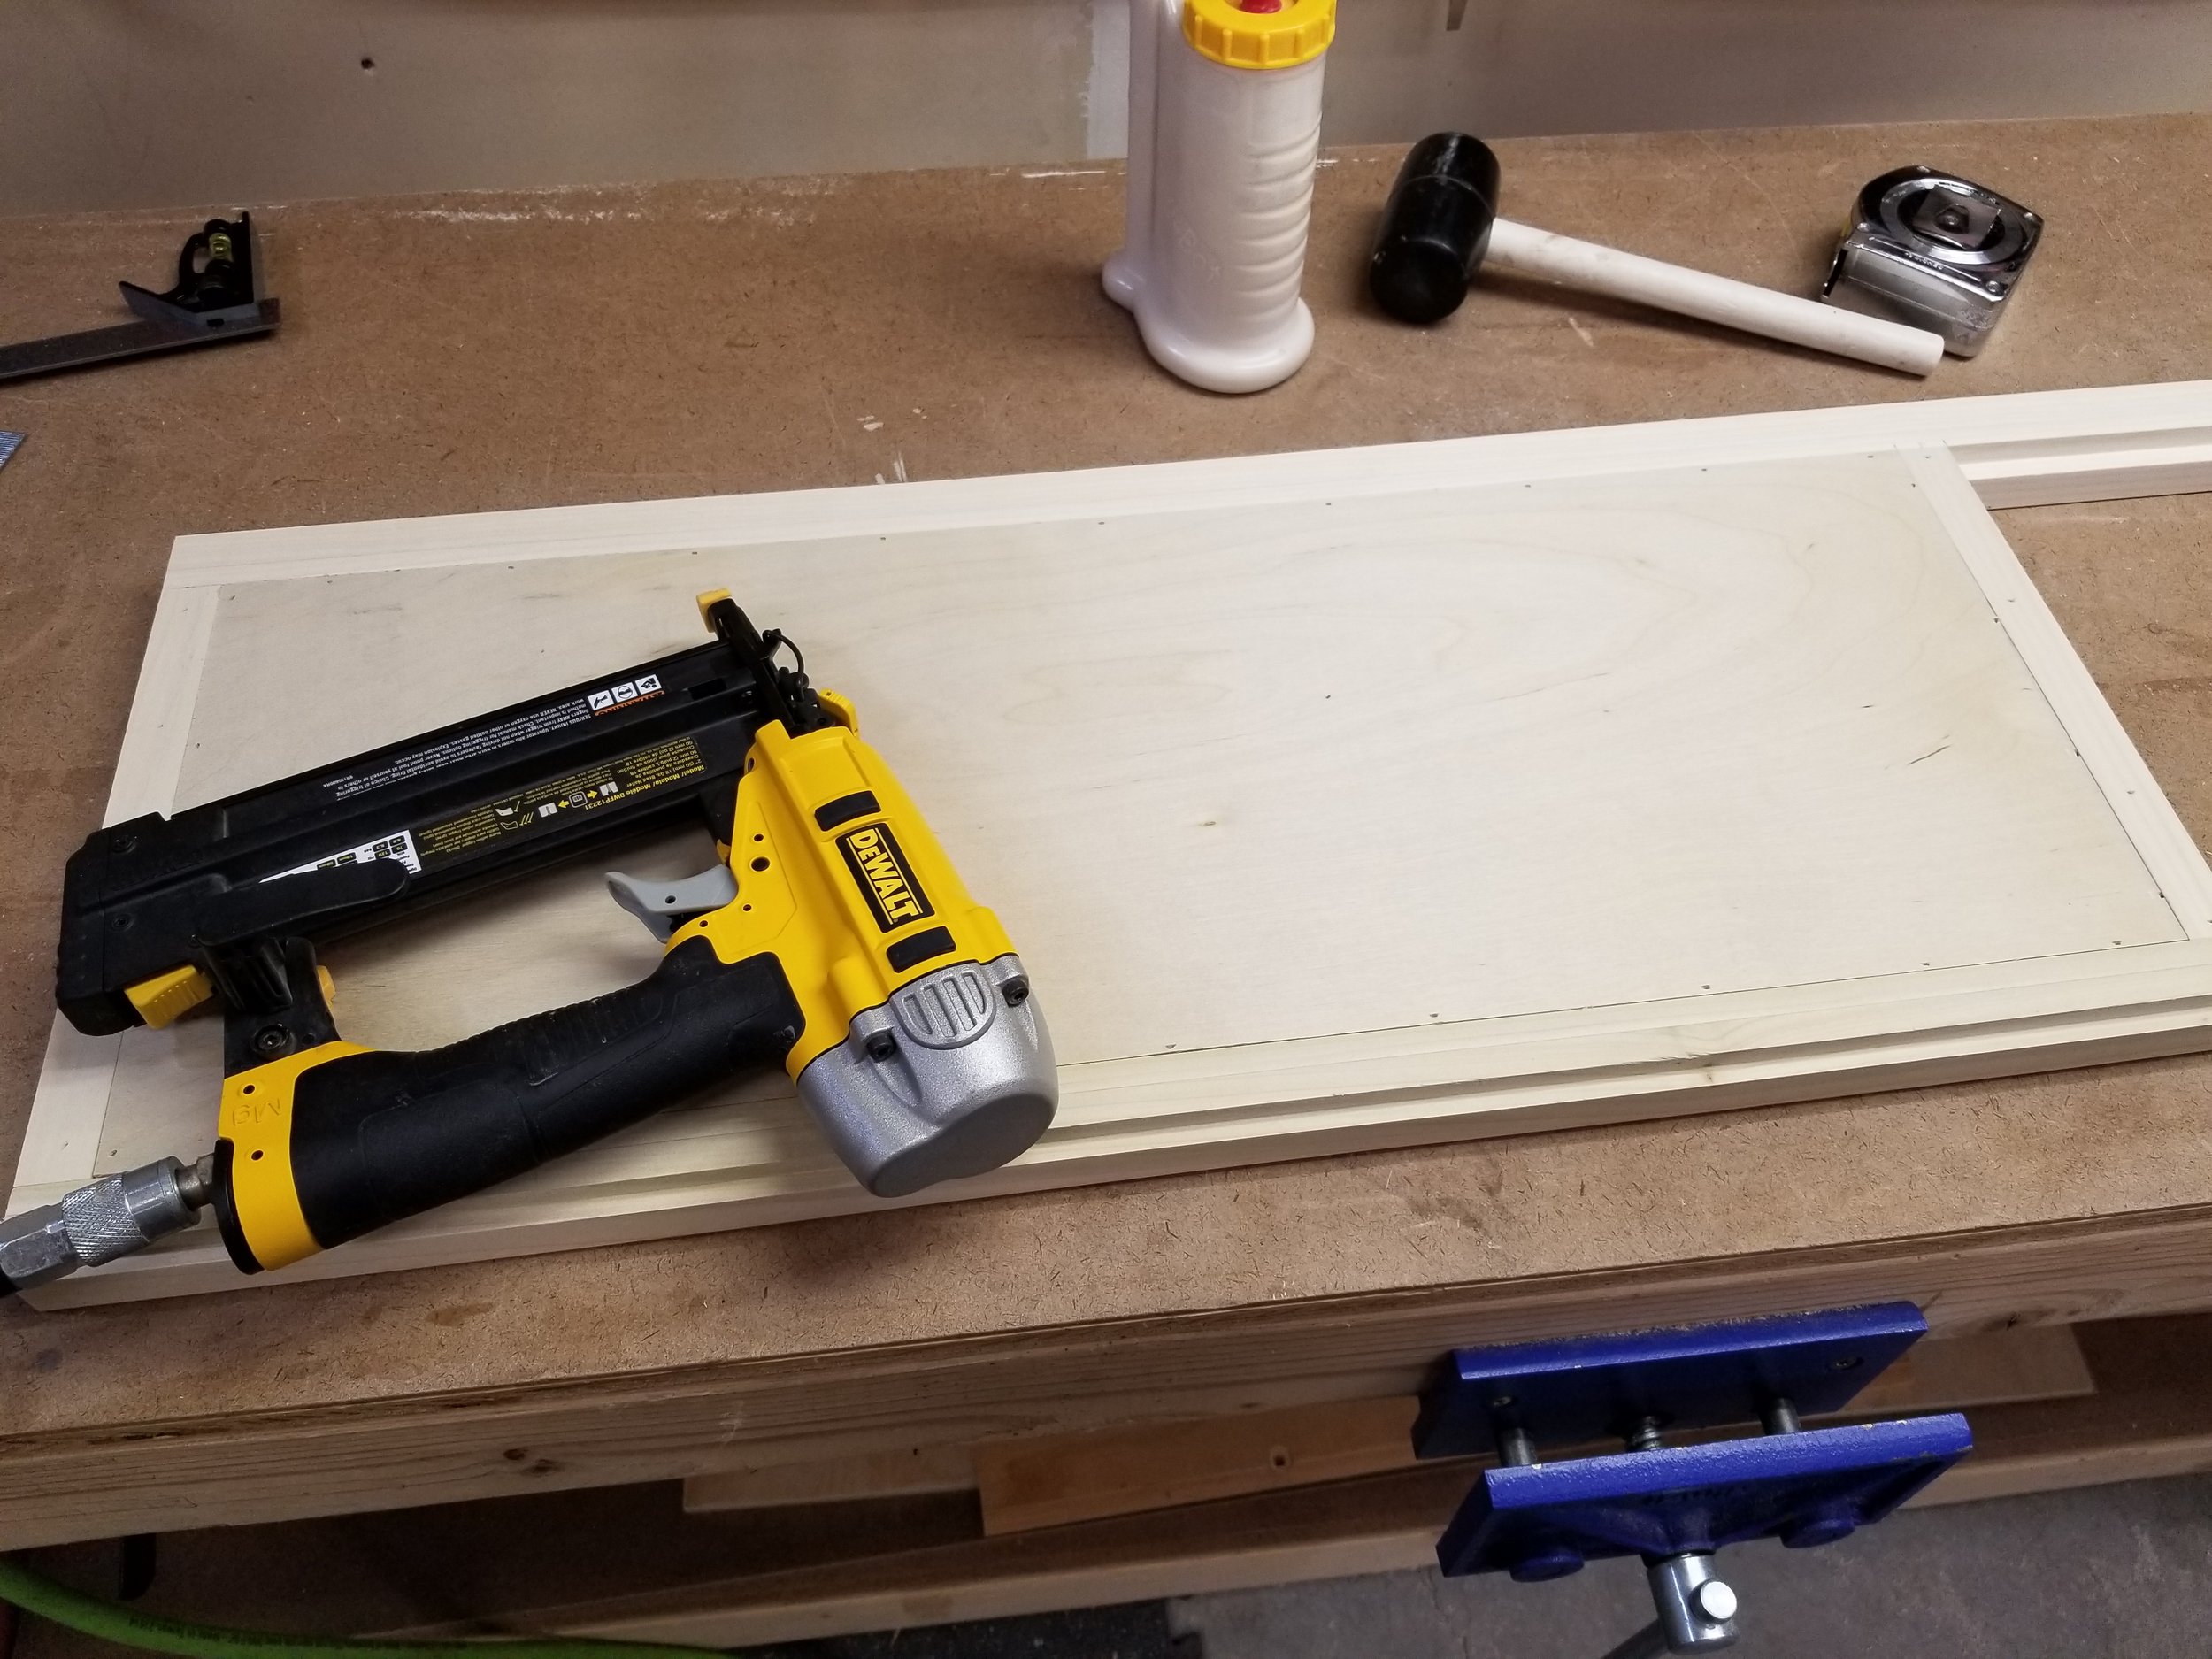
I used the pin nailer, with 1" pin nails to attach all trim on the bookshelf.

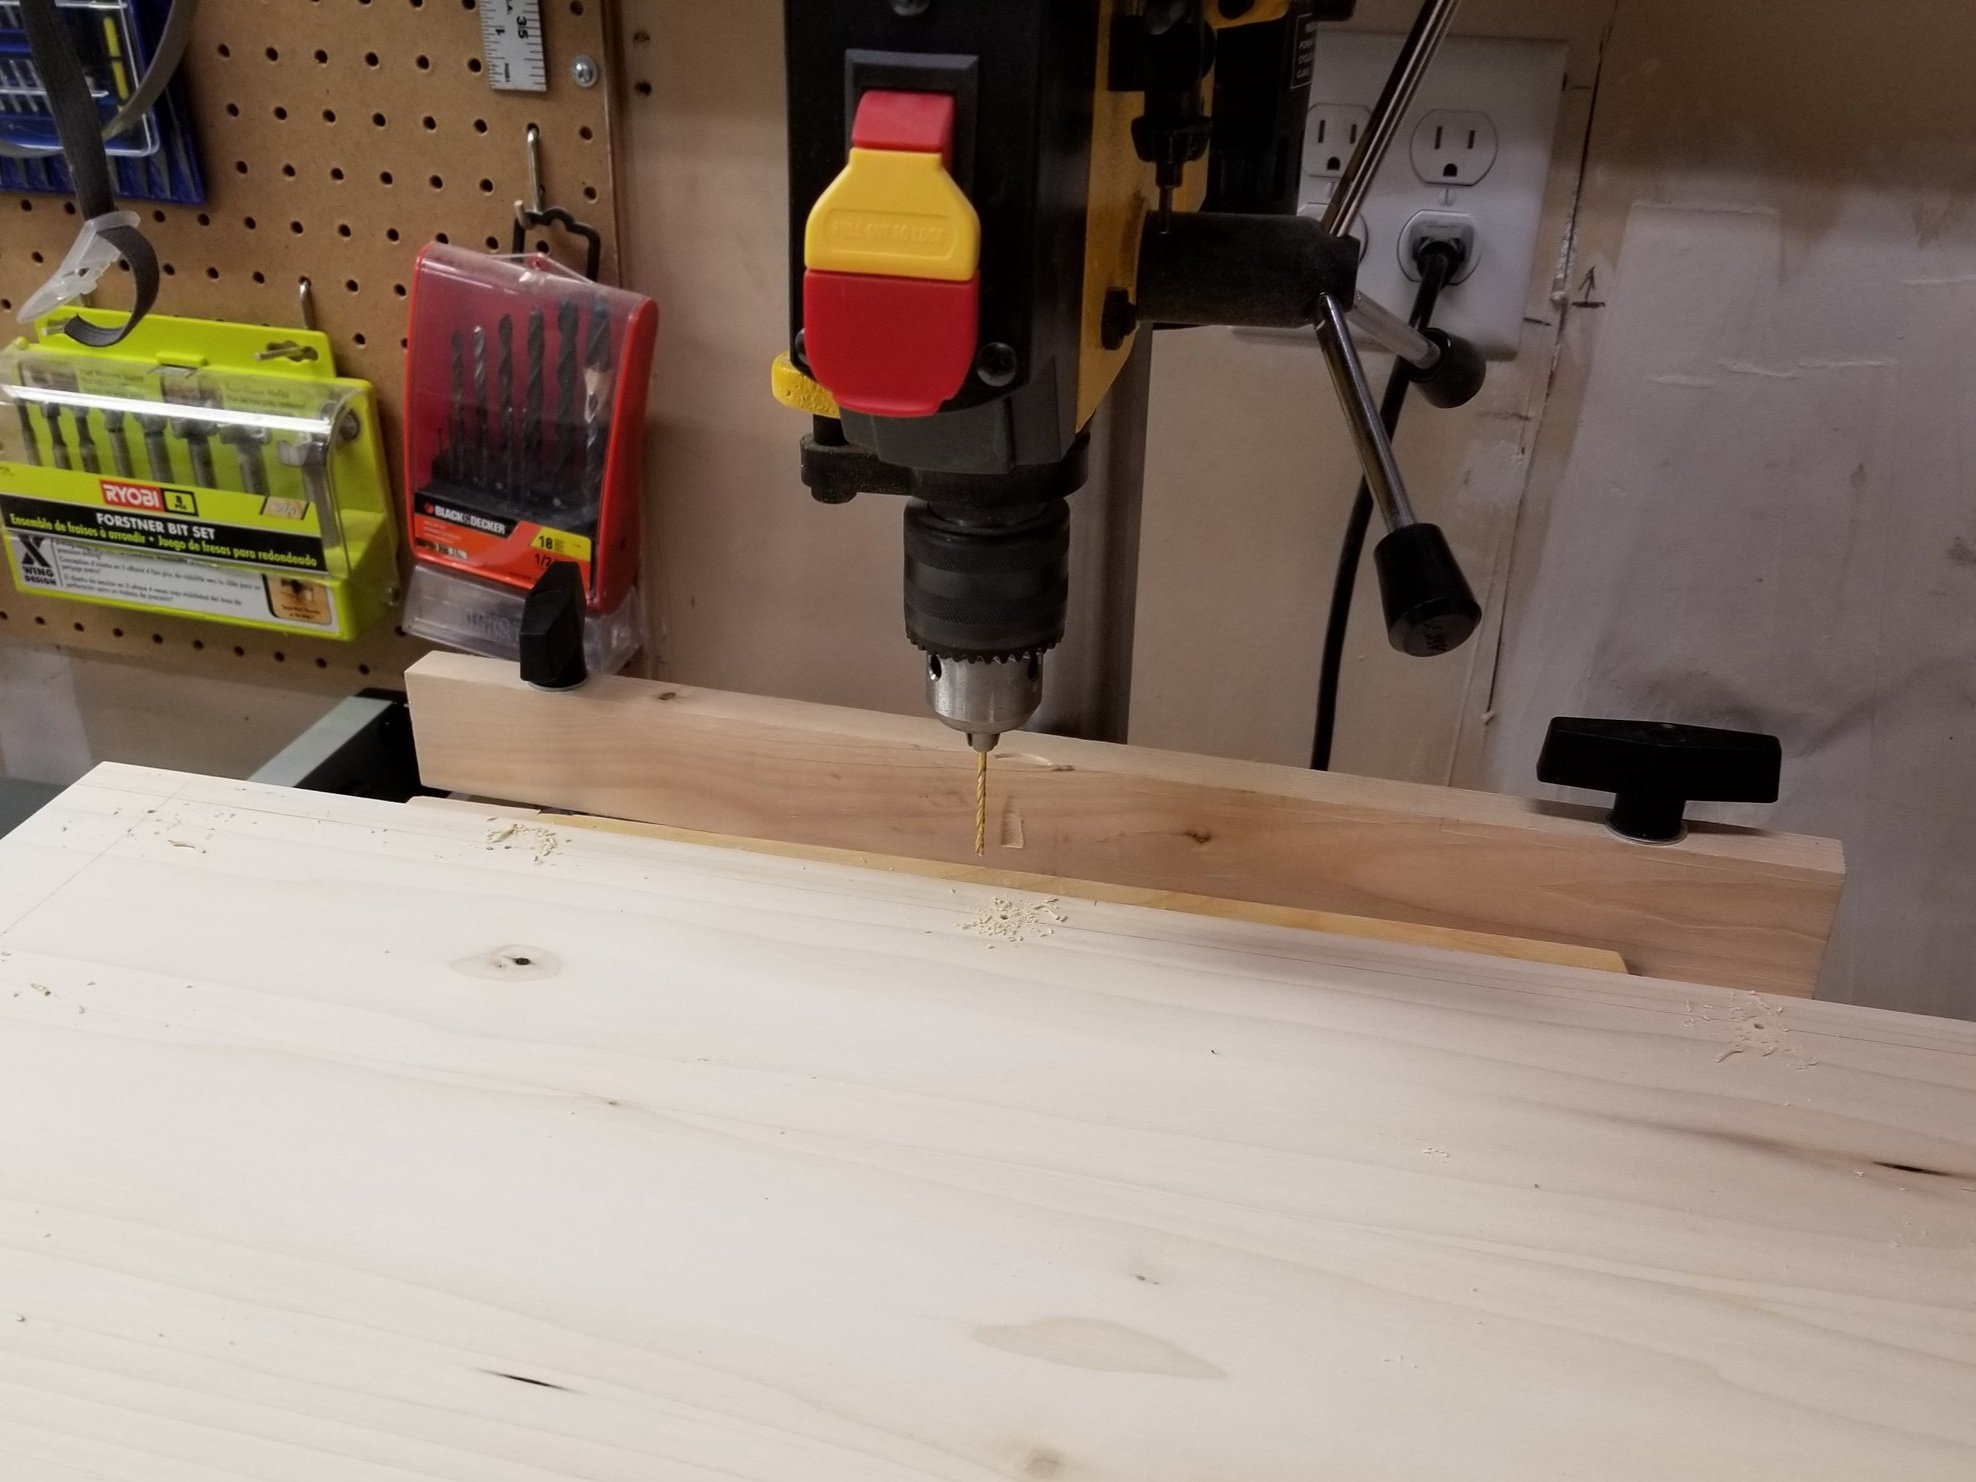
I picked up the Kreg Shelf Pin Jig to evenly space out all of the shelf pins. I've made shelf pin holes in the past using a homemade jig, like this one, but I wanted a bit more accuracy with this project. I drilled the holes in the frame, leaving space away from the top and bottom. I was very happy with this Kreg jig and highly recommend it.

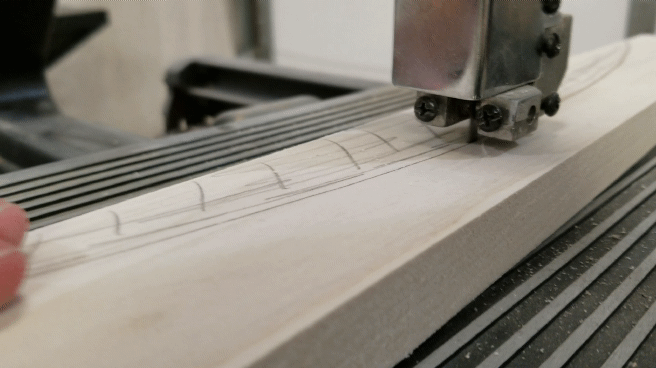
To create the curved top and bottom I drove two nails in the back of the blank, then bent a thin piece of scrap wood to an angle that looked good, and traced a line.
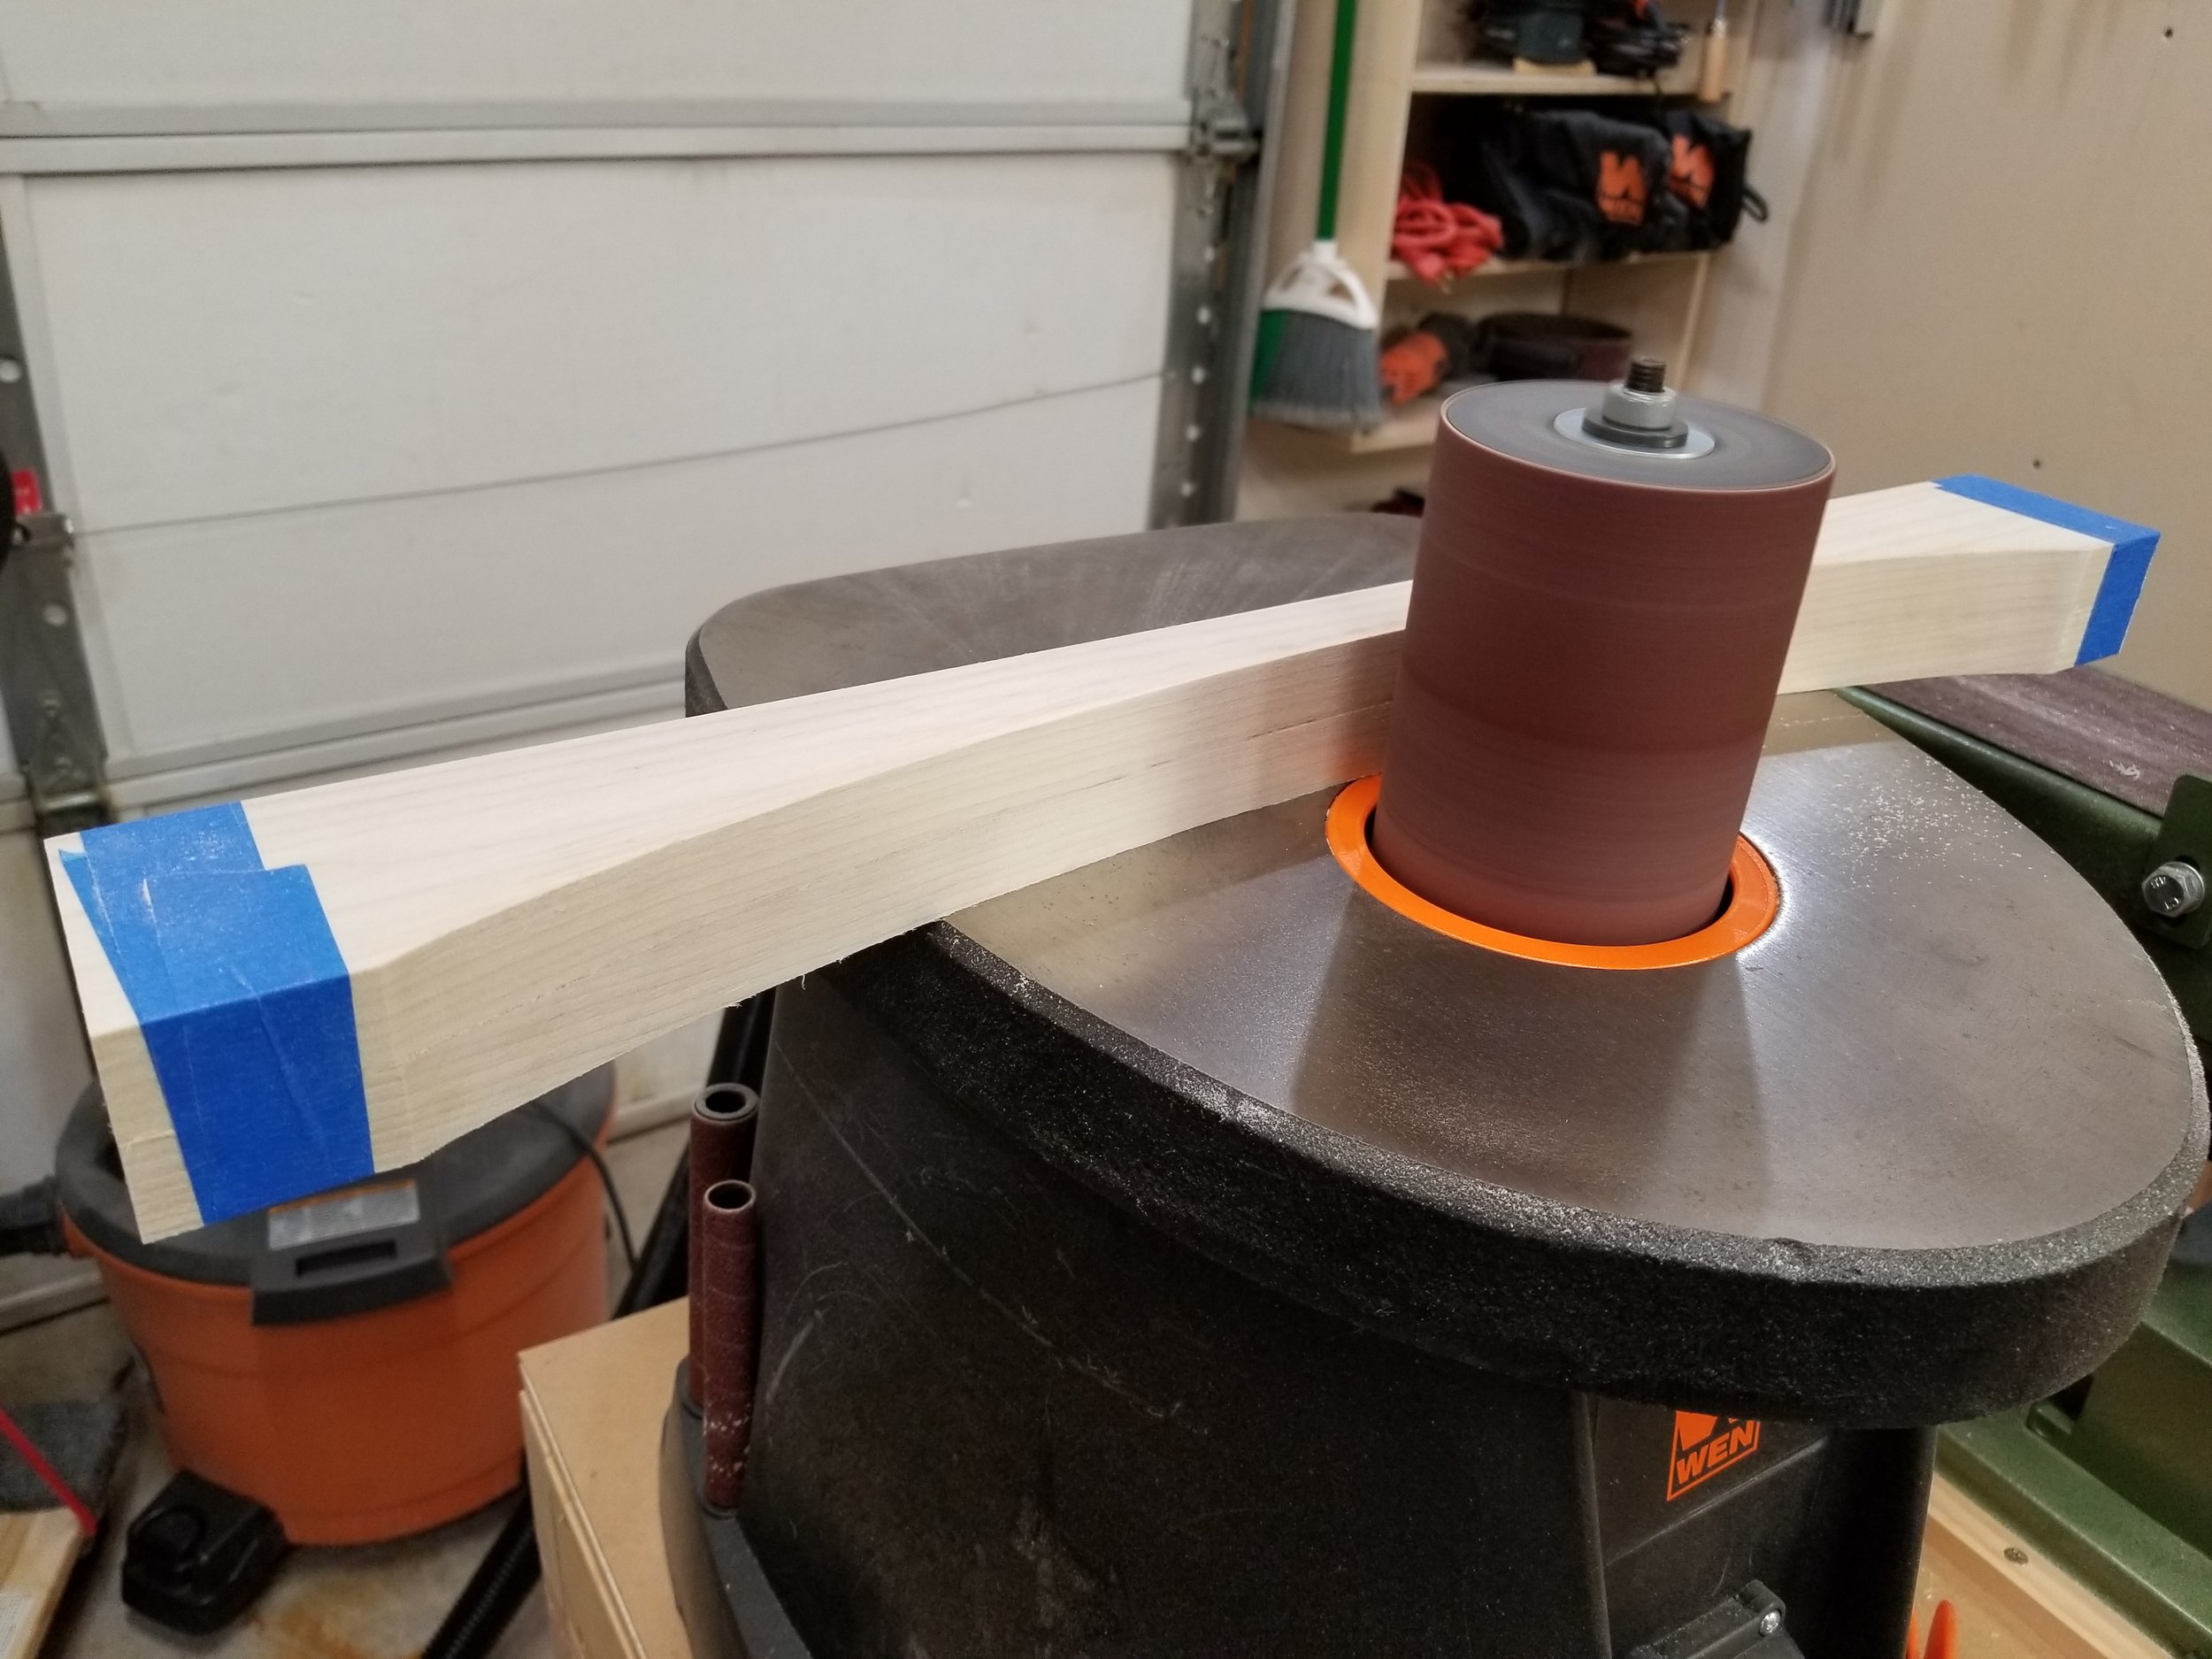
I cut each piece out, proud of the line on the band saw, then taped the two pieces together and sanded them to the same shape on the spindle sander.

With the all of the main pieces cut out now, I could finally connect them together. Pocket holes were used on the backs of all parts. To keep everything square, I clamped a framing square in place. I found that using the cutouts from the rounded top and bottom gave me a nice flat clamping surface.

The 1/4" plywood back panel was marked and cut to size with the circular saw using a door board. Check out Nick Ferry's video if you're not familiar with this type of jig: https://youtu.be/5E1v-qPQJvs.
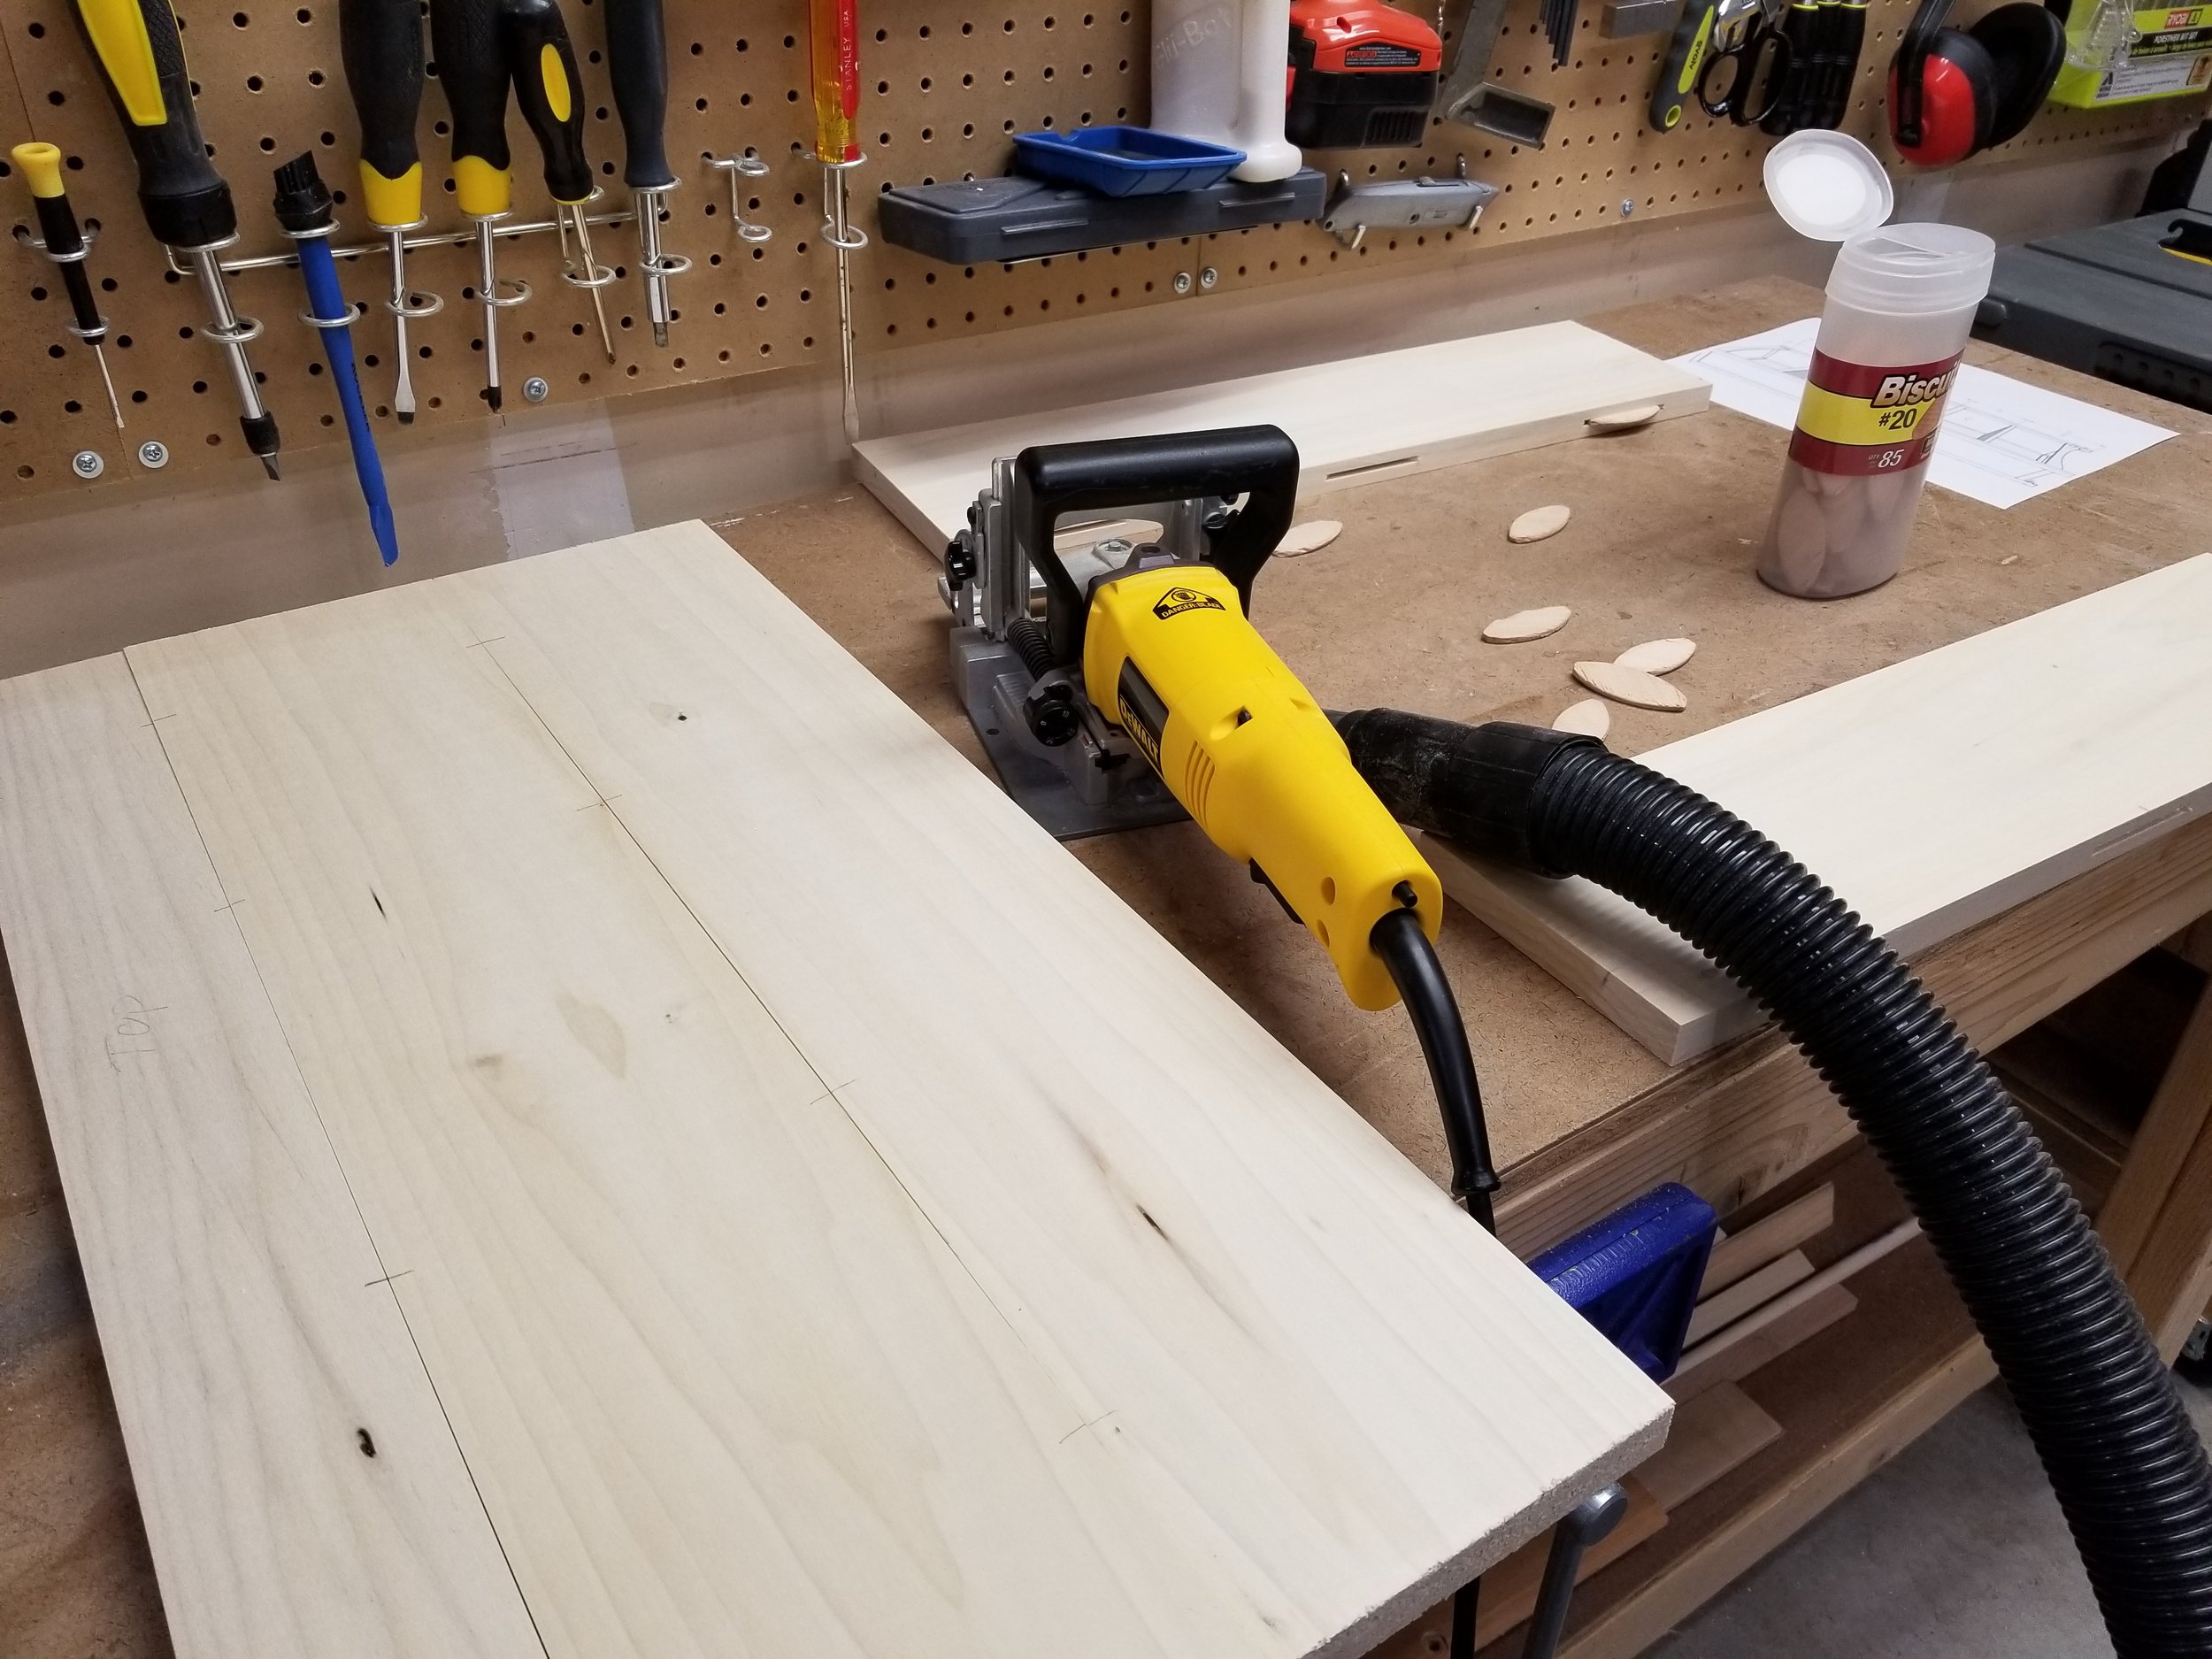
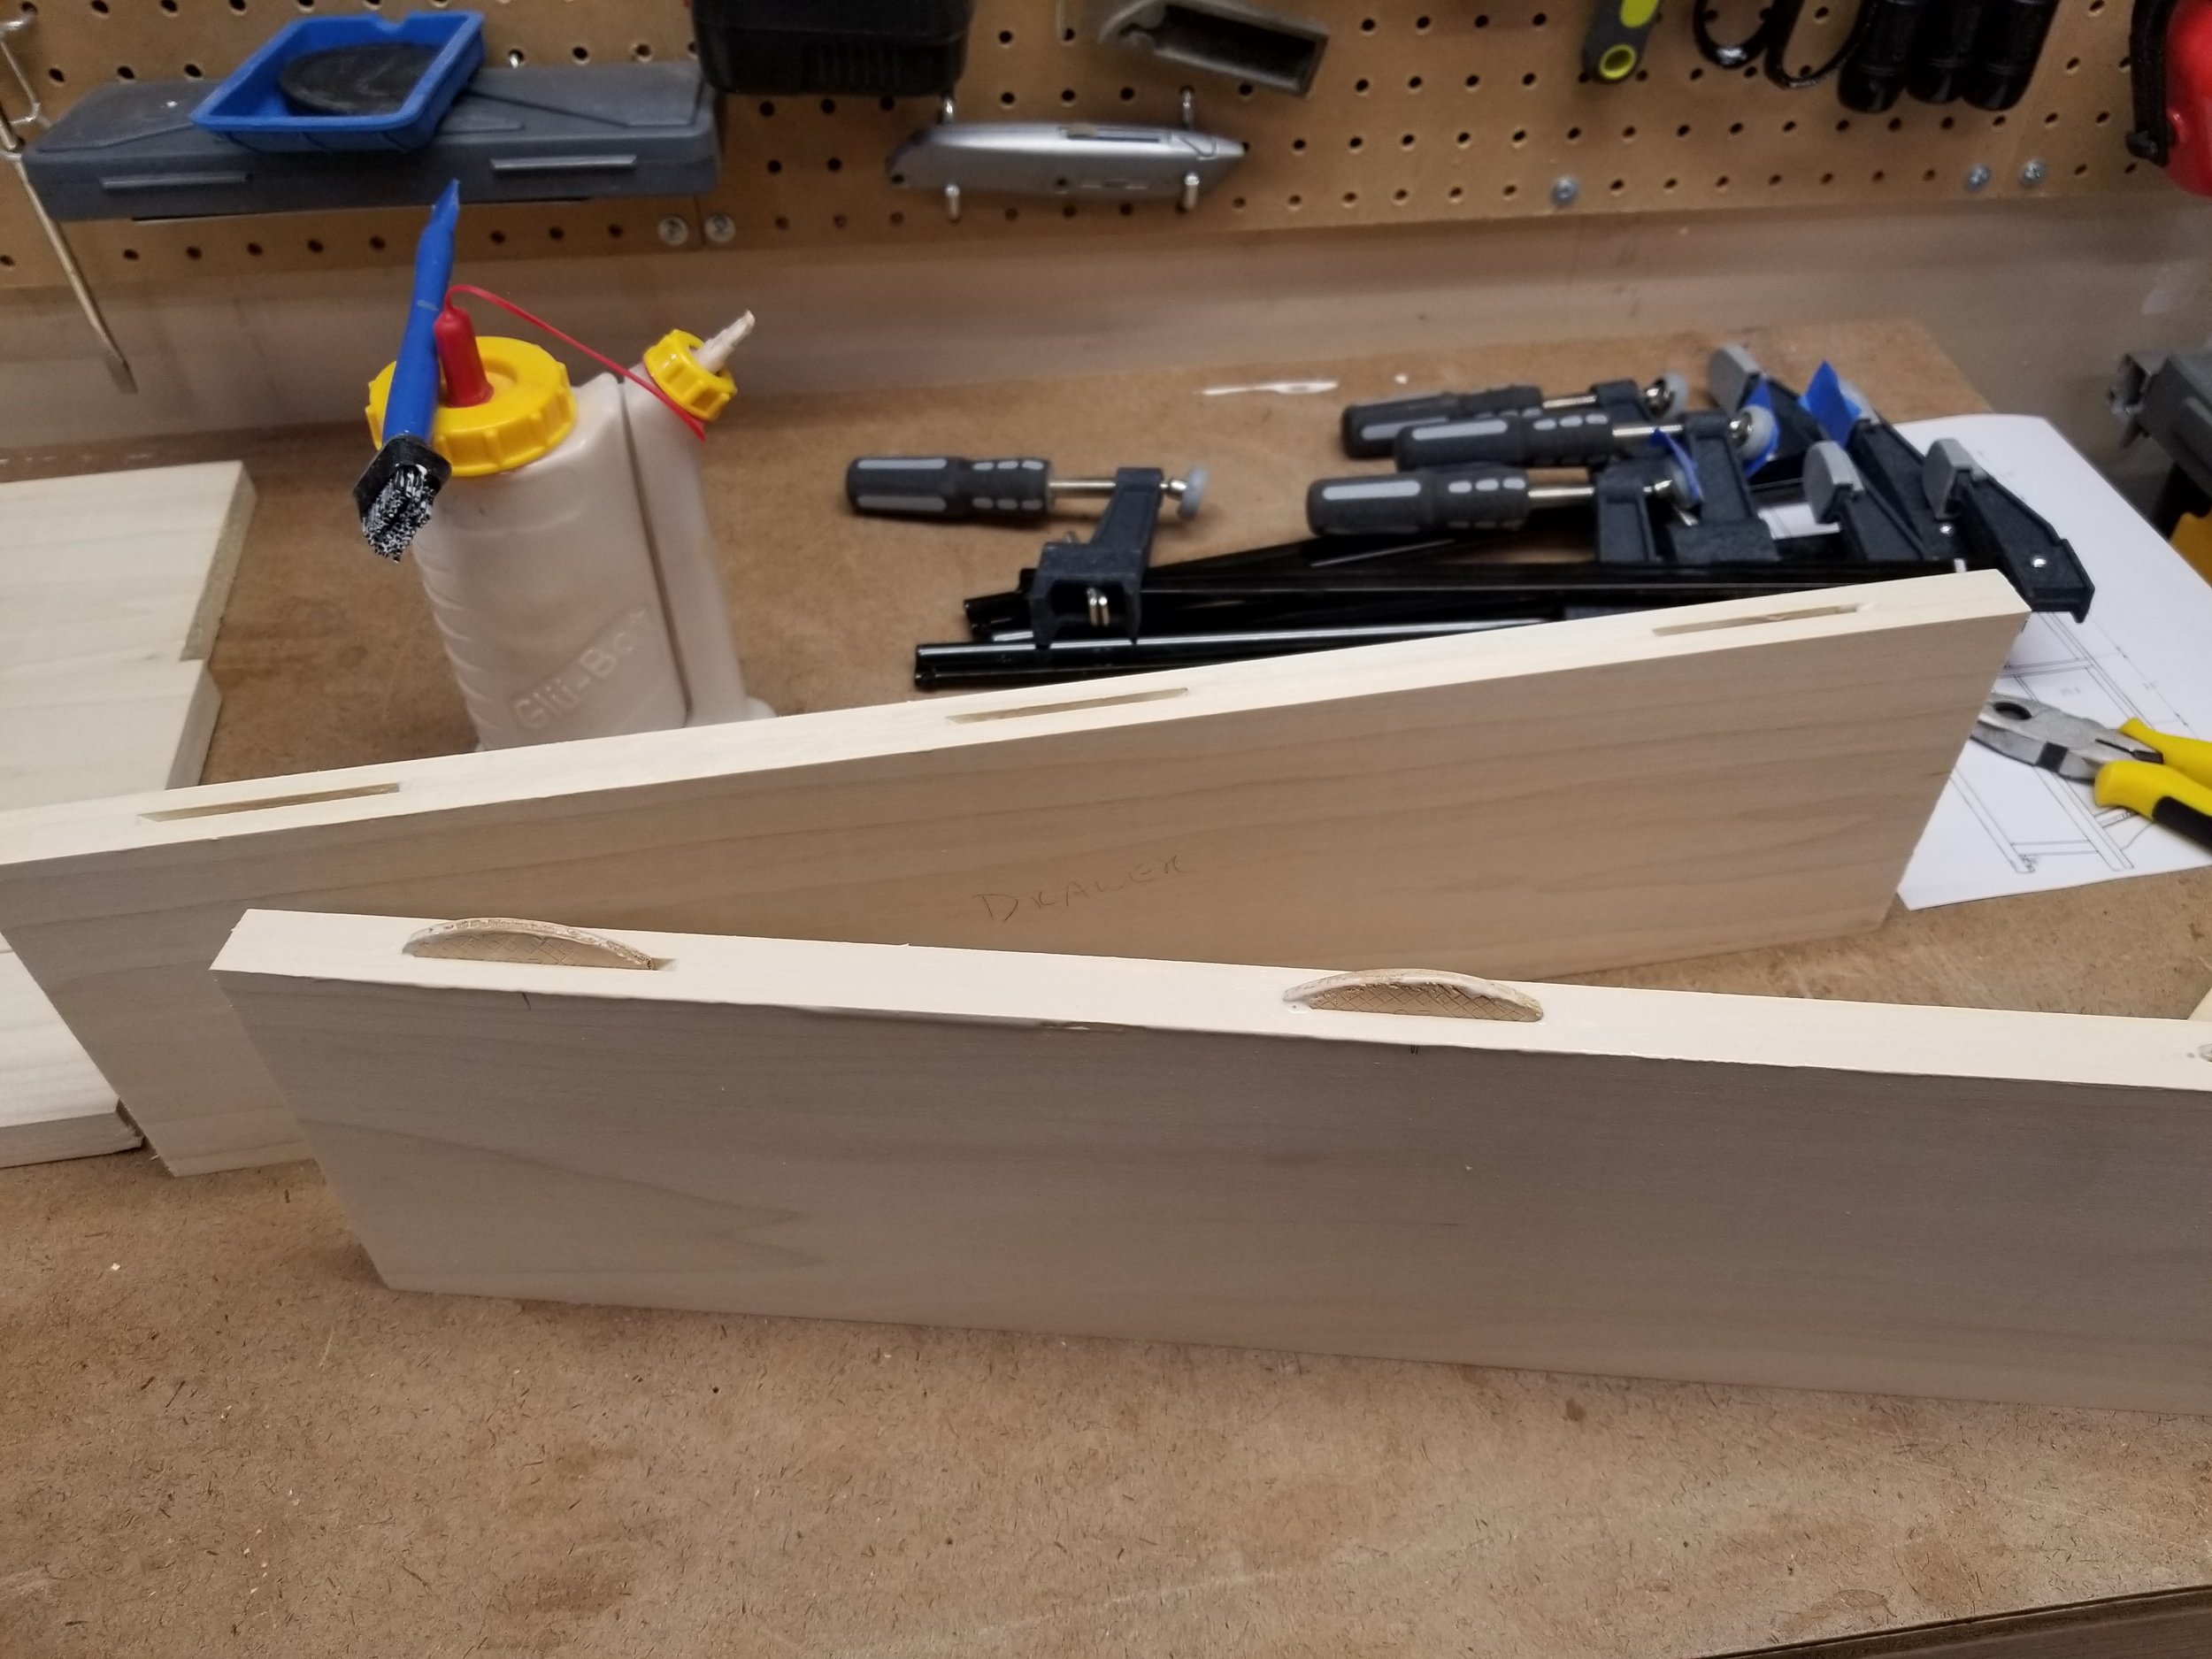
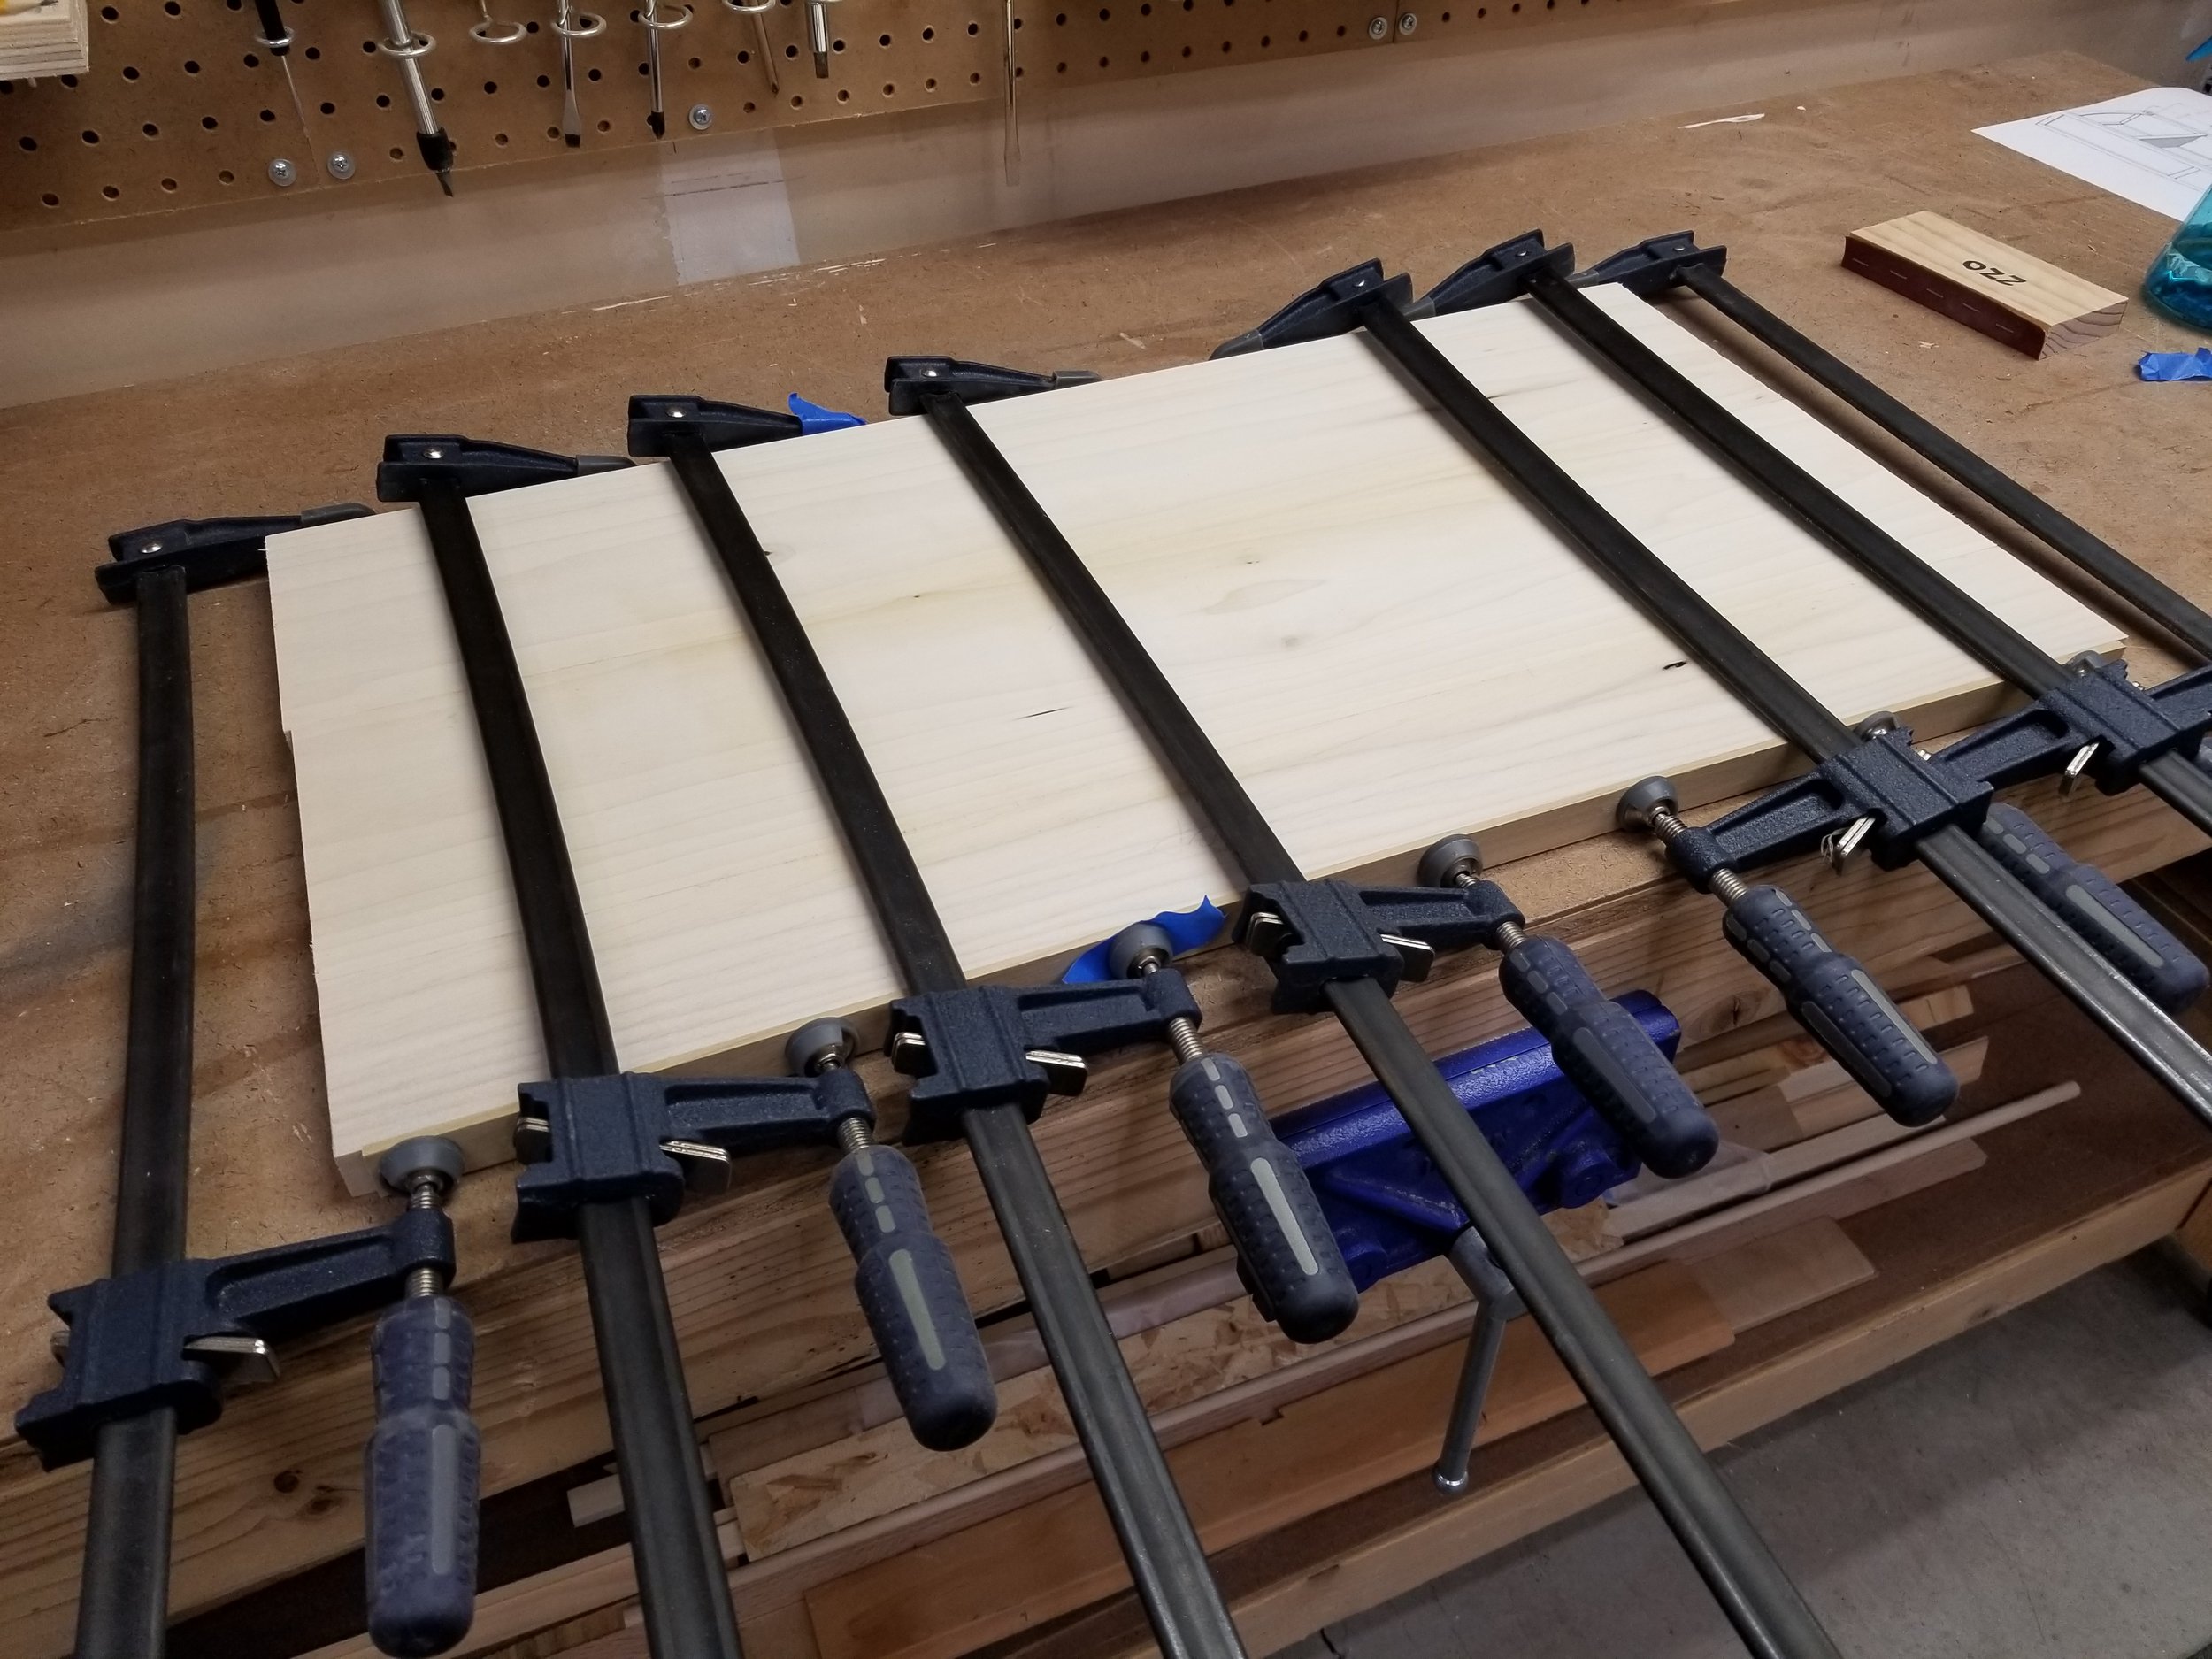
The top and drawer front are made up of 1"x6" solid poplar boards, biscuit joined together. The biscuits are there to help line the boards up and reduce sanding, the glue does all of the work here.
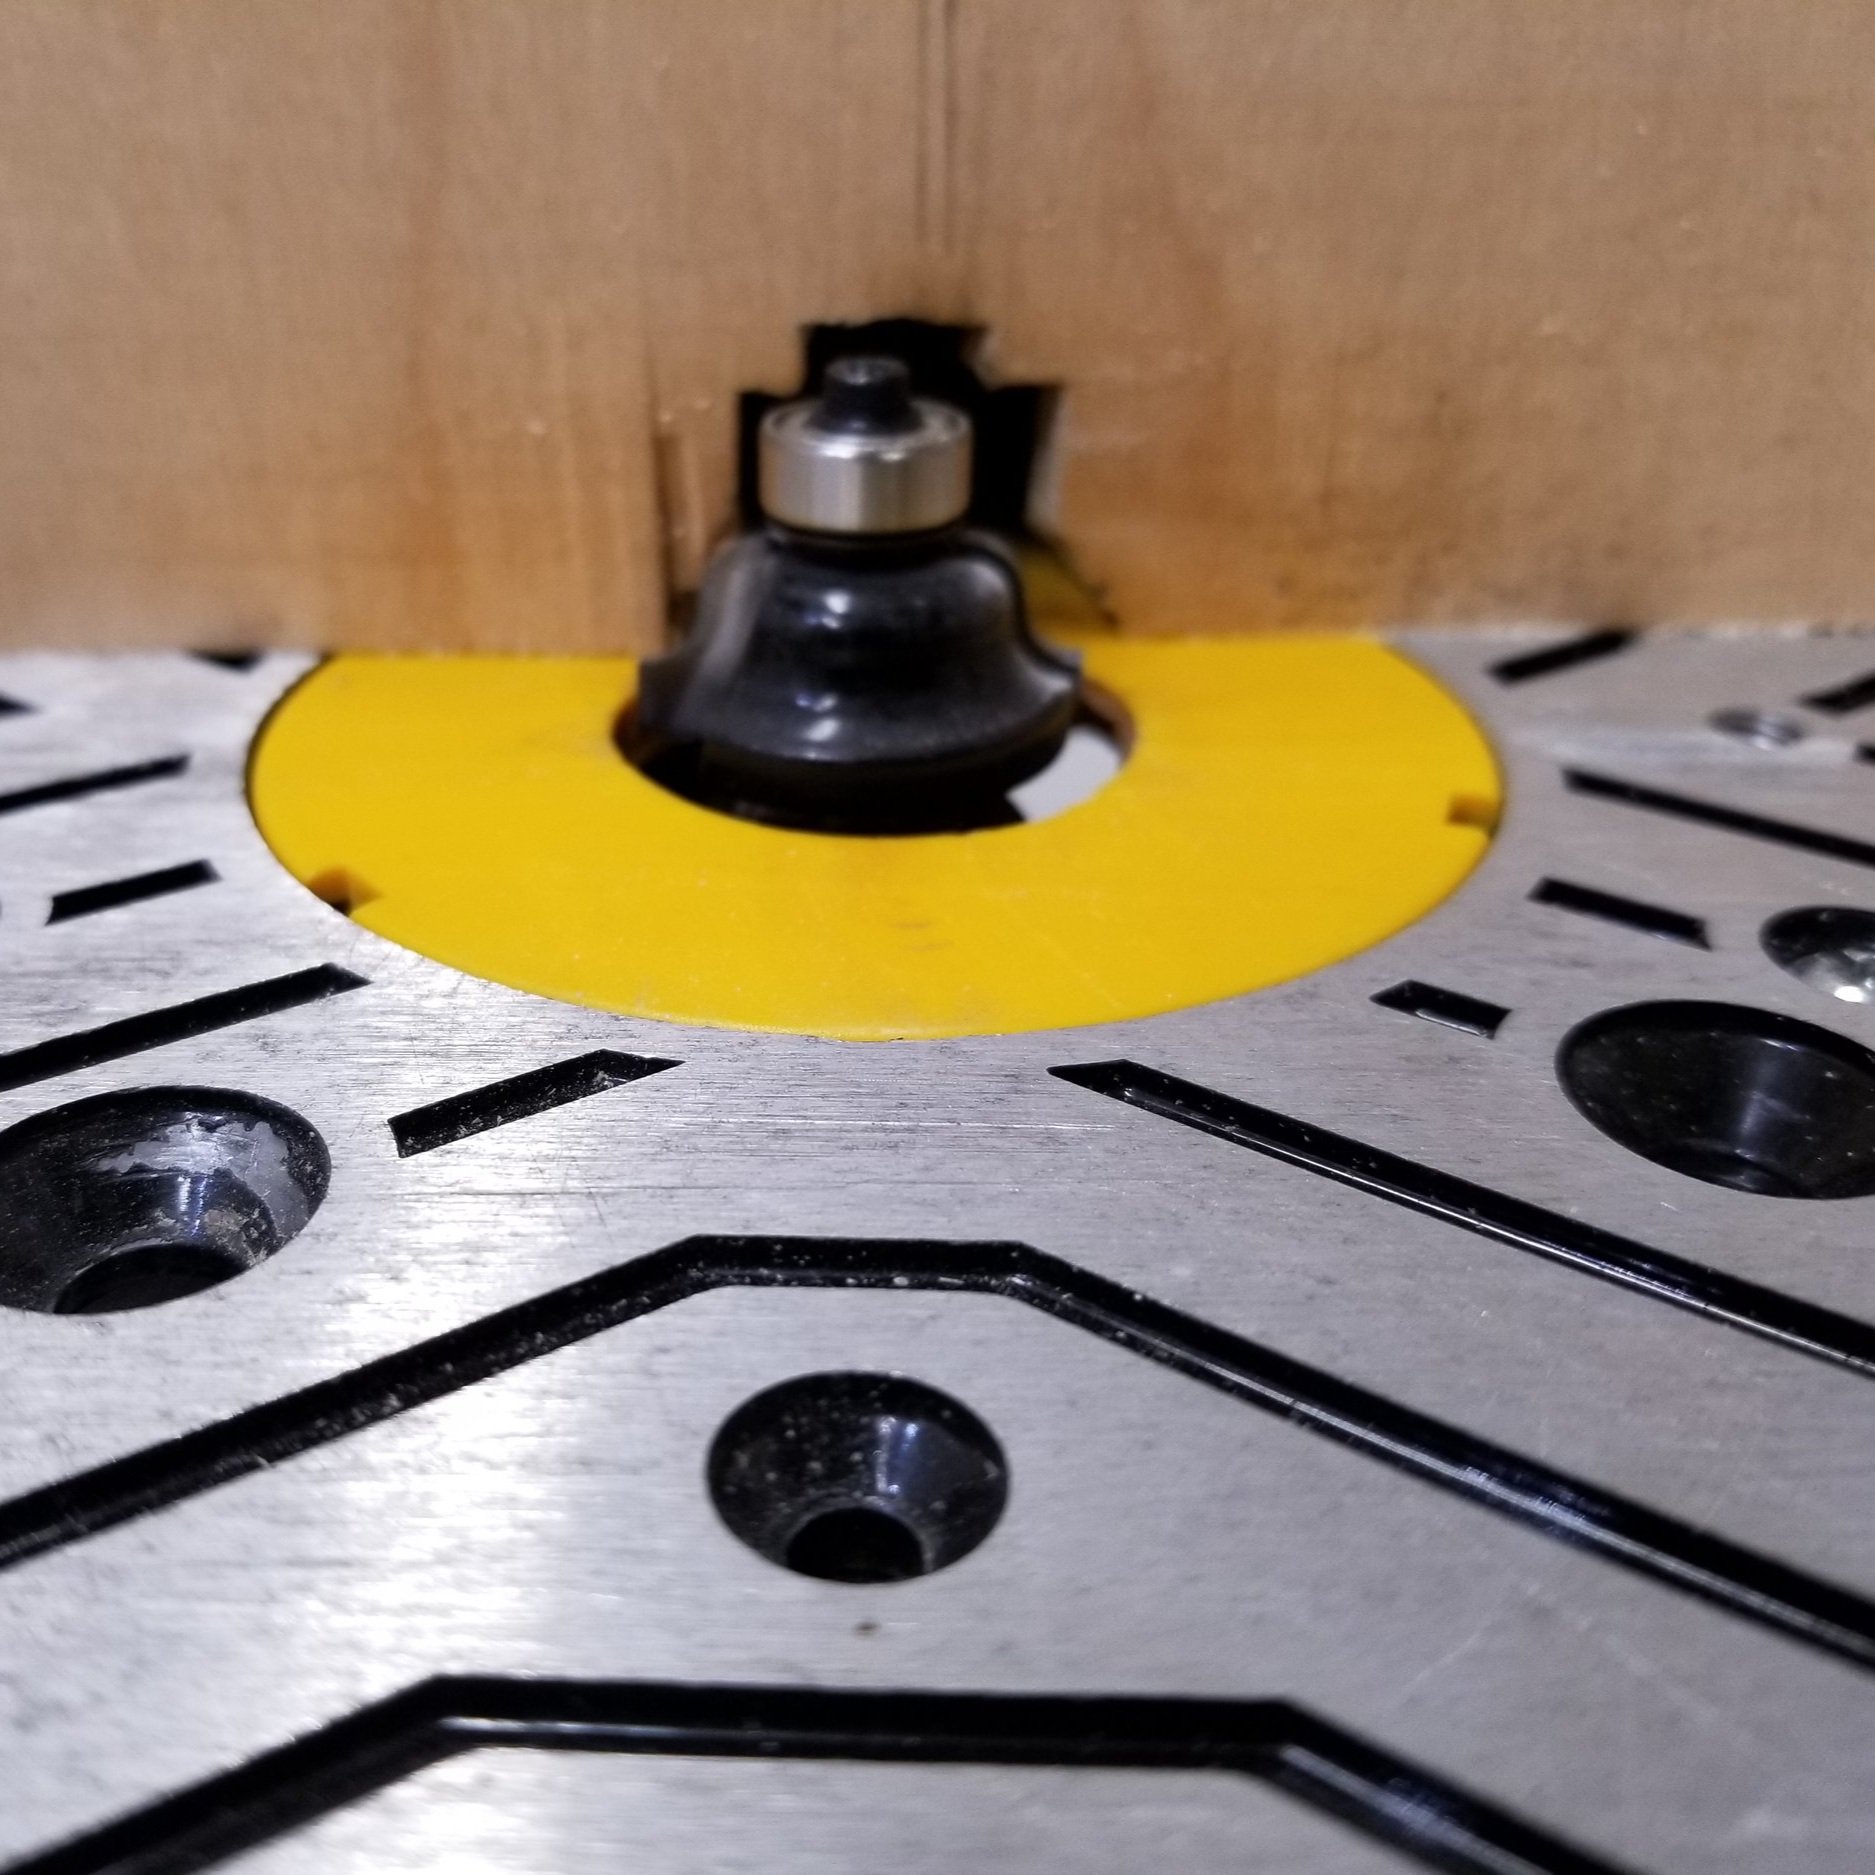
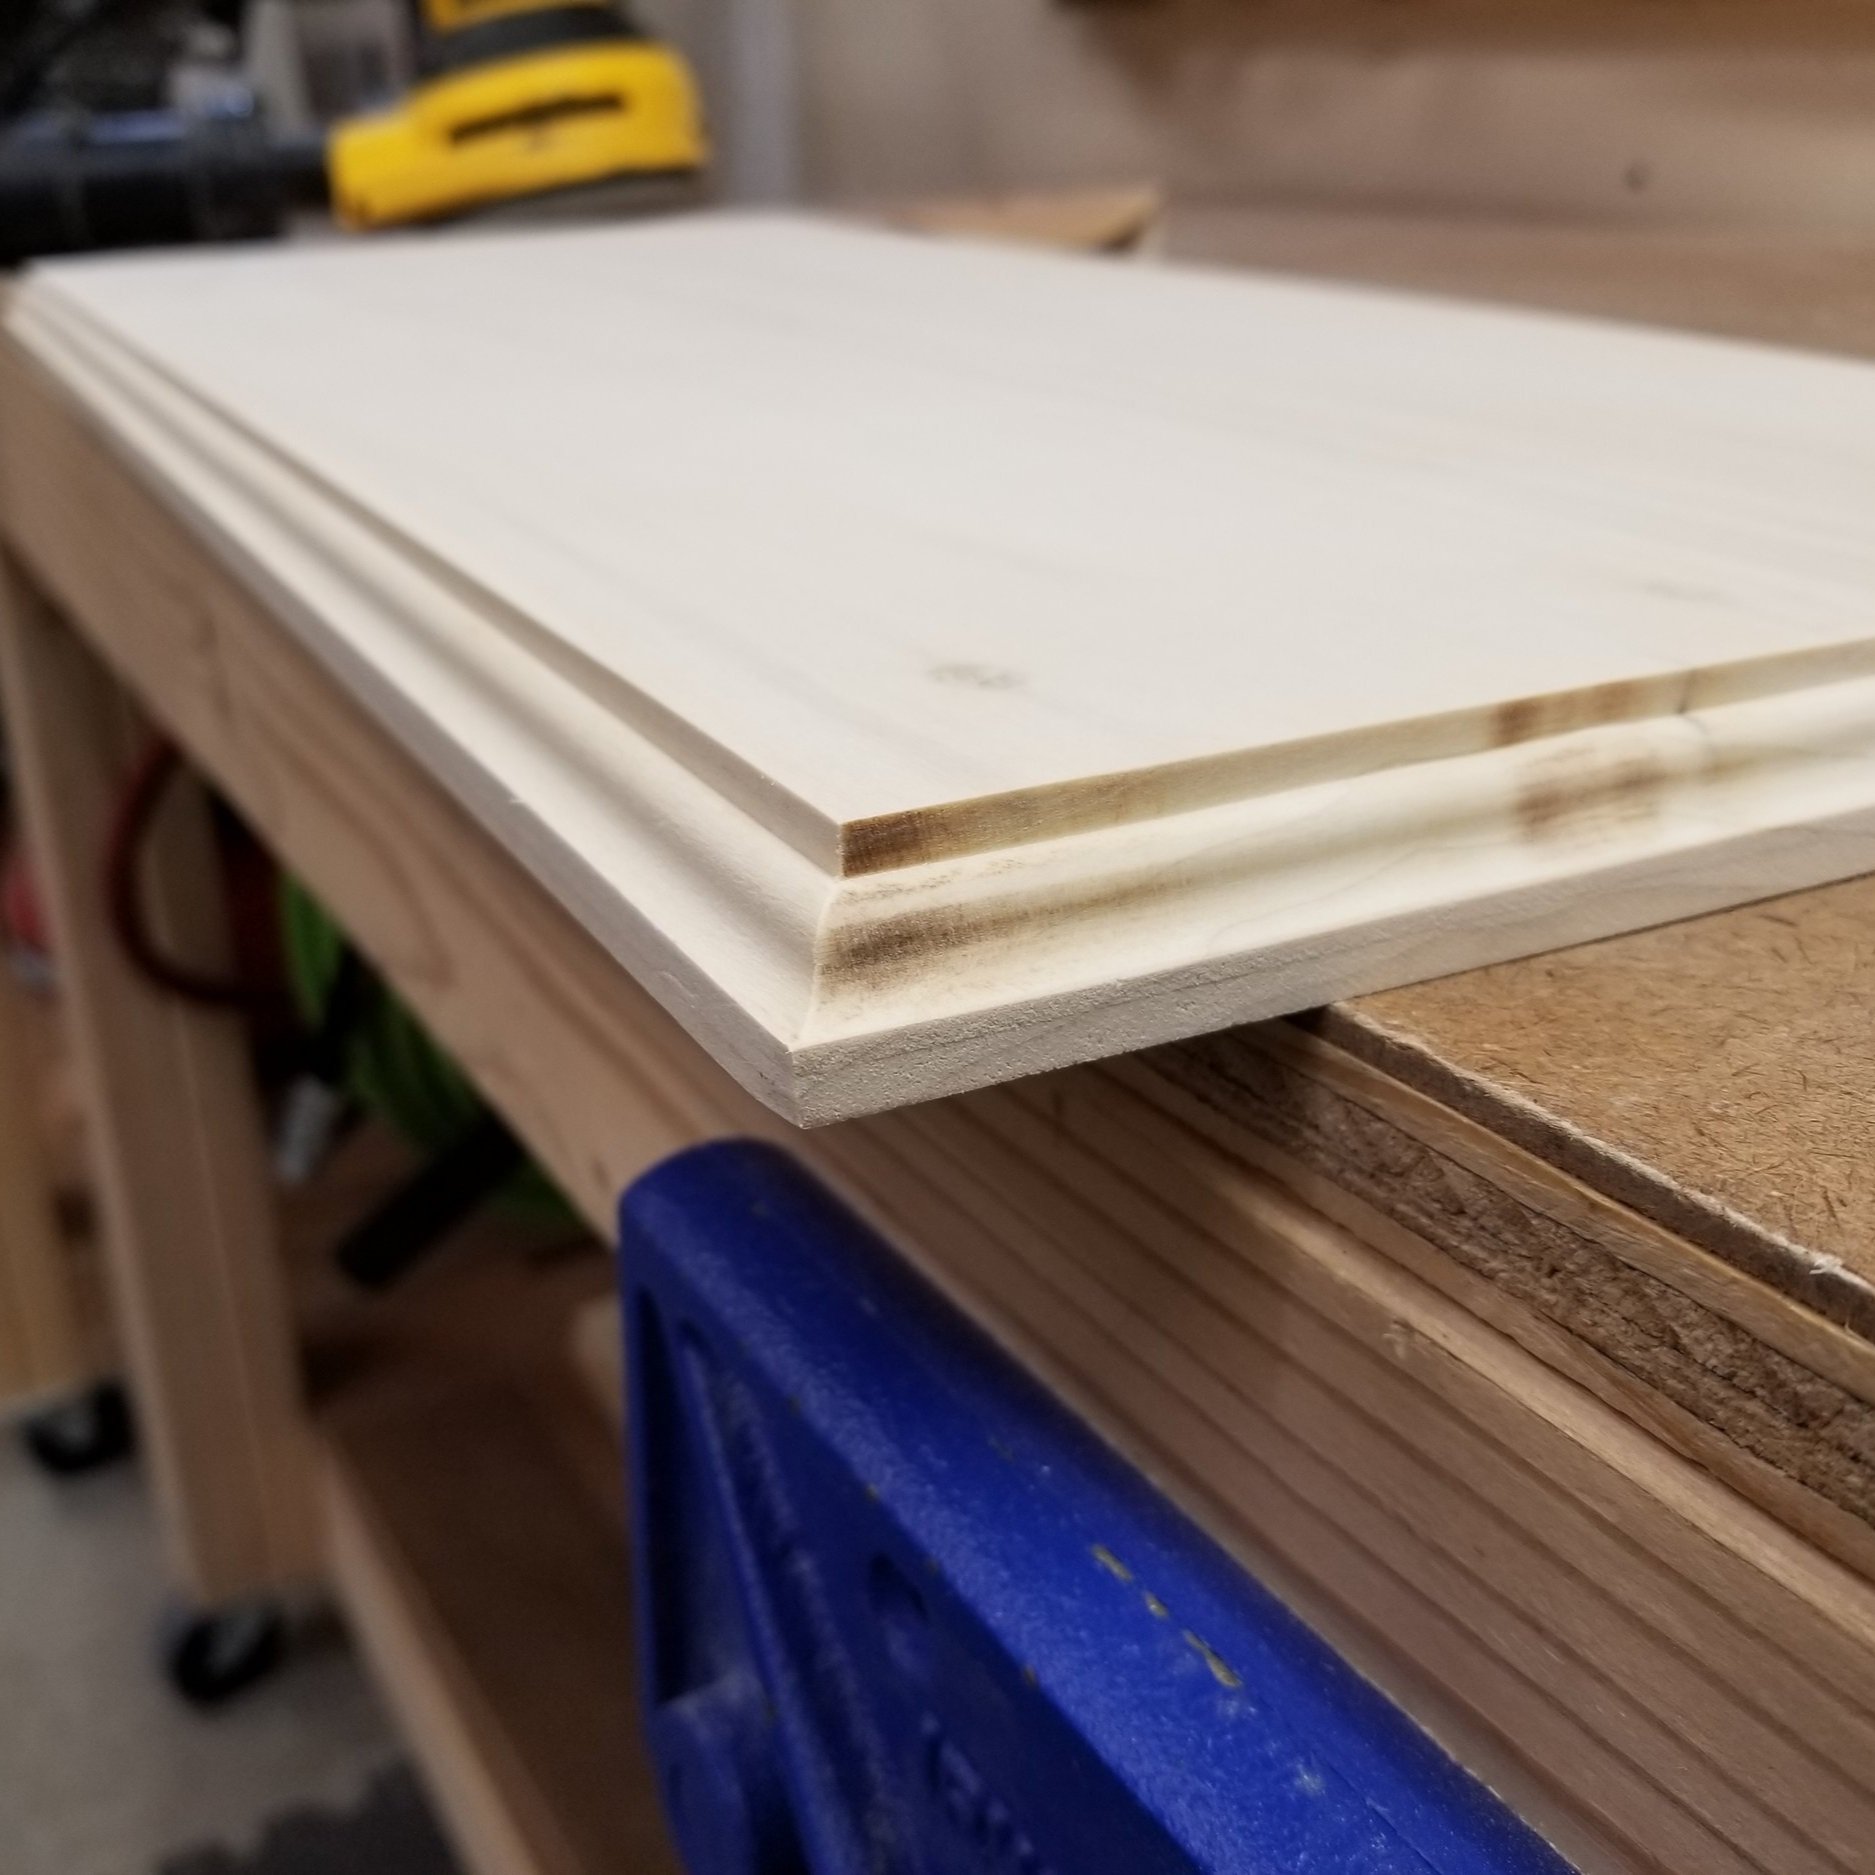
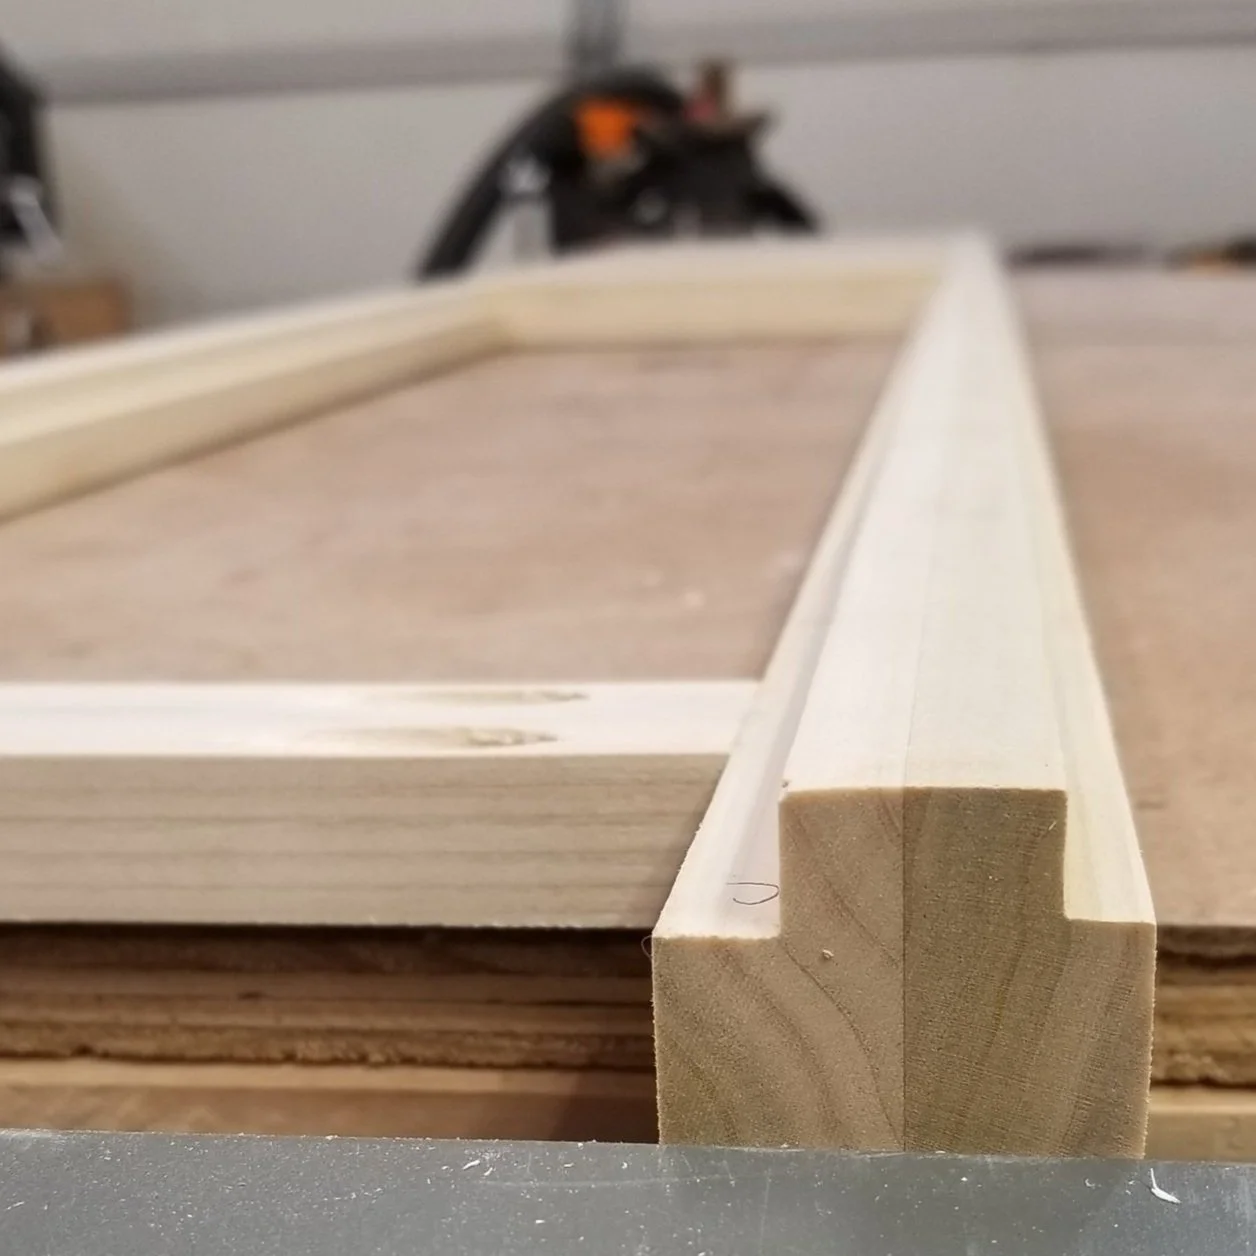
Once the glue was dry on the top, I gave it a decorative edge on the router table using a Roman Ogee bit. I thought shape and size complemented the moulding around the side panels nicely.
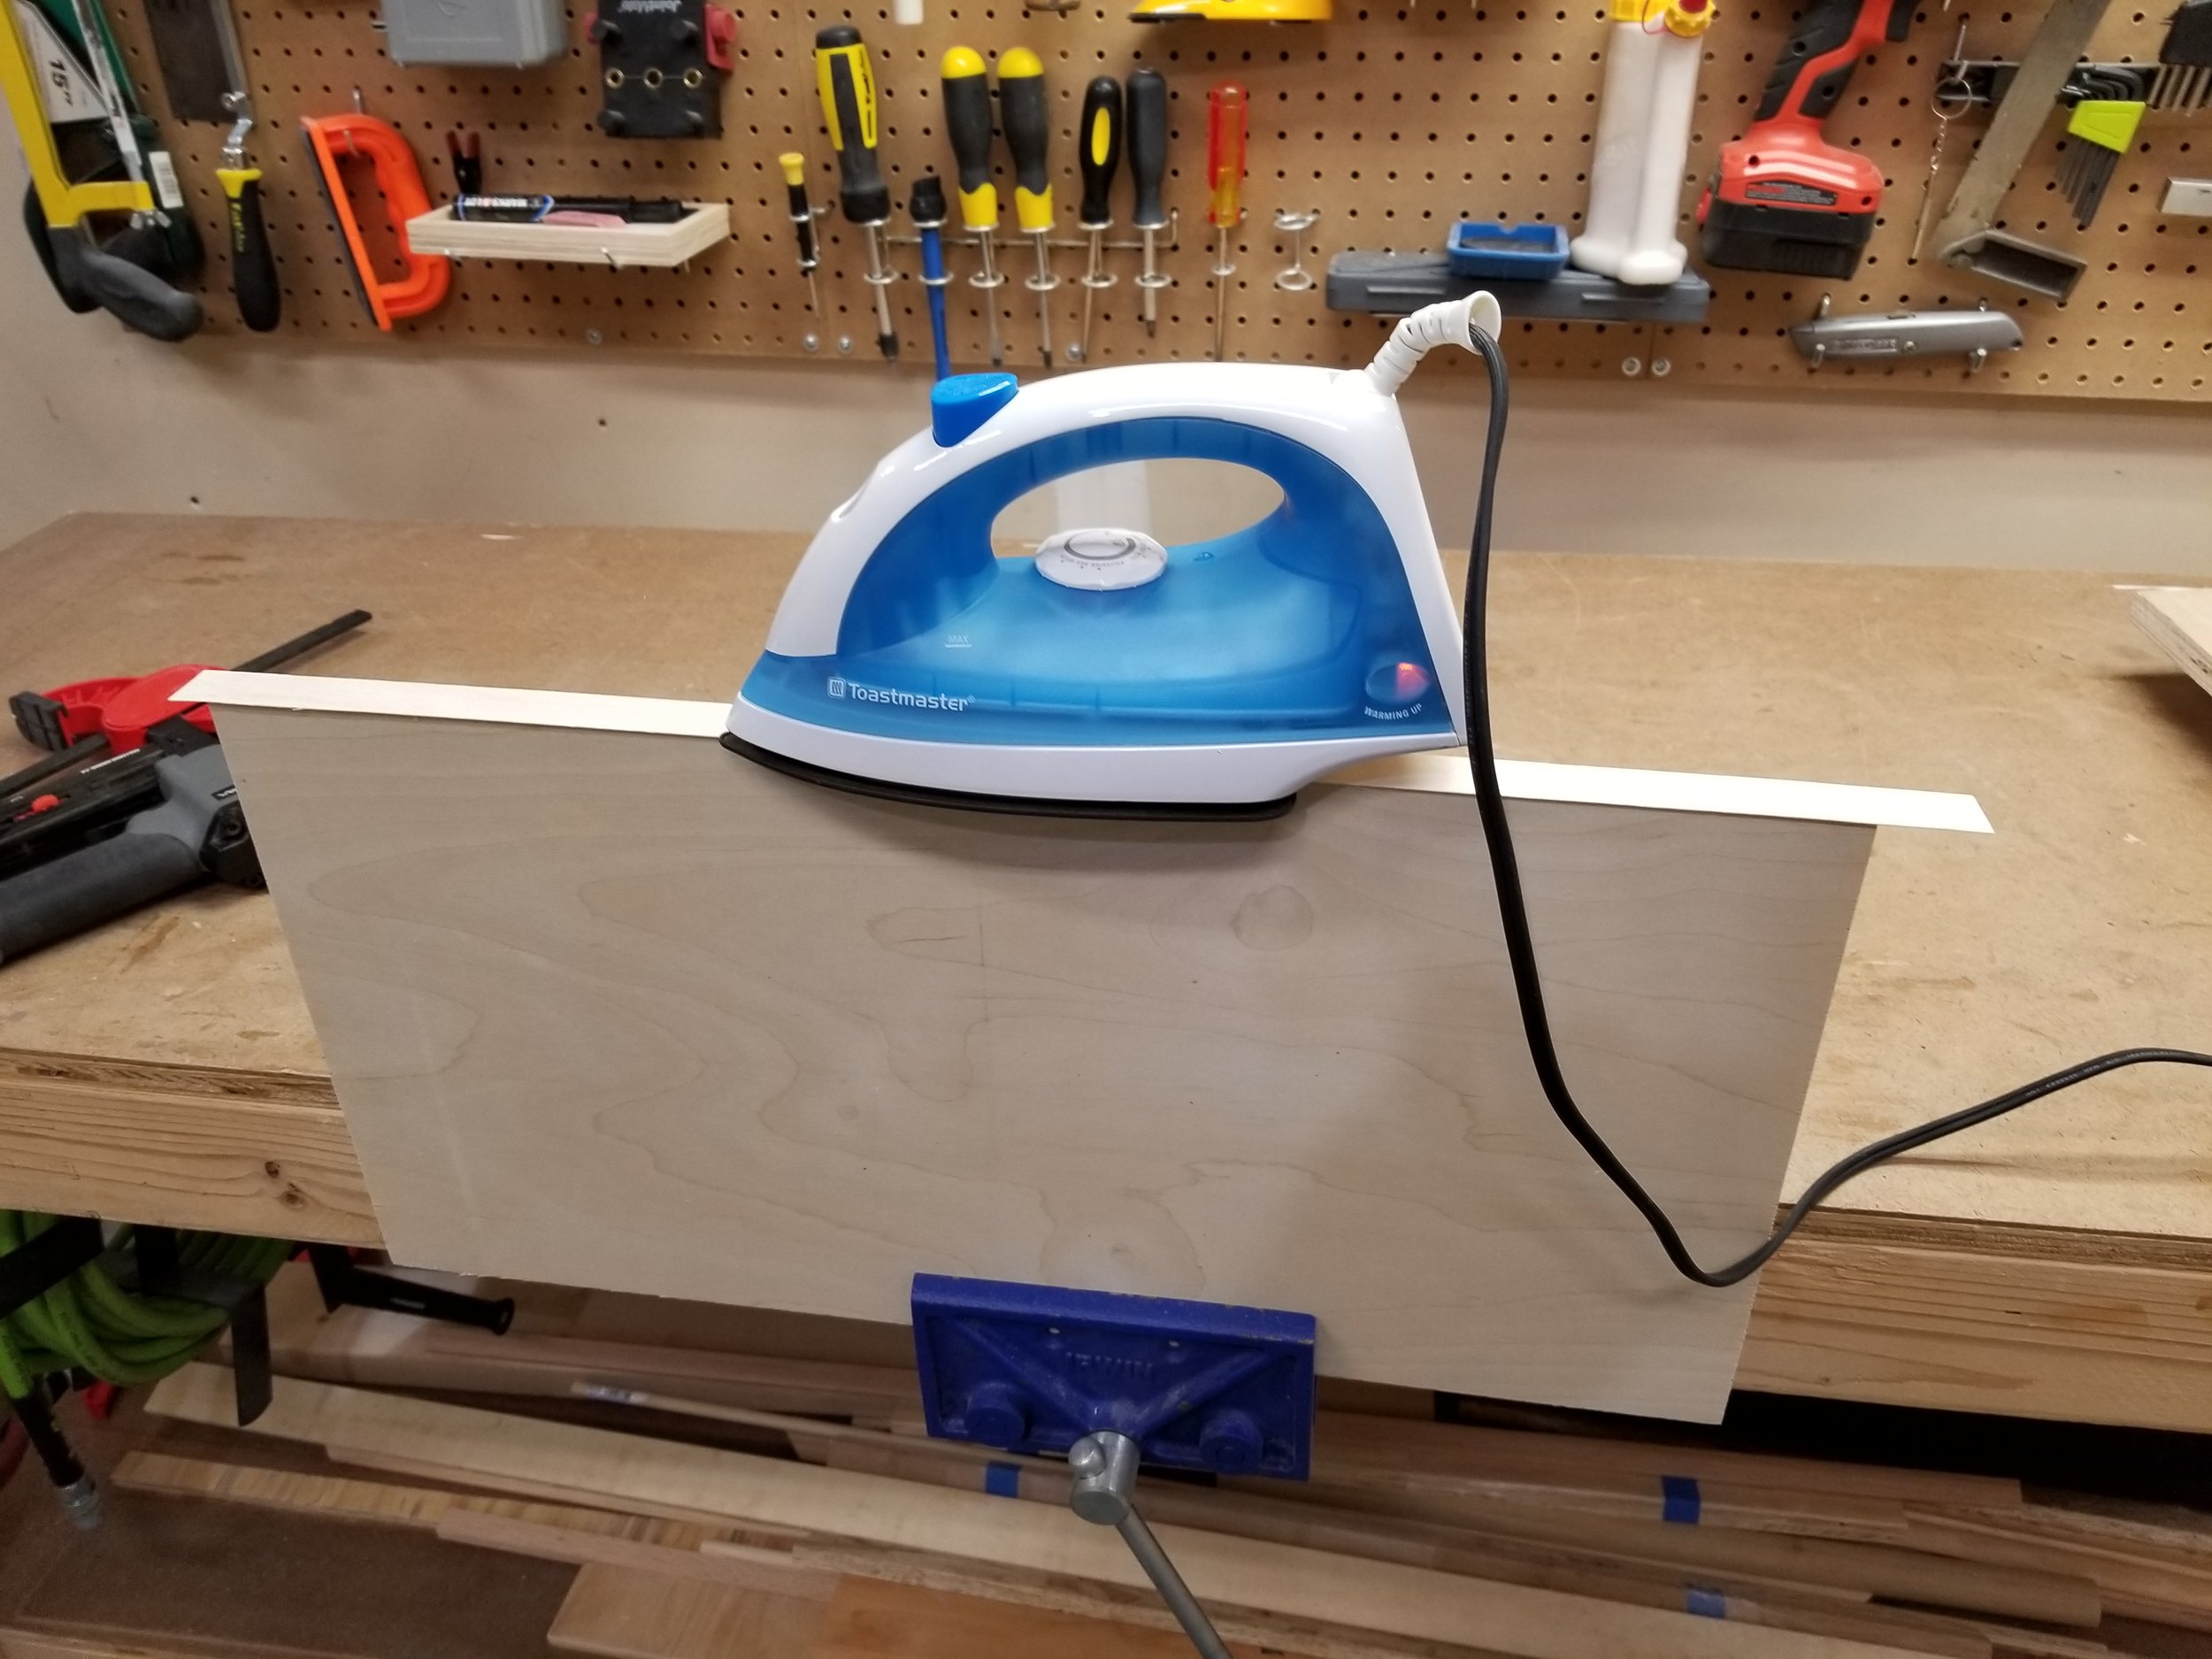
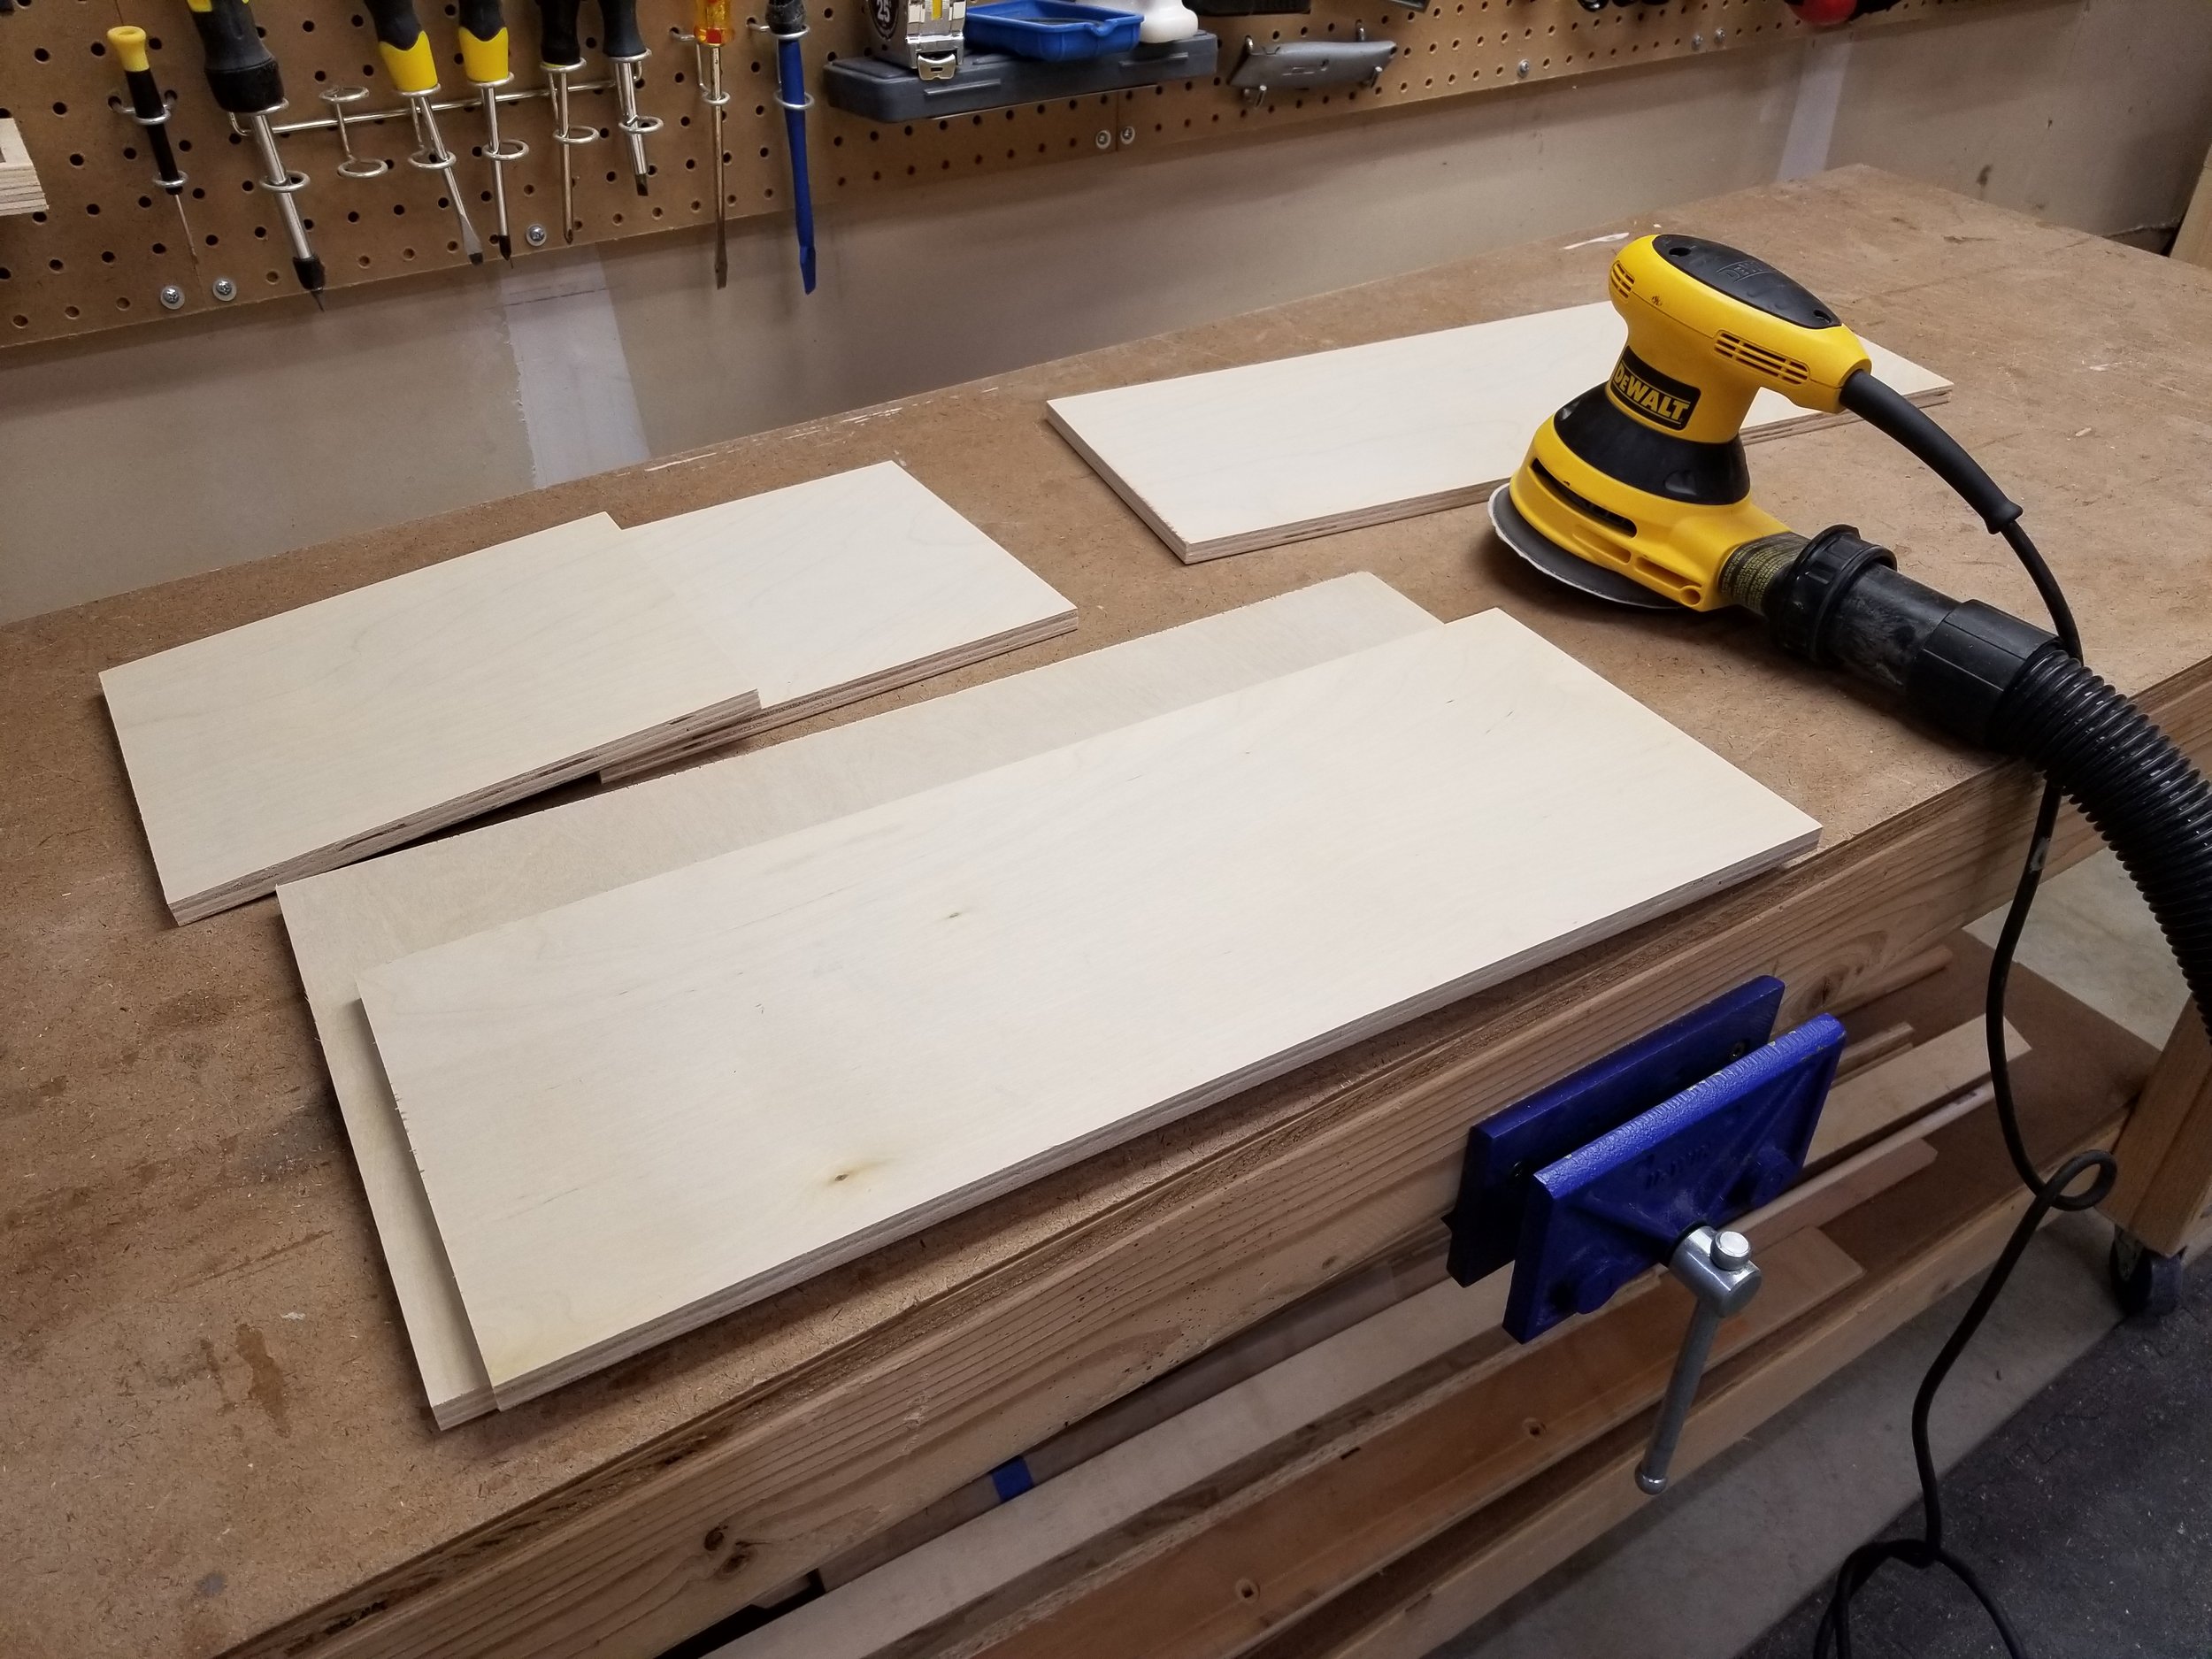
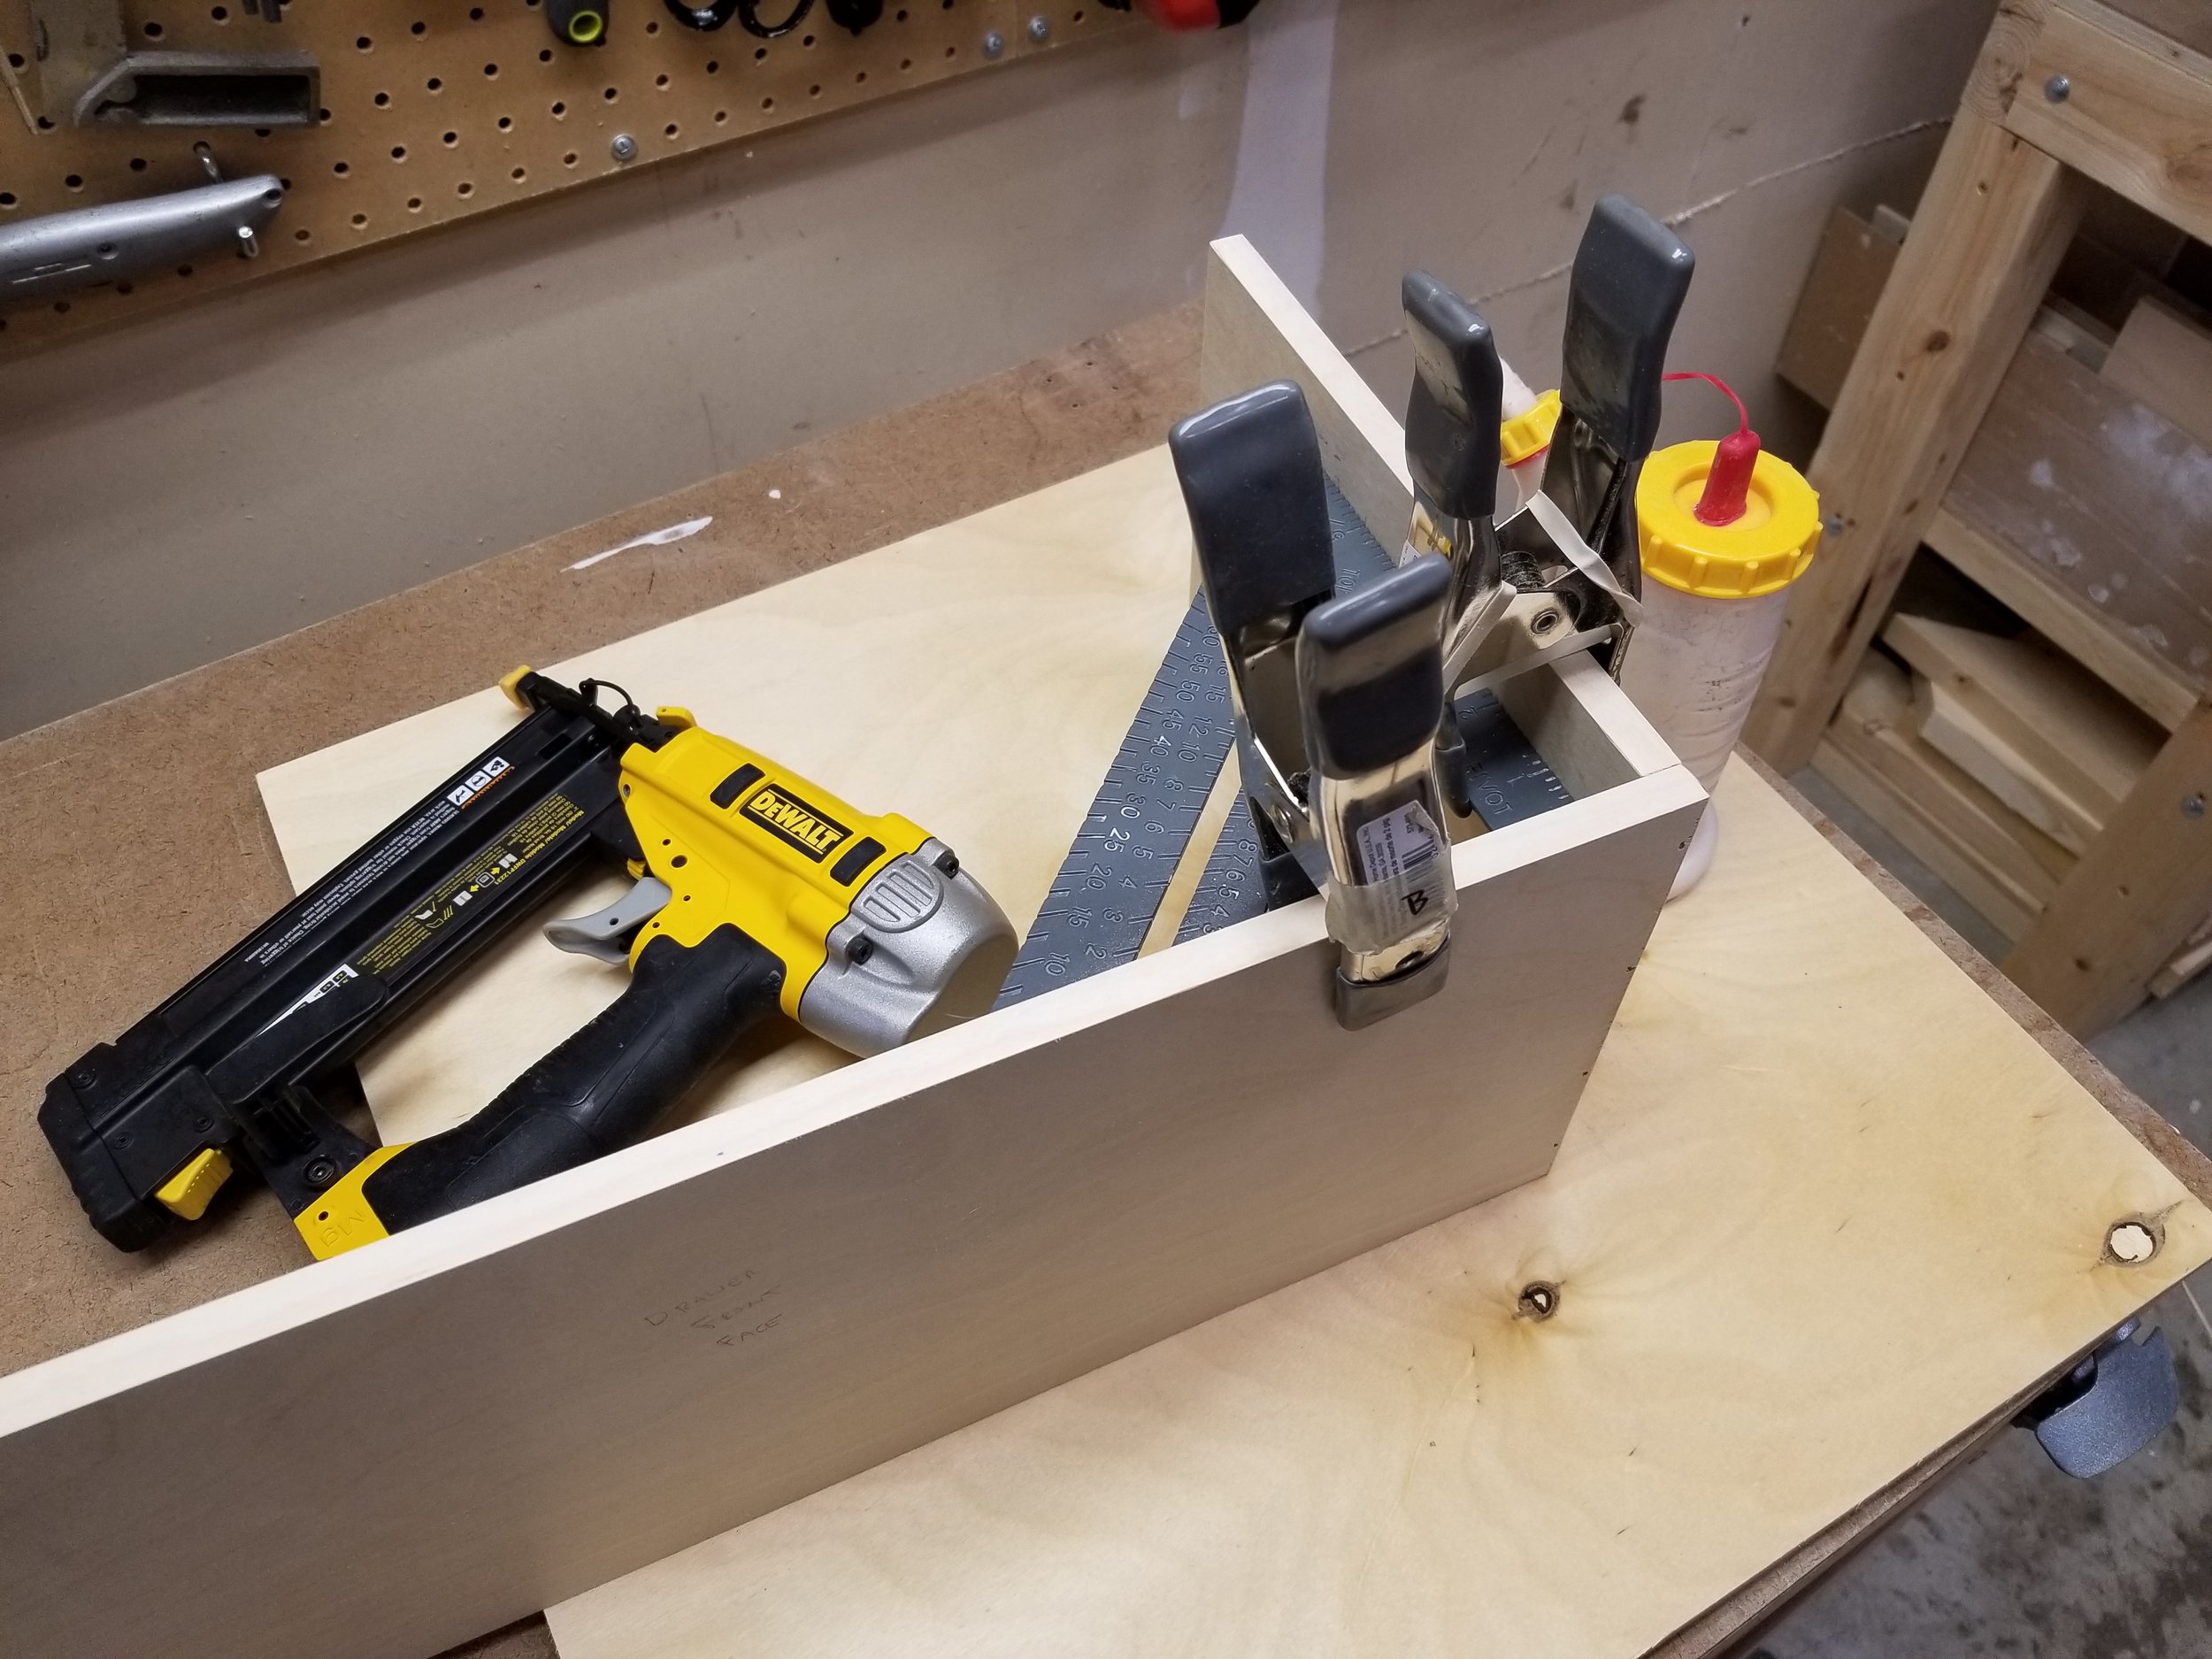
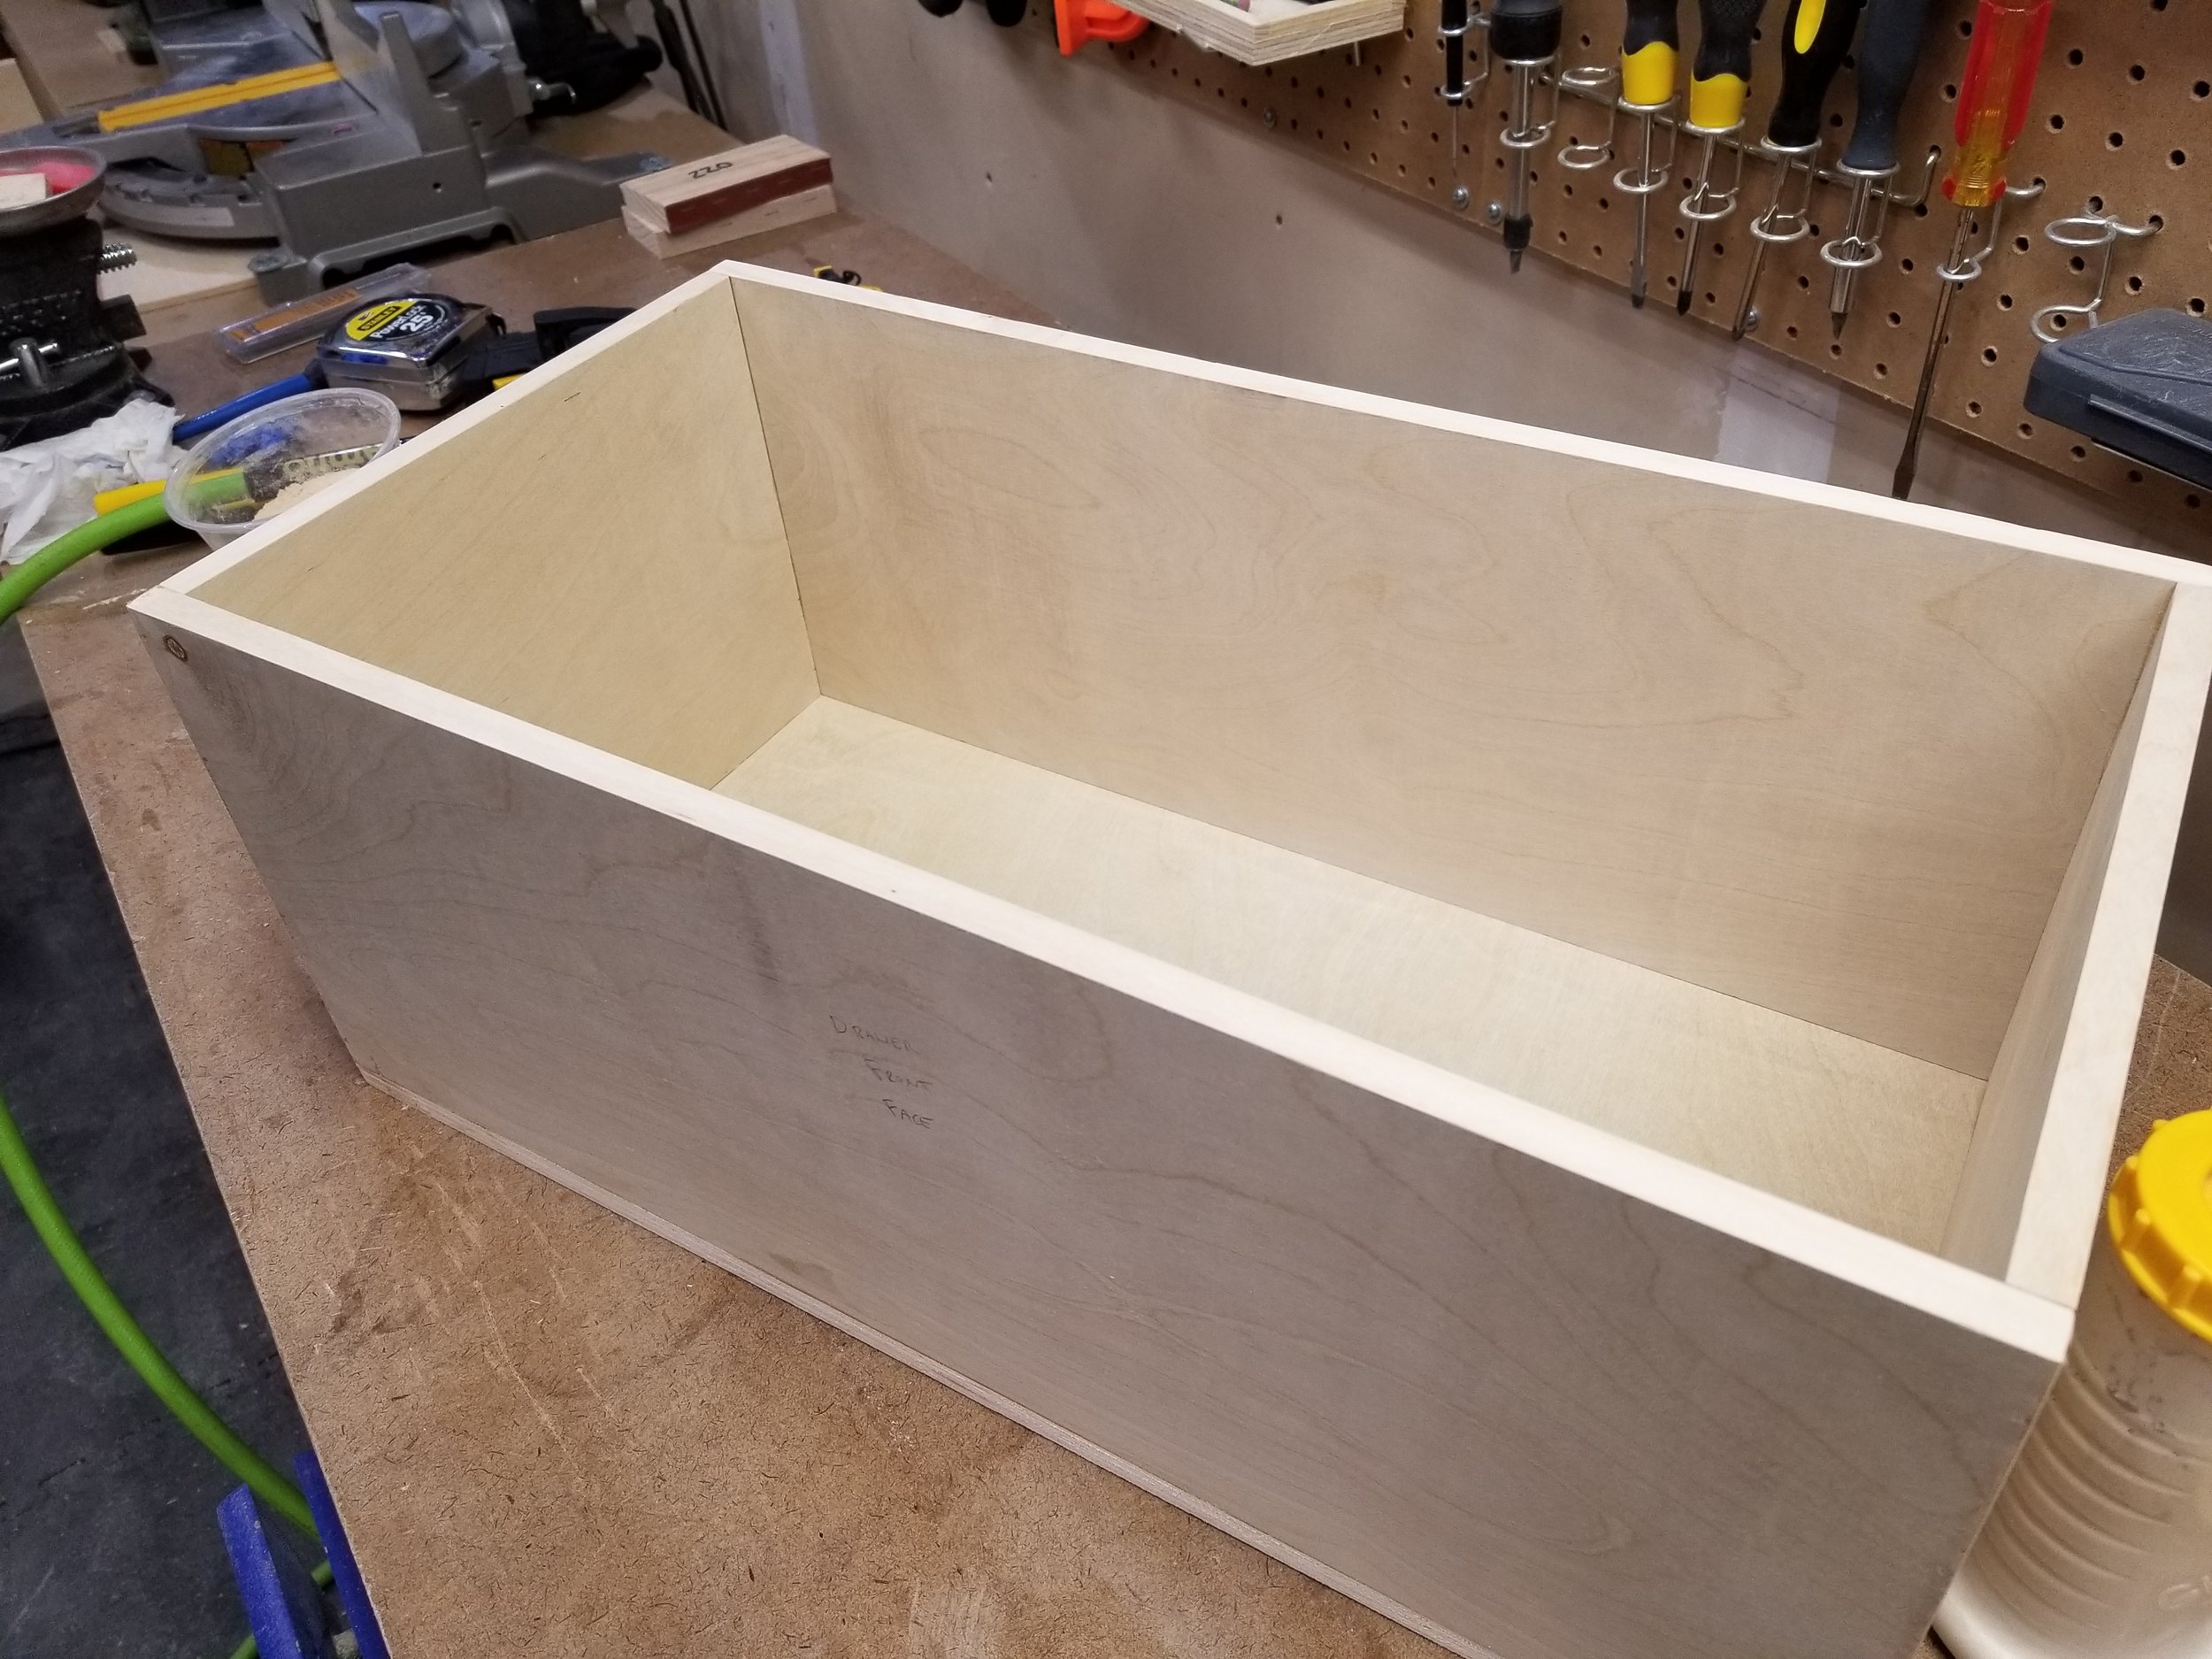
The drawer is a simple plywood box, with edge banded tops. Above the drawer is a fixed shelf, with an edge banded front. Edge banding is always a great way to save money by using plywood instead of solid boards, and is simple to apply with a regular iron. Boxes like this can easily be over-architected with box joints, rabbets, or even pocket holes, but I find that nothing more than glue and some brad nails are needed.

In the past, I always used cheap drawer slides but over time I have found that full extension drawer slides are worth the extra money. They allow access to the full drawer when opened, and are very smooth.

Adding the drawer front and a simple white handle wraps up the drawer. I made sure to mount the front so it closes flush with the fixed shelf, which sits 3/4" back from the frame of the bookshelf. A couple 1" screws through the 1/2" drawer box secures it.
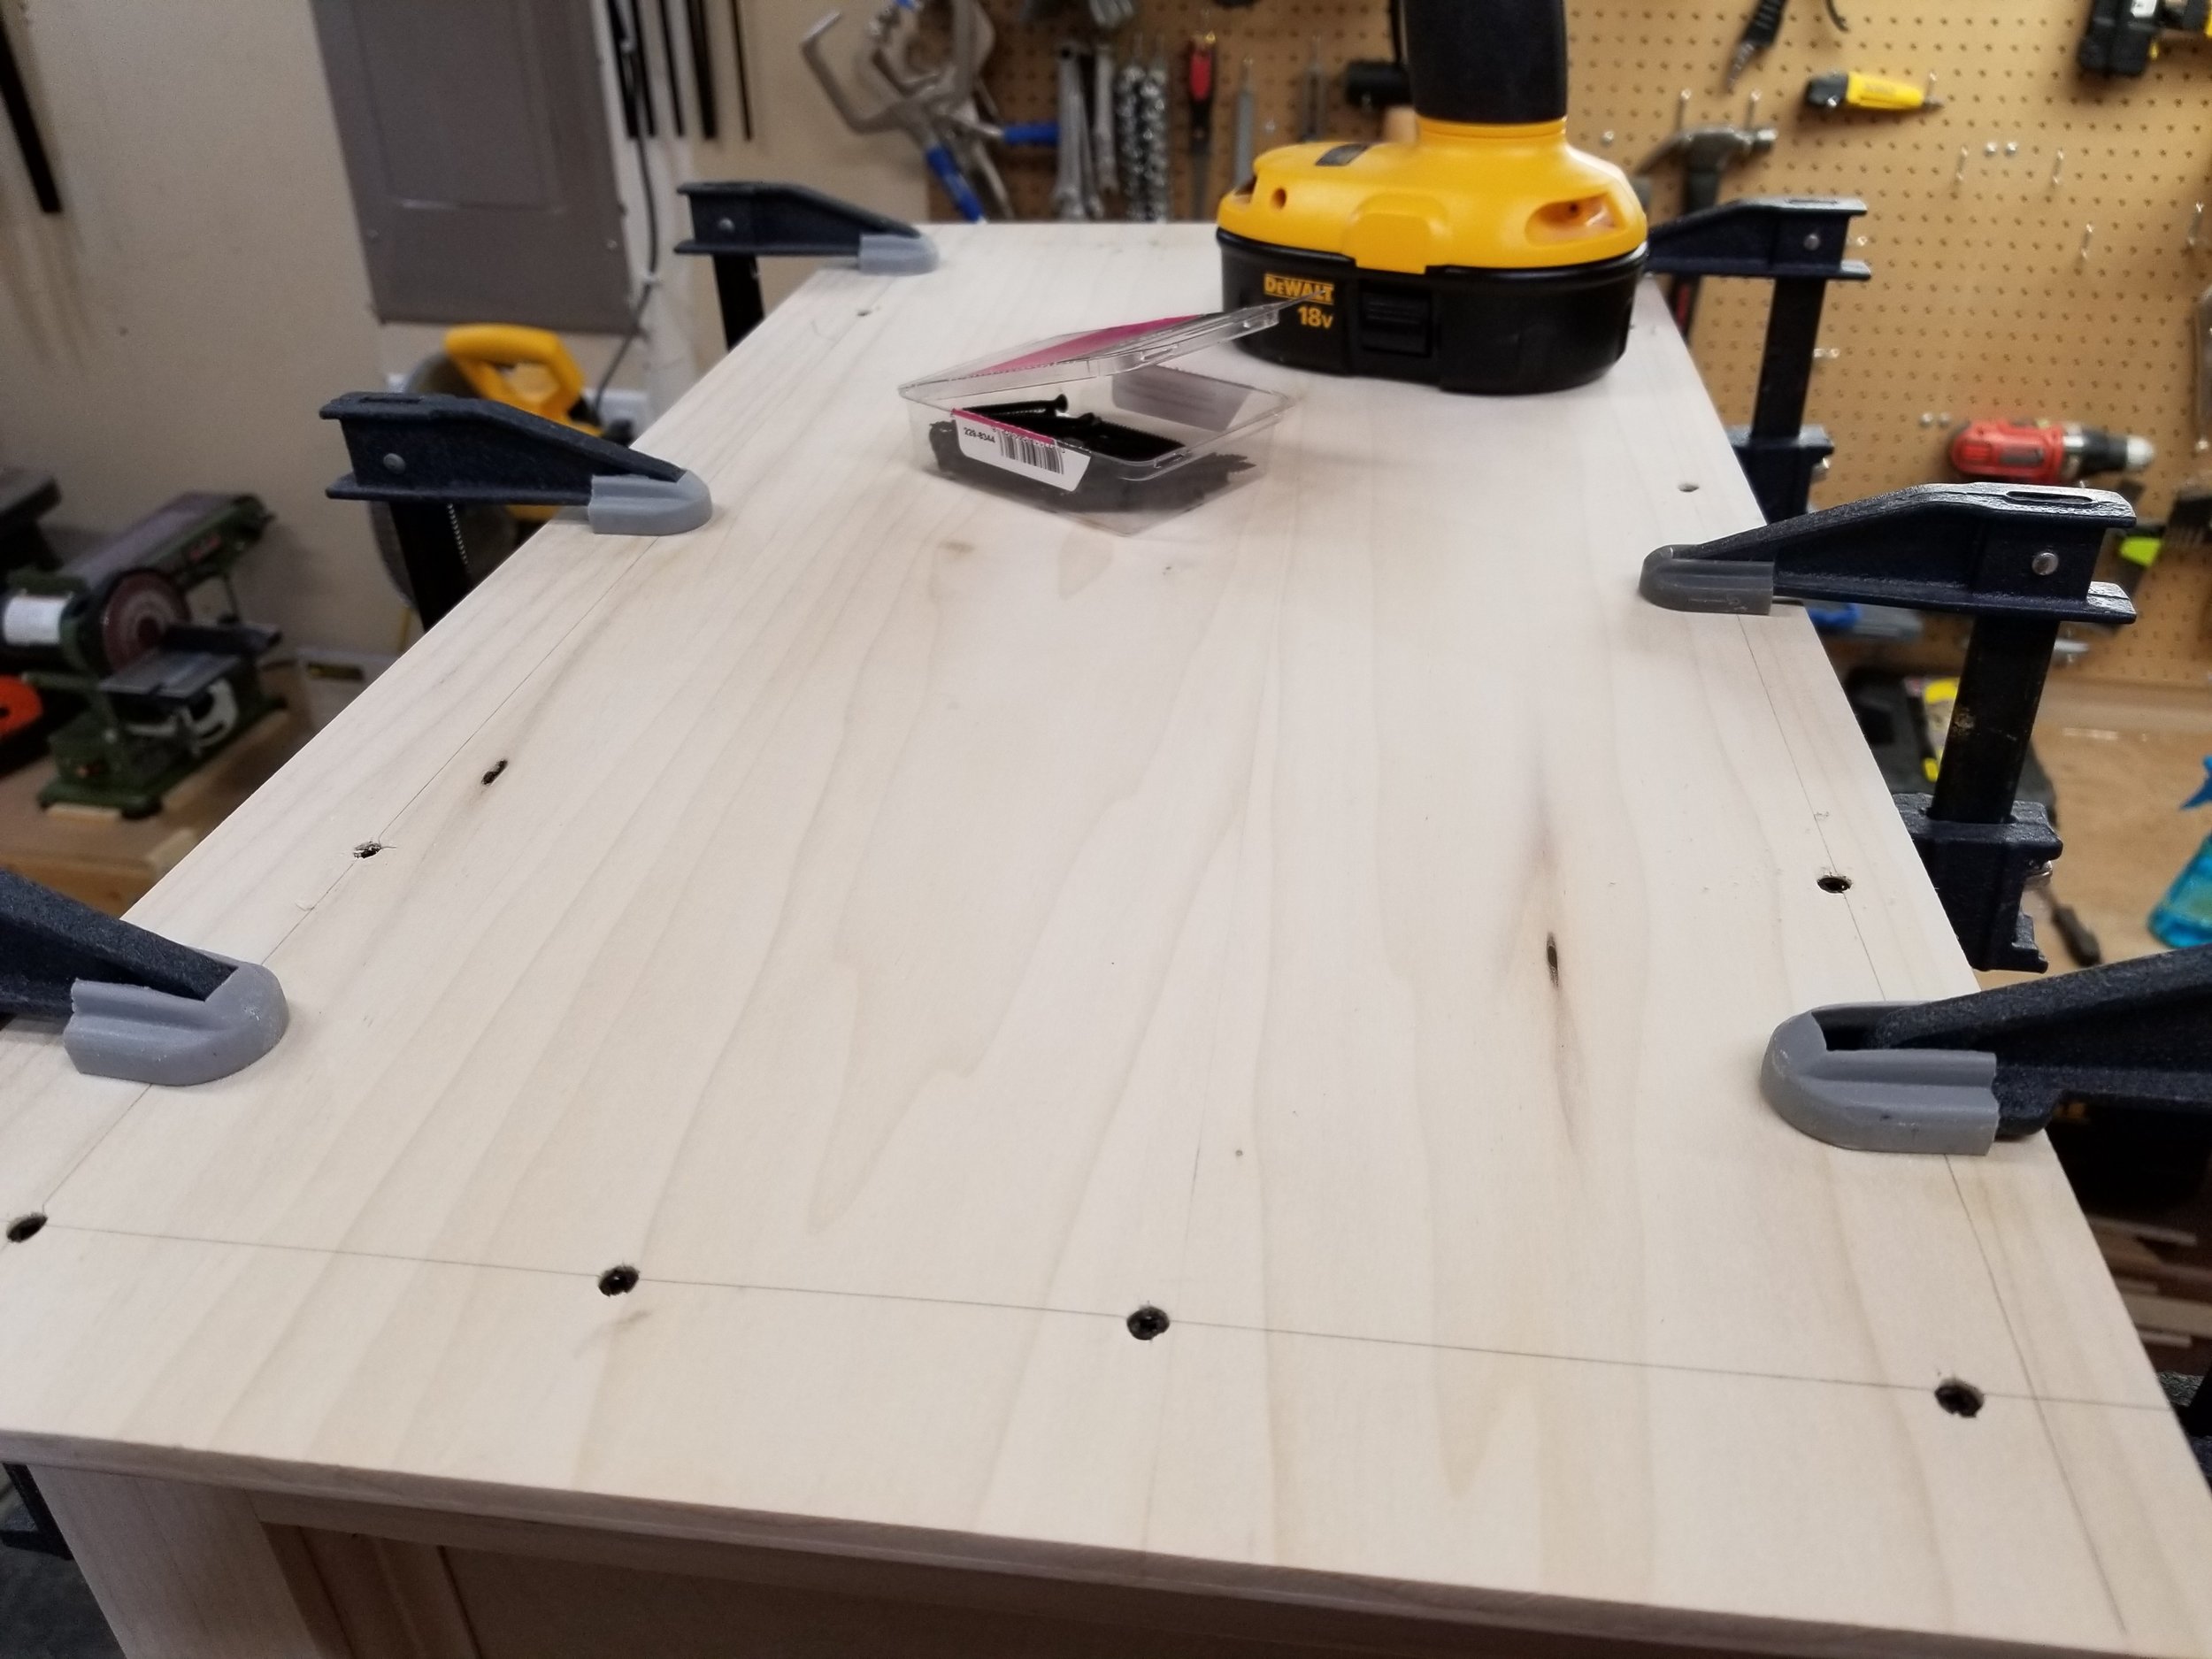
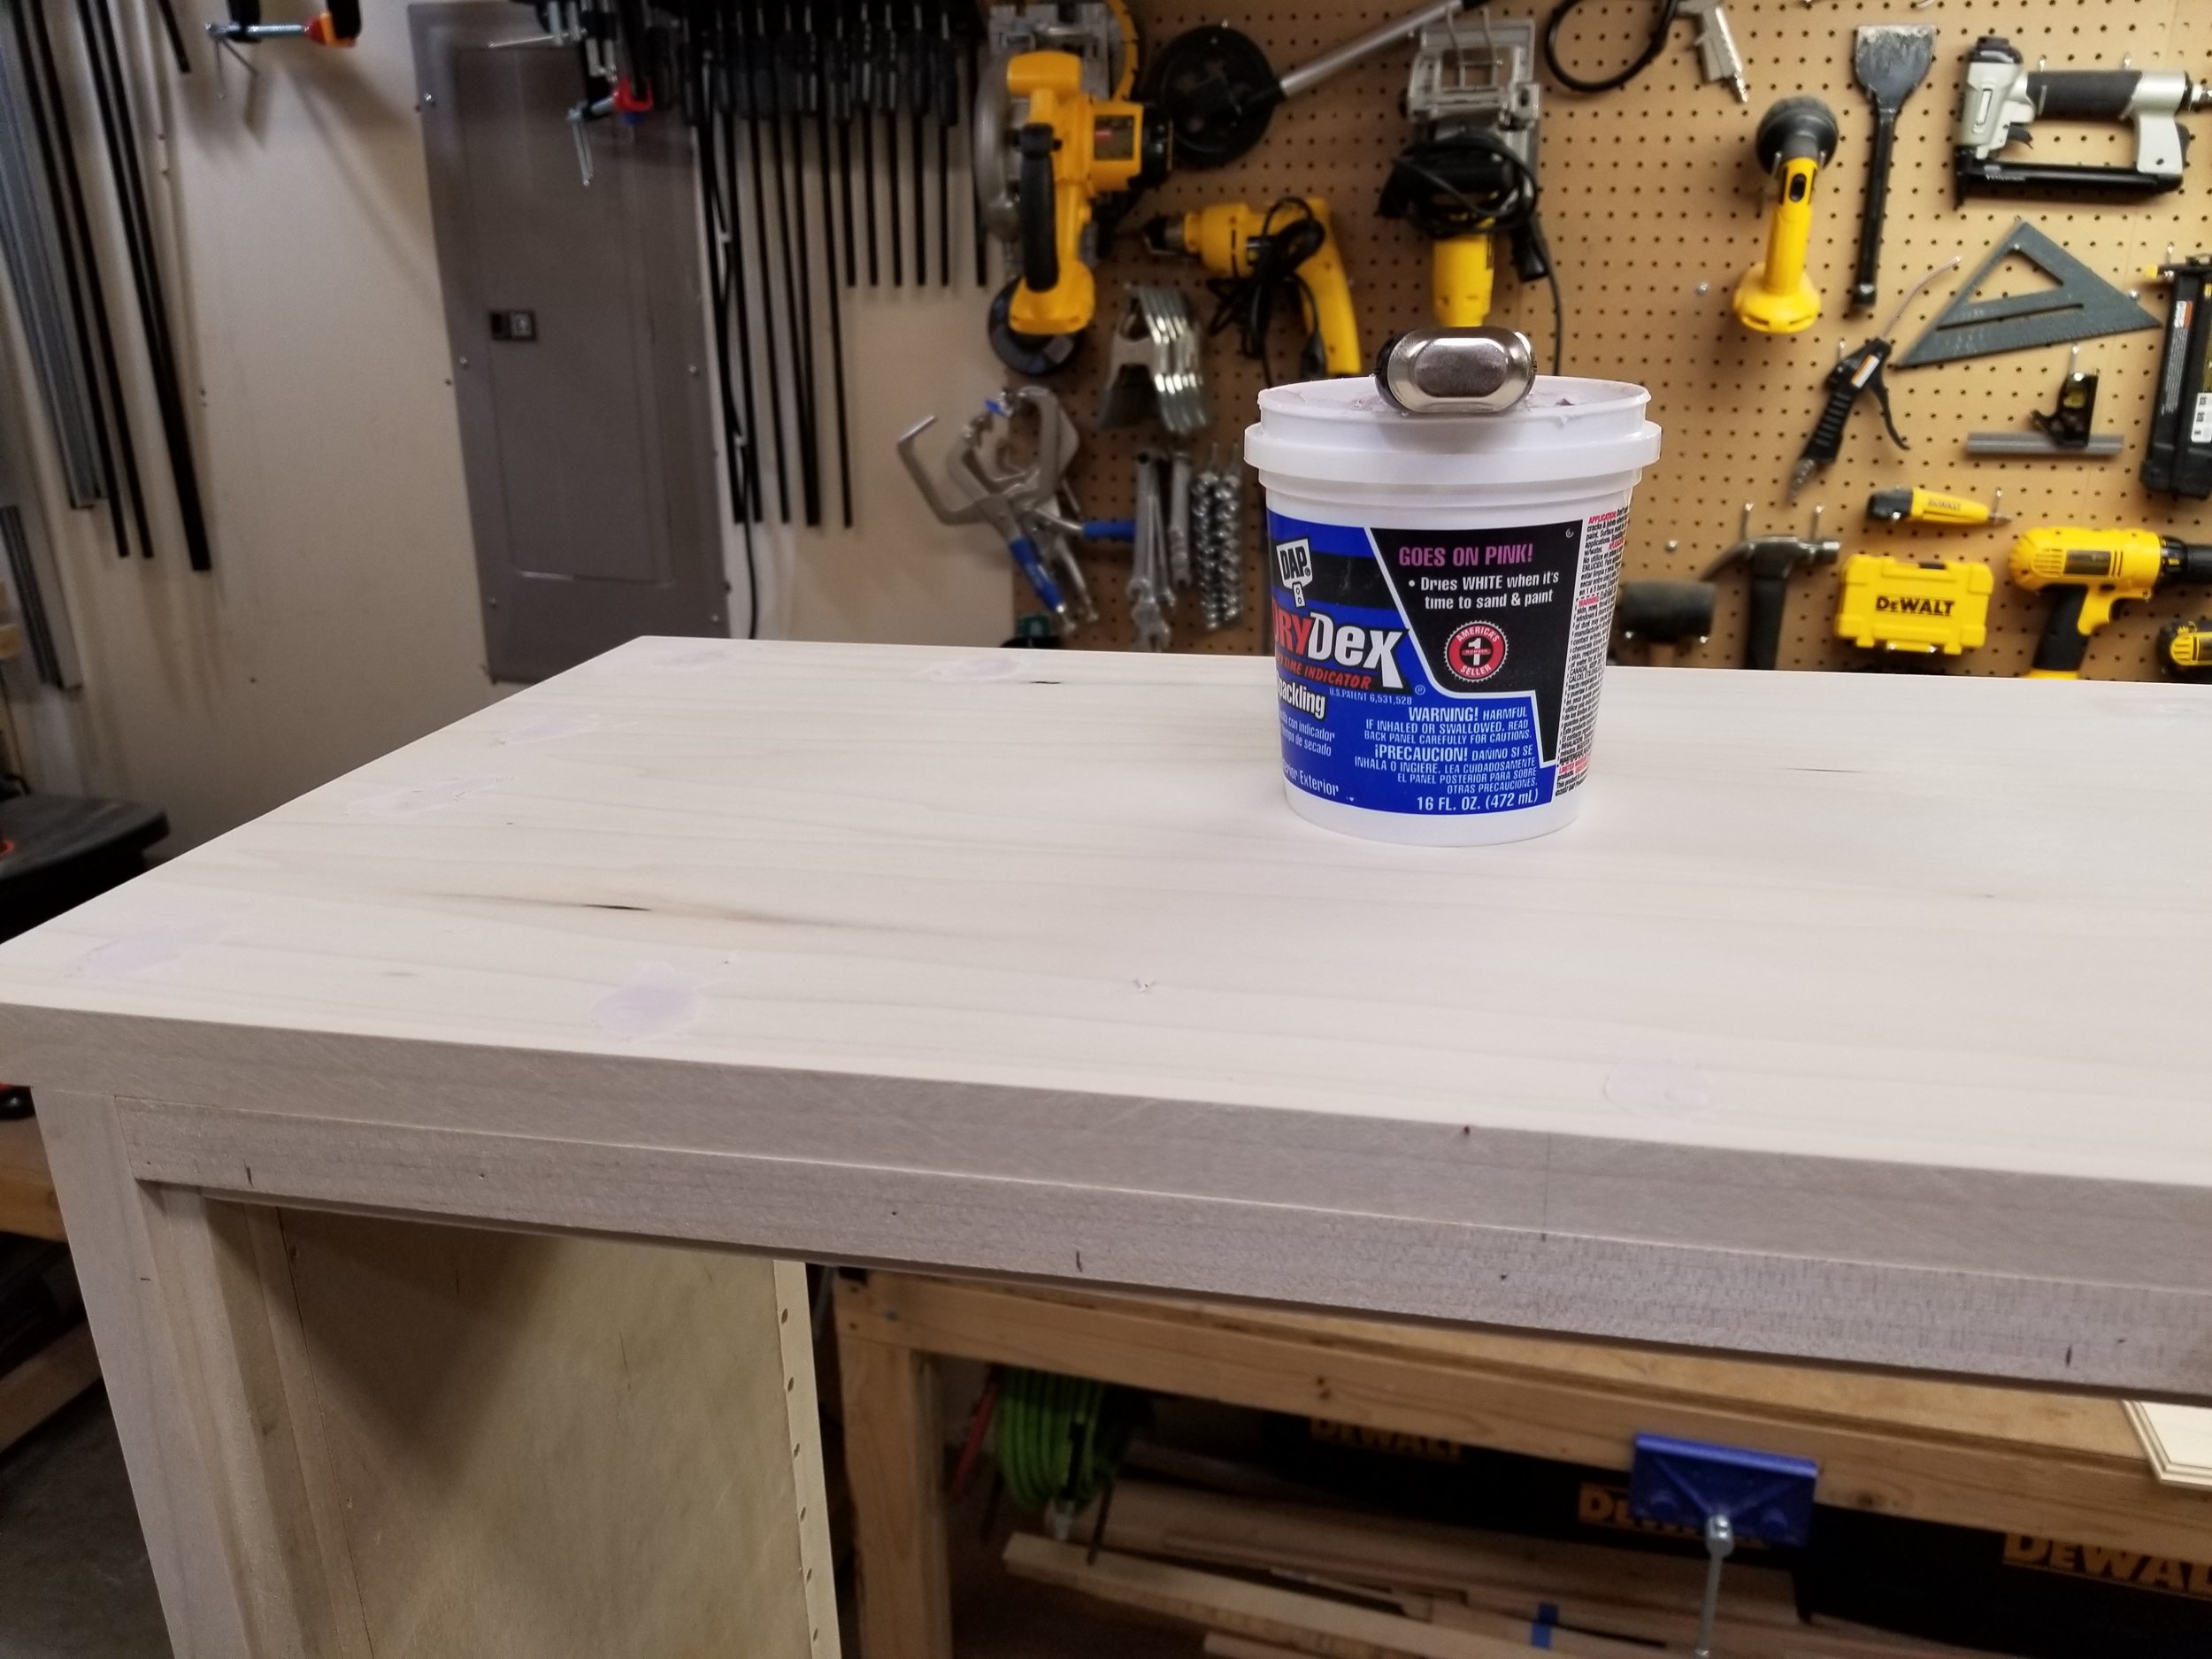
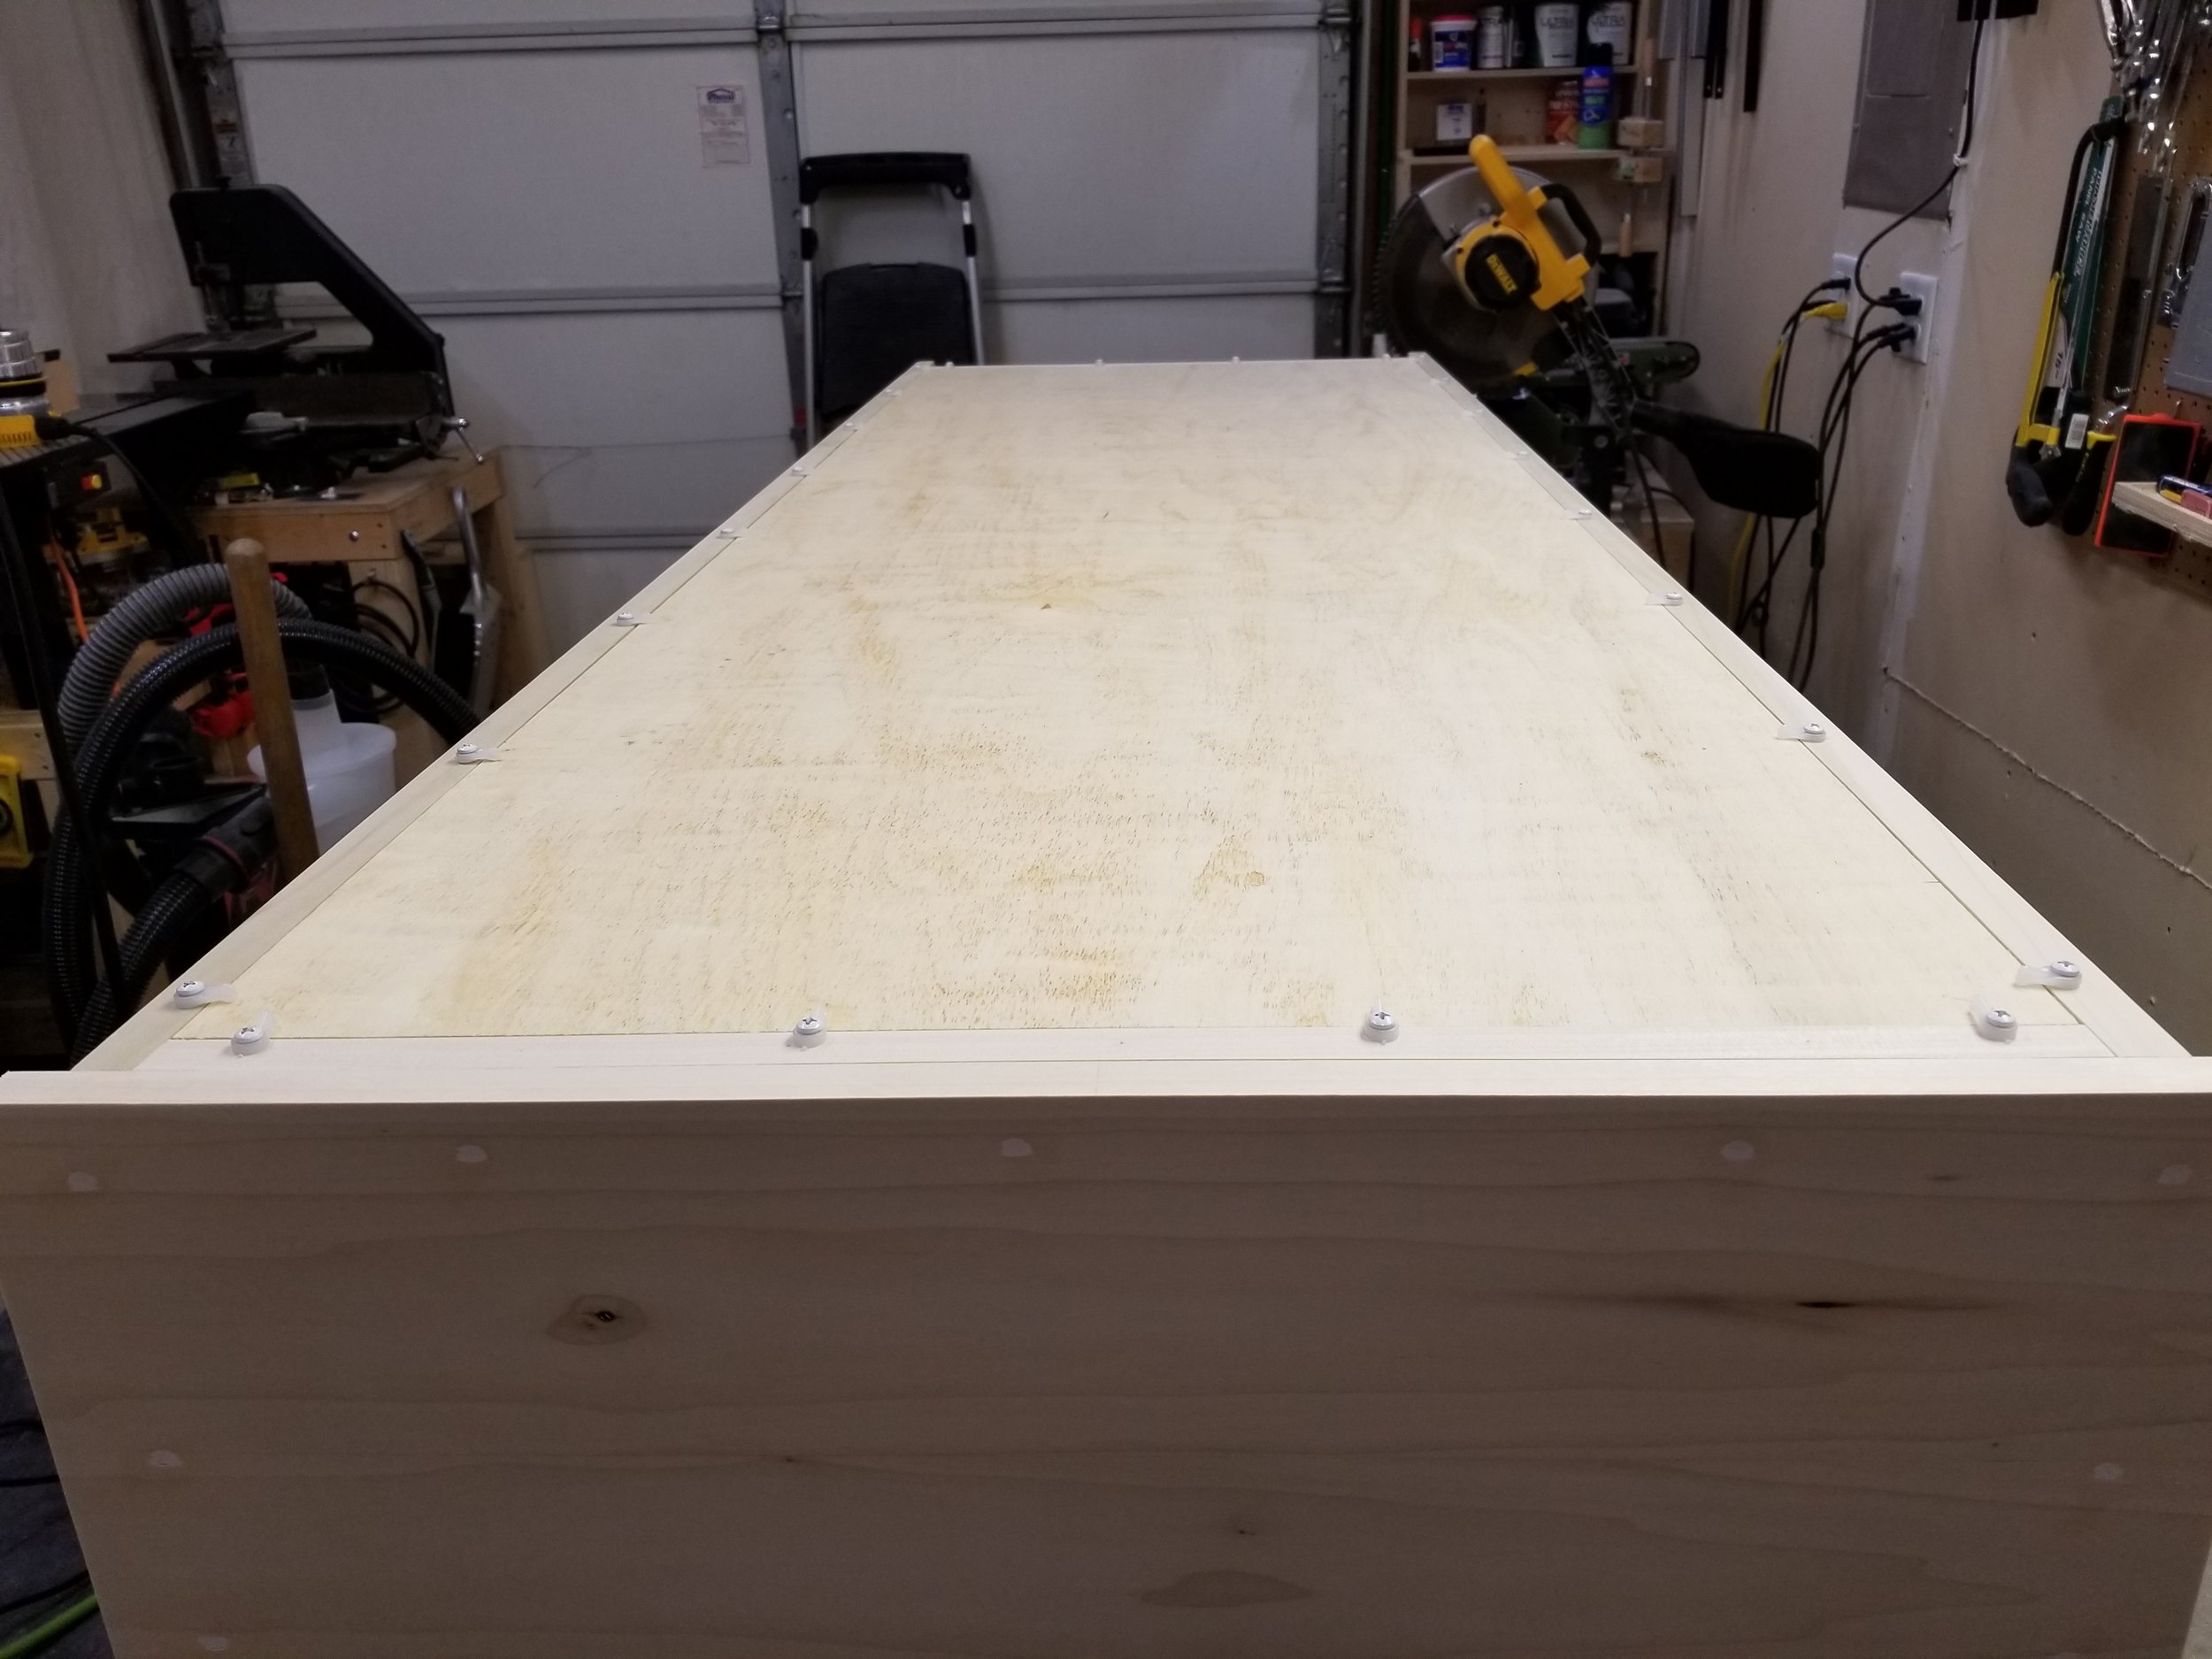
I marked out the hole locations for the bookshelf top, pre-drilled, and counter-sunk them on the drill press. 1 1/2" screws and glue through the top secures it to the frame. I then filled all of the holes and sanded smooth once dry. Drywall compound does a great job of filling holes and takes paint great.

Each shelf gets a piece of poplar nailed to the front to give it an appearance of a thicker board, as well as allows the hiding of the shelf pins. I lined up one edge of the poplar to the edge of the plywood shelf, then ripped the opposite side to a width just heavy of the final dimension. Flipping the shelf over and running it back through to final size results in precisely lined up parts for a clean finish. Adding a strip of painters tape along the plywood helps with tear out when crosscutting on the table saw.

I came up with the idea of using flush mount window screen clips to allow easy removal of the back panel. This will make fabric changes simple.

I prepped for paint by sanding to 220 grit and removing the hardware.

Using a 10% water thinned Behr latex paint, I gave the frame, drawer front, back panel, and shelves two fairly heavy coats of paint. This was the last time I used the Wagner spray gun before upgrading to the HomeRight HVLP. The Wagner gun was serviceable for many projects, and a great starter sprayer, but I found it a bit finicky at times.

I drilled some small holes in the backs of the shelves to drive some long screws into. The screws were attached to some scrap wood, which act as legs, to allow painting of all sides of pieces with each coat. Since this project, I have started using little paint stands, which are much more stable.

Fabric with a pattern matching the decor of the nursery was wrapped around the backer board and held in place with thumb tacks.

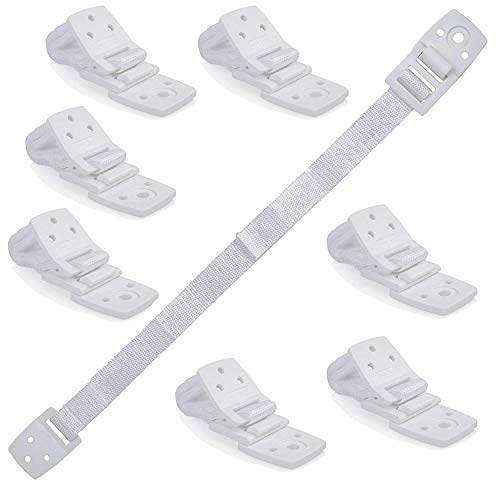
I attached a safety strap to the rear of the bookshelf top, connected to the wall, should it ever attempt to tip over.
This project was a rush to get done before the books (and baby) came, but I wrapped it up just in time!

Update: I enjoyed this project so much that I made a second one for the new baby!

Tools and hardware used in this project
Power tools


Tool accessories


Project specific items


The rest