DIY Space Saver Backyard Playset

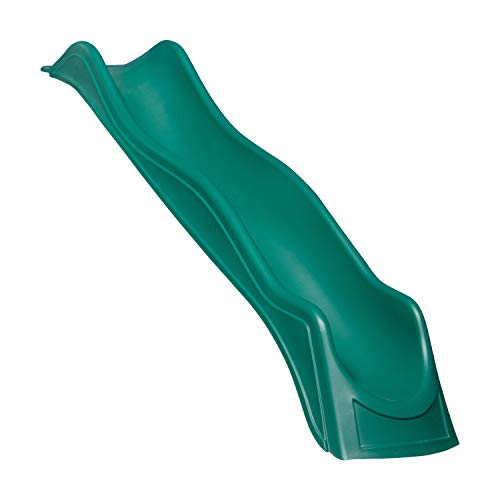
After not being able to find a playset that seemed high quality and fit my needs, I decided to design my own! I wanted a solution that incorporated as much fun into a small footprint, as to not eat up too much of the yard. This backyard space saver playset has a 5' x 9' footprint, features two swings, a slide, a rock wall, a netted tire swing, and a second floor covered landing.

As always, I started this project by fully designing every single piece and identifying where cuts needed to happen using Sketchup. This allows me to minimize the amount of wood waste and helps make the shopping trip much more effective.

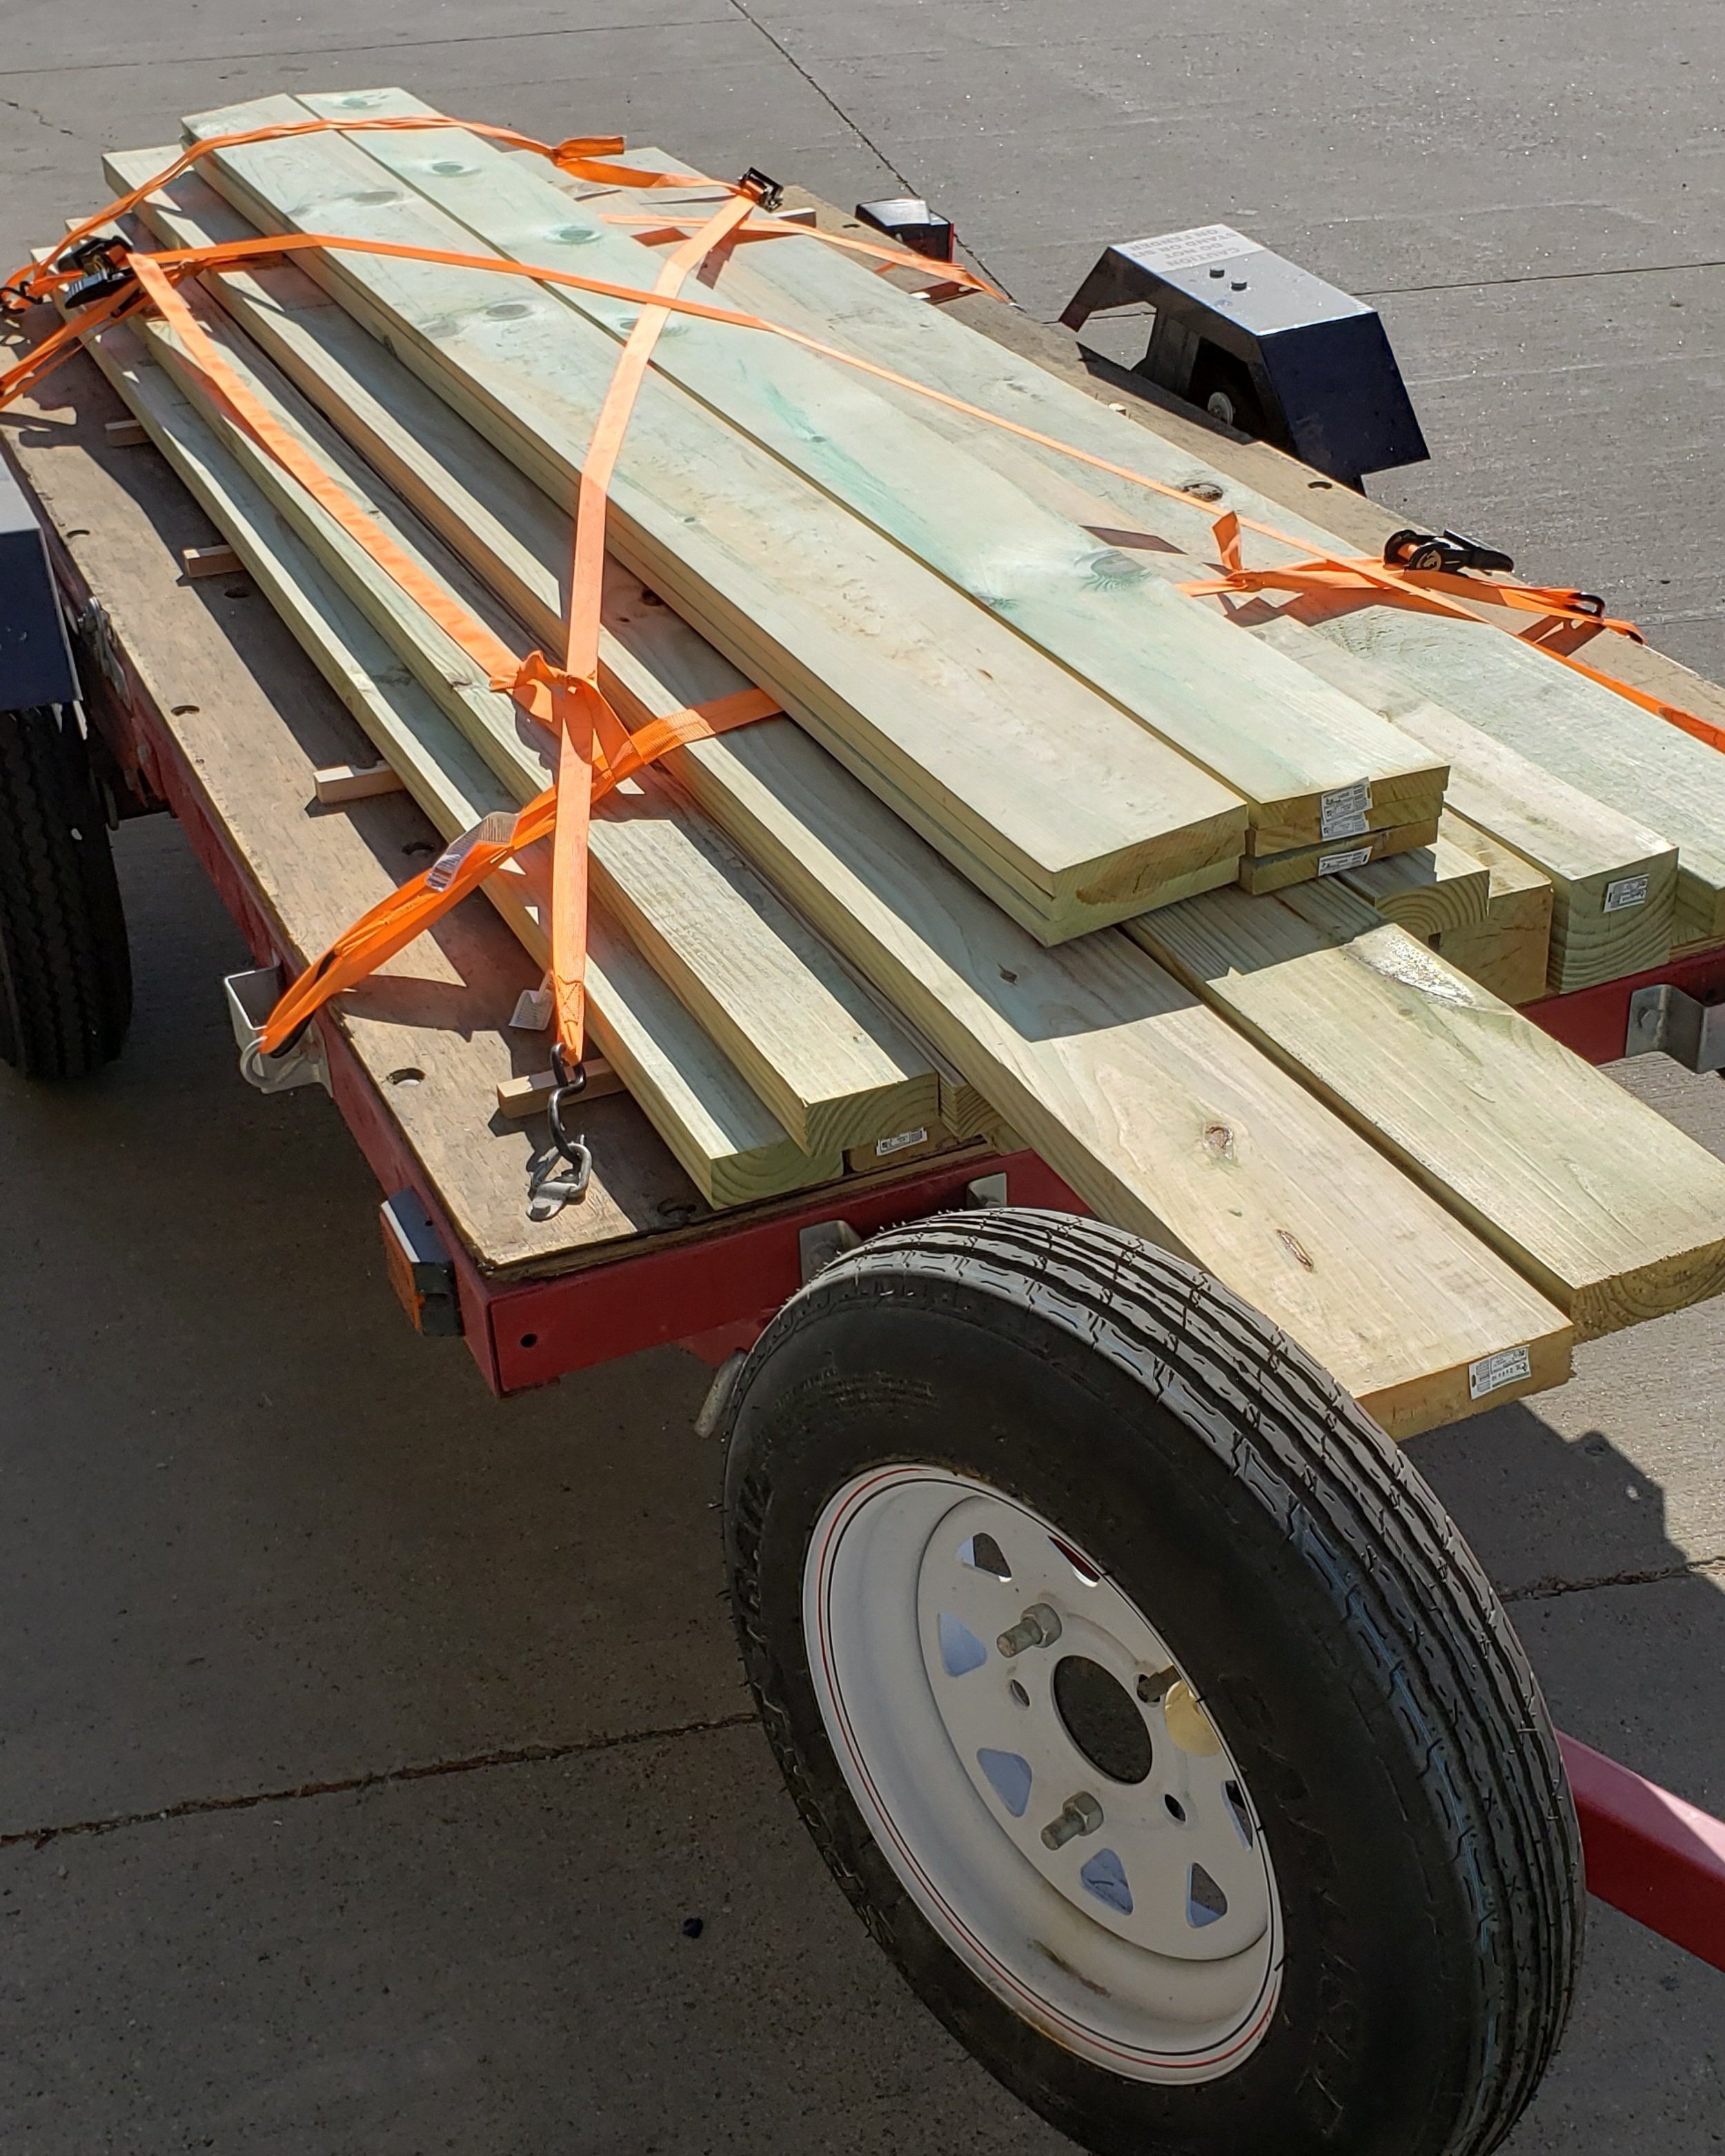
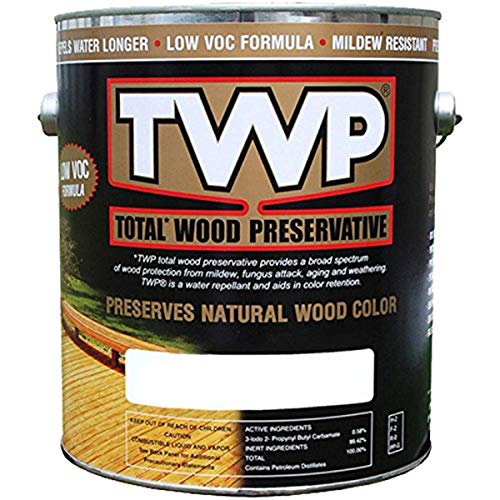
Using the material list from the plans, I loaded up the trailer full of pressure treated lumber. This is a mix of 4x4, 2x4, and 2x6 boards, mostly 8' long with a few longer boards that make up the swing beam. The lumber wasn't too wet, but I still left the trailer out in the sun for about a week to dry the wood as much as possible. This project could also be built with cedar; any weather resistant wood will do.
The Platform


The first step in the build is to construct the platform. Using the miter saw I crosscut the 4x4 beams to length. The two posts at the "front" of the platform will eventually have the beam for the swings attached, so a notch needed to be cut out. I used a vertical jig and a clamp to cut as high as I could into the beam. A tenoning jig like this one could also be used.
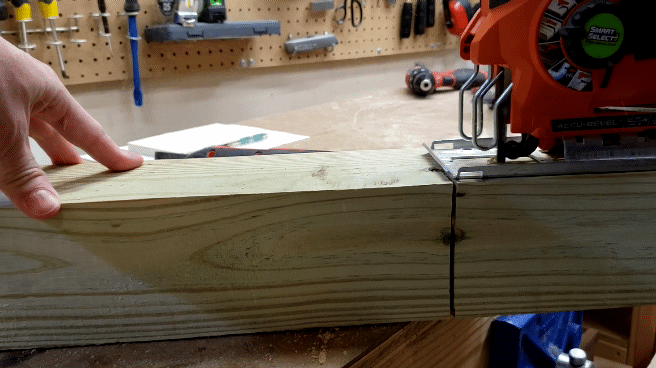
A jigsaw cleans up the last little bit remaining between the two cuts made on the table saw.


The vertical board on the left side of the above image is the top railing, the right side of the image is the bottom of a railing. Using scrap wood as a spacer, I pre-drilled and screwed in the balusters between the two railings.
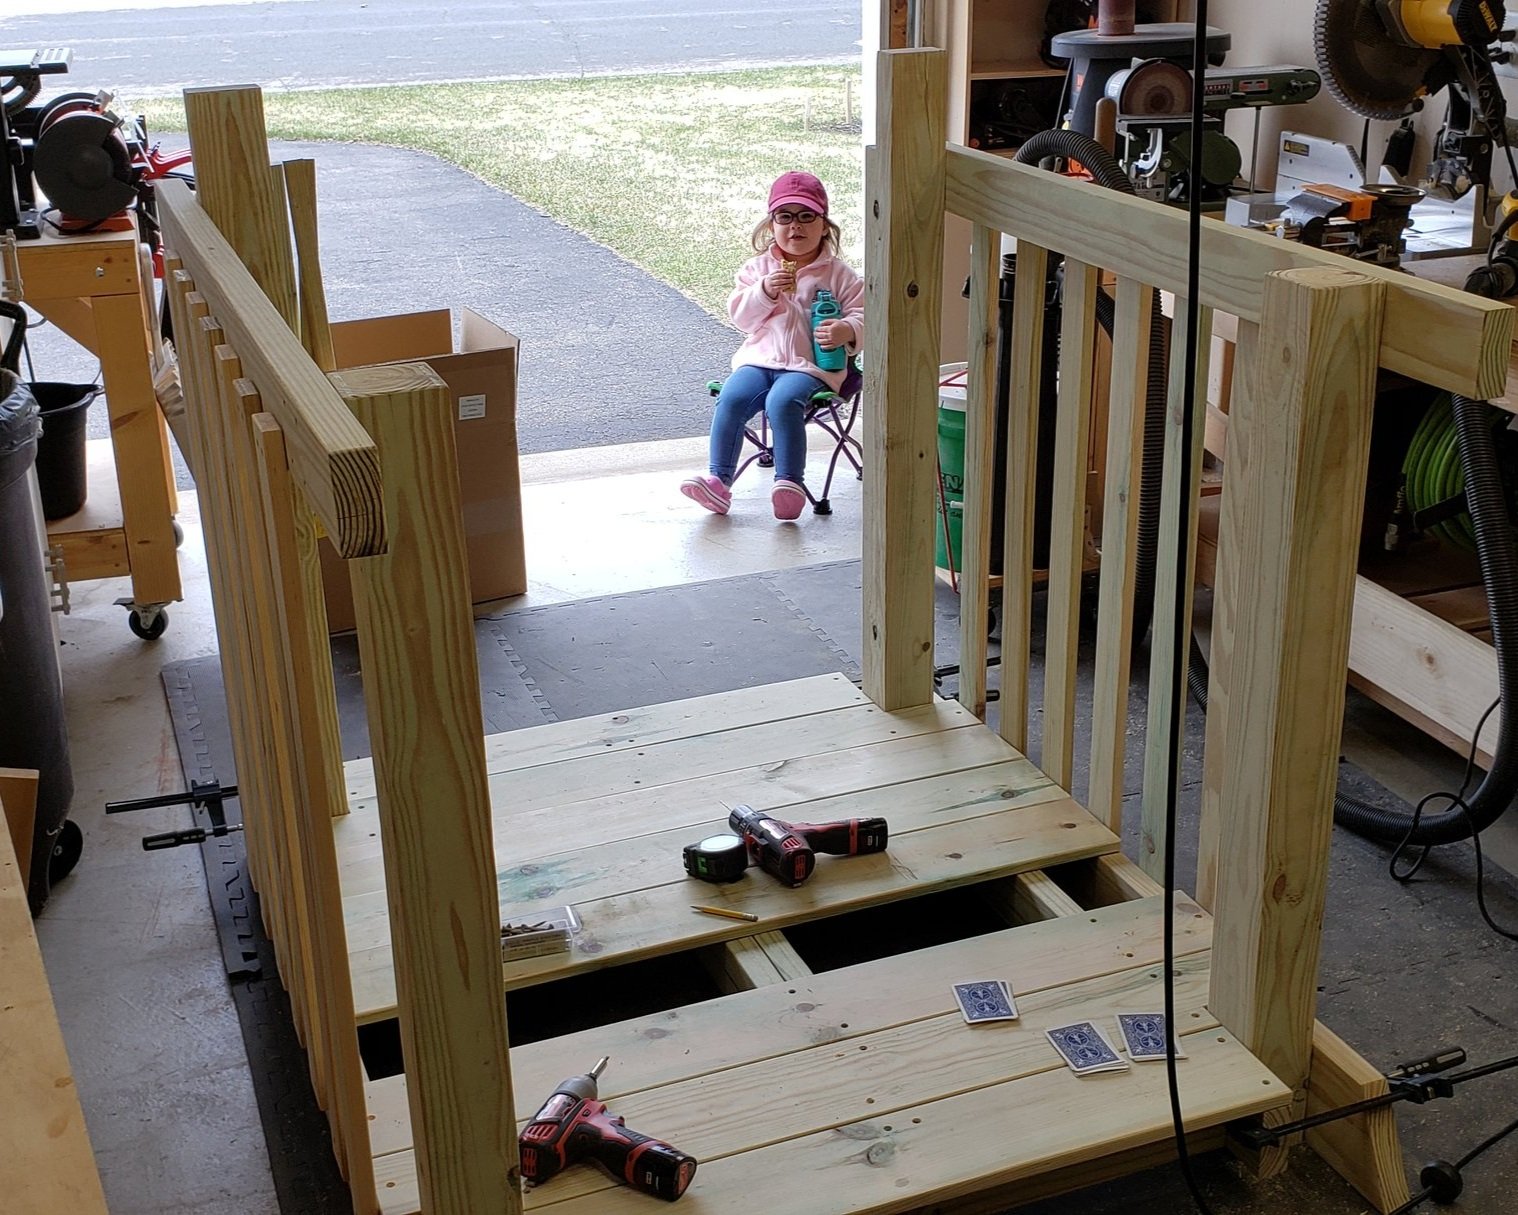
With the supervisor keeping an eye on the progress, I temporarily stood the railings up and laid out the floor between them. The floor boards sit on top of two boxes. This gives stability, a place to screw the middle of the floor to, and a location to hang the net swing when it's all stood up. Playing cards helped to keep an equal distance between each floor board.


A few of the boards are notched out to fit around the newel posts. I left about an 1/8" between each board and from the end of the boards to the railing balusters to allow for expansion and contraction.

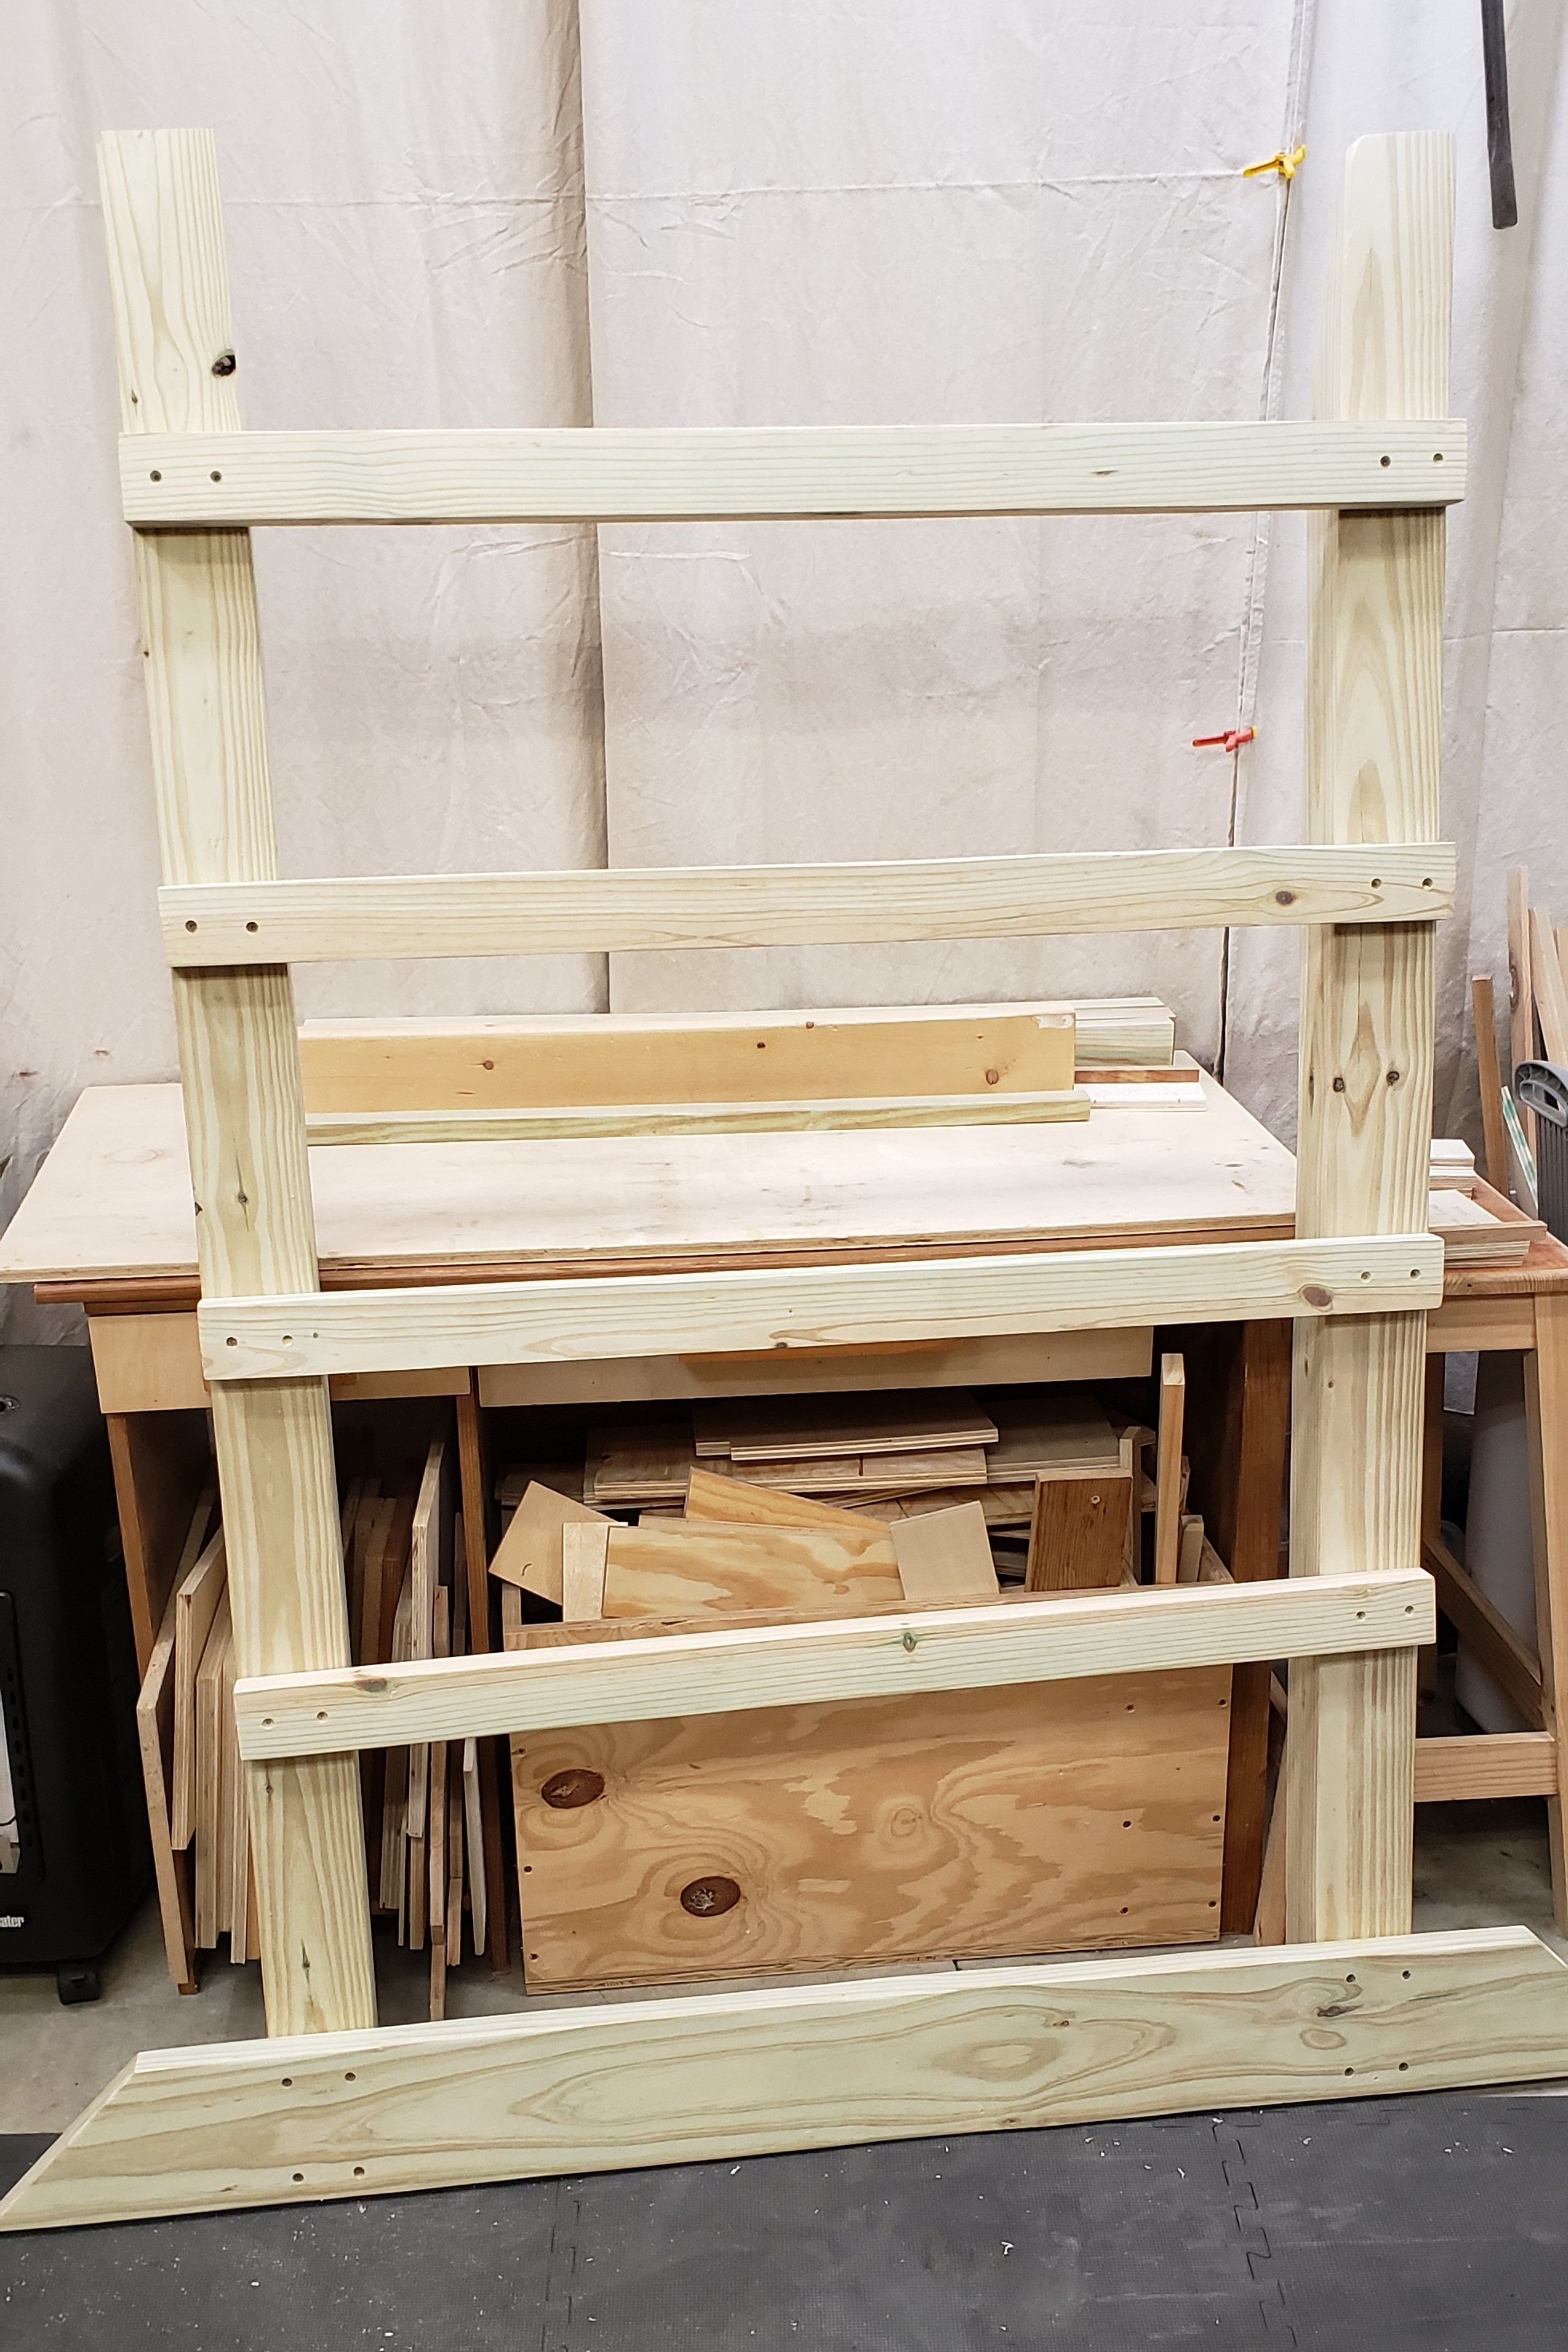
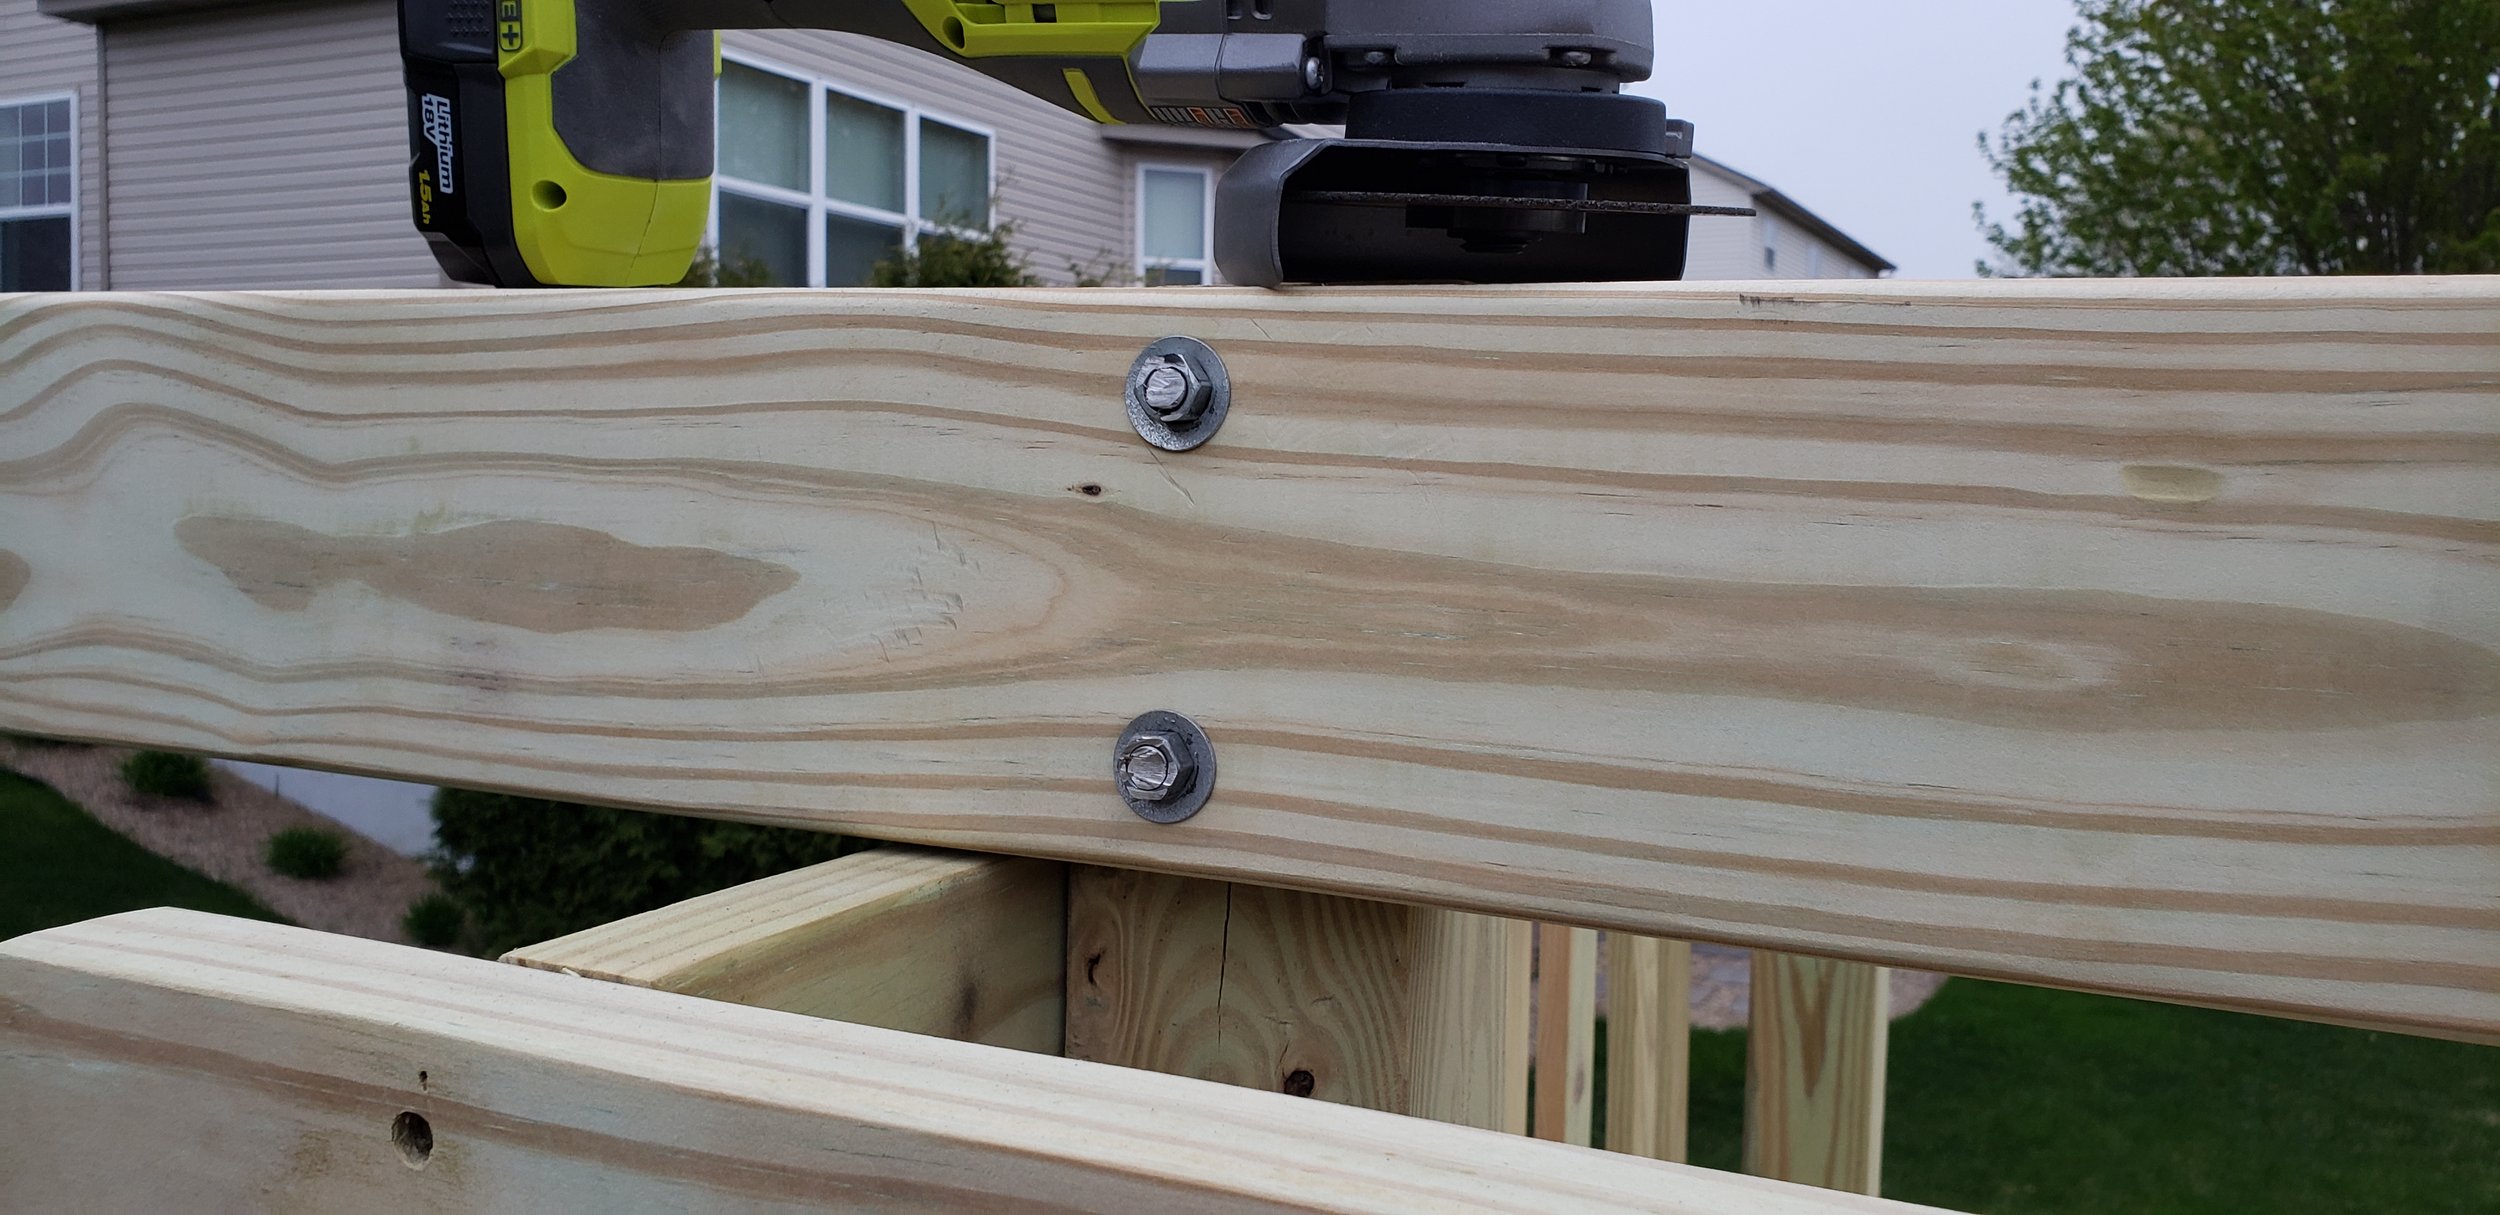
This may be overkill, but I drilled a pilot hole and hammered in an 8" galvanized carriage bolt through each of the corners. A little extra insurance never hurts!

Everywhere a carriage bolt is installed, I cut off the excess and ground the remainder smooth. No sharp edges on this play set!
The Rock Wall and Ladder

Time to work on standing this thing up. The four legs of the playset are 4'x4's at angles. This angle will determine how steep the rock wall, ladder, and slide end up.
Here is a video explaining how to make those steep cuts that a miter saw can’t pivot to.
In the previous image, notice that my saw couldn’t make it all the way through. I completed the cut using a hand saw.

I clamped a couple of spacers in place to keep everything square while attaching the wall slats and ladder steps.

A quick jig helps to align evenly spaced holes.

Outdoor rated screws hold the rock wall supports and ladder steps in place.

Putting it All Together


I was finally able to wrestle this behemoth together, add some clamps, drill holes and join the three large parts.

"That ain't going nowhere"
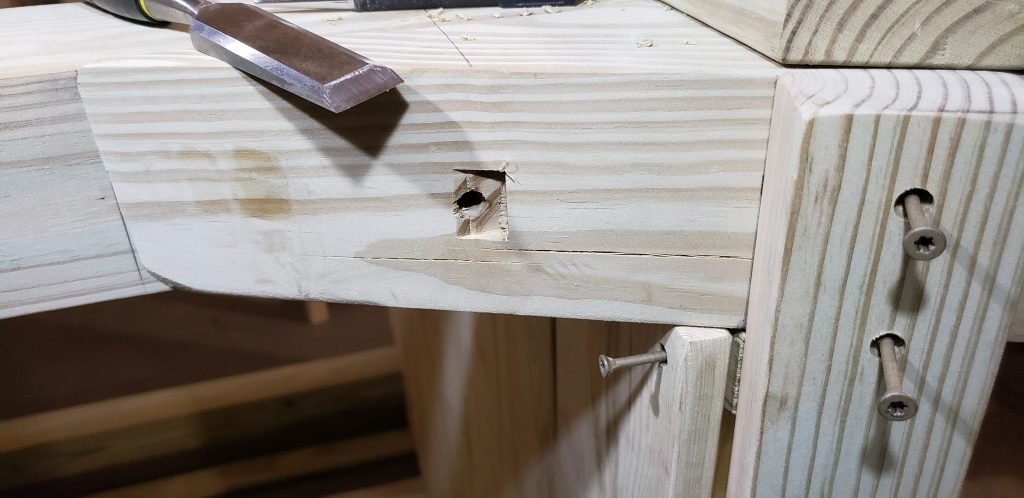
When a carriage bolt needed to go through an angled piece, I used a chisel to create a flat spot for the head to rest.

When the time came to assemble this in the backyard, I took out the large carriage bolts holding the stilts on and lugged it out to its final location and reassembled.
Accessories


After seeing it in the backyard I realized that the ladder needed a little additional work. Using some extra material, I ripped pieces at an angle and attached them to the stairs to create a larger foot rest. With the slide bolted on, a couple of handles, and the net swing attached, this thing was irresistible to my daughter!
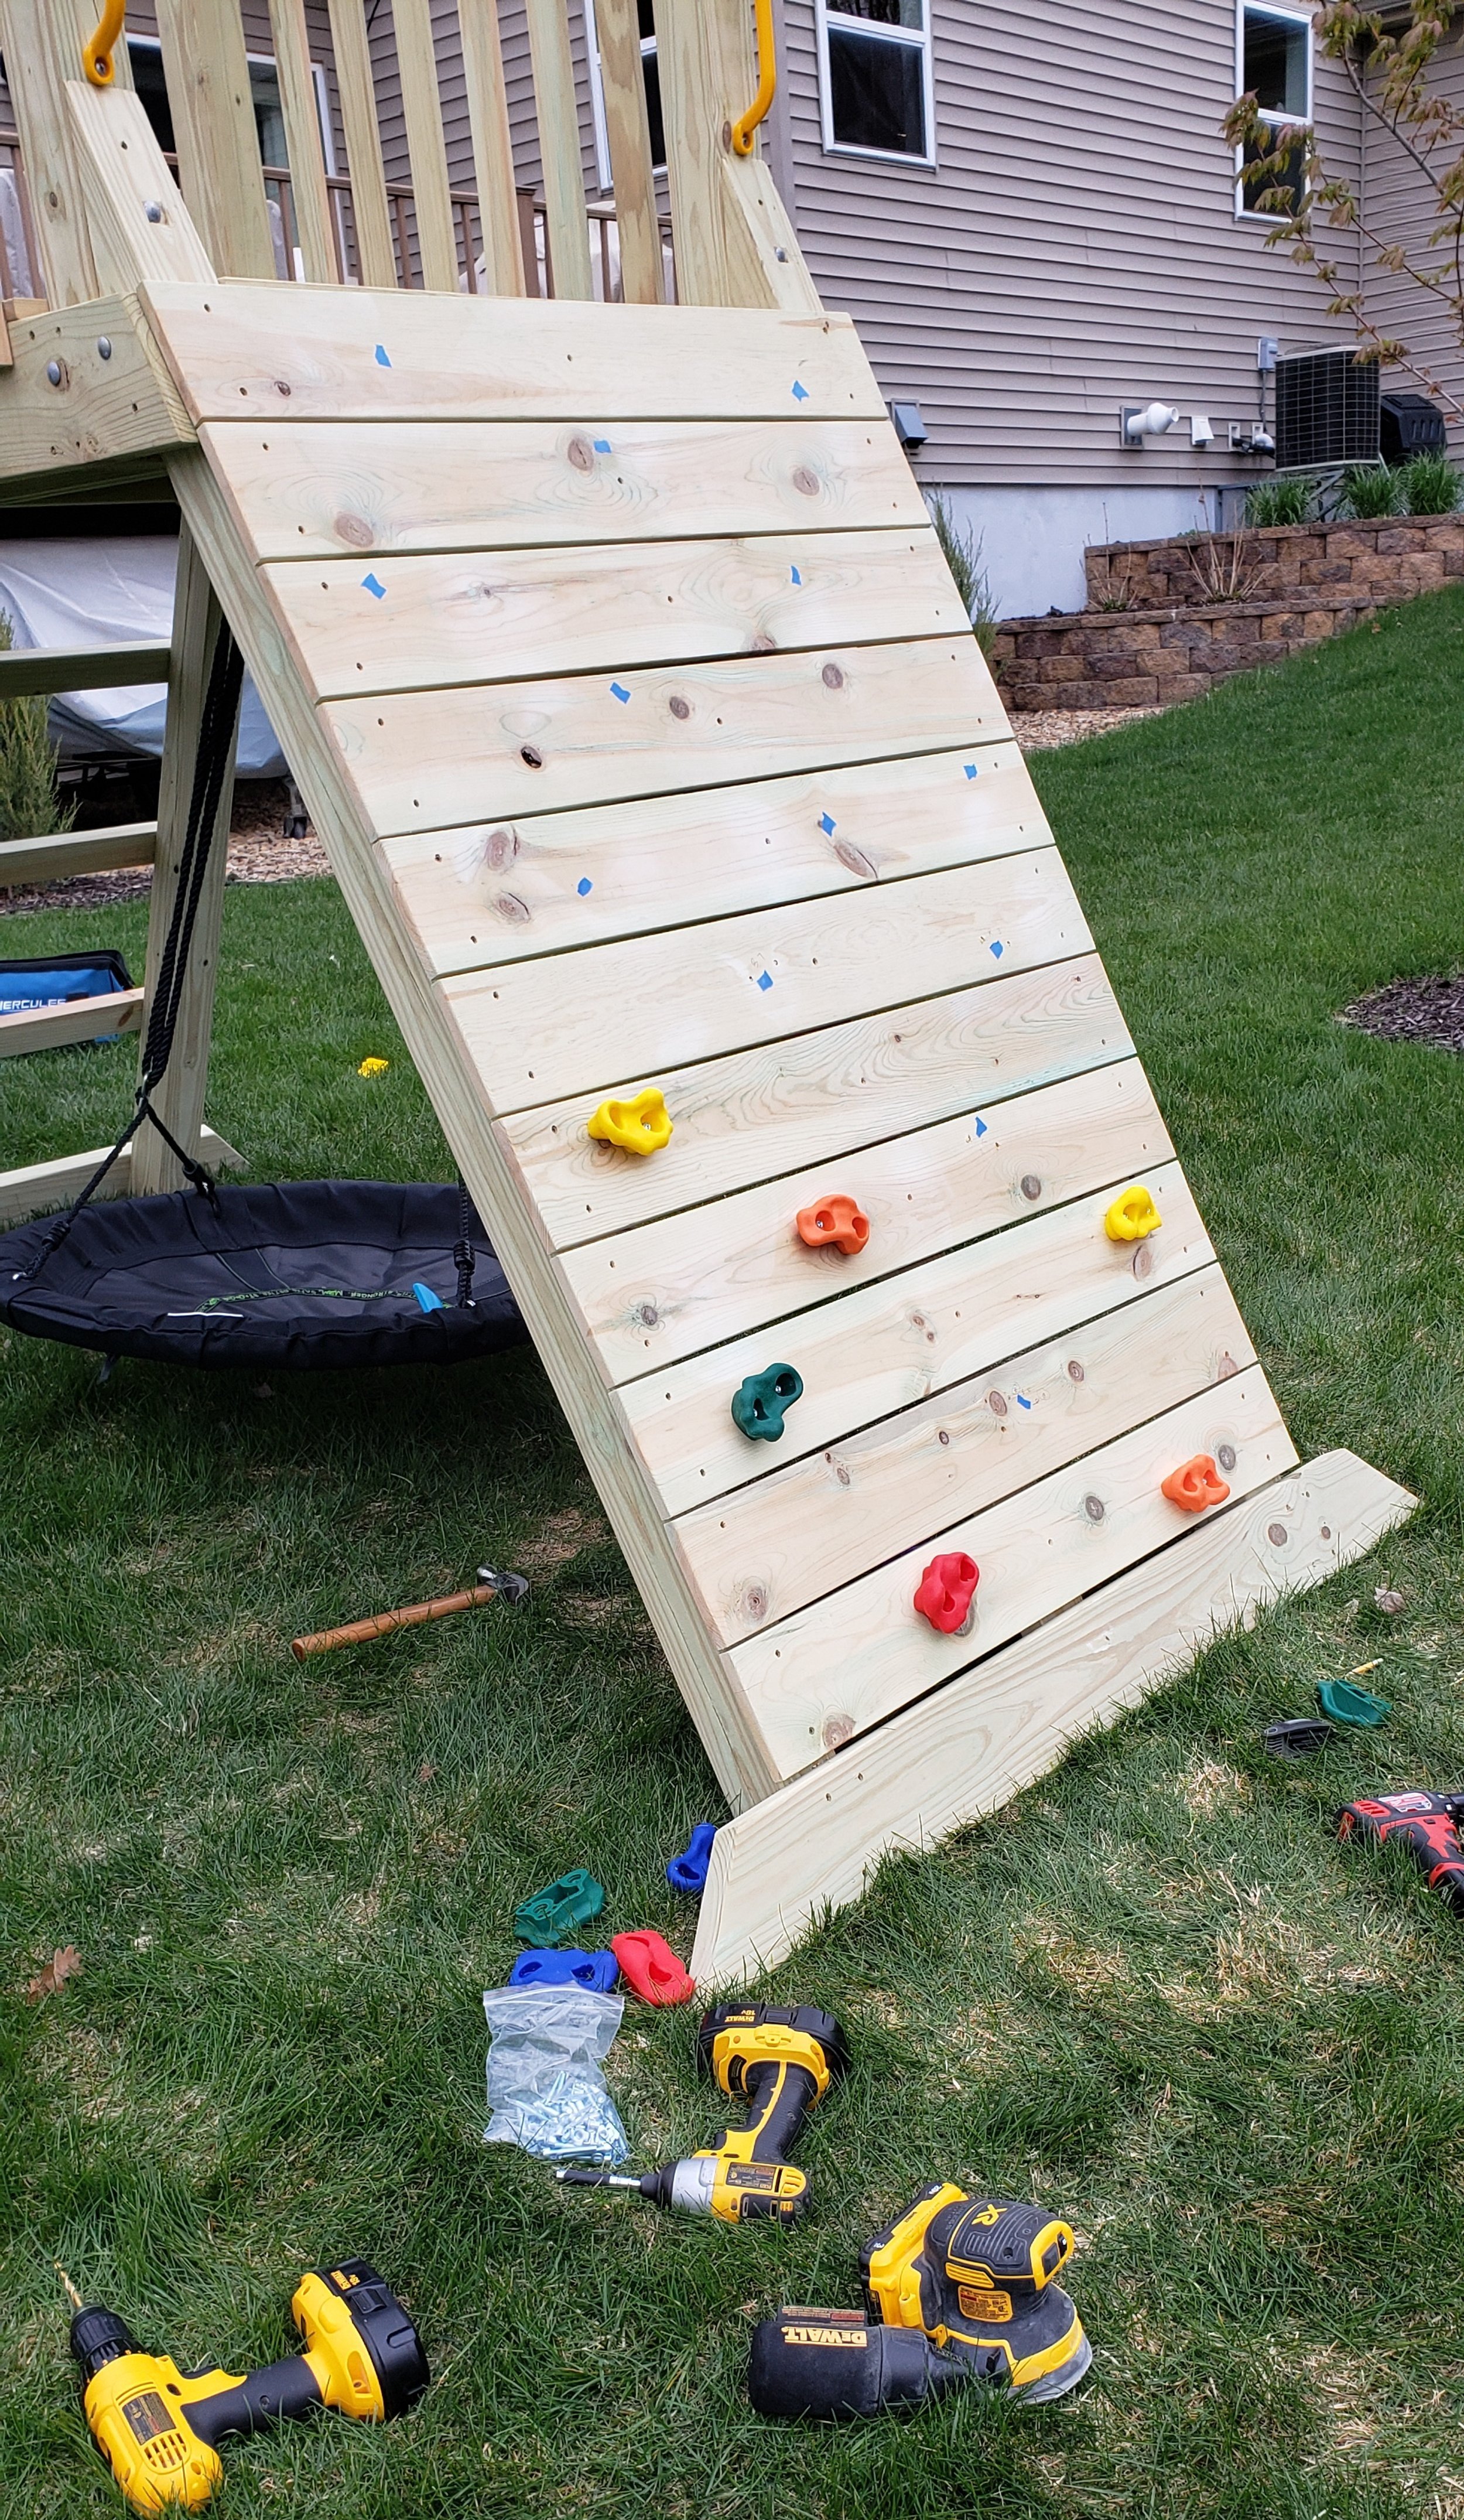
Using some small bits of painters tape, I created a layout of the rock wall hold locations and fastened them by drilling through the wall and bolting them from the rear.
The Swings


Two 10' boards laminated together make up the swing beam.

I ran each side through the table saw for nice clean edges.


So close!
The Roof

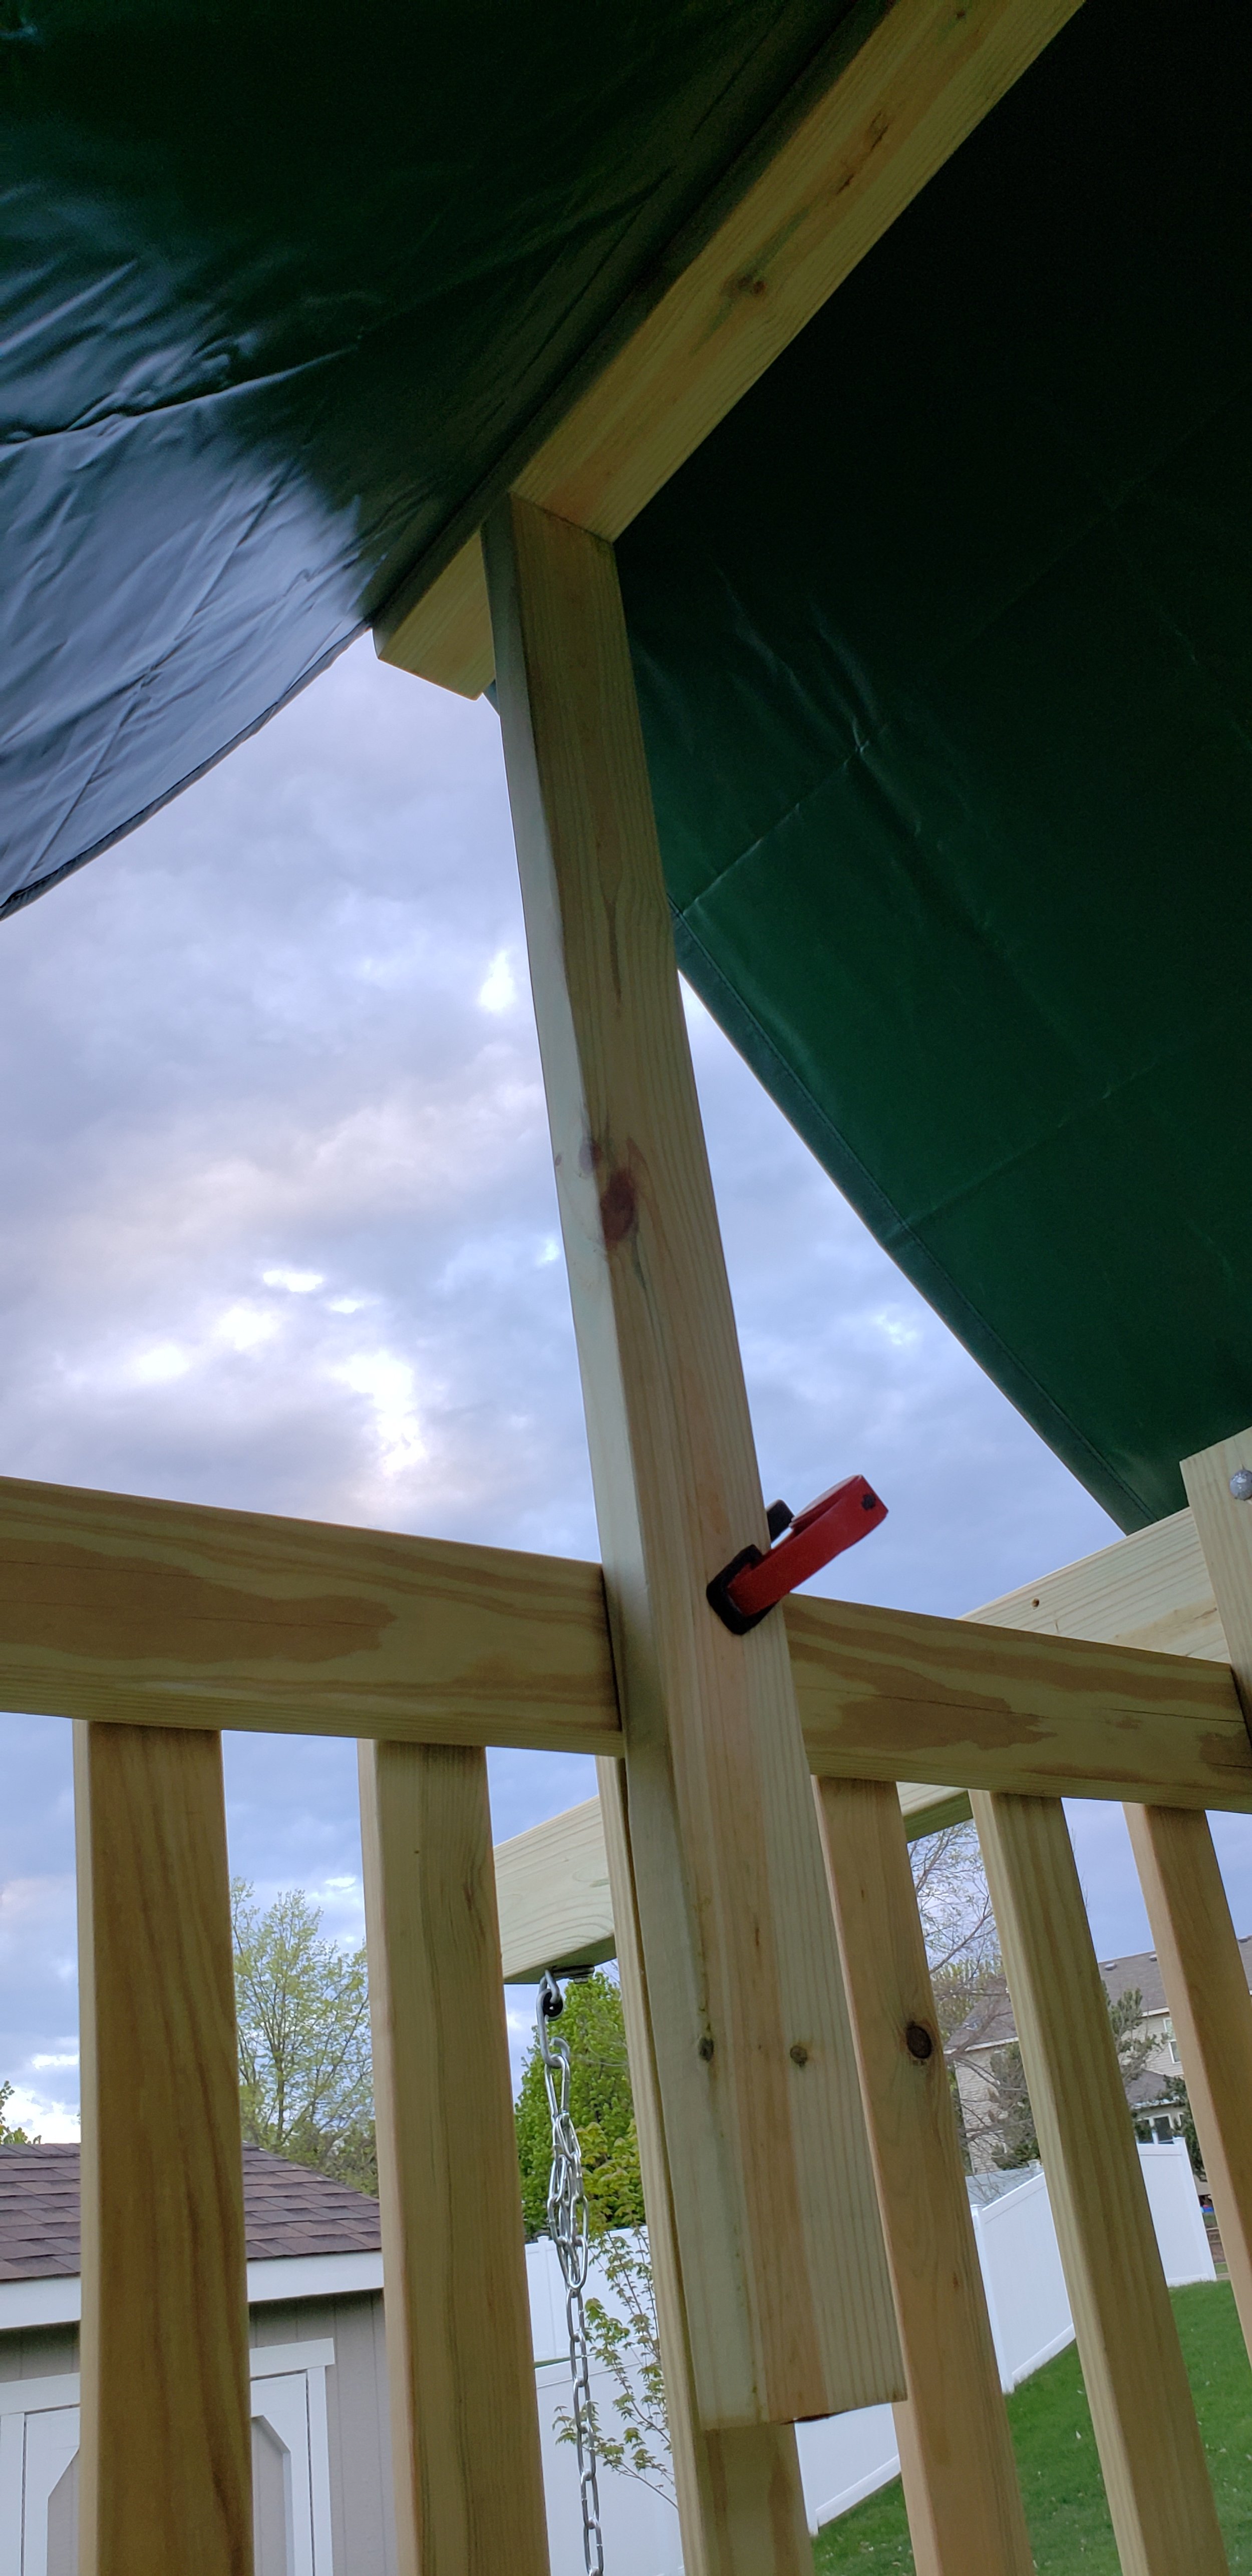


The first step in attaching the roof was to clamp the vinyl canopy on the end supports. With that in place, I could raise the t-support up until everything was tight and level, then clamp it in place. I drove four screws per side, made a pencil line, and trimmed off the excess with a circular saw.

A curved support brace on the back keeps the top from racking.
Finishing

The final step of this project was to remove all of the plastic and apply a single coat of protectant stain on all of the bare wood. Using my spray gun, I was able to knock all of this out in less than an hour.

I think I say this after every post, but this is officially my favorite build! The joy this space saver backyard playset has brought my daughters was worth every hour put into designing and building it. It's been standing now for over a year and it looks just like the day it was built.
Thanks for reading and feel free to email me or message me on Instagram if you have any questions while building one of your own!

Tools and items used in this project
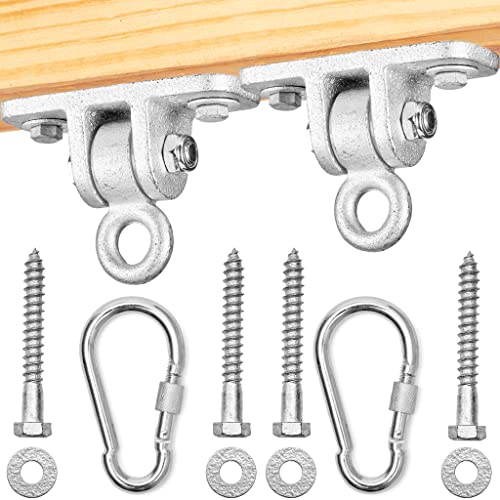
Project specific items


Tools