Bathroom Storage Stand

The main floor "powder room" has no cabinets or shelves, meaning no storage. I decided to make a small cabinet with some wicker baskets and a drawer to store some bathroom type items.

I designed the piece based on the size of the area it was meant to fill as well as the wicker baskets that were purchased.

The project started out by ripping some poplar boards down to rough width and gluing them together to create 1 1/2" legs.

Used nearly all of my clamps for the four legs glued in sets of two.
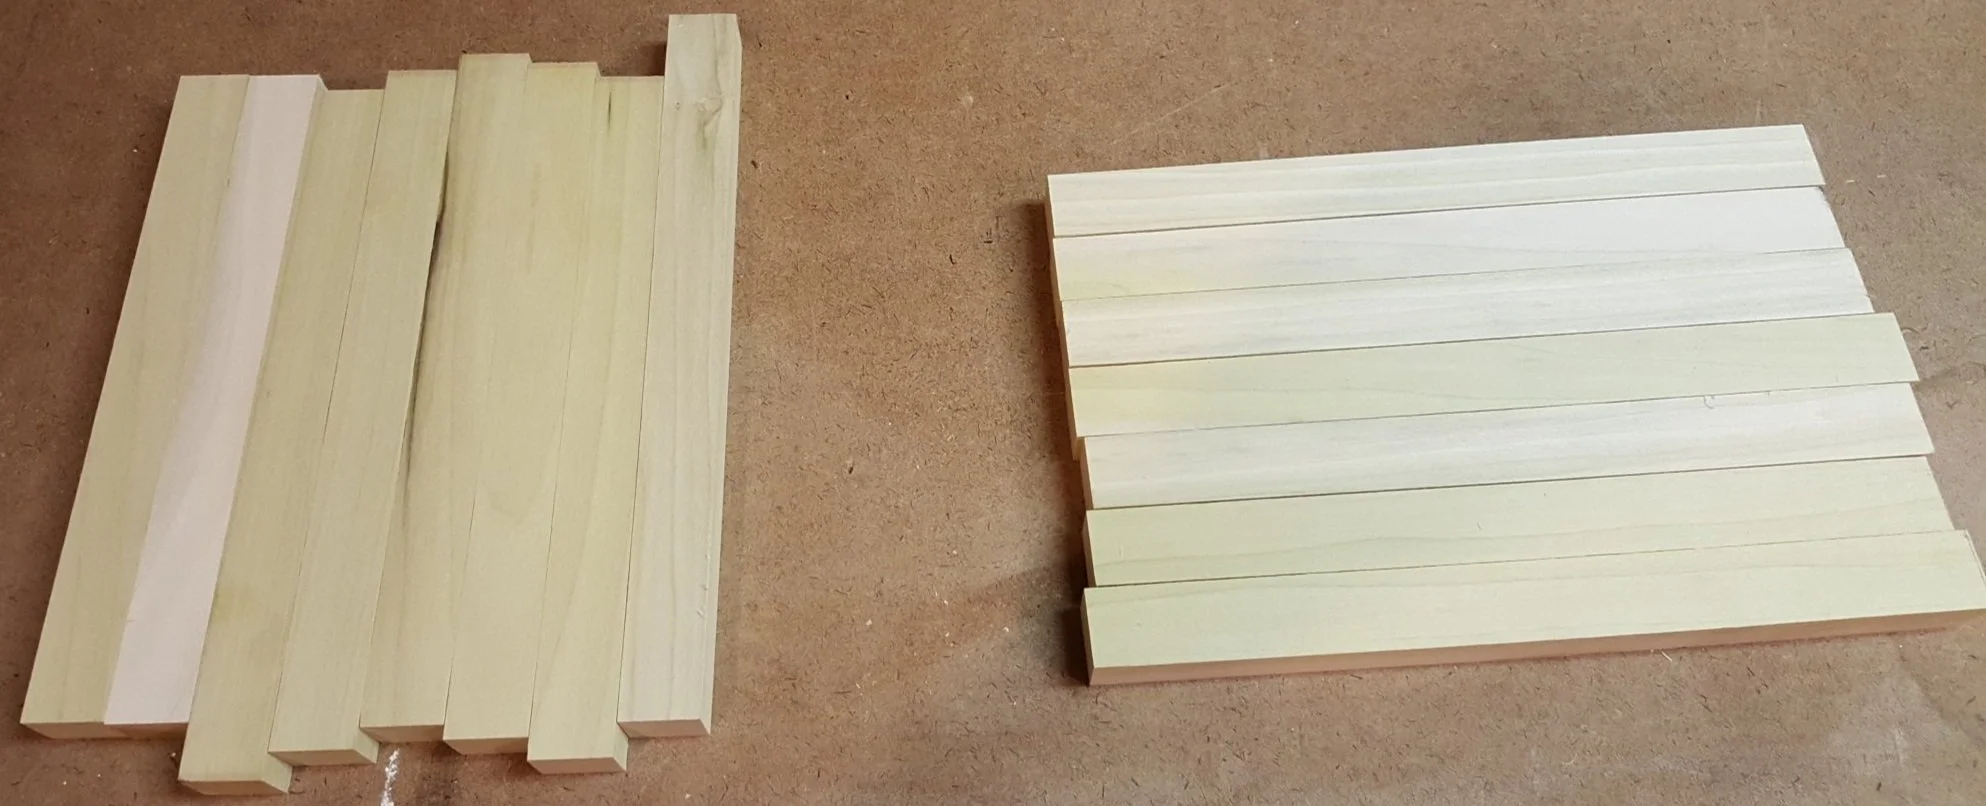
While the legs were drying all of the stiles and rails were ripped to width and cut to length based on my plans.

When making legs for furniture, I always overlap one of the boards so I have a clean edge to rip along, ensuring the opposite edge is square. I then flip the leg and rip the other side down to the final width.

I pulled out my homemade tapering jig to make the legs narrow at the end, as seen in the plans above.

Most parts of this project were asymmetrical so I made sure to keep everything laid out as I cut it so I didn't end up making the same part twice.

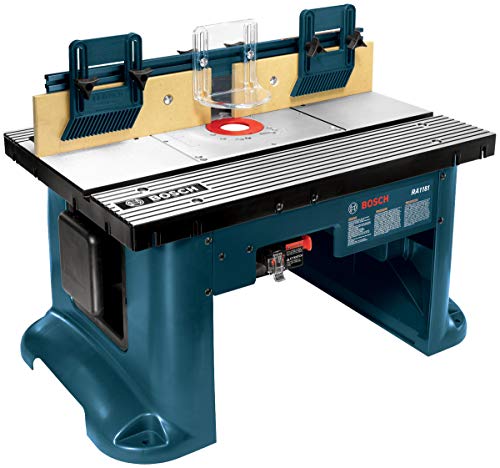
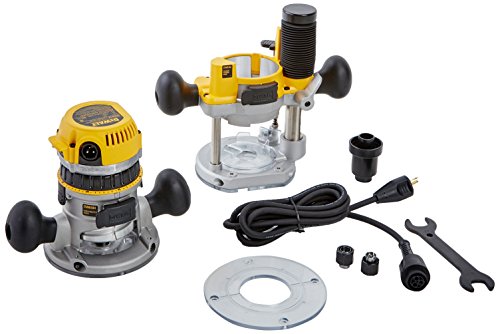
The side panels are made out of 1/4" plywood so a slot needed to be cut around the side frames to allow it to slide in. To do this I used the router with a 1/4" straight bit mounted upside down in the router table.

These are the slots the router created.

This was one of the most complicated projects I've tackled. It took a lot of planning to make sure I would always have a place to discretely join the pieces together. This is a picture looking at what would become the top rail. I countersunk holes to allow the frame to be attached to the top.

The same grooves were cut into the legs. These slots had to be offset from the sides to allow a nice reveal in the end. I used a stop block clamped to the router table so I knew when to stop.

Like I said, this was a slow project with a lot of planning.

I used pocket holes to attach the rails to the legs.

I was labeling every piece while drilling holes to coincide with the plans. At one point I mixed everything up while working on another project and it took quite awhile to figure out which piece was which.

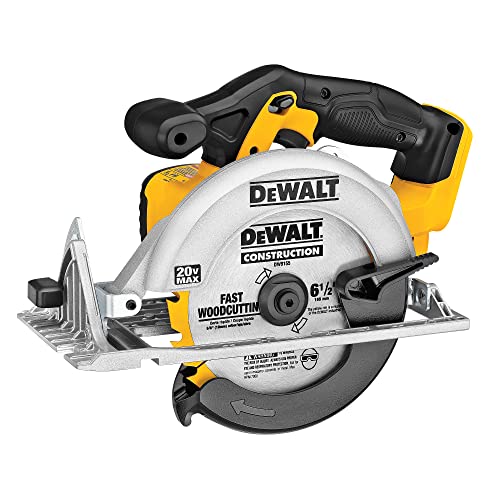
I used my "door board" jig with the circular saw to crosscut the plywood for the sides into a more manageable size. This type of jig was originally created to trim the bottom off of a door if it didn't fit in it's frame.. so says the internet. I use it when I need to cut something larger than my table saw or to cut a large sheet down to make it easier for me to cut on the table saw by myself.

A great tip I learned online was to use painters tape when crosscutting wood. When cutting across the grain it is very easy for the saw to create tear-out which looks terrible and leaves splinters. The tape helps a lot.

All that cutting was to create these two 1/2" thick shelves.

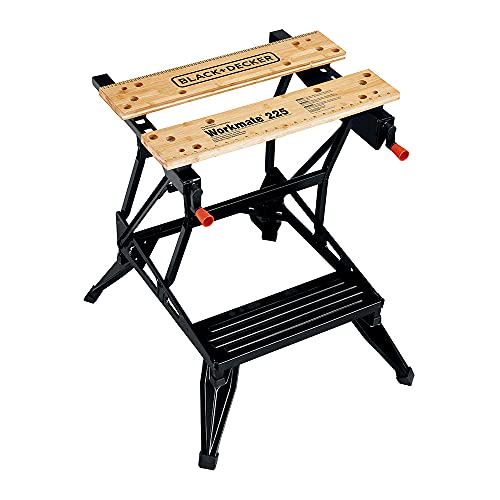
The cool summer evenings were a perfect time to set up the portable workbench for outdoor sanding. It also helps to keep the dust off my vehicles in my garage shop.

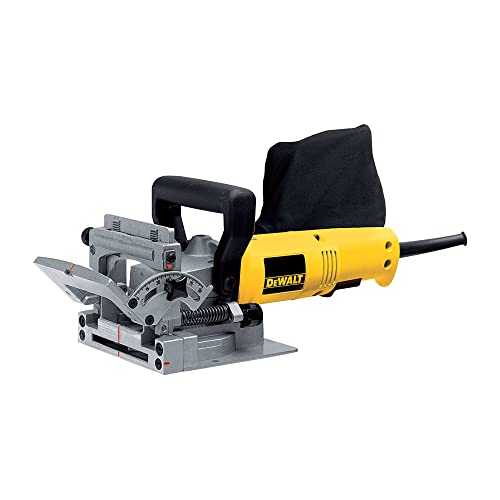
I used one of my favorite tools, the biscuit joiner to help align the shelf rails. Biscuits on their own aren't very strong, but they are great at helping to hold the piece together while the real strength sets: glue.

Part by part, I attached everything.

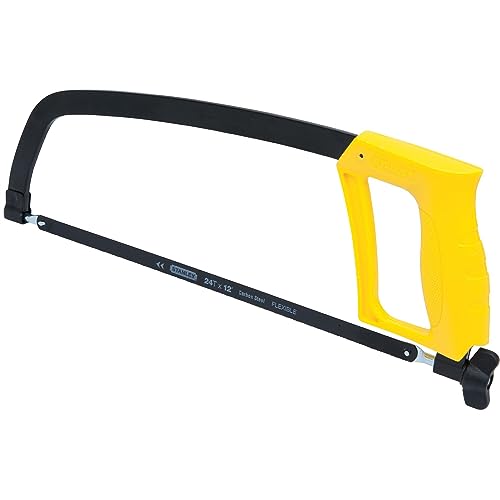
One of the downsides of building custom furniture is that there isn't any guarantee that there will be hardware made to fit. This was one of those cases. I bought some drawer slides that were fairly close and hack sawed them down to size.

I used the biscuit joiner again to create the top, out of solid poplar. Before I had the joiner I had to use plywood for solid surfaces like this. I ended up using four boards together to create the top.

I made the drawer out of simple plywood, which didn't look great.

So I did one of my least favorite things, edge banding!

It's a pain and time consuming but it really does make plywood look great.

I slid the sides in and set the top on and balanced the drawer front in place to see what everything would look like.

Once the top was all glued up I did some serious sanding. The wood was a bit bowed so I put some time in leveling it. I started with 60 grid rough paper, and sanded through 80, 120, and 220 for a smooth finish. I really need a planer.

I chose a slight round over with a bit of a lip in the router to create the top profile.

The drawer front will have a knob so before I attached it I drilled a hole in the center.

I couldn't come up with a good way to attach the drawer front to the drawer to center the gaps around the sides so I hot glued it, aligned it, then drilled through so I would know where the center was.
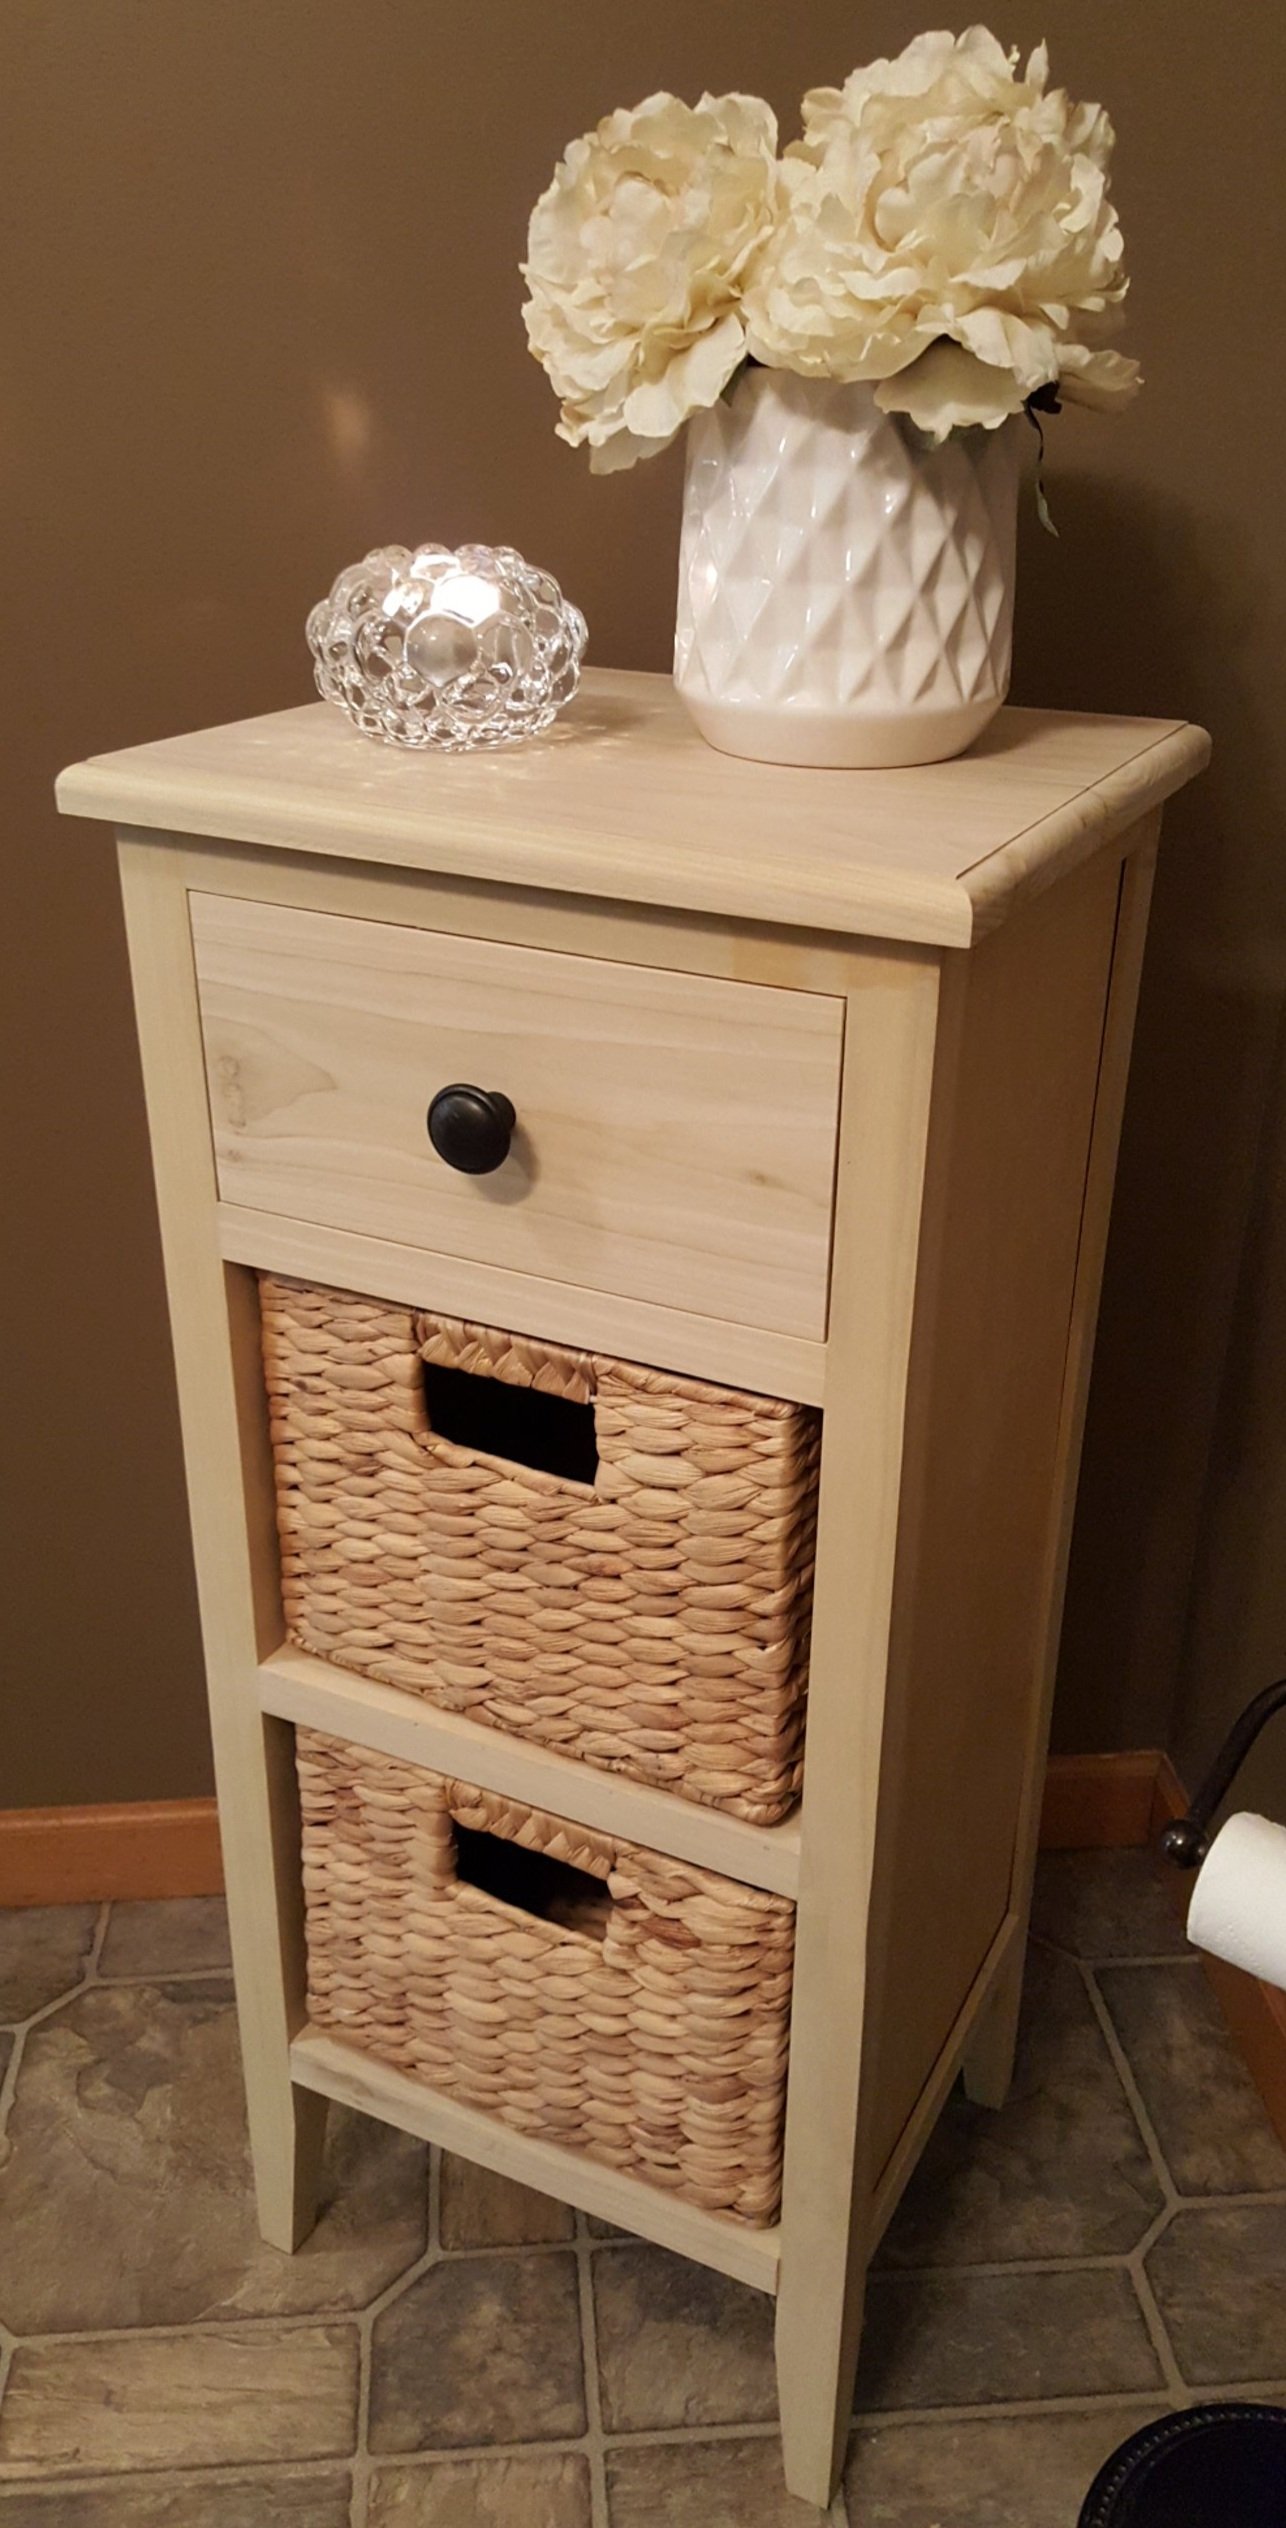
Once the top and drawer were attached I sanded everything down to 220 grit. The original plan was for this to be painted white, which is why poplar and birch were used (both take paint well). When the baskets were put in and set it in place it looked really good so for the time being it will stay this way.
The cabinet looks great and serves a purpose which made this project rewarding.
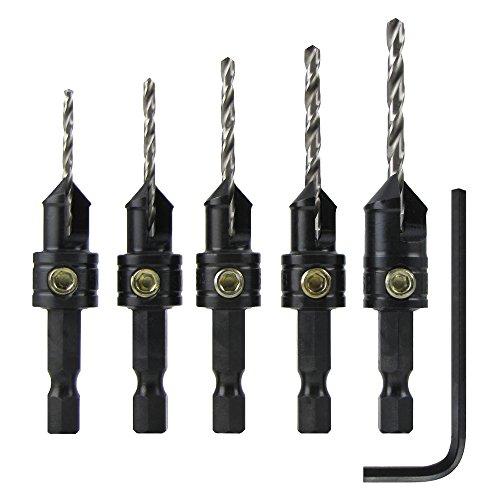
Tools and hardware used in this project
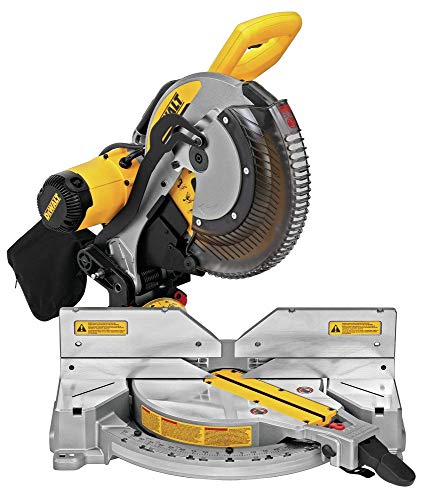
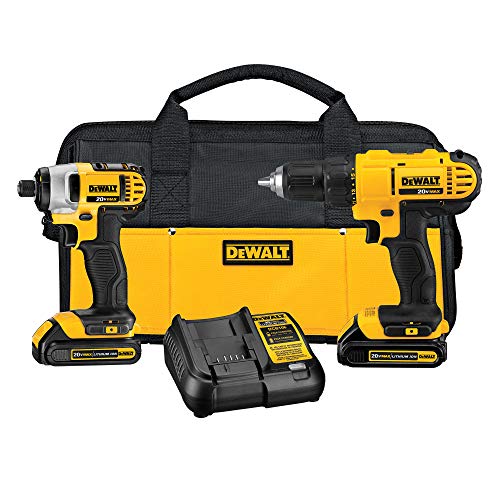
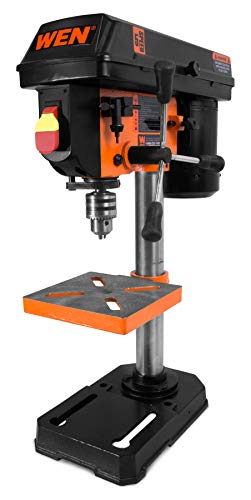
Power tools


The rest