How to Build a Sofa Table


A half sheet of plywood and two poplar boards are all that are needed to build this sofa table.

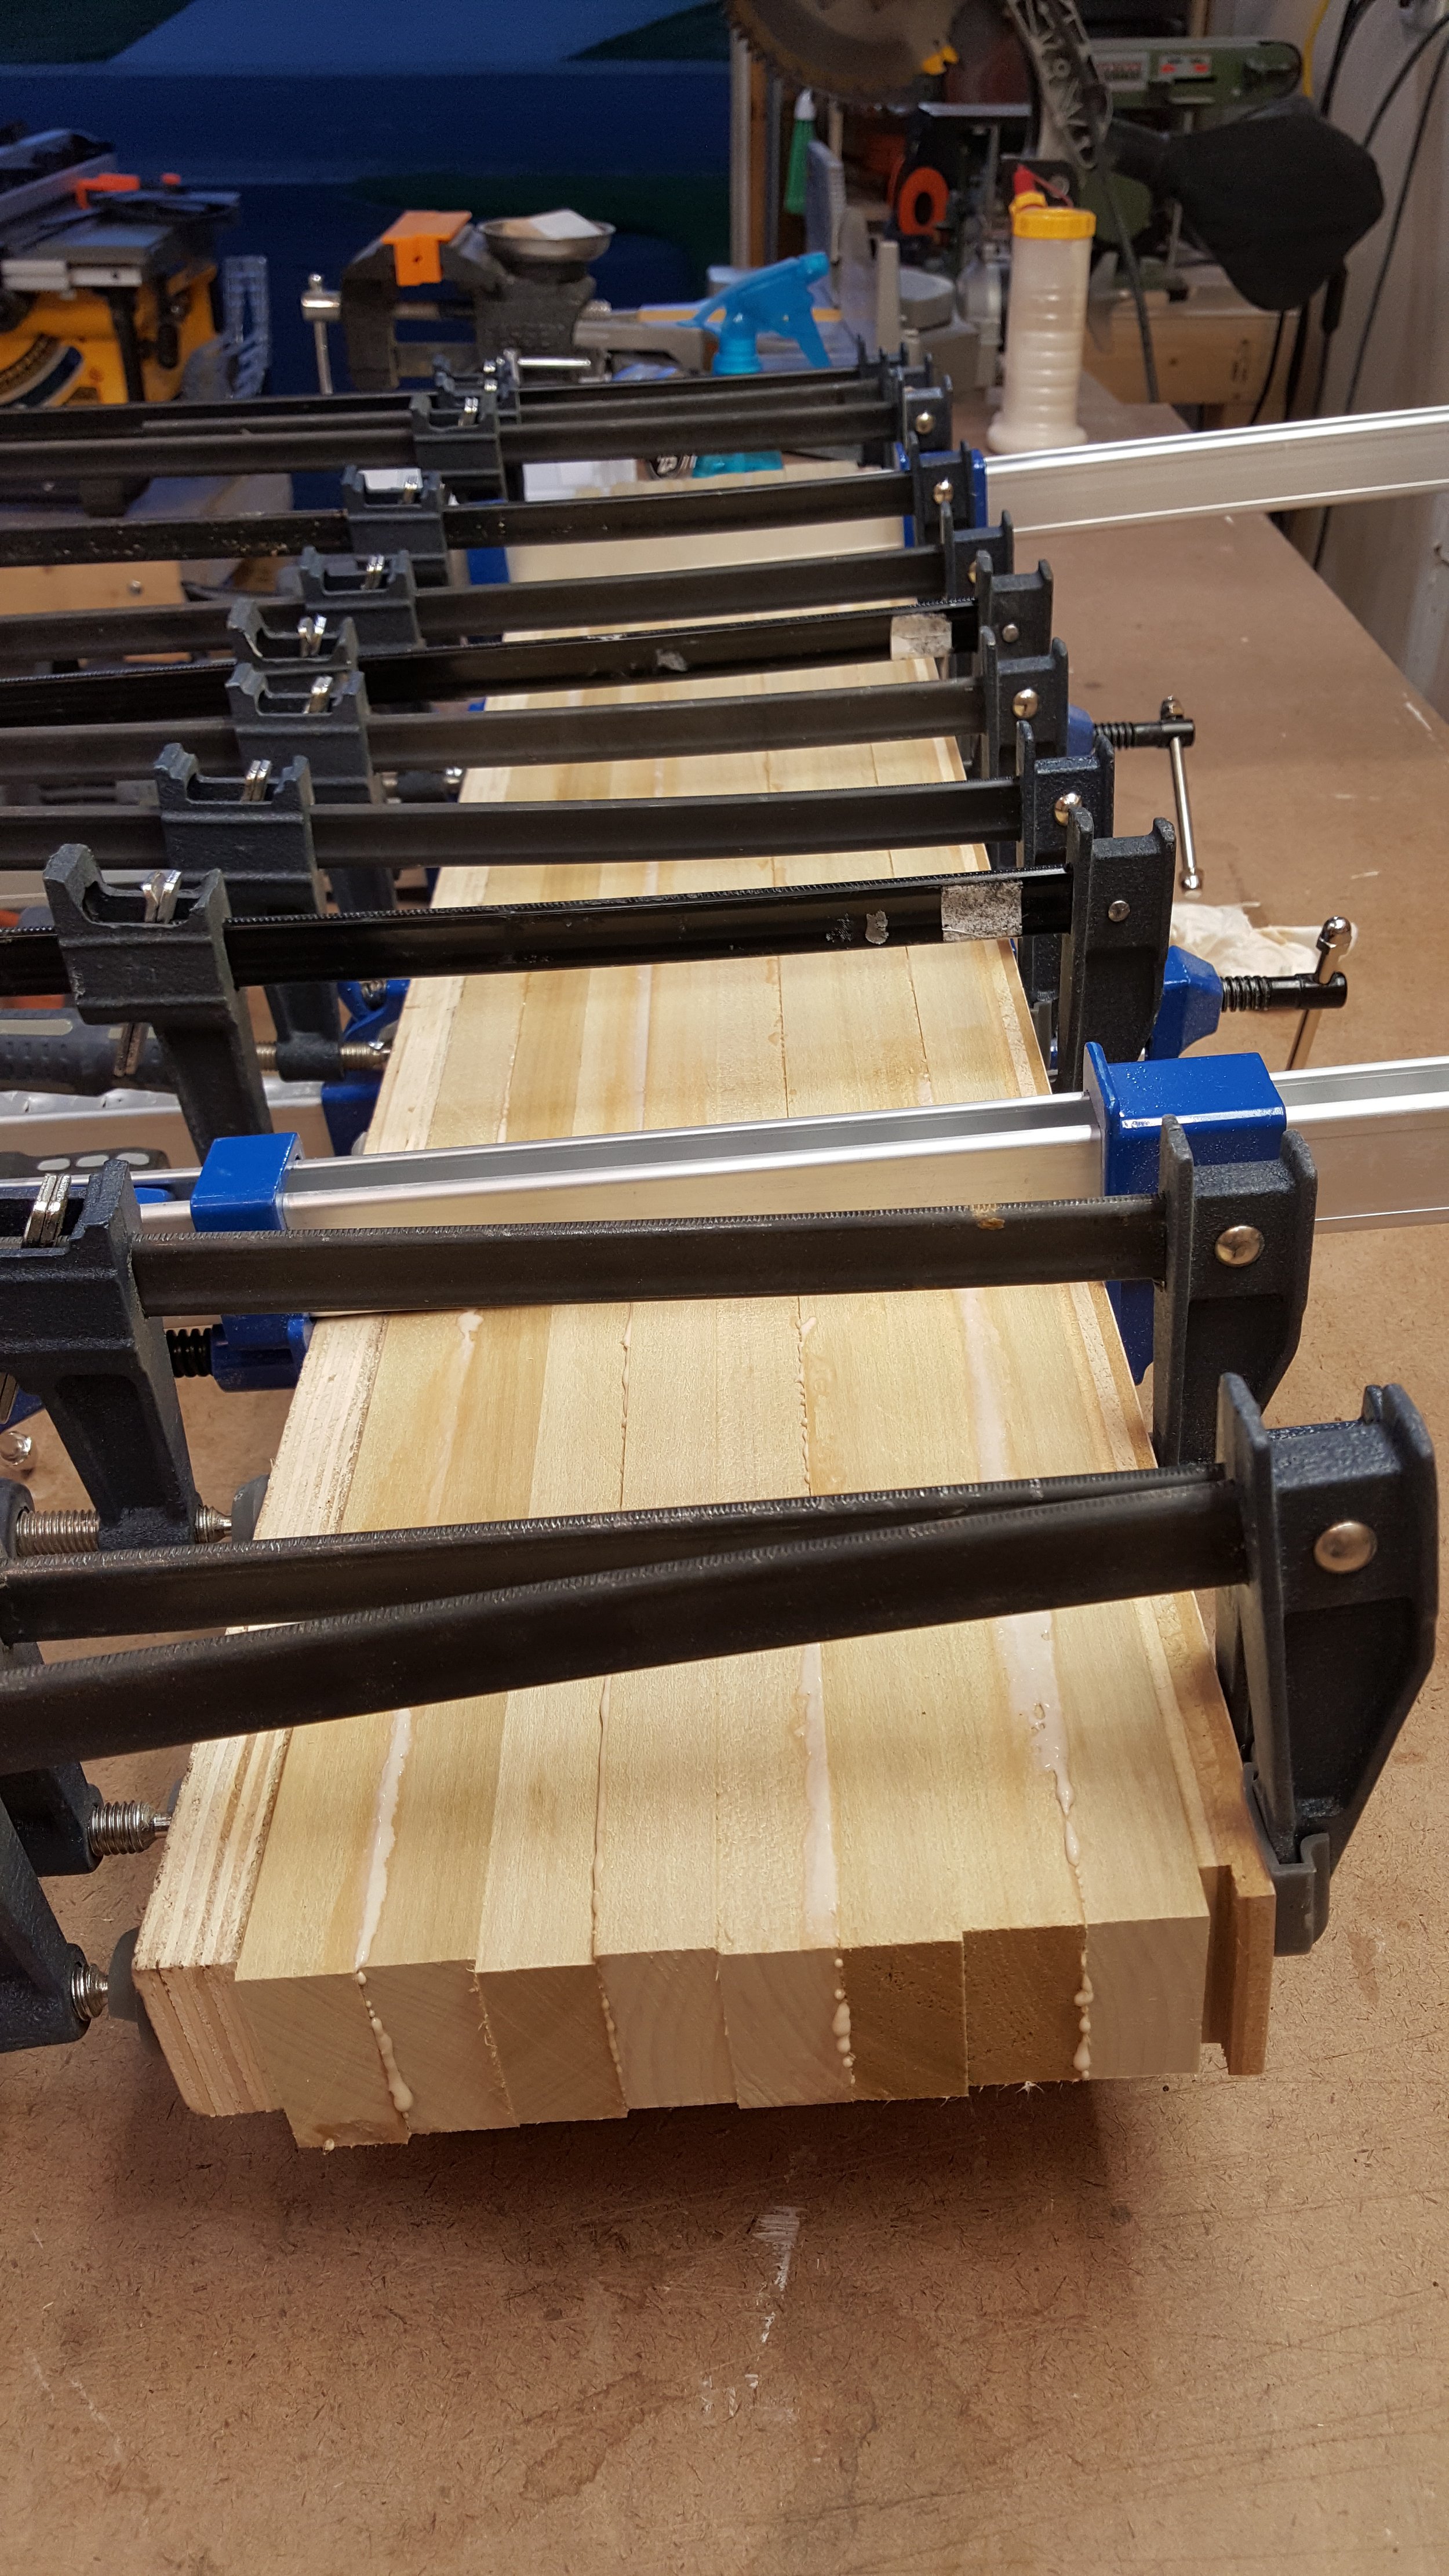
Step one is to rip and crosscut the legs to size. Since the final leg thickness is larger than the 3/4" thick boards, they need to be face glued together. Whenever I have to create glued legs like this, I rip them heavy so I can offset the pieces about 1/8". Once dry, it gives you one nice straight edge to place against the table saw fence or jointer.

I rolled my bench outside since the circular saw fills my shop with dust. The plywood sheet is clamped to the bench, and ripped to a heavy width using a door board.

The factory edge of the plywood rides along the fence. Painters tape is wrapped around the edge where the circular saw made its cut.
Adding the tape greatly reduces tear-out and leaves a nice edge. Once that side is cut, the board is flipped over and ripped to final width. Although the factory edge is usually pretty straight and smooth, whenever I have extra material I like to clean up both sides.

Once again using painters tape and the circular saw, I crosscut the top and bottom to final size. A plywood blade in the saw plus the tape leaves a nicely finished edge.

The jointer does a great job of cleaning up the misaligned edges and forming the legs into three square sides.
It may be older than me, but it works!
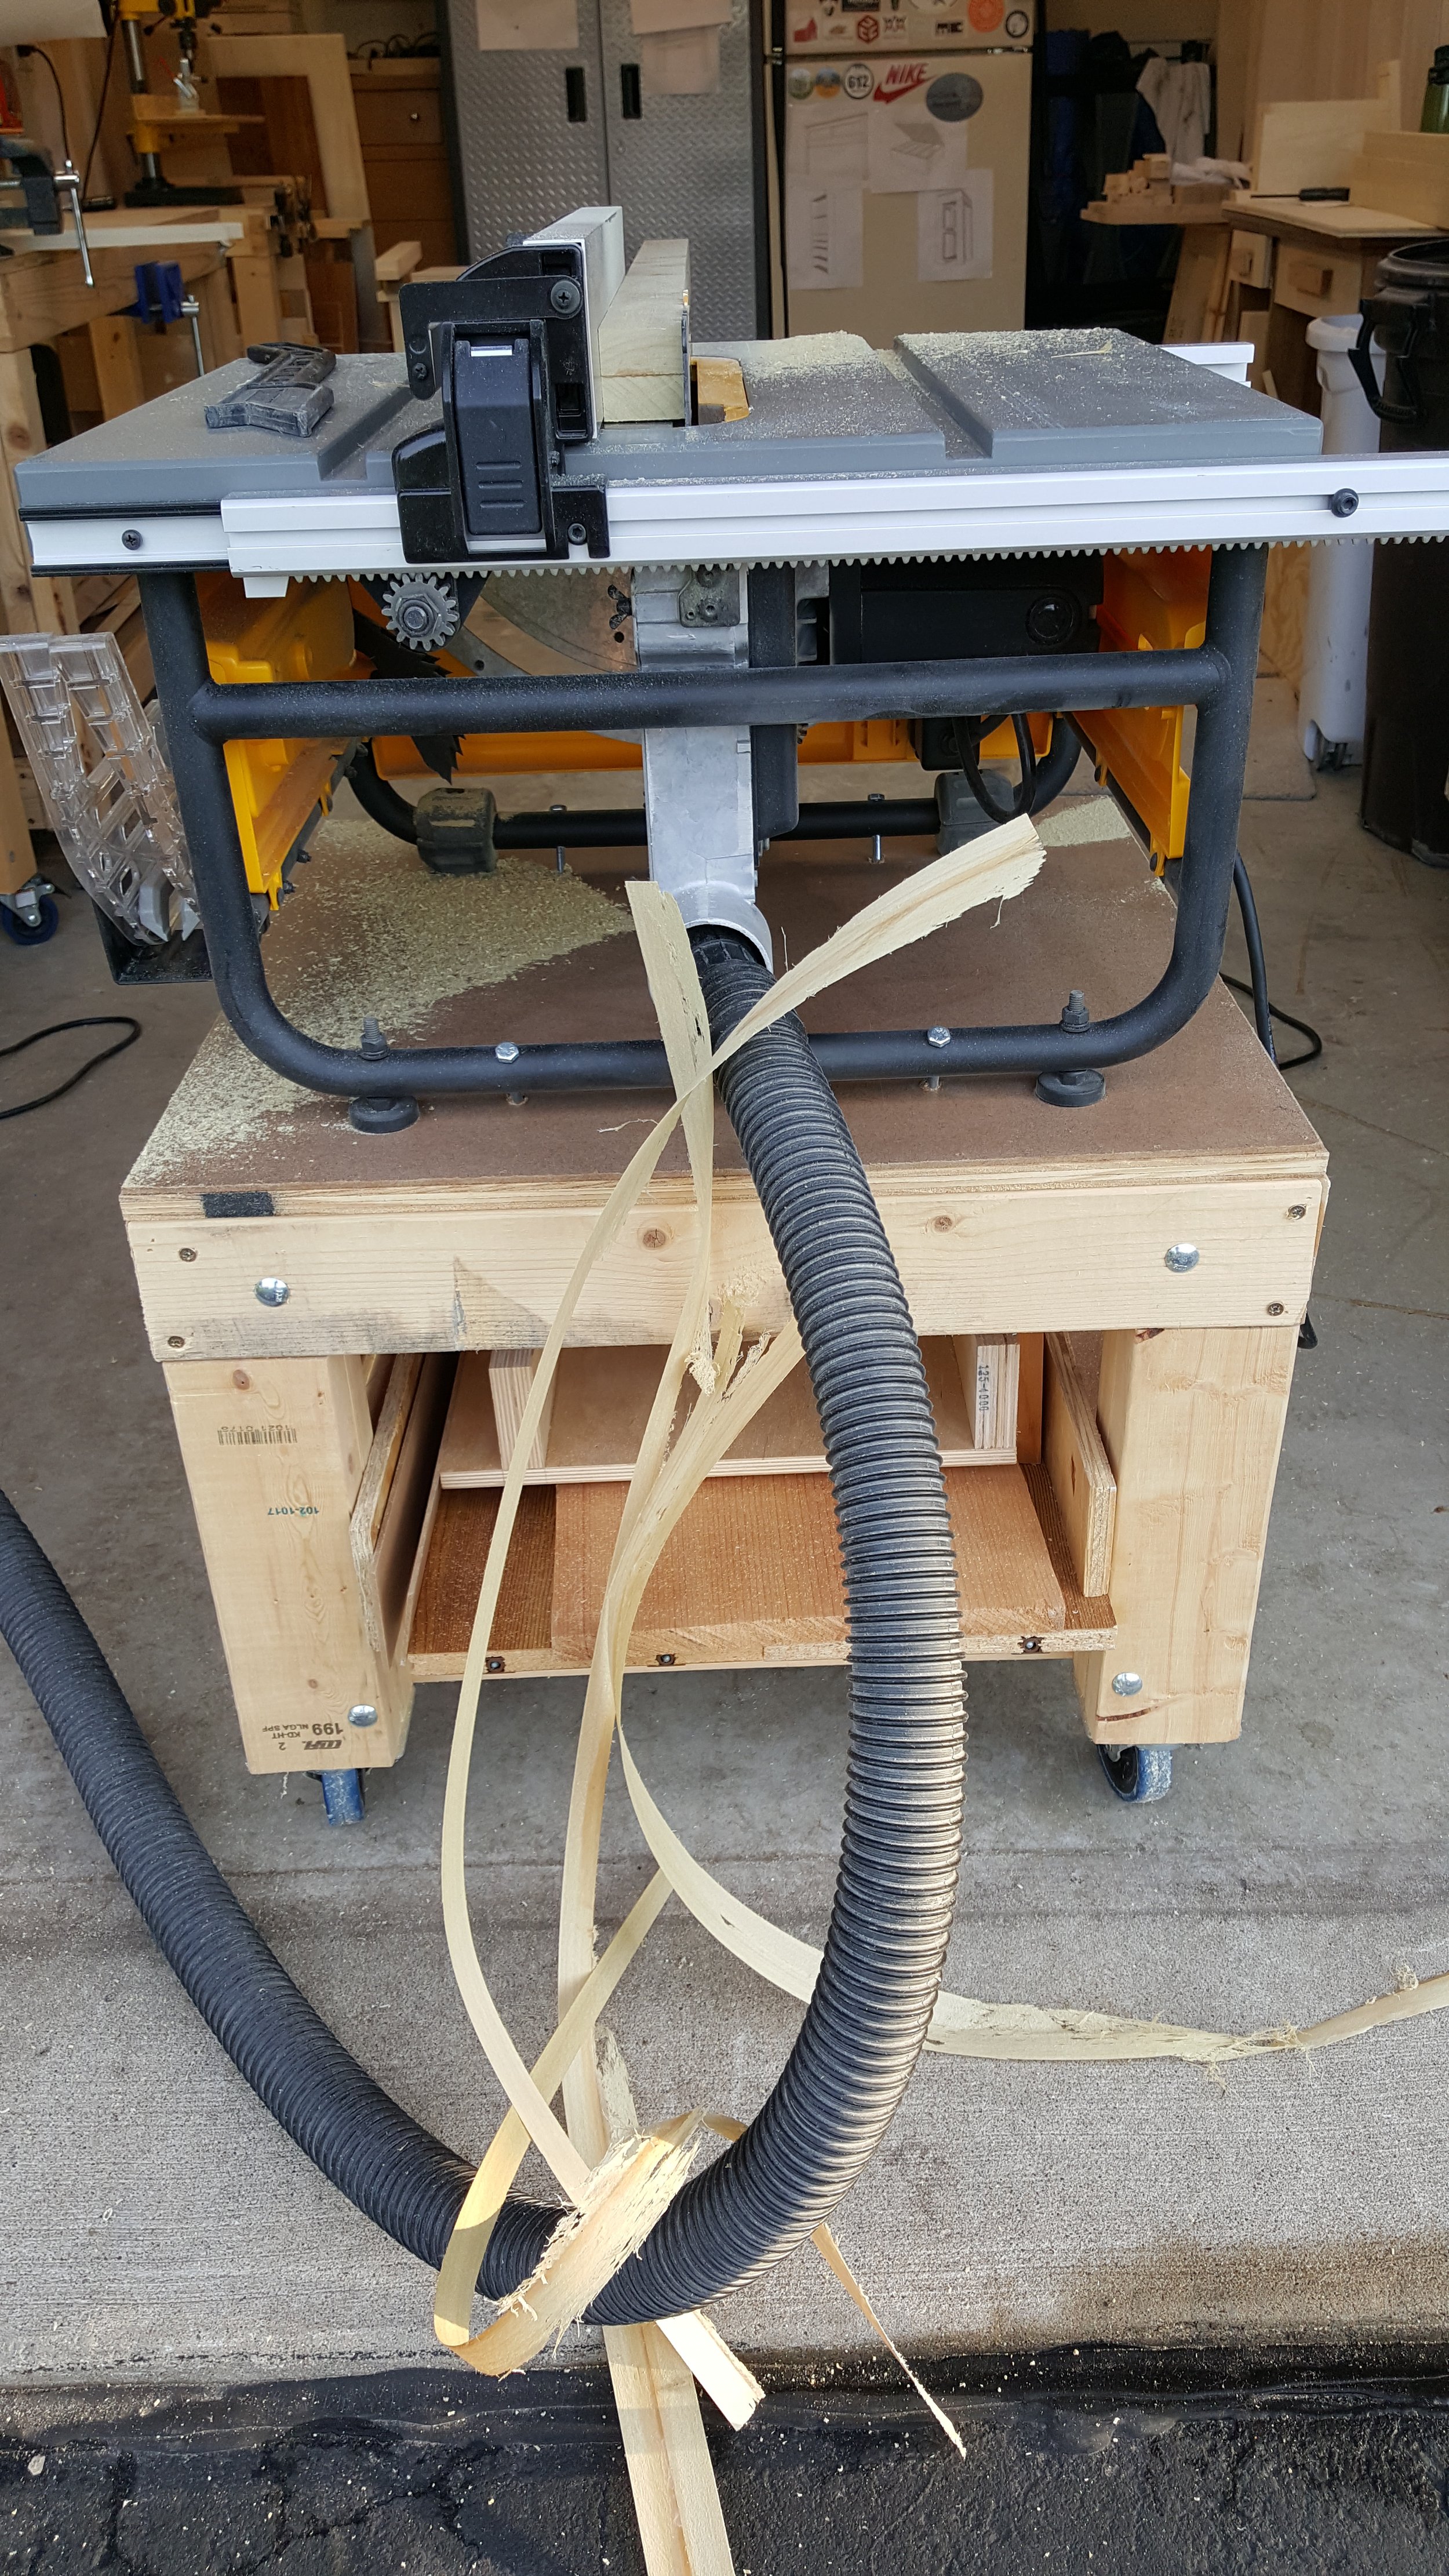
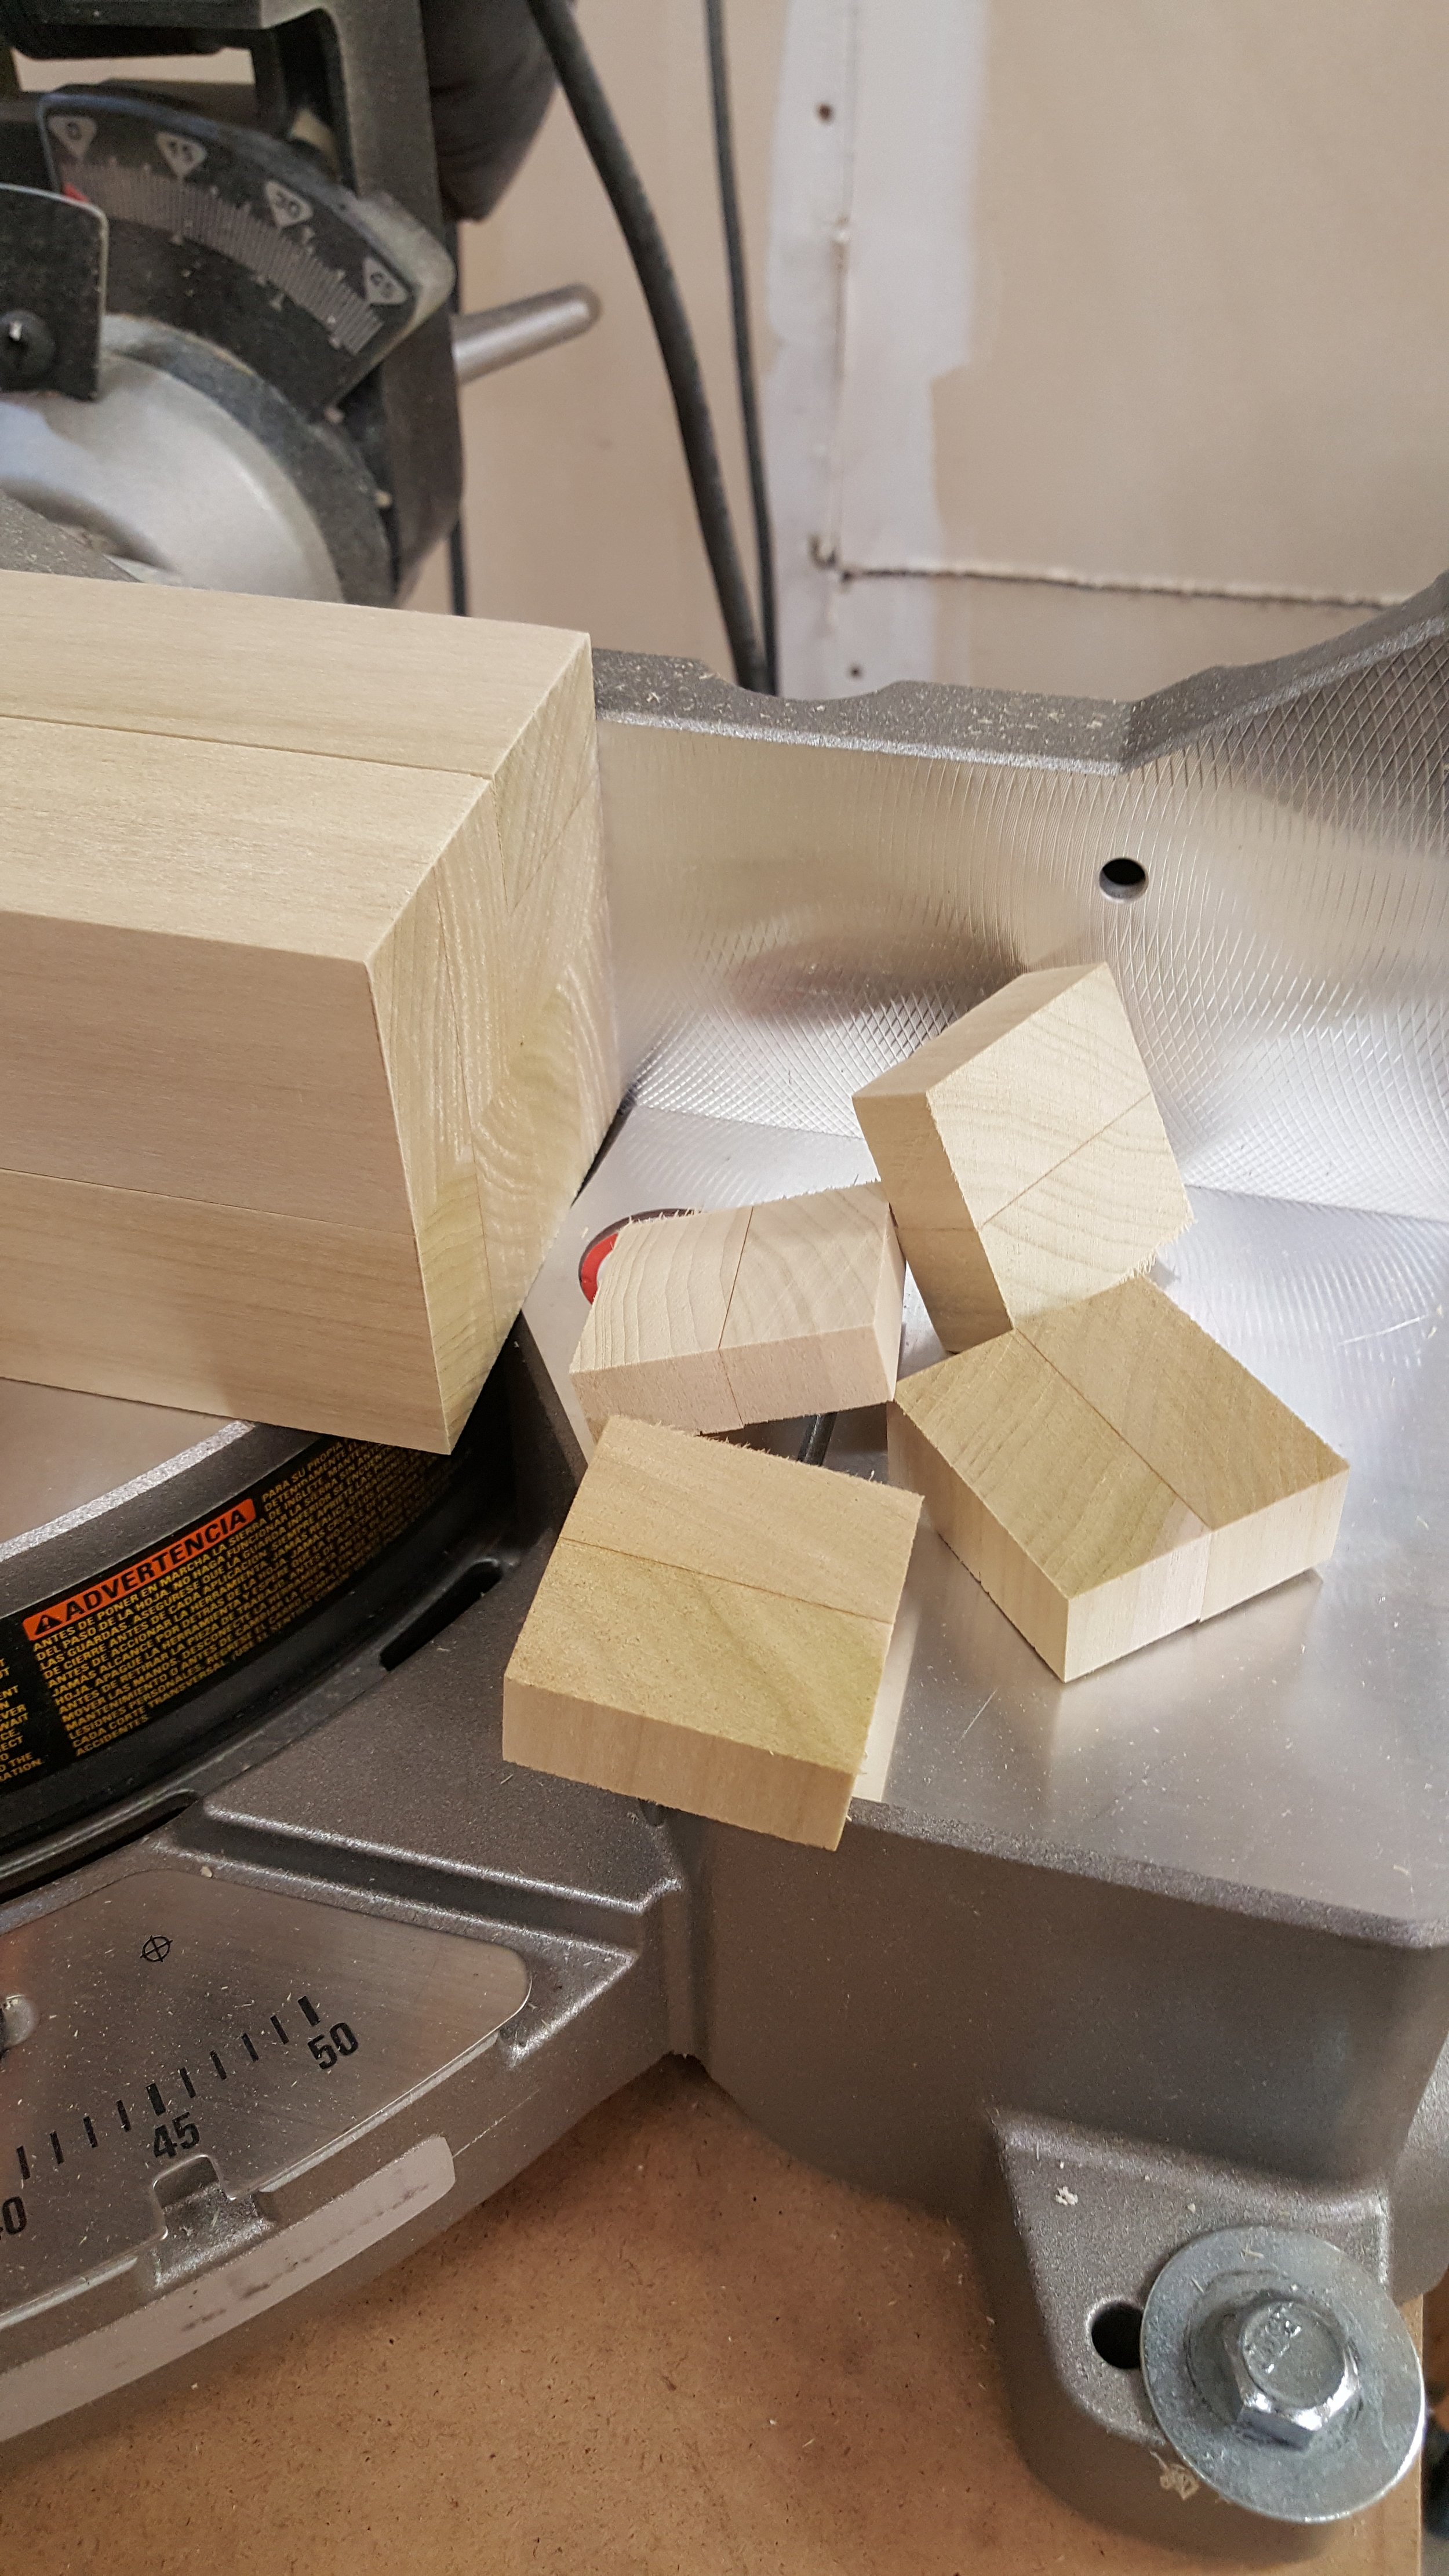
Each leg gets squared up on the table saw, as well as ripped to final dimensions. All four legs were then taped together and cut at the same time on the miter saw, ensuring they are the exact same length.
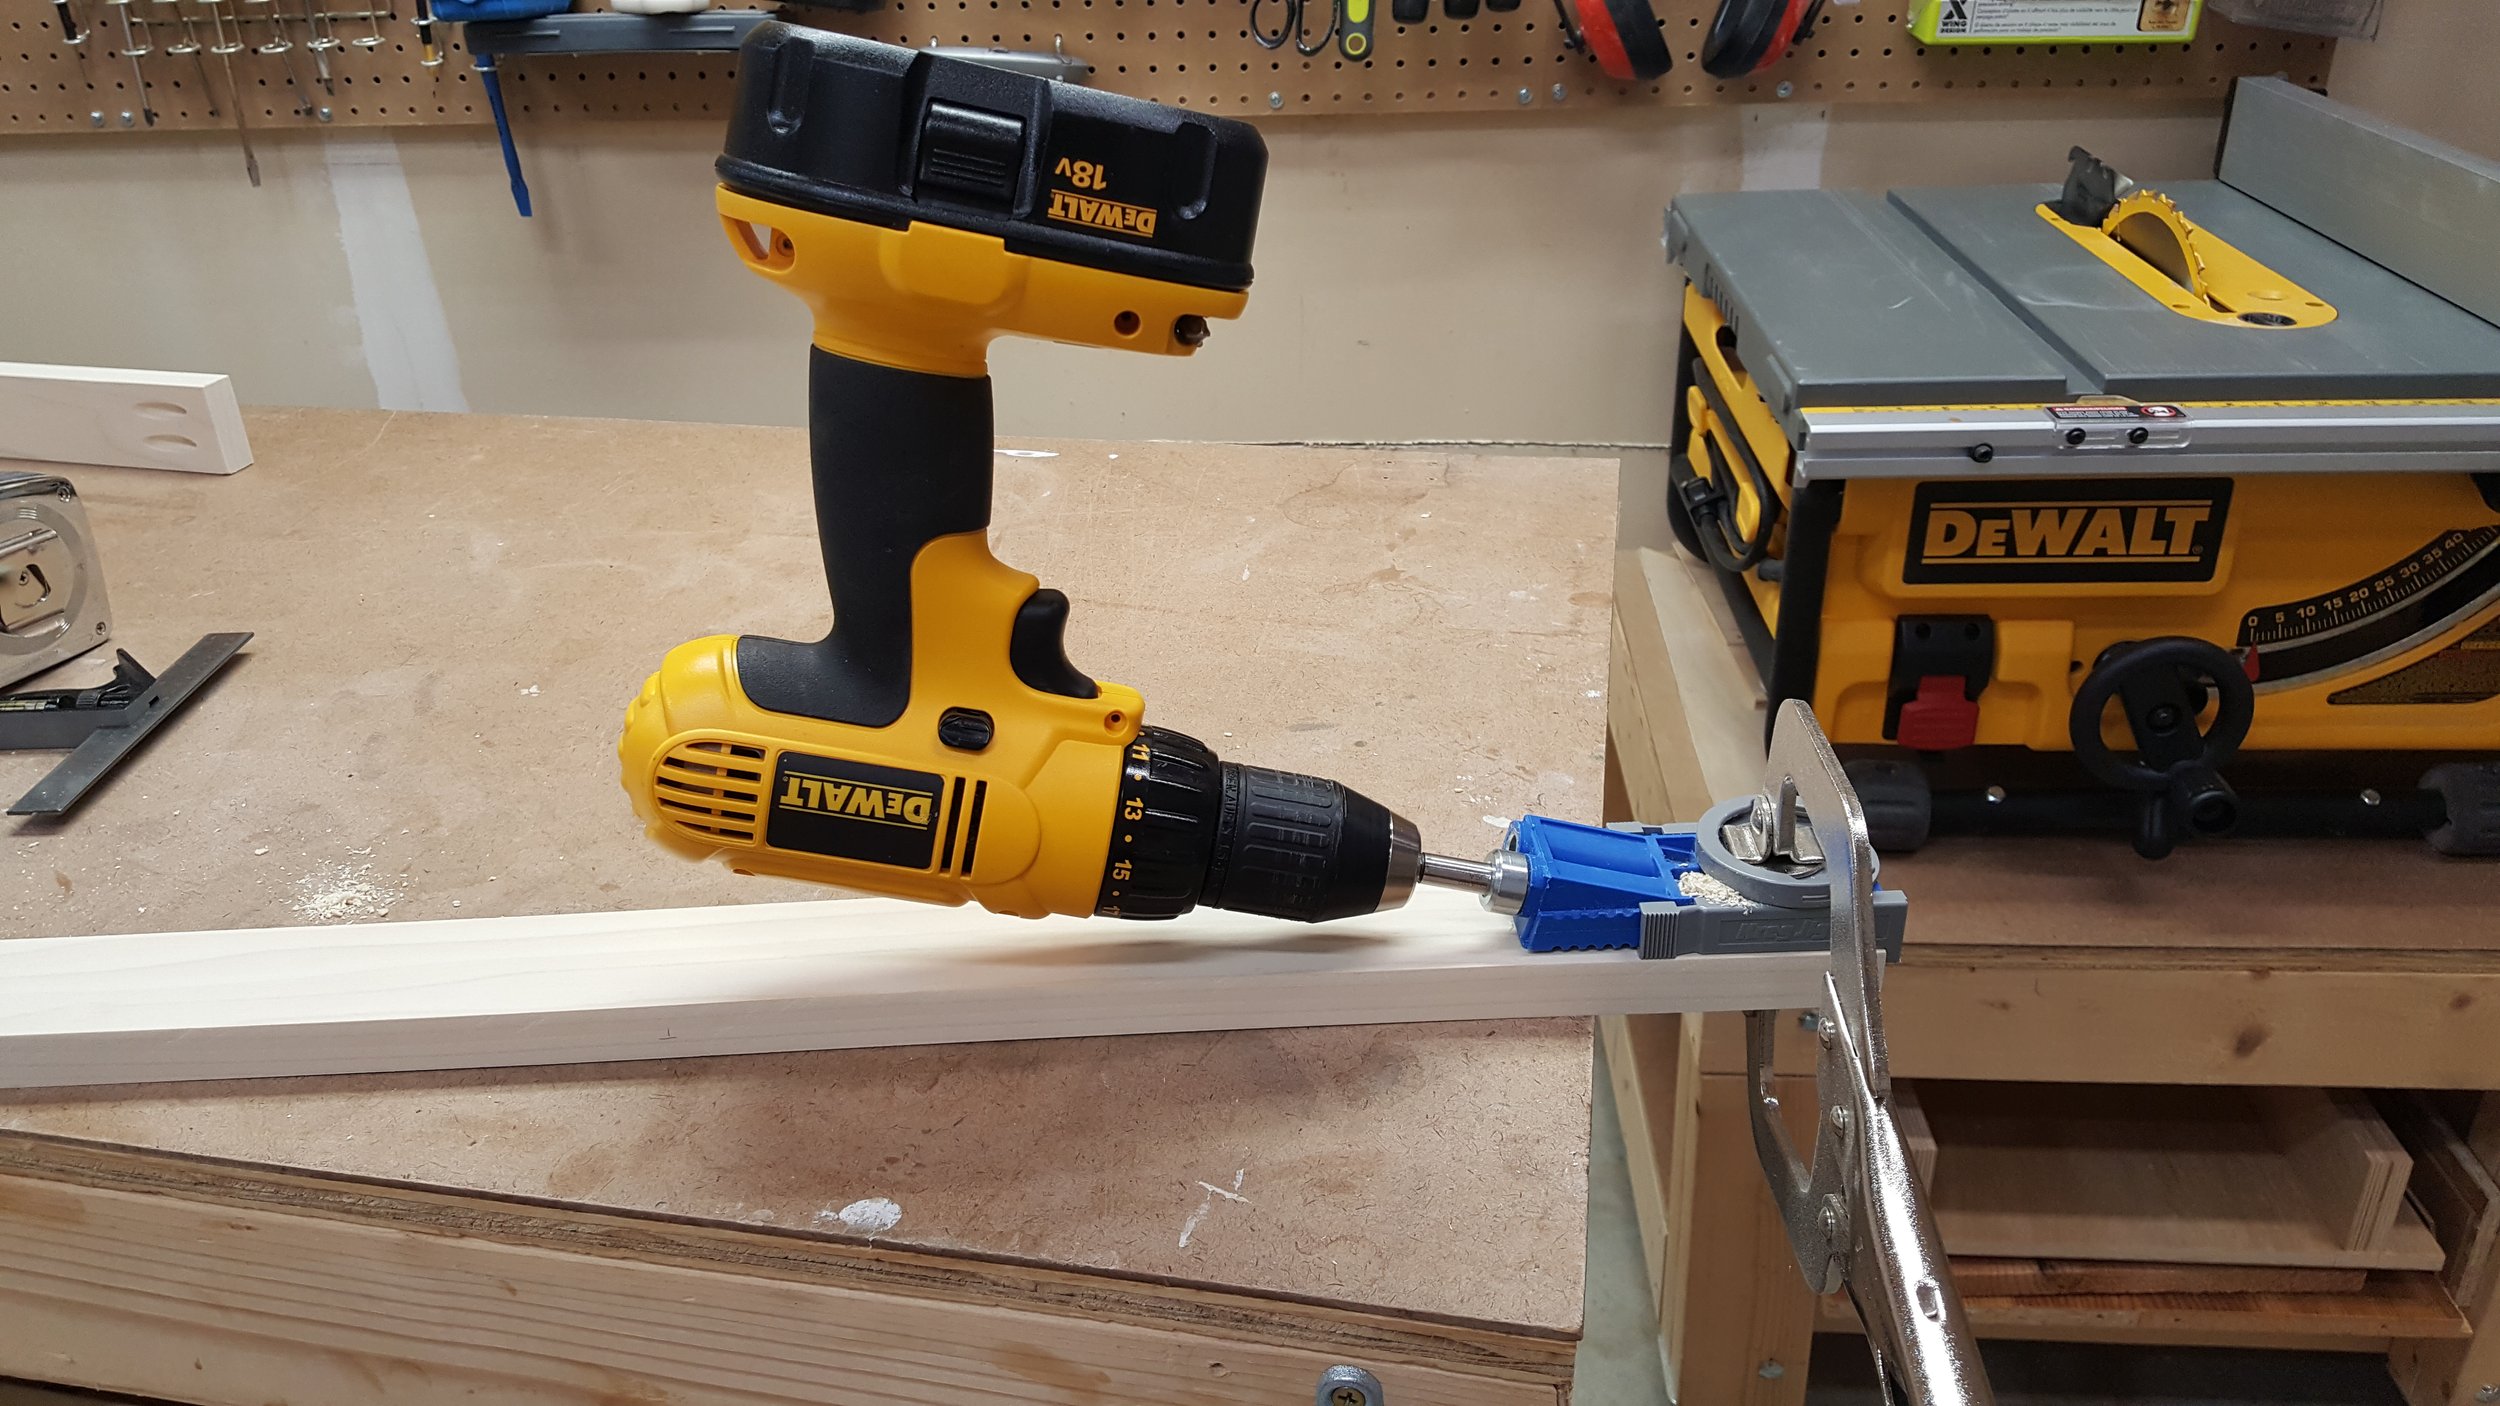
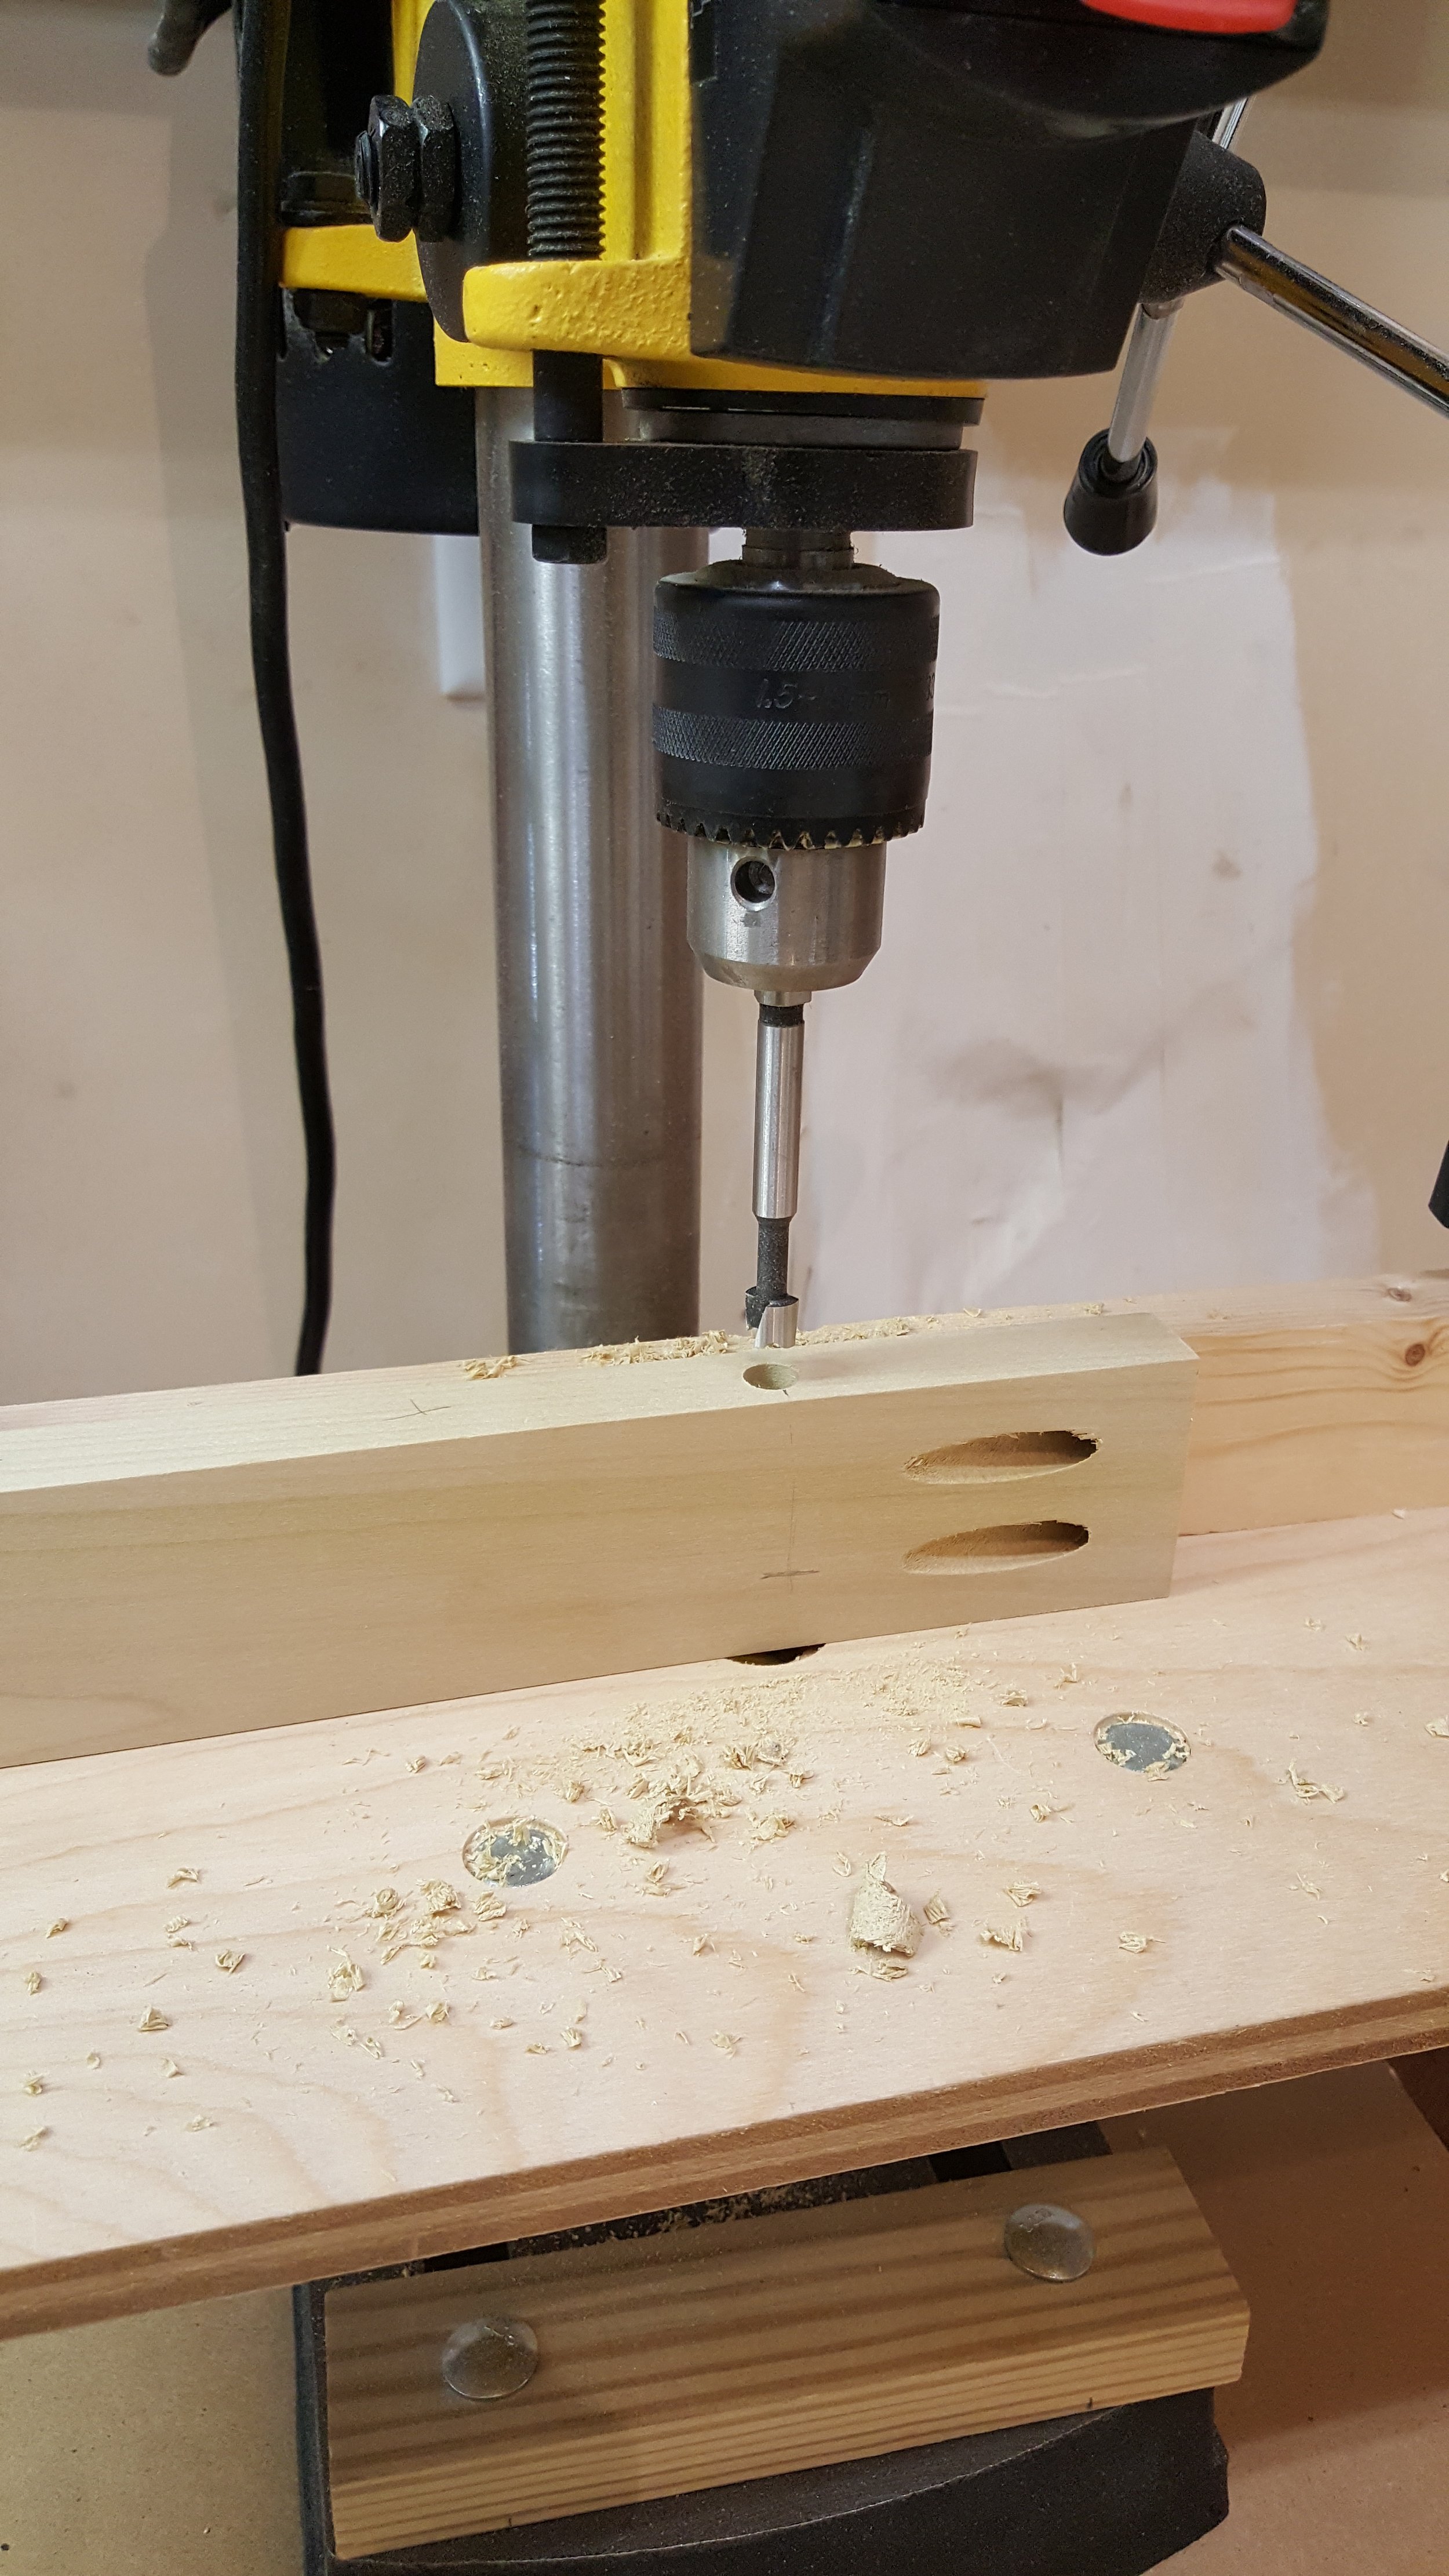
Two pocket holes in each of the braces will attach to the legs. To attach the supports to the table top, a hole is counter-bored with a forstner bit about halfway through the support, and a 1 1/4" screw is driven in.

Supports are attached to the legs with pocket hole screws. Using a pocket hole right angle clamp helps a lot with alignment on these types of joints.

The 3/4" plywood top gets edge banded with some of the remaining poplar to hide the edges. 45° angles on the poplar ends give a nice finished appearance.
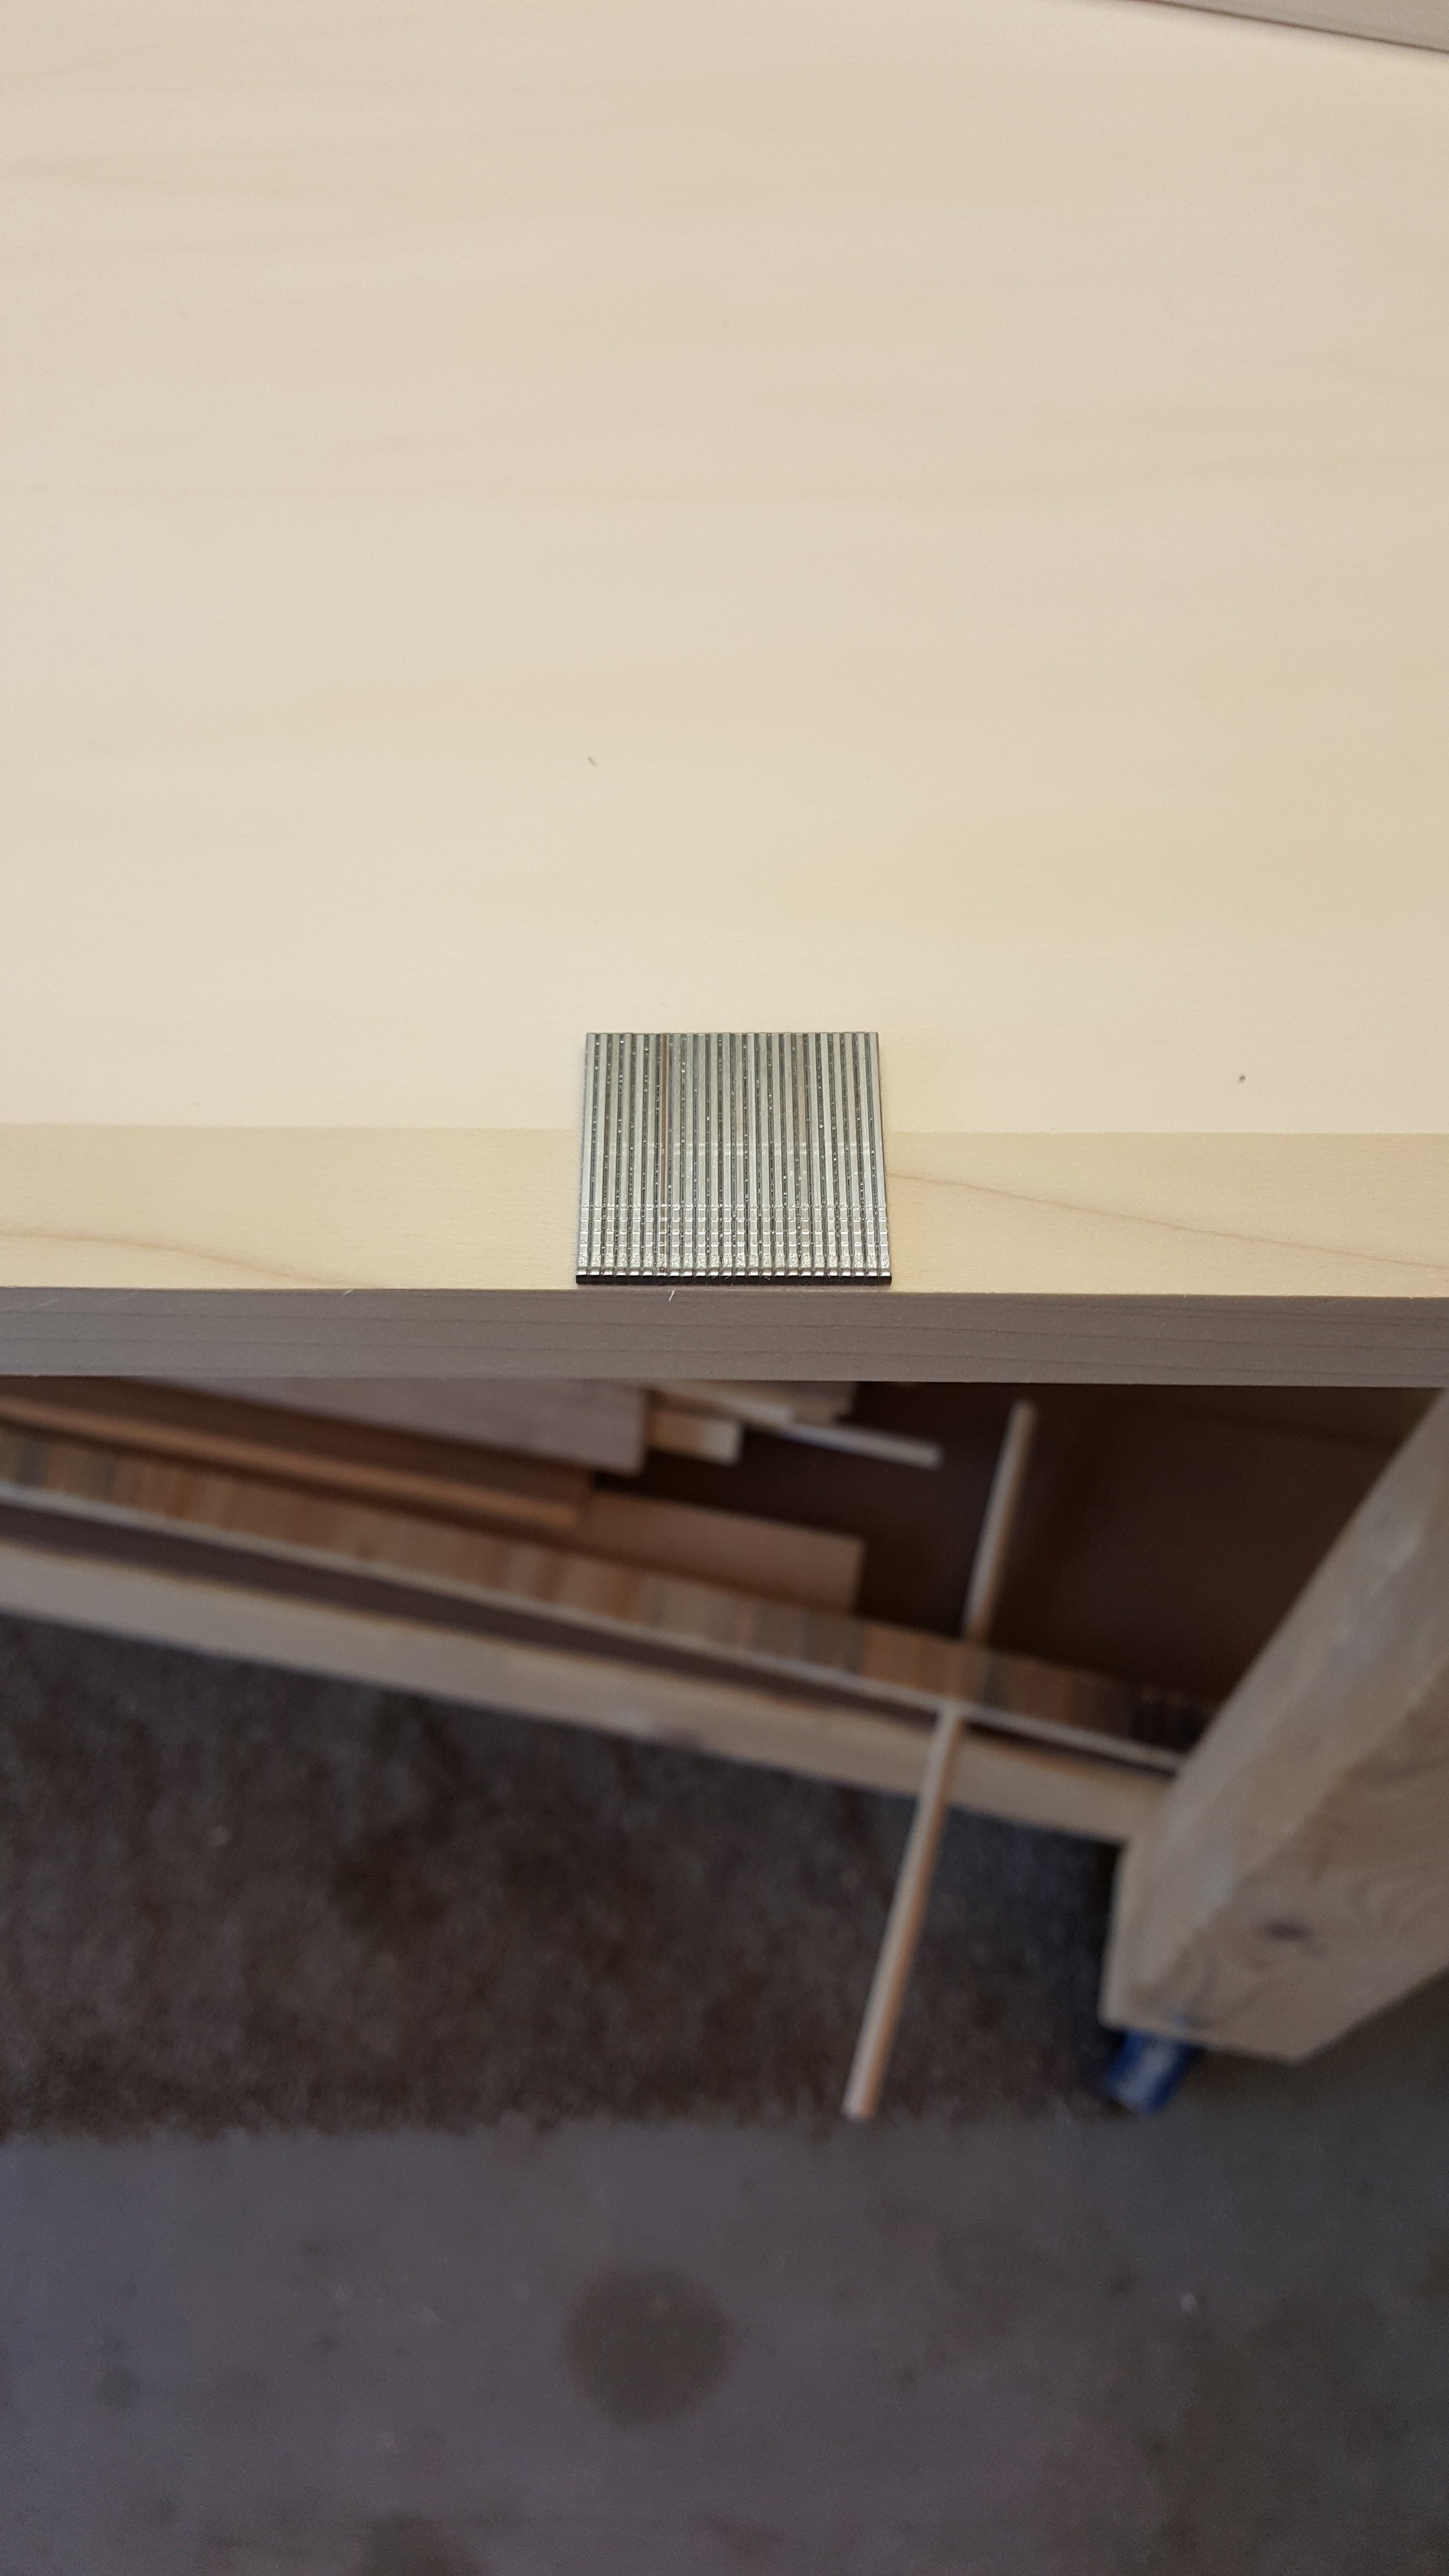
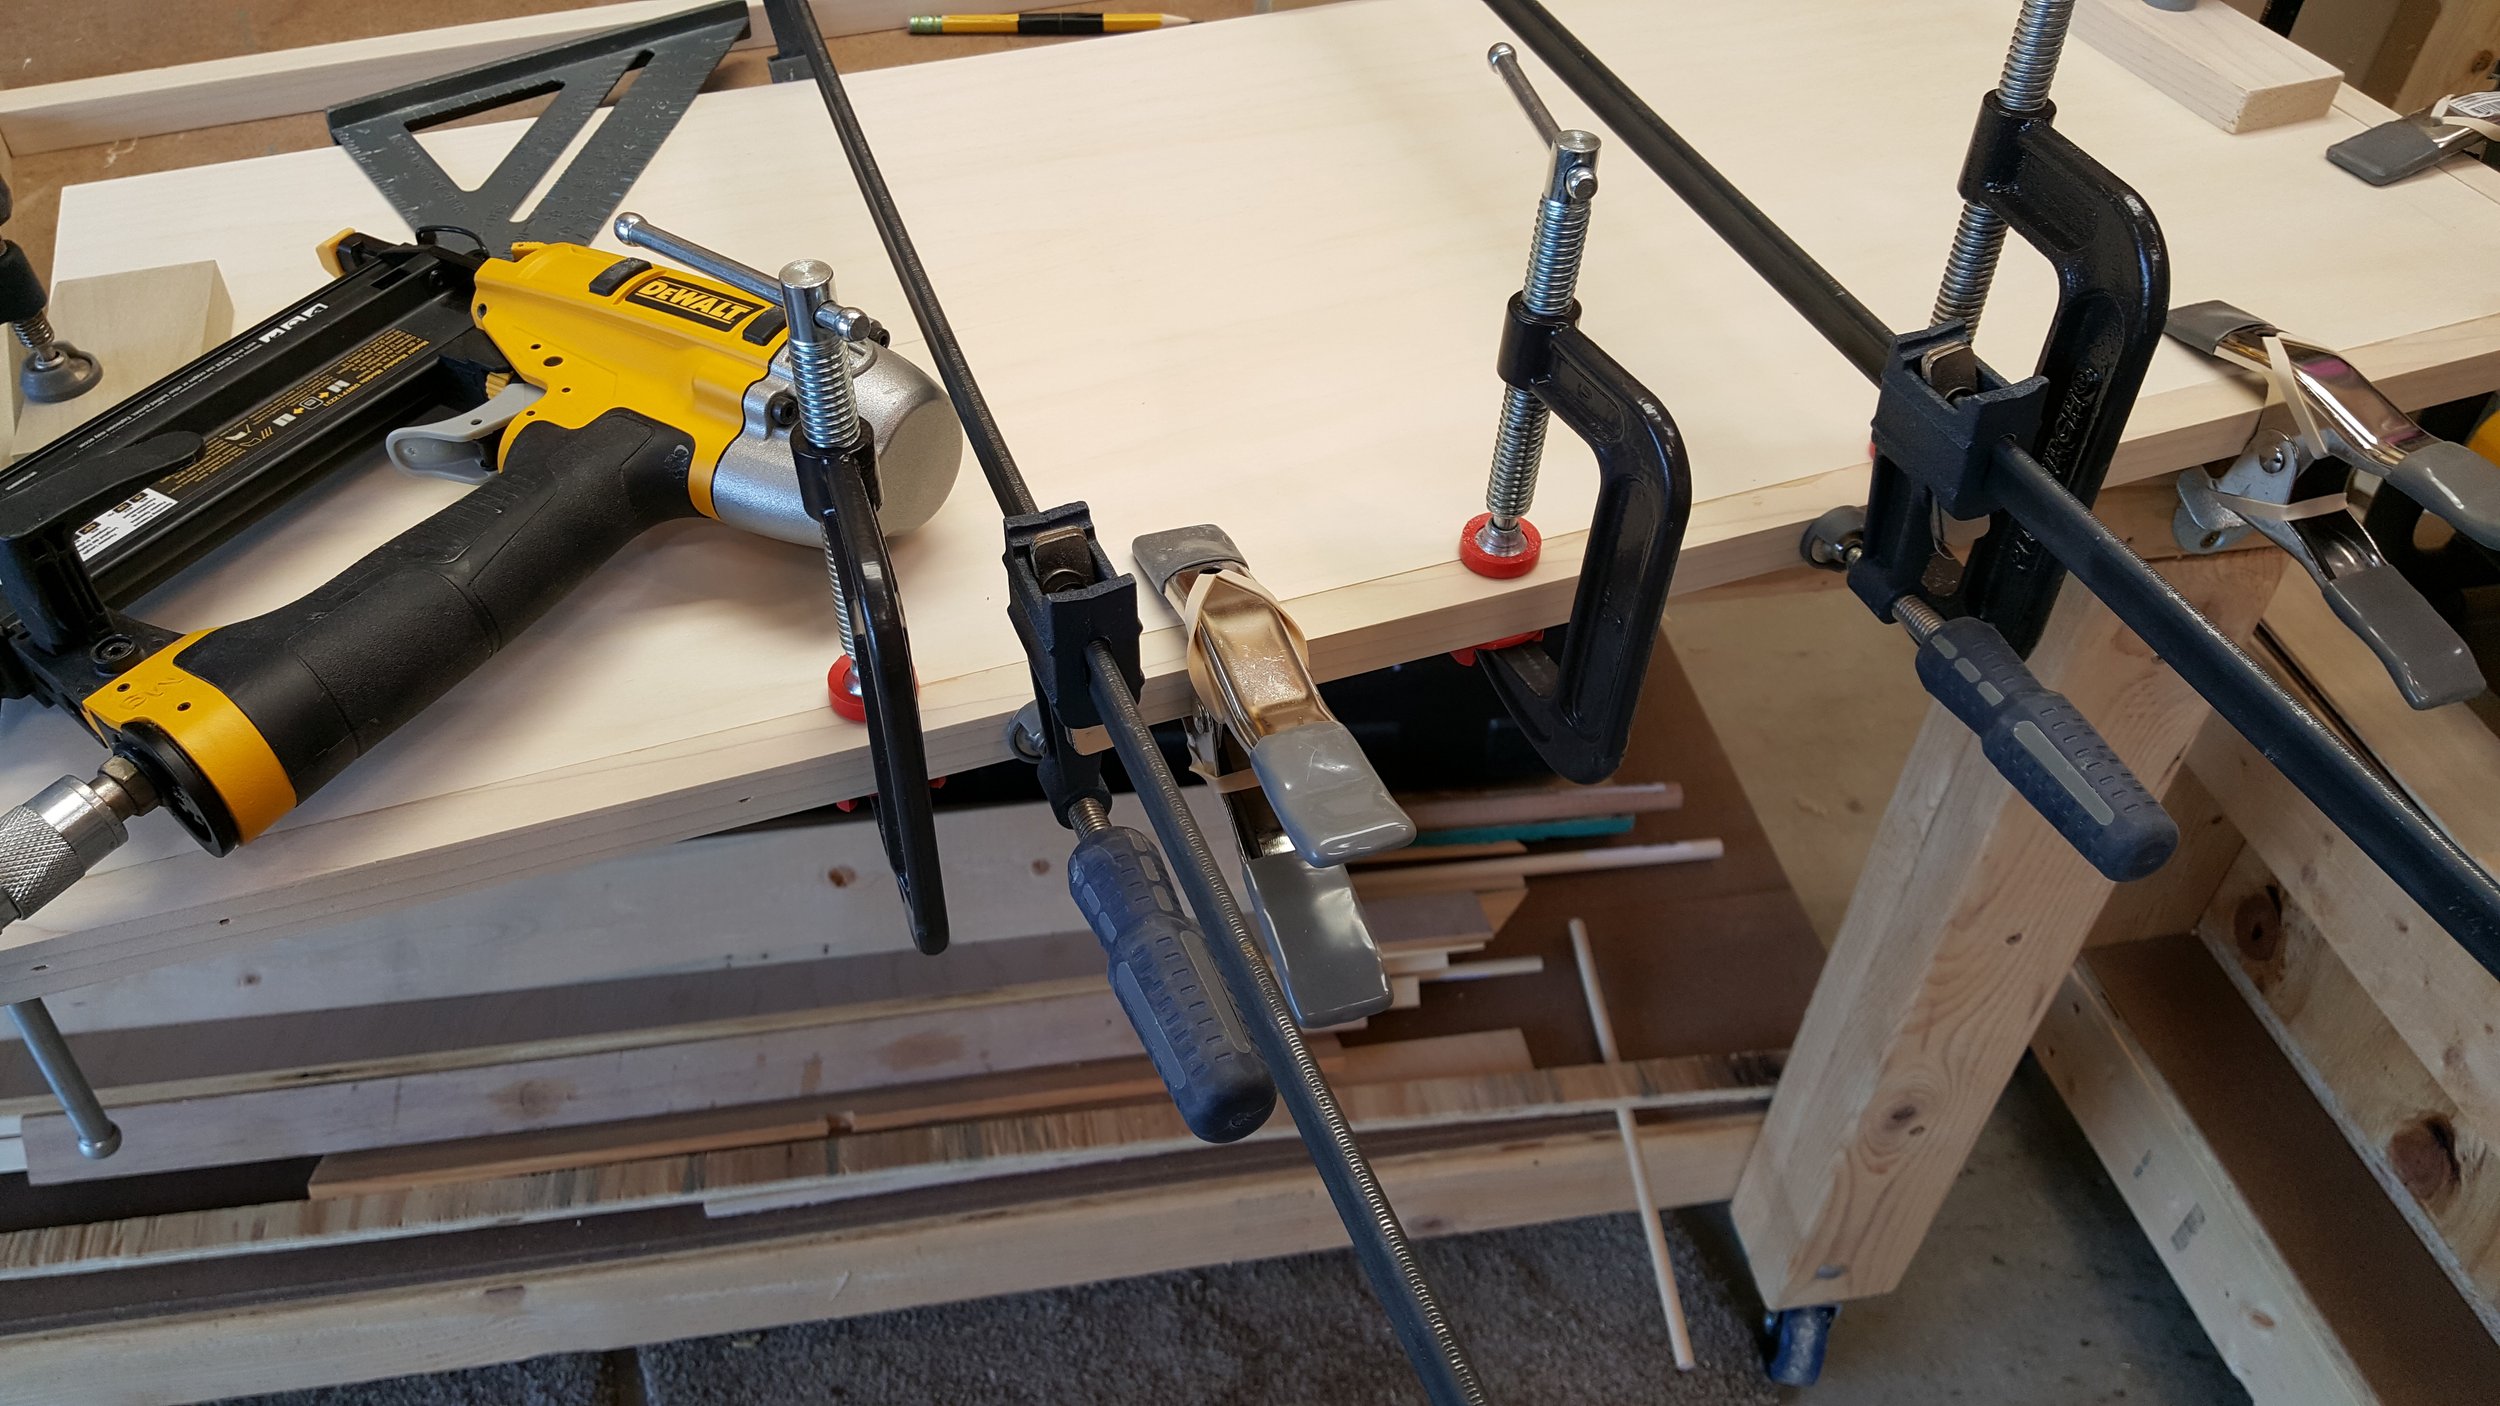
18 gauge brad nails along with glue and clamps attach the edge banding.

Any edges that aren't perfectly lined up get sanded smooth.

With the top evenly placed on the frame, screws are driven through to secure it.

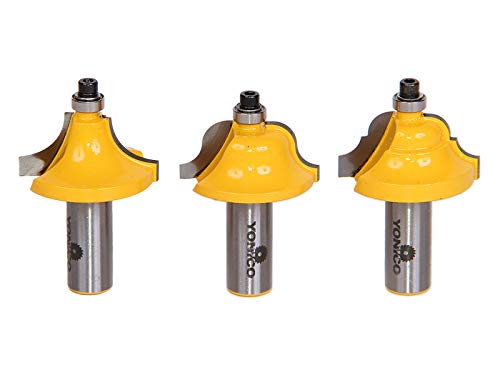
One benefit of using solid wood edge banding is that you have the ability to route it. A small Roman ogee bit in the router really makes the top look like a professional piece of furniture.

The bottom shelf is designed a bit different than the top. I needed a way to secure it to the legs, so I decided to edge band the plywood with taller boards. These board leave a space for the legs to fit in, to eventually be screwed in with pocket holes on the bottom, hidden from view.

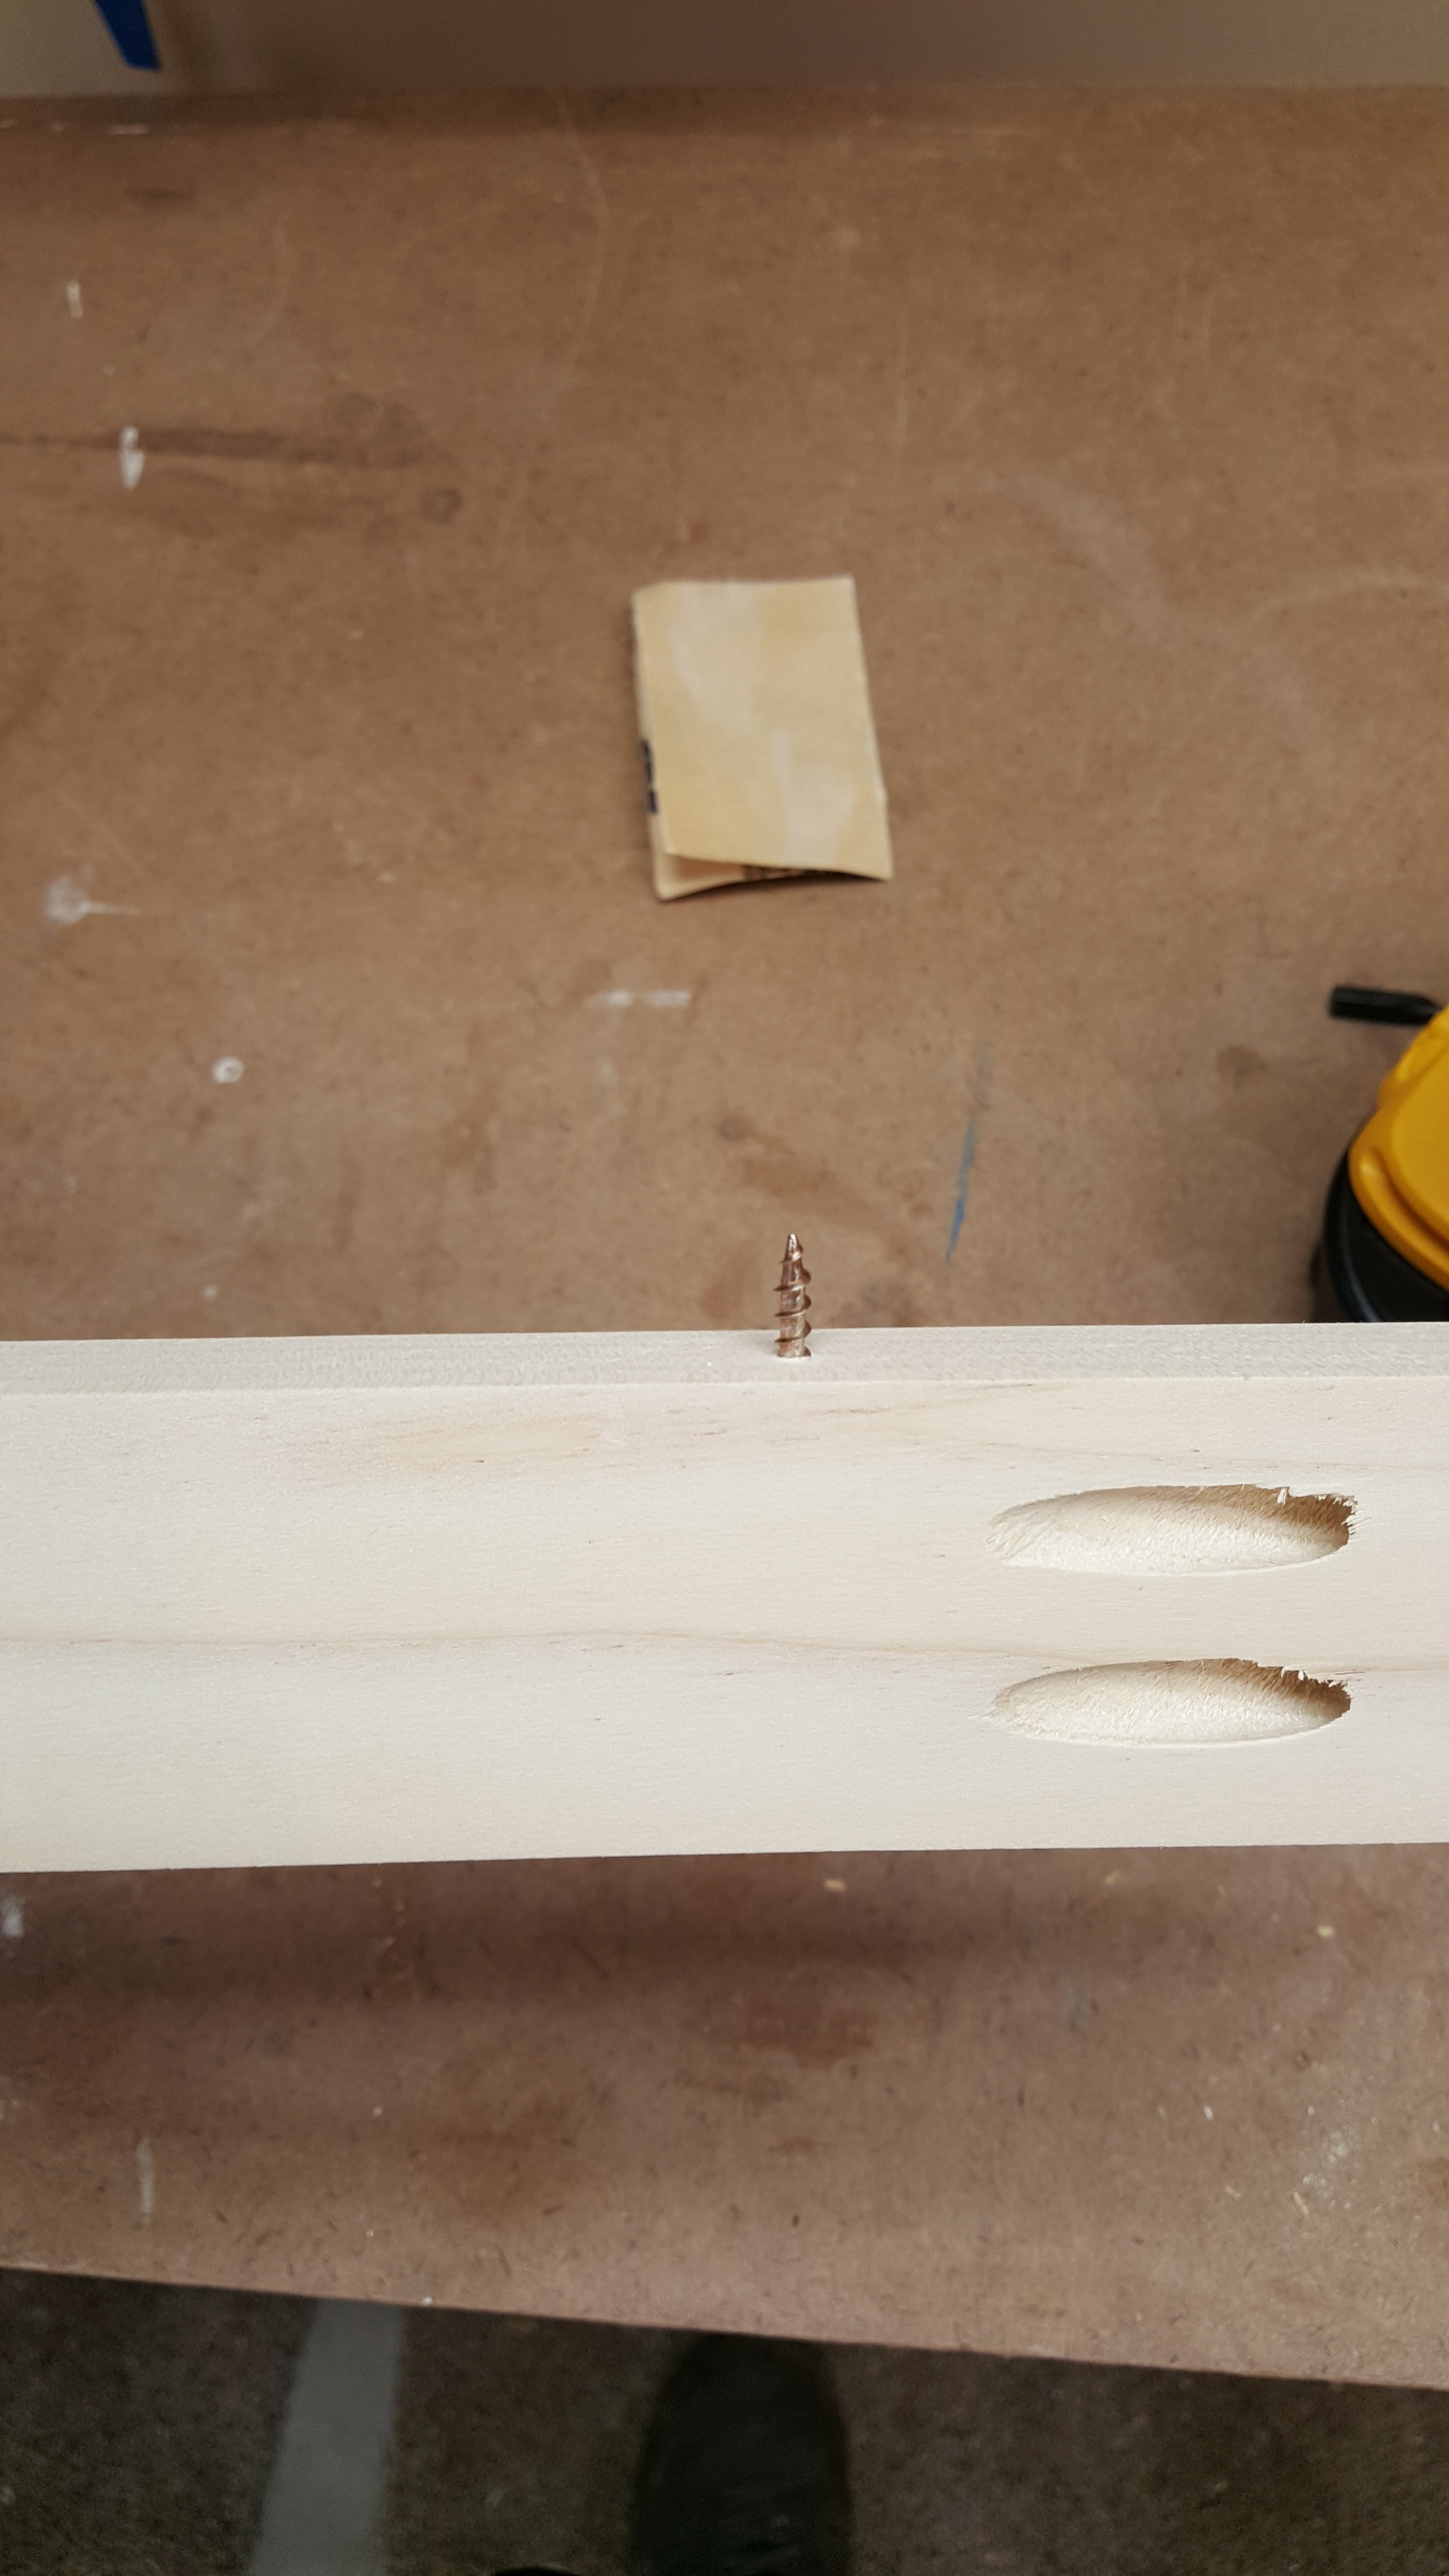
Here you can get an idea of how this will work. One pocket hole on the bottom of each brace will connect to the leg.
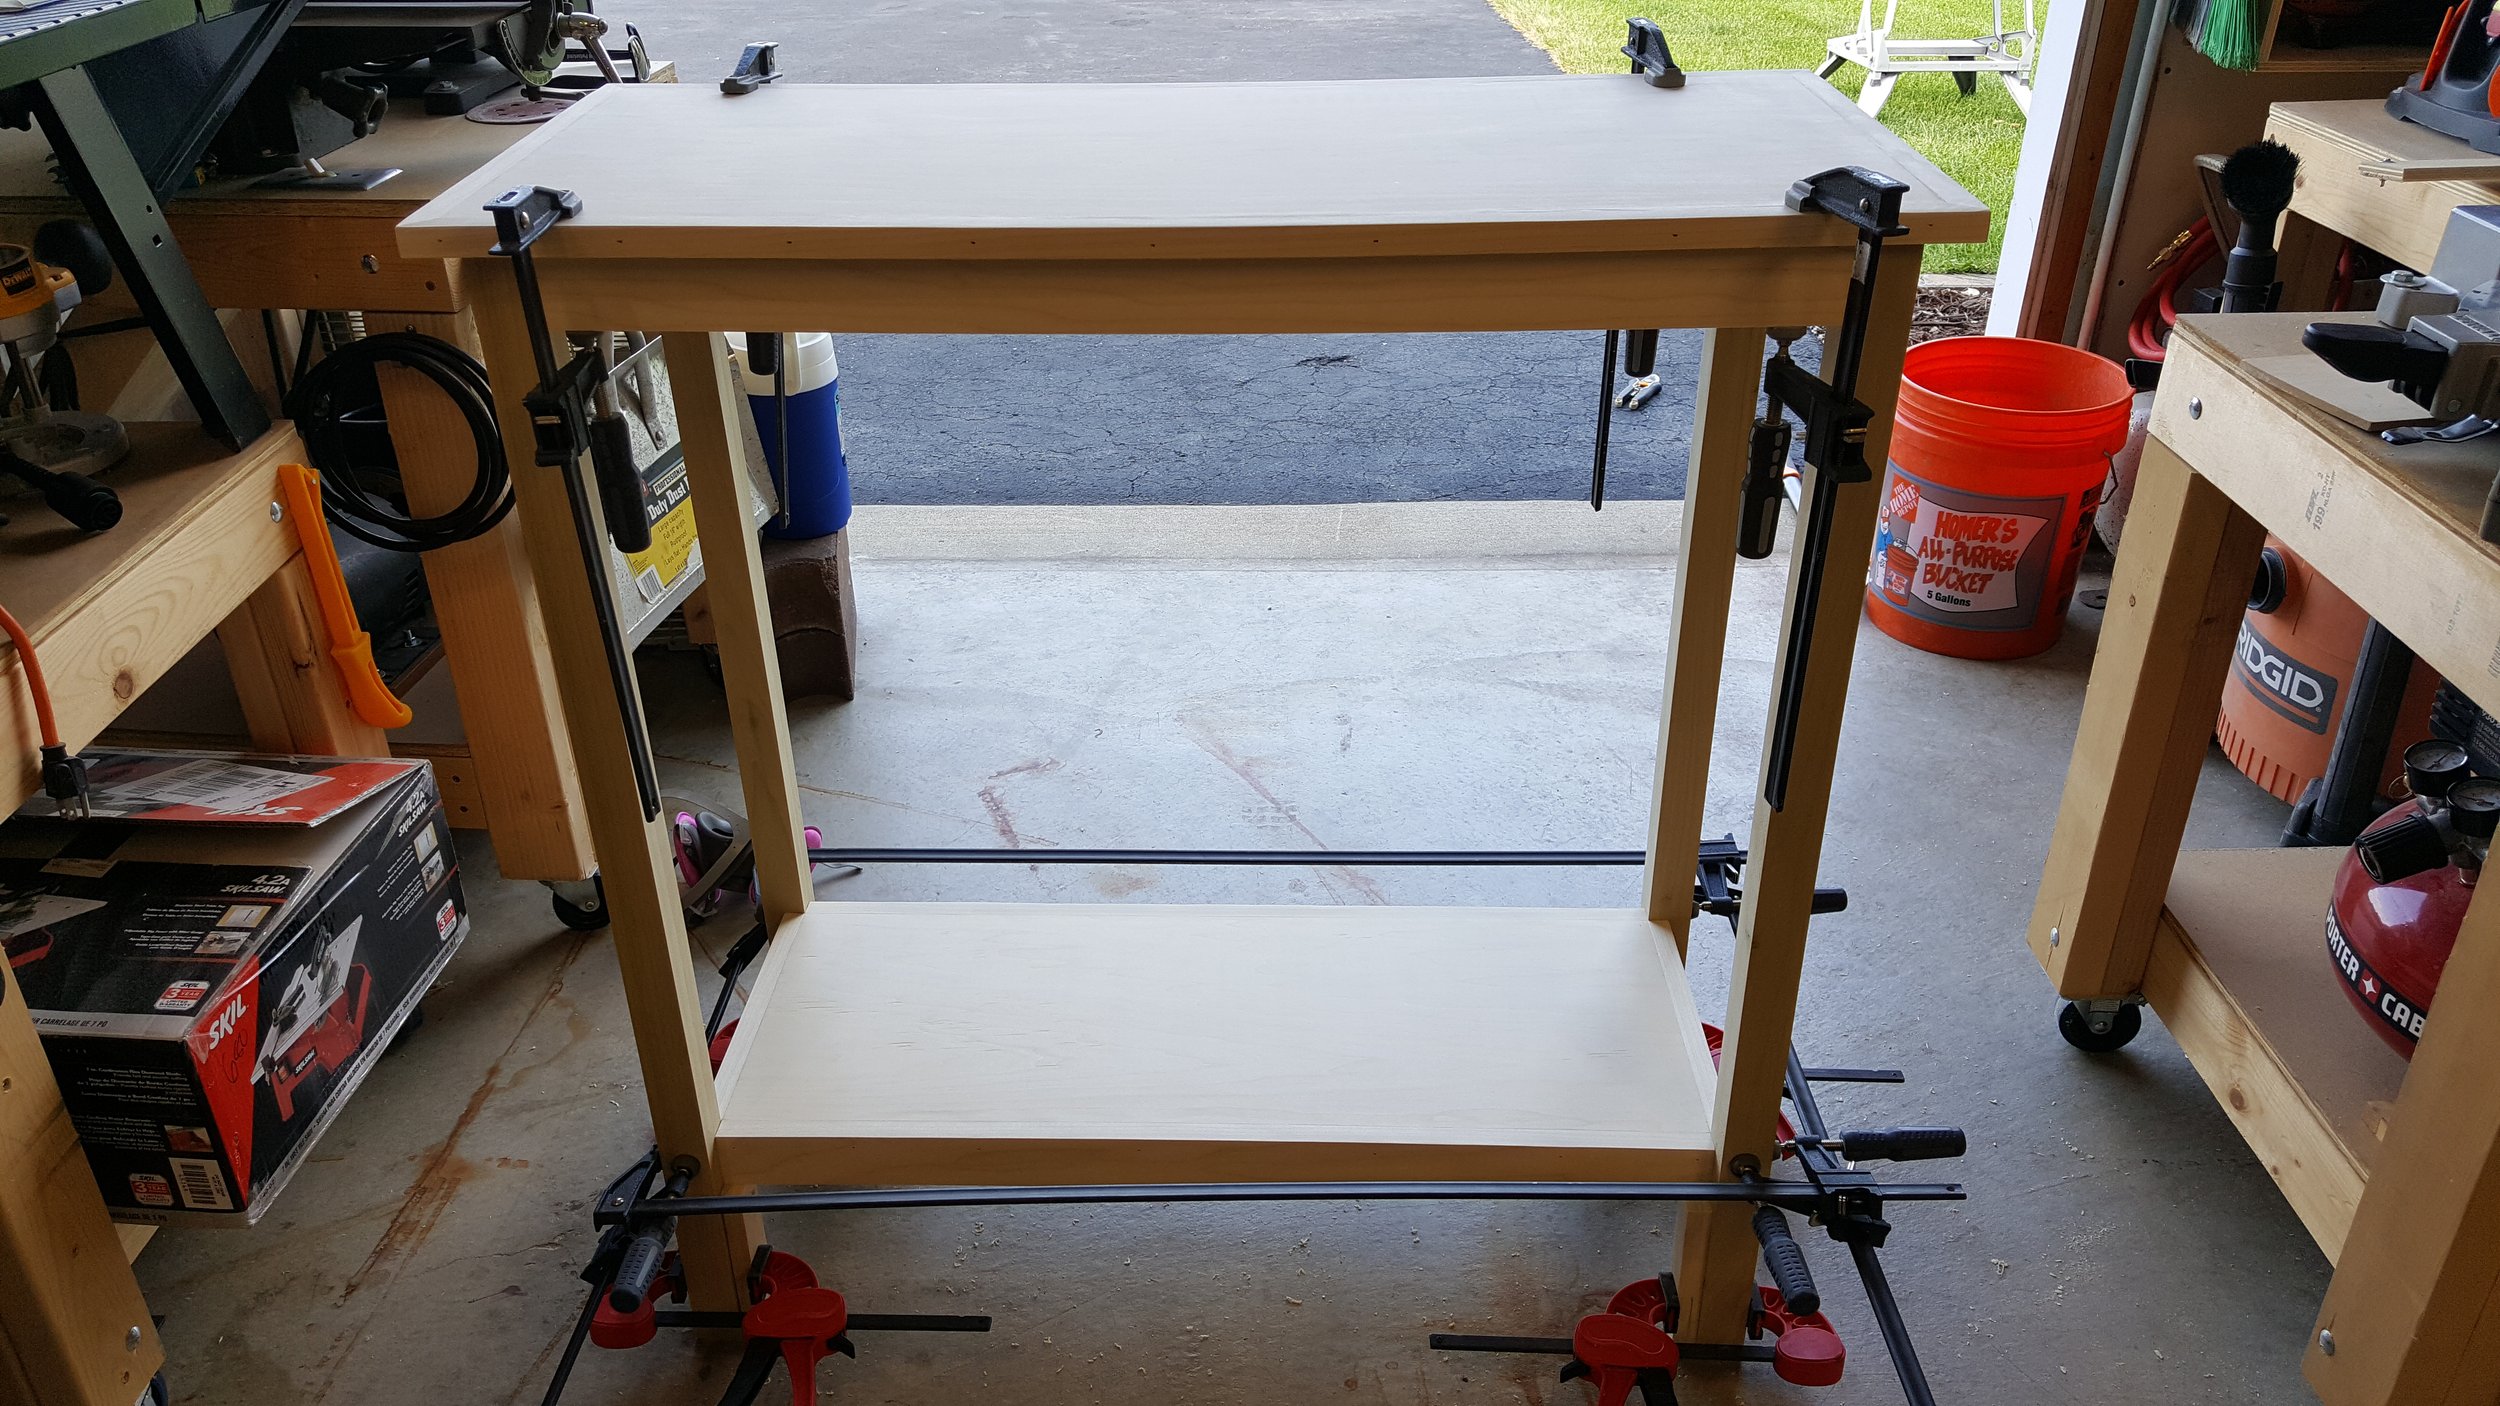
All parts are now glued up and it looks like a table!
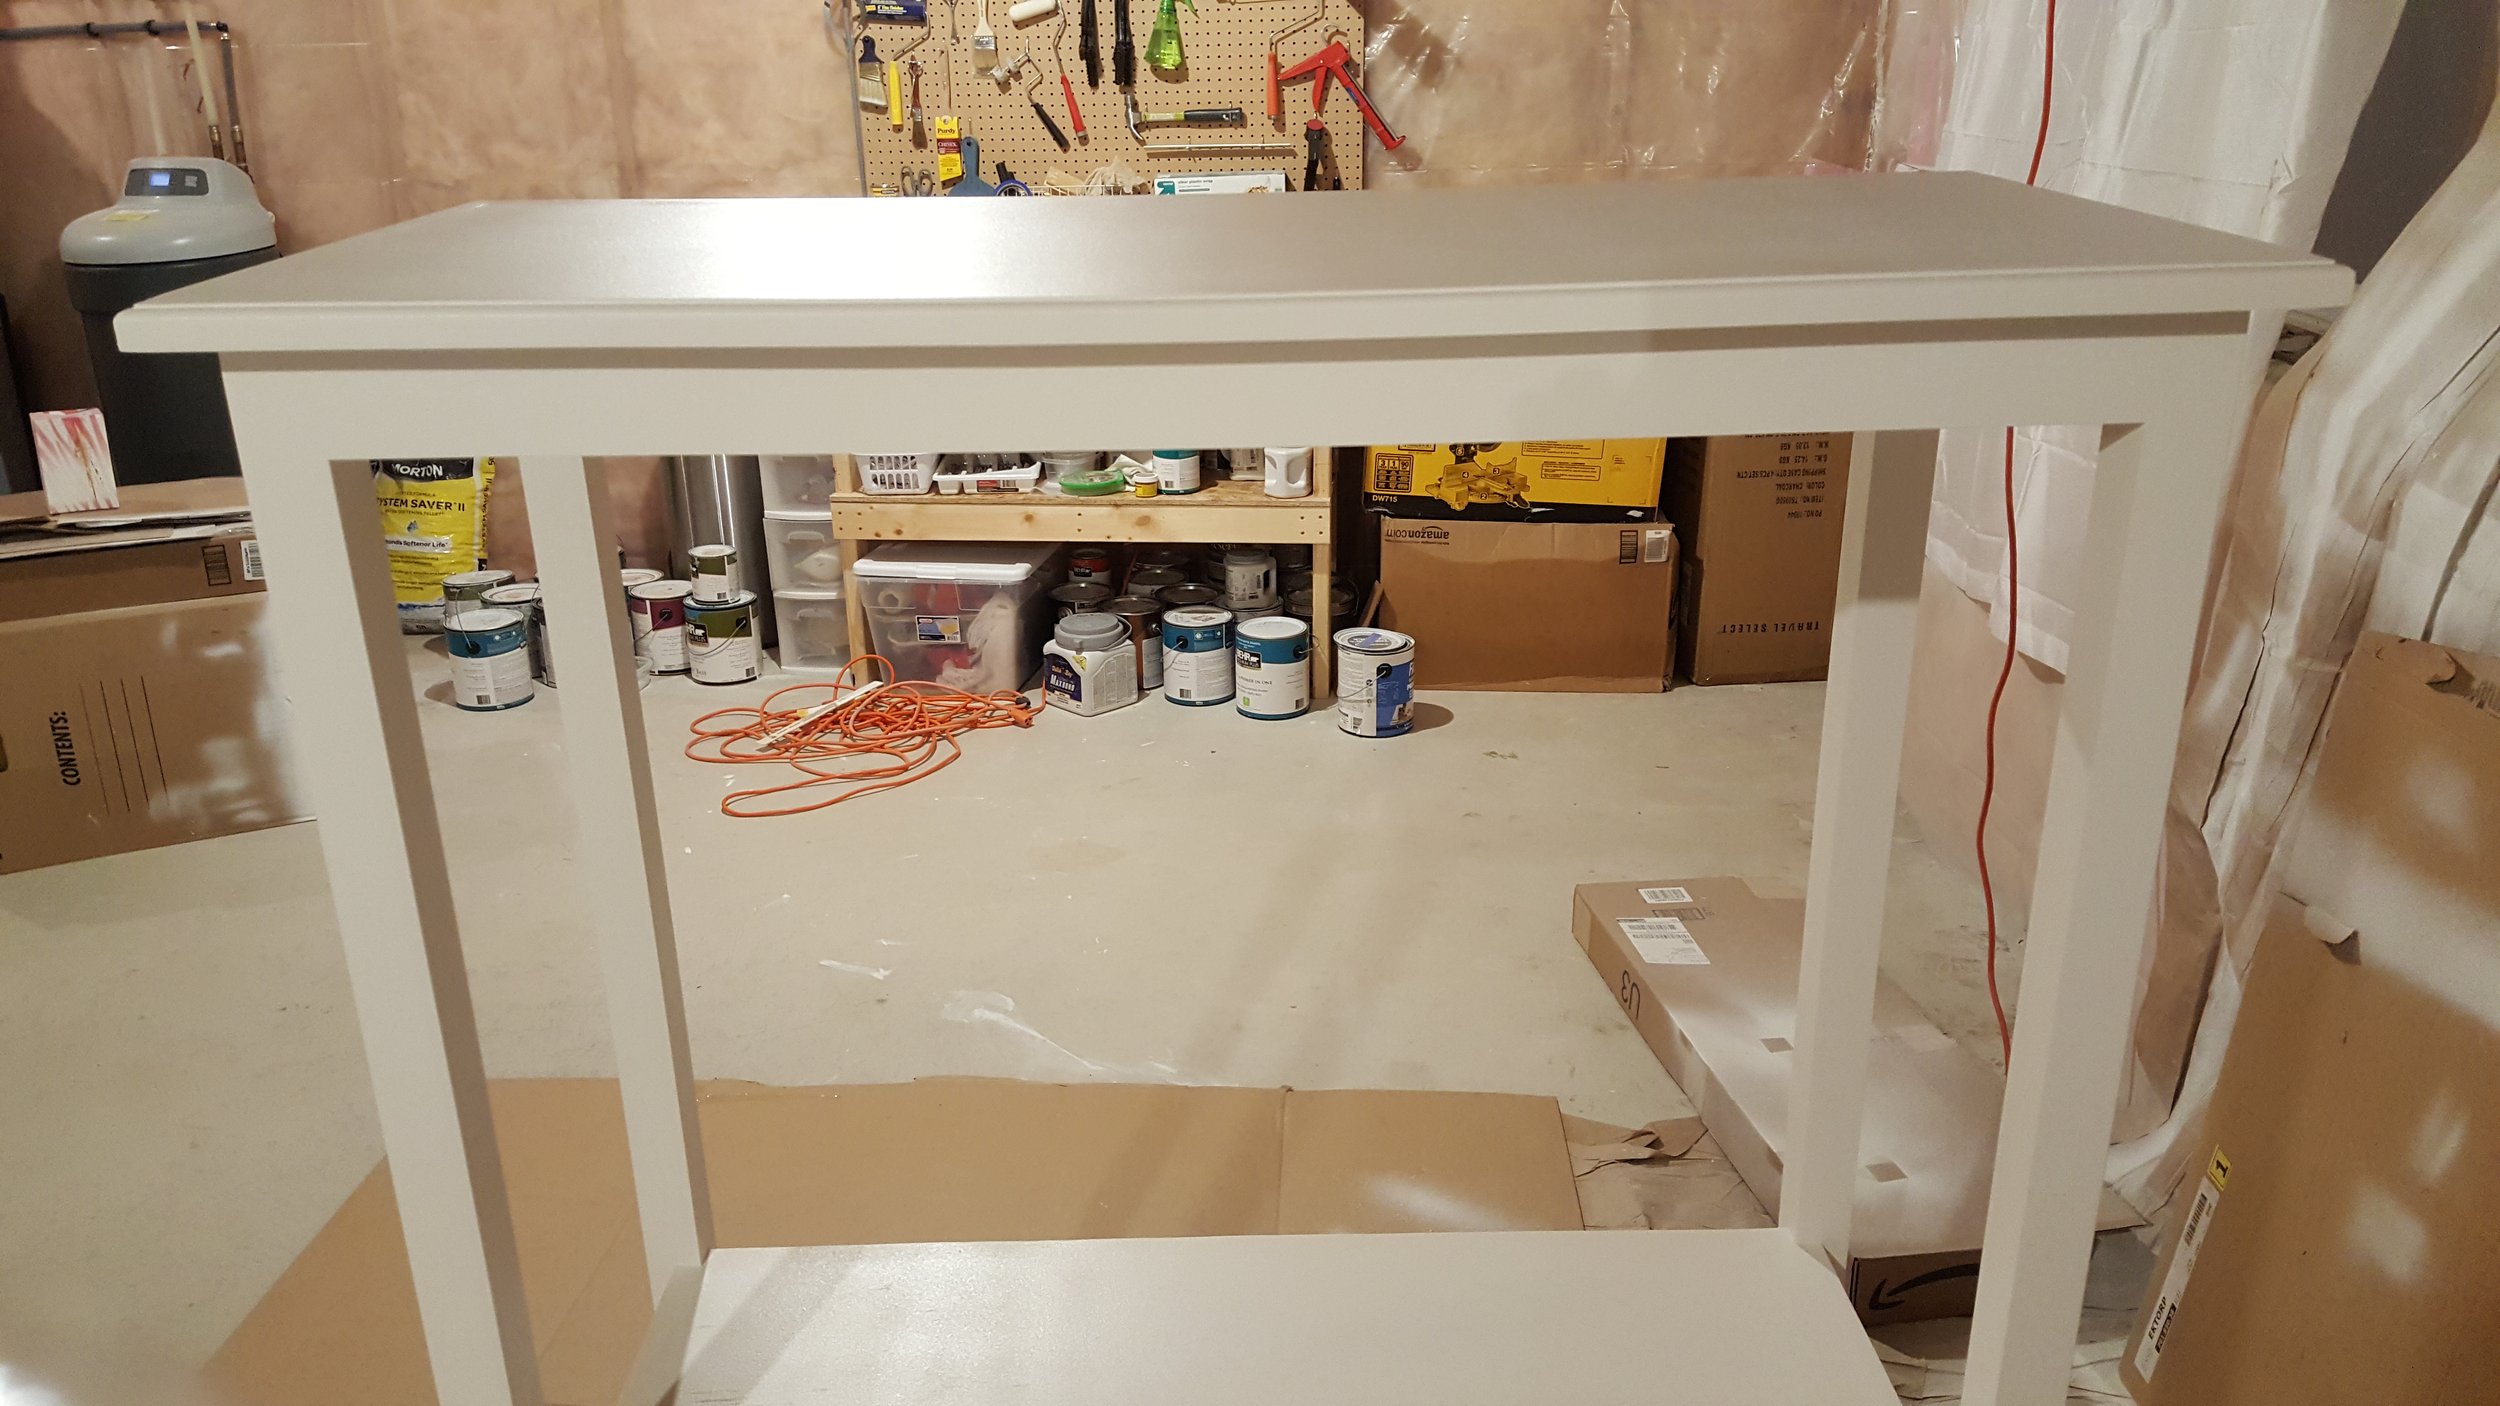
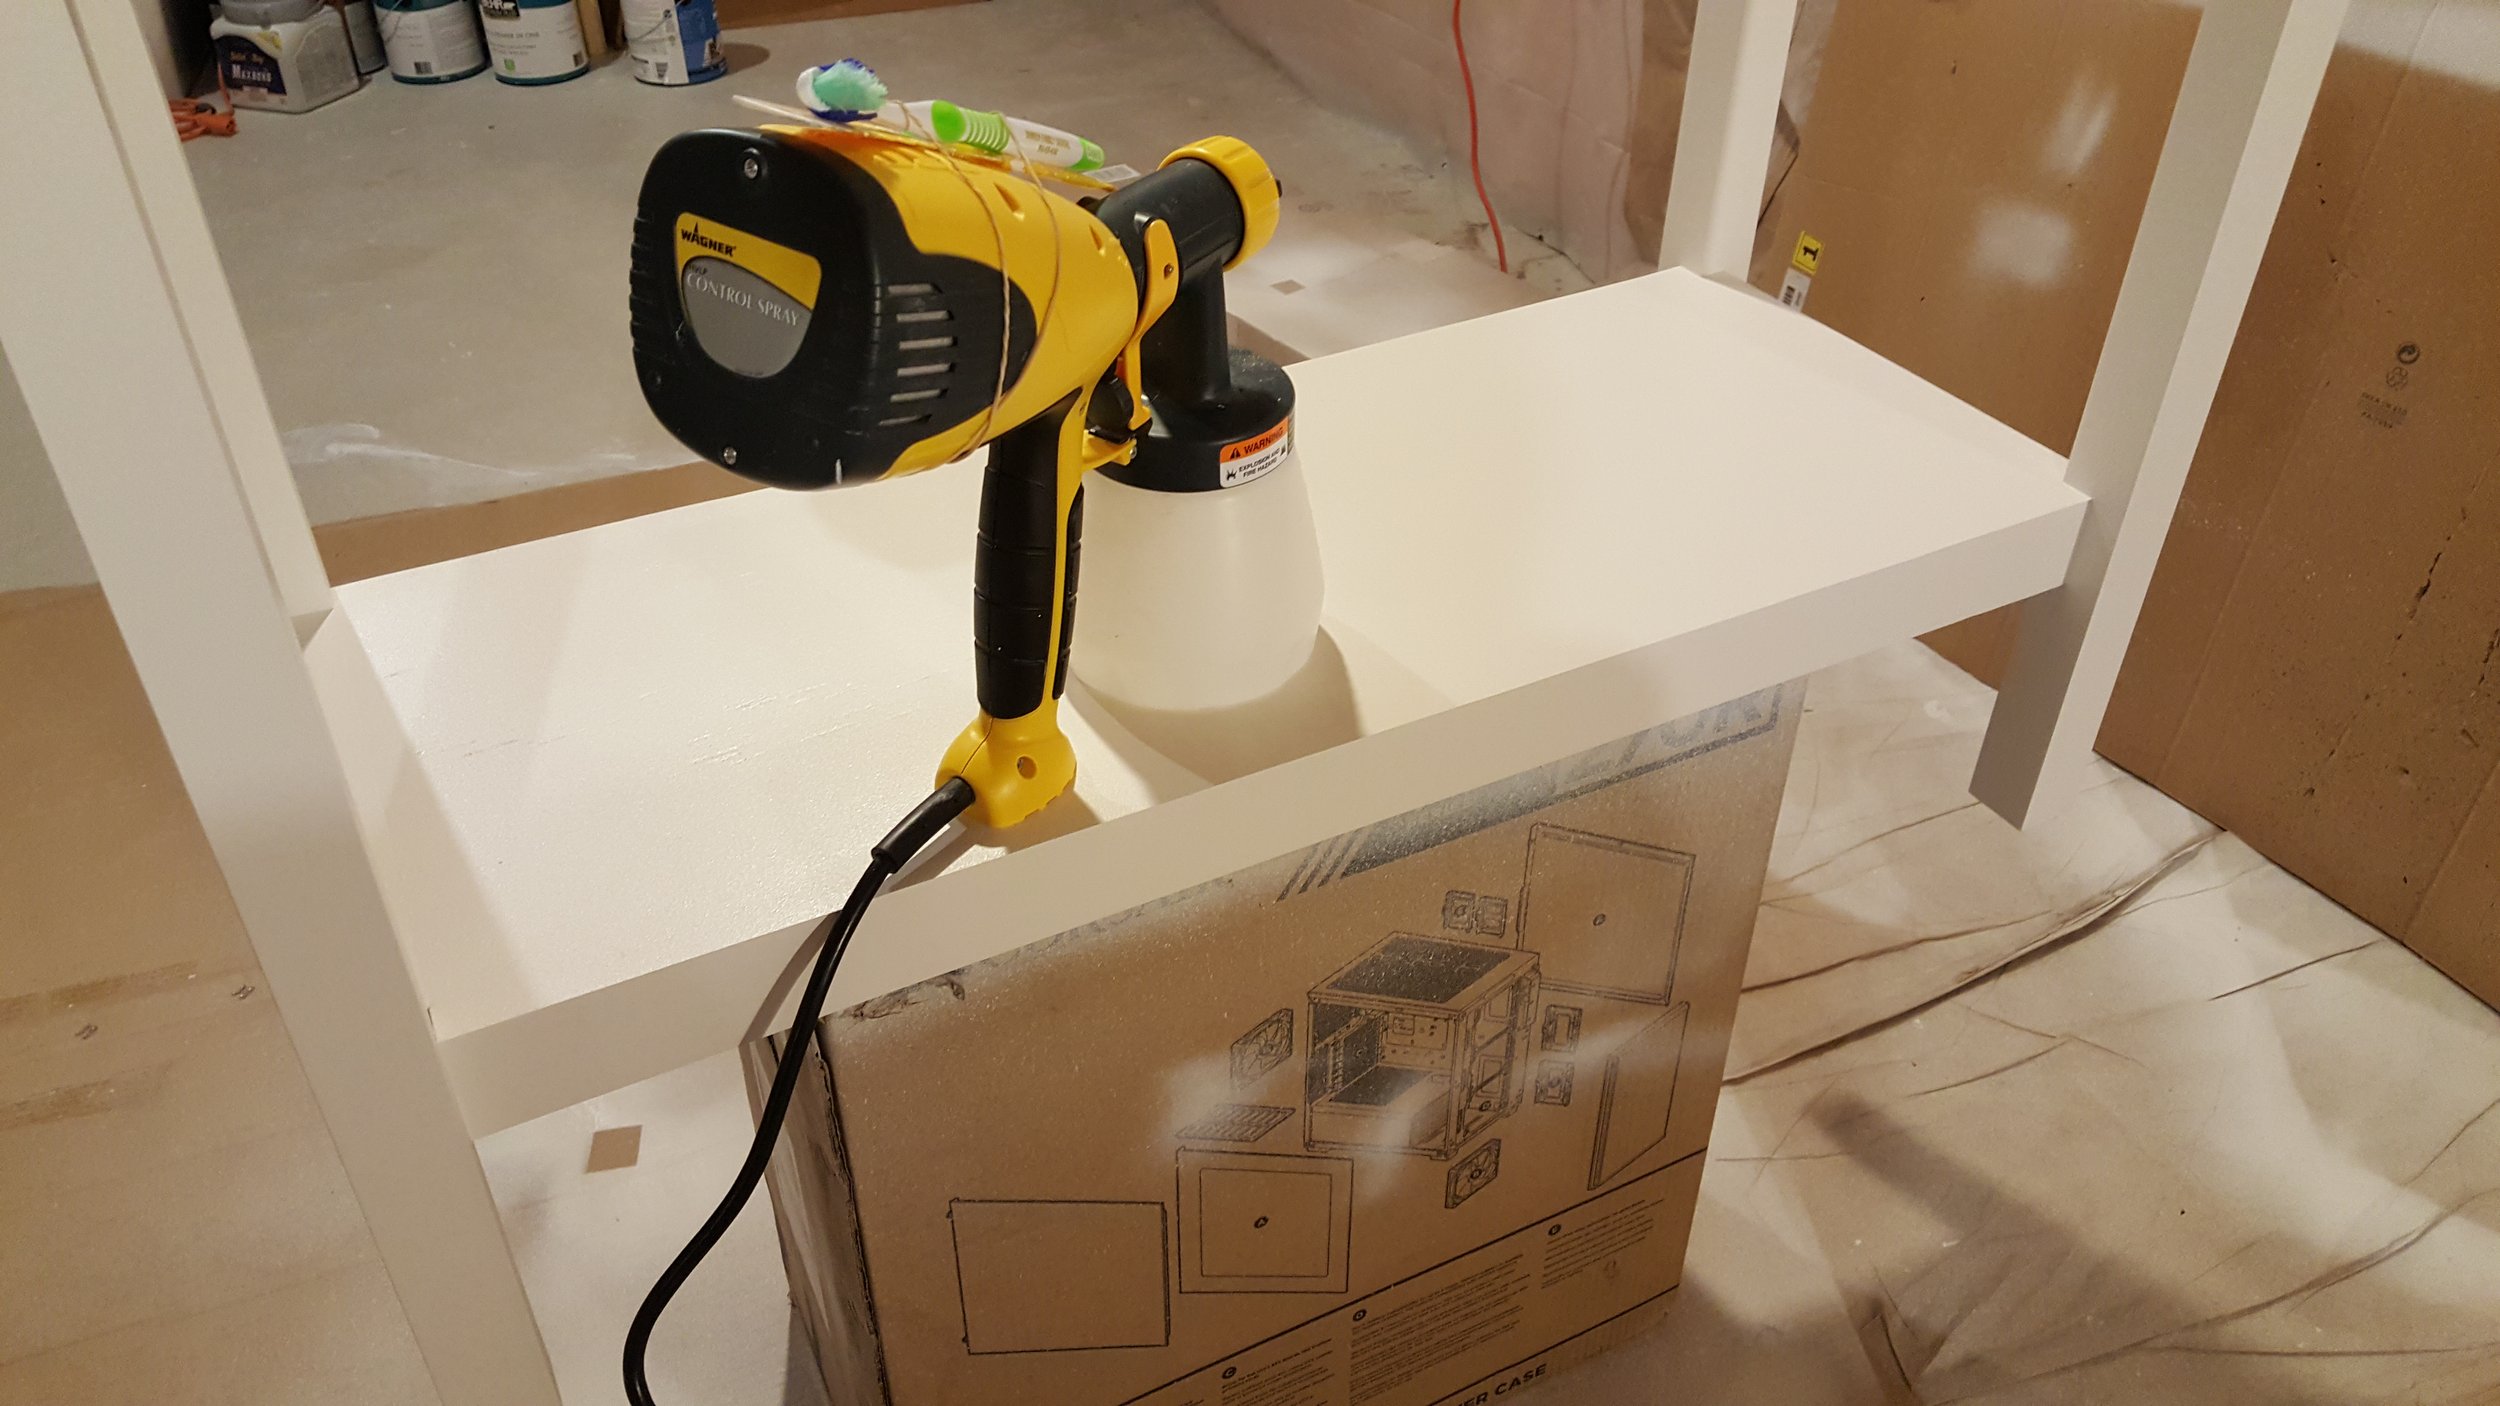
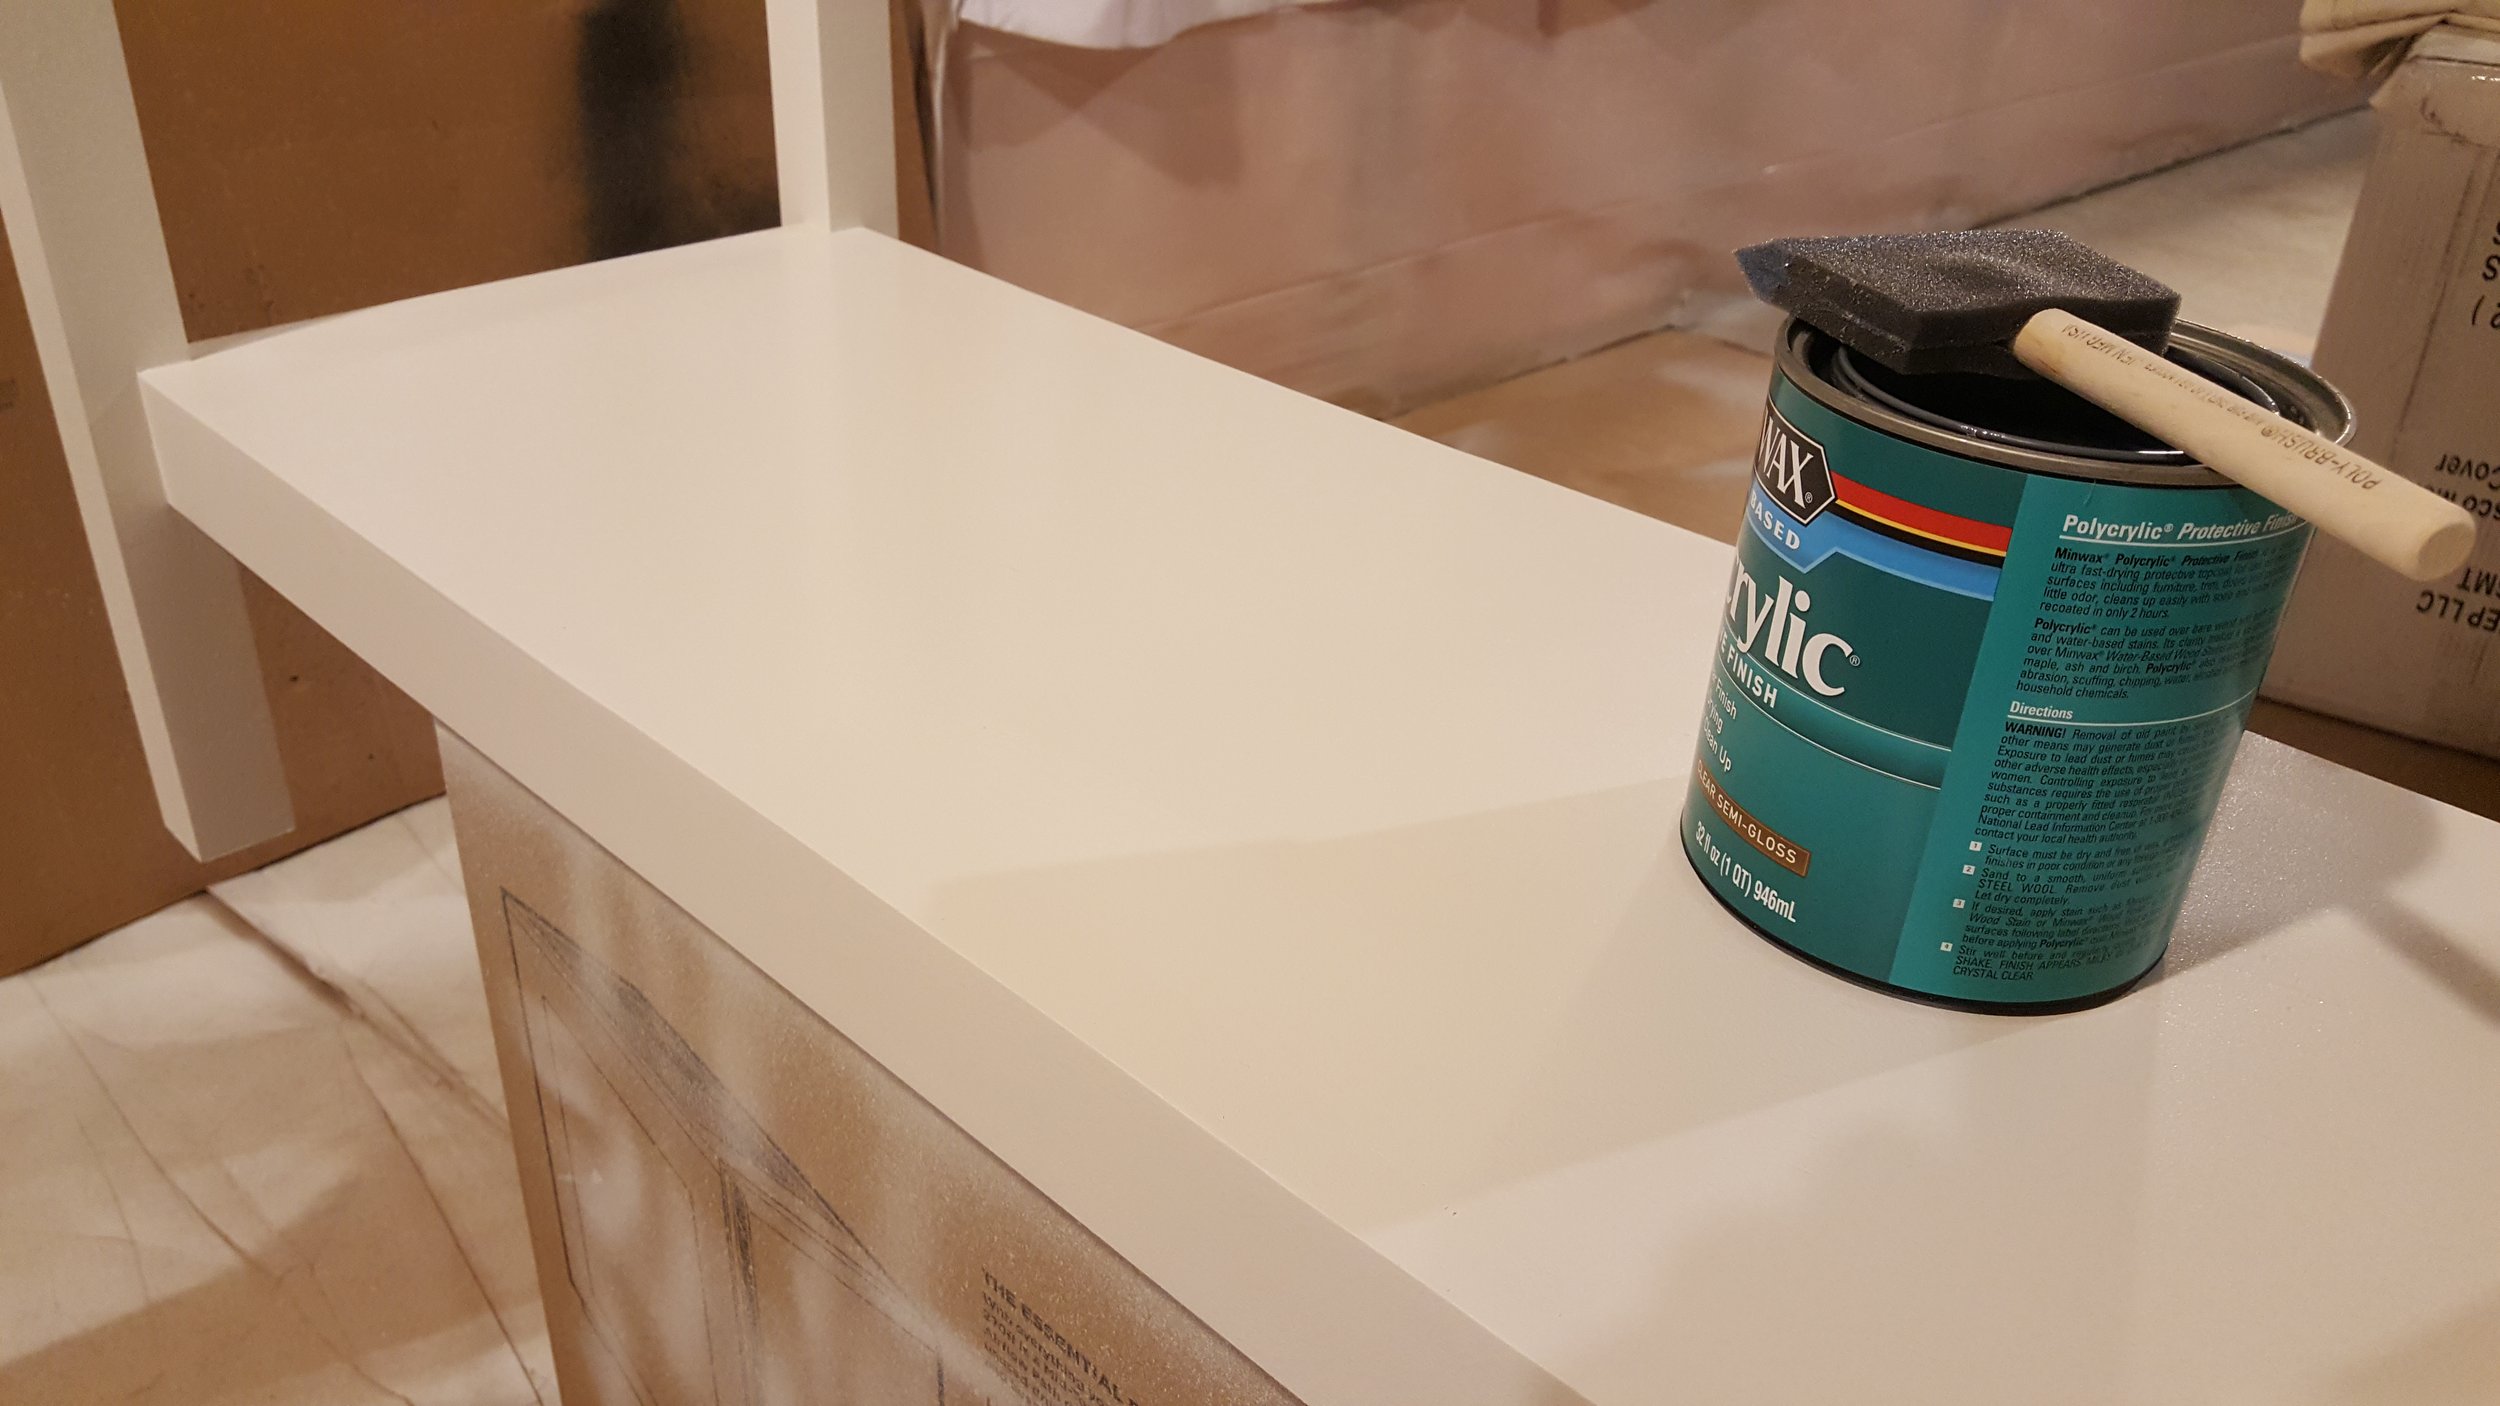
After final sanding, I took the shelf down in the basement, away from any sawdust, and gave it a few coats of an off-white paint from the spray gun. A spray gun has made a world of difference in my woodworking. I used to dread brush streaks, but this gun has made it a breeze. A few coats of Polycrylic were added to give the piece protection.
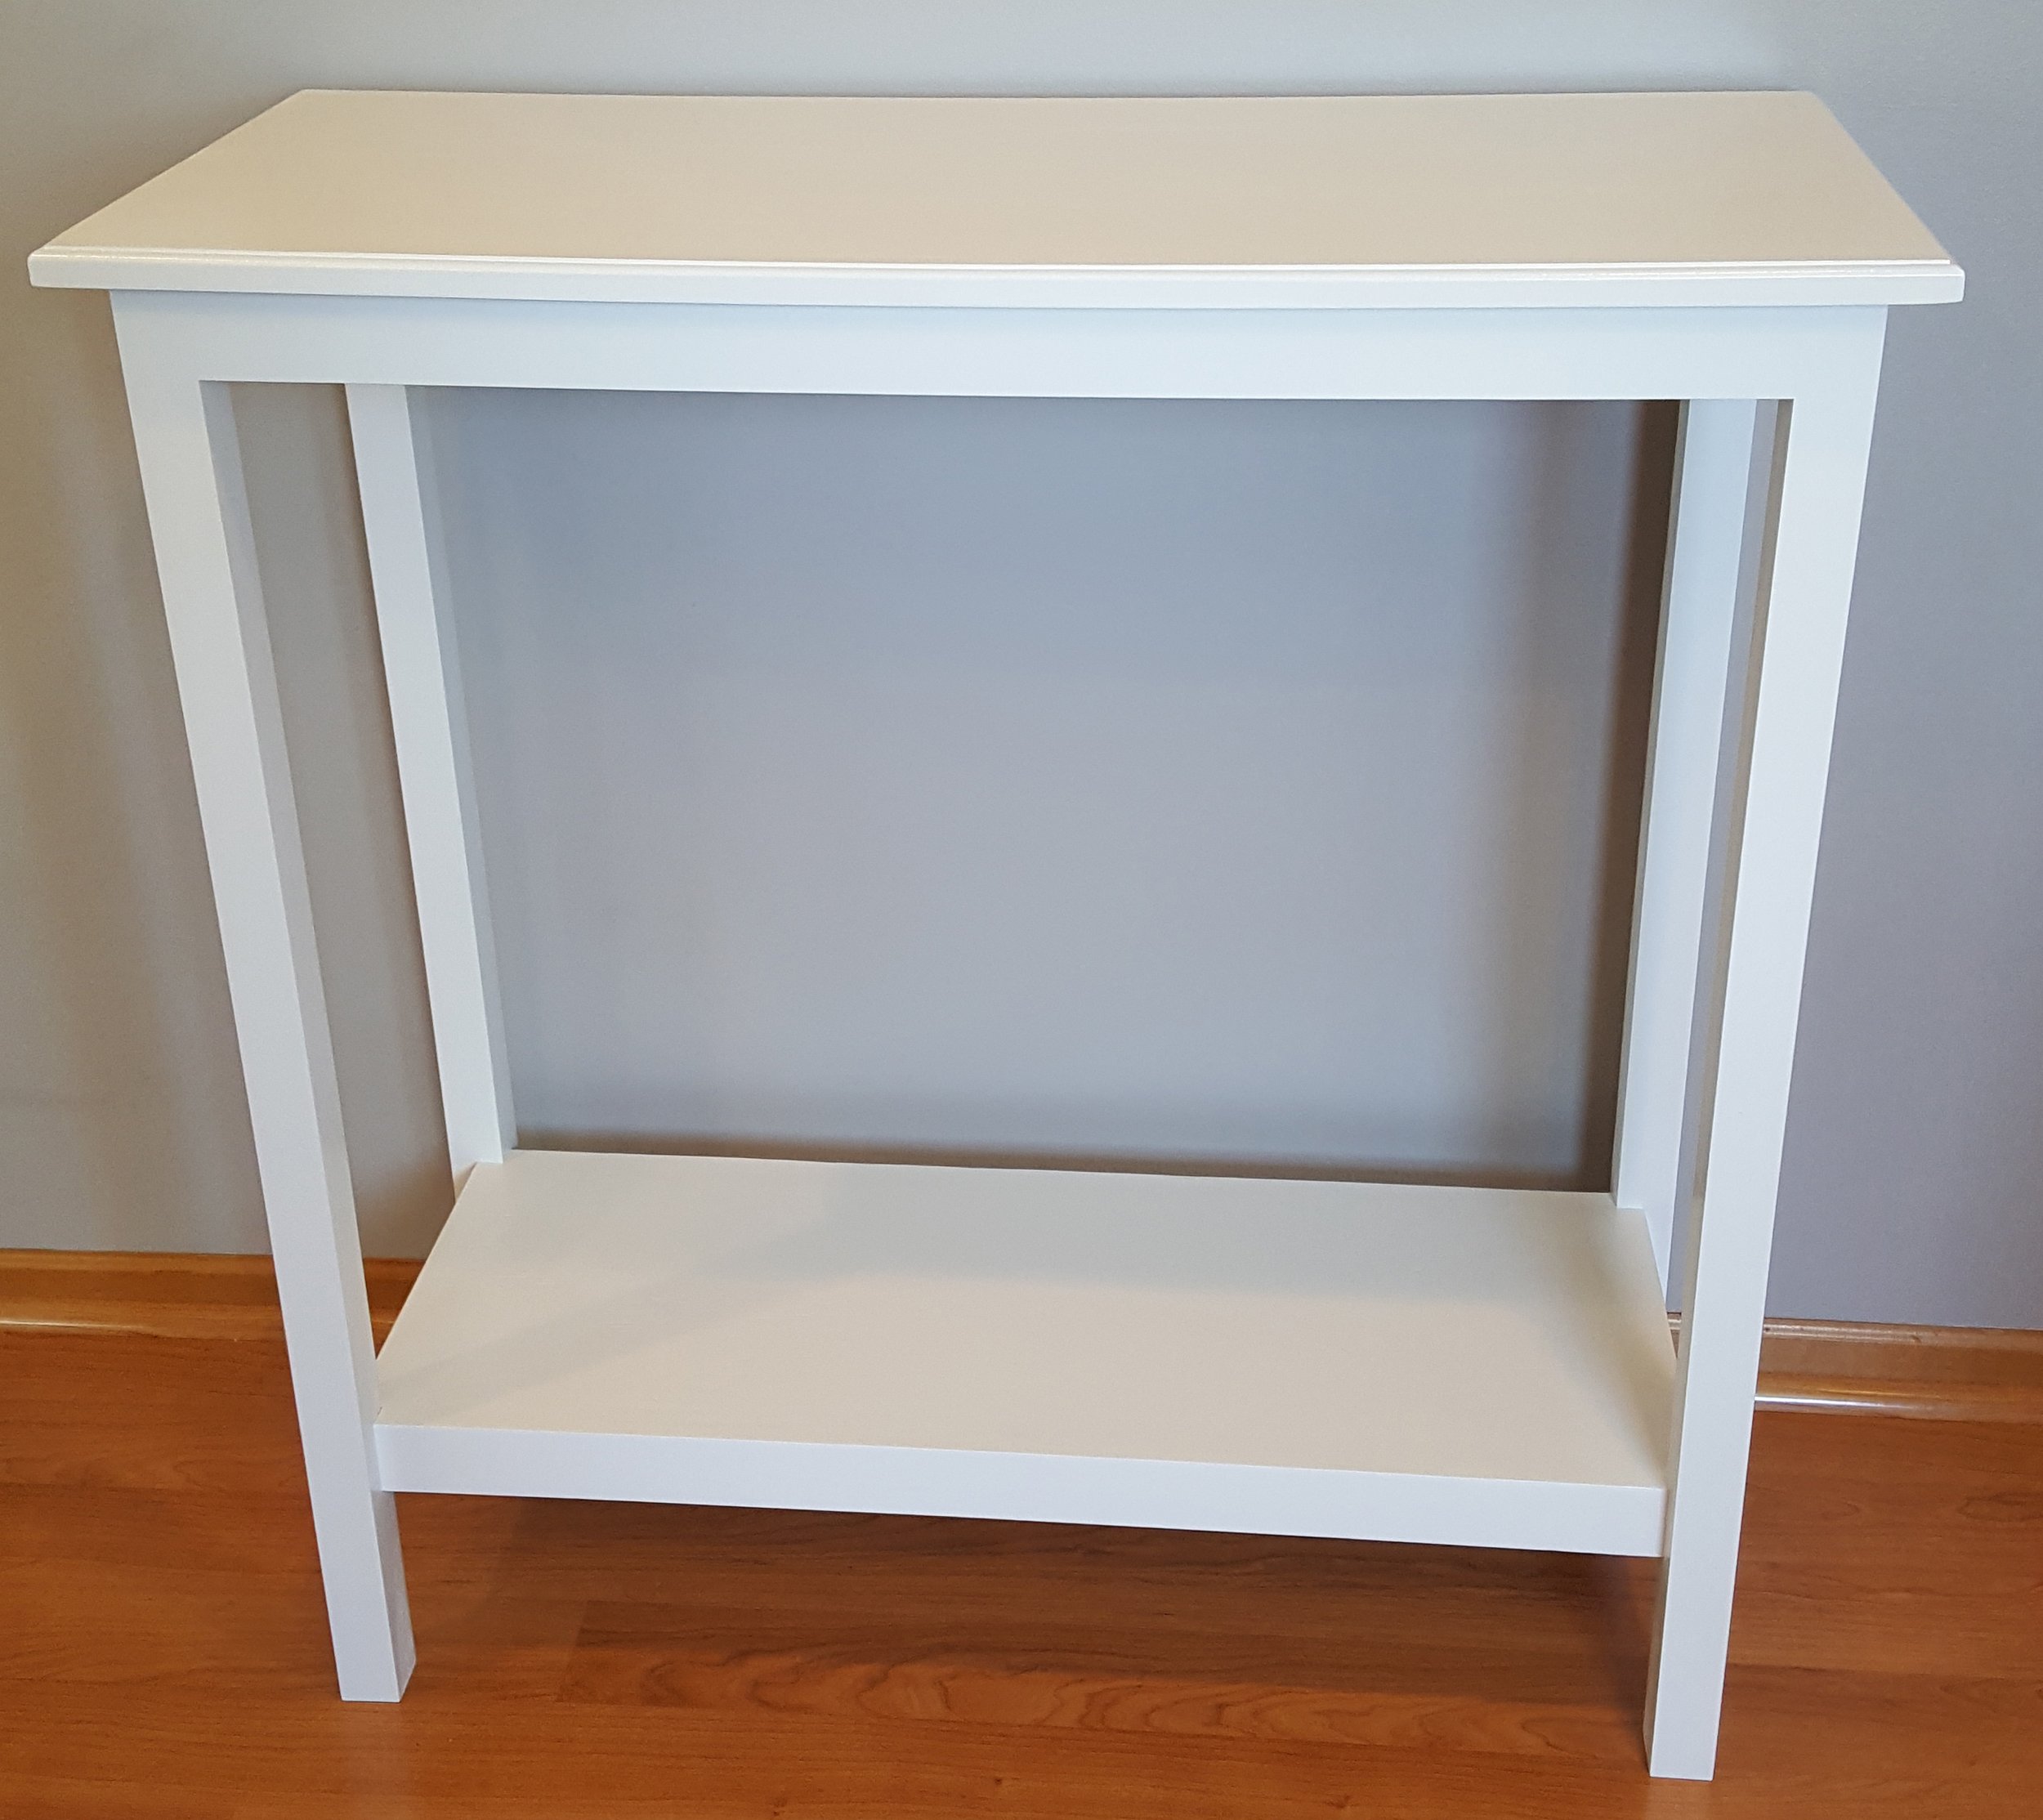
My Mom ended up putting the shelf behind her sofa with some decorations on top. It came out really well and I am proud of the simple (and cheap) design.
Items used in this project
Power tools and accessories


The rest