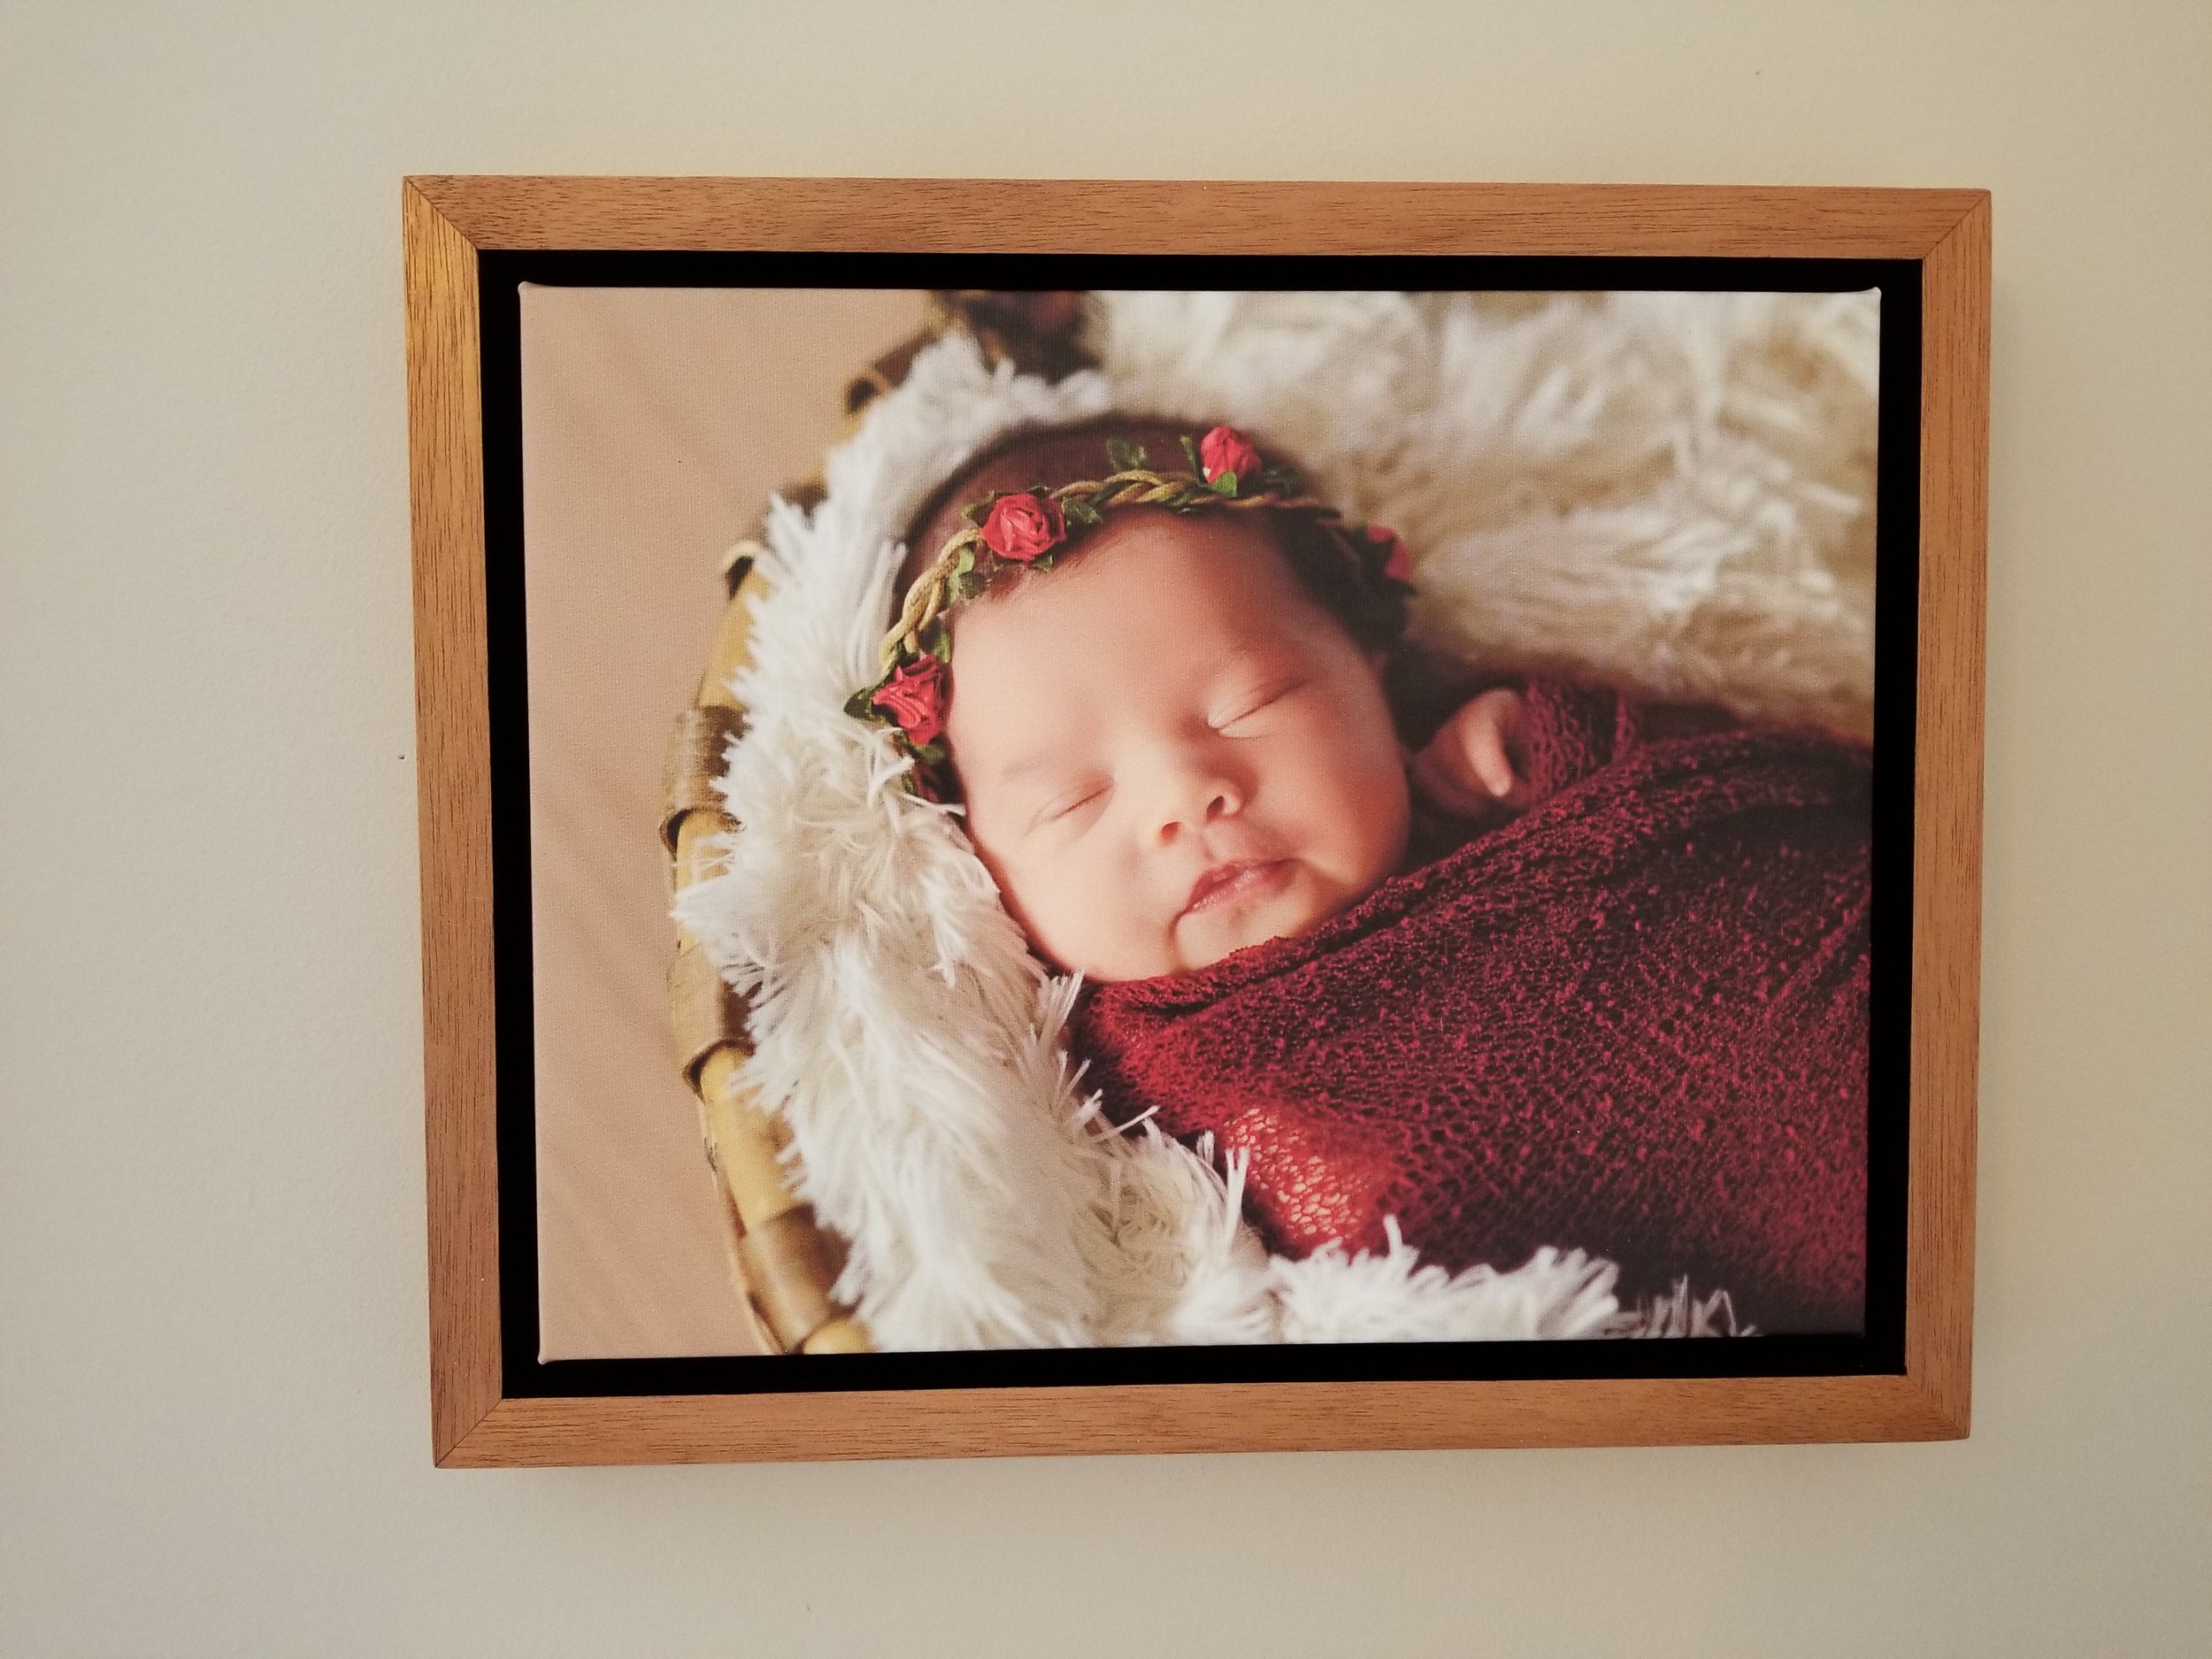
Canvas Print Frame

I turned a photo of my daughter into an 11"x14" canvas print from Amazon as a Christmas gift for my Mom. The print looked beautiful but I thought I could make it look even better. I chose to build a 3/4" thick, 1" tall mahogany frame around the print.

I started off with a 4' board, cross cut it to the length I needed, and ripped it down to 1" strips.

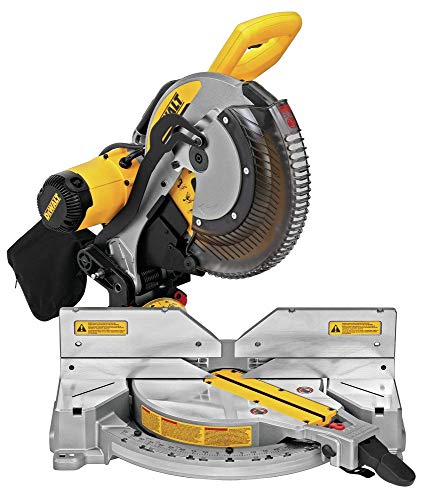
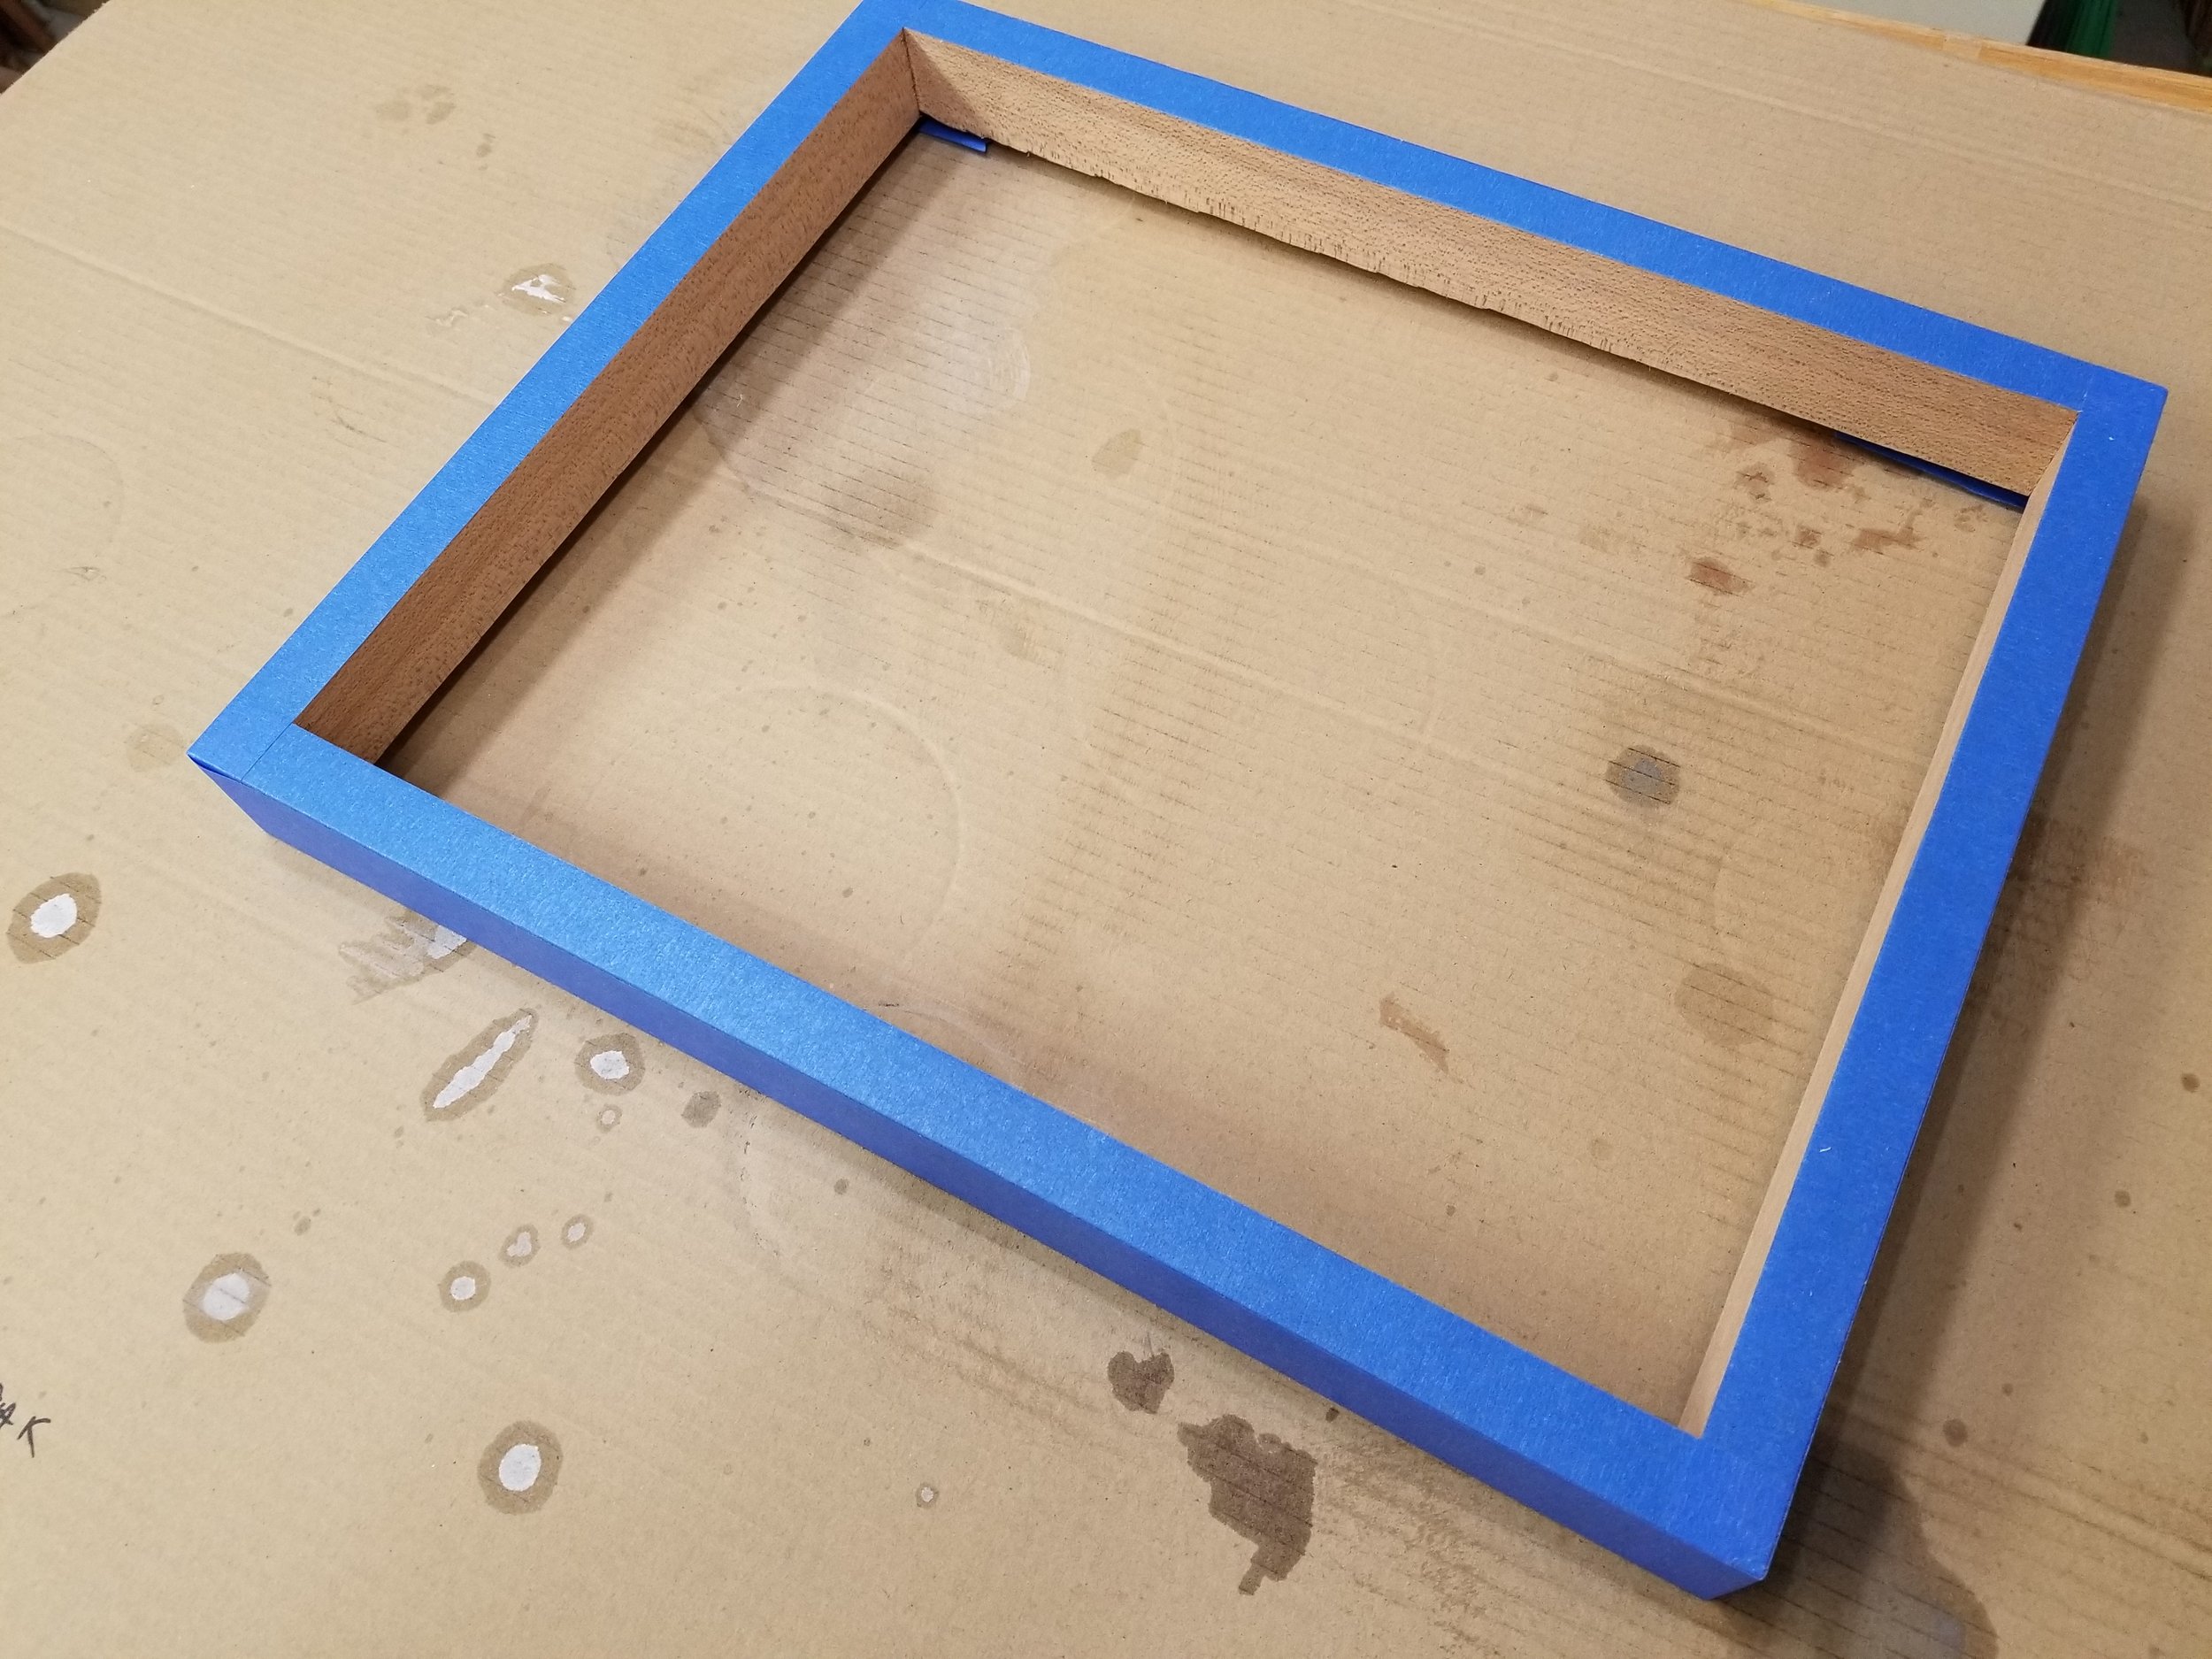
With the frame sides ripped to width, I took them to the miter saw and cut 45° angles.

Bit by bit, I took off material until I had the exact measurements that matched my canvas print.

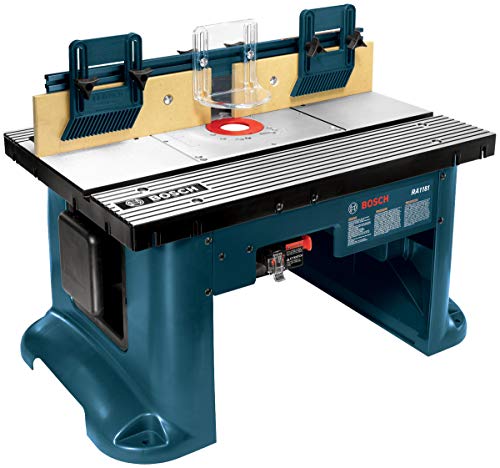
Next, I put a rabbet bit in the router table set to 1/4", made a few test cuts, and ran the long edge of the frame sides through. Next time, I would cut these rabbets before cutting the 45° miters, allowing the wiggle room to trim off tear out.

Cutting roughly halfway though the 3/4" width material gives enough room to nail the eventual 1/4" backer-board.

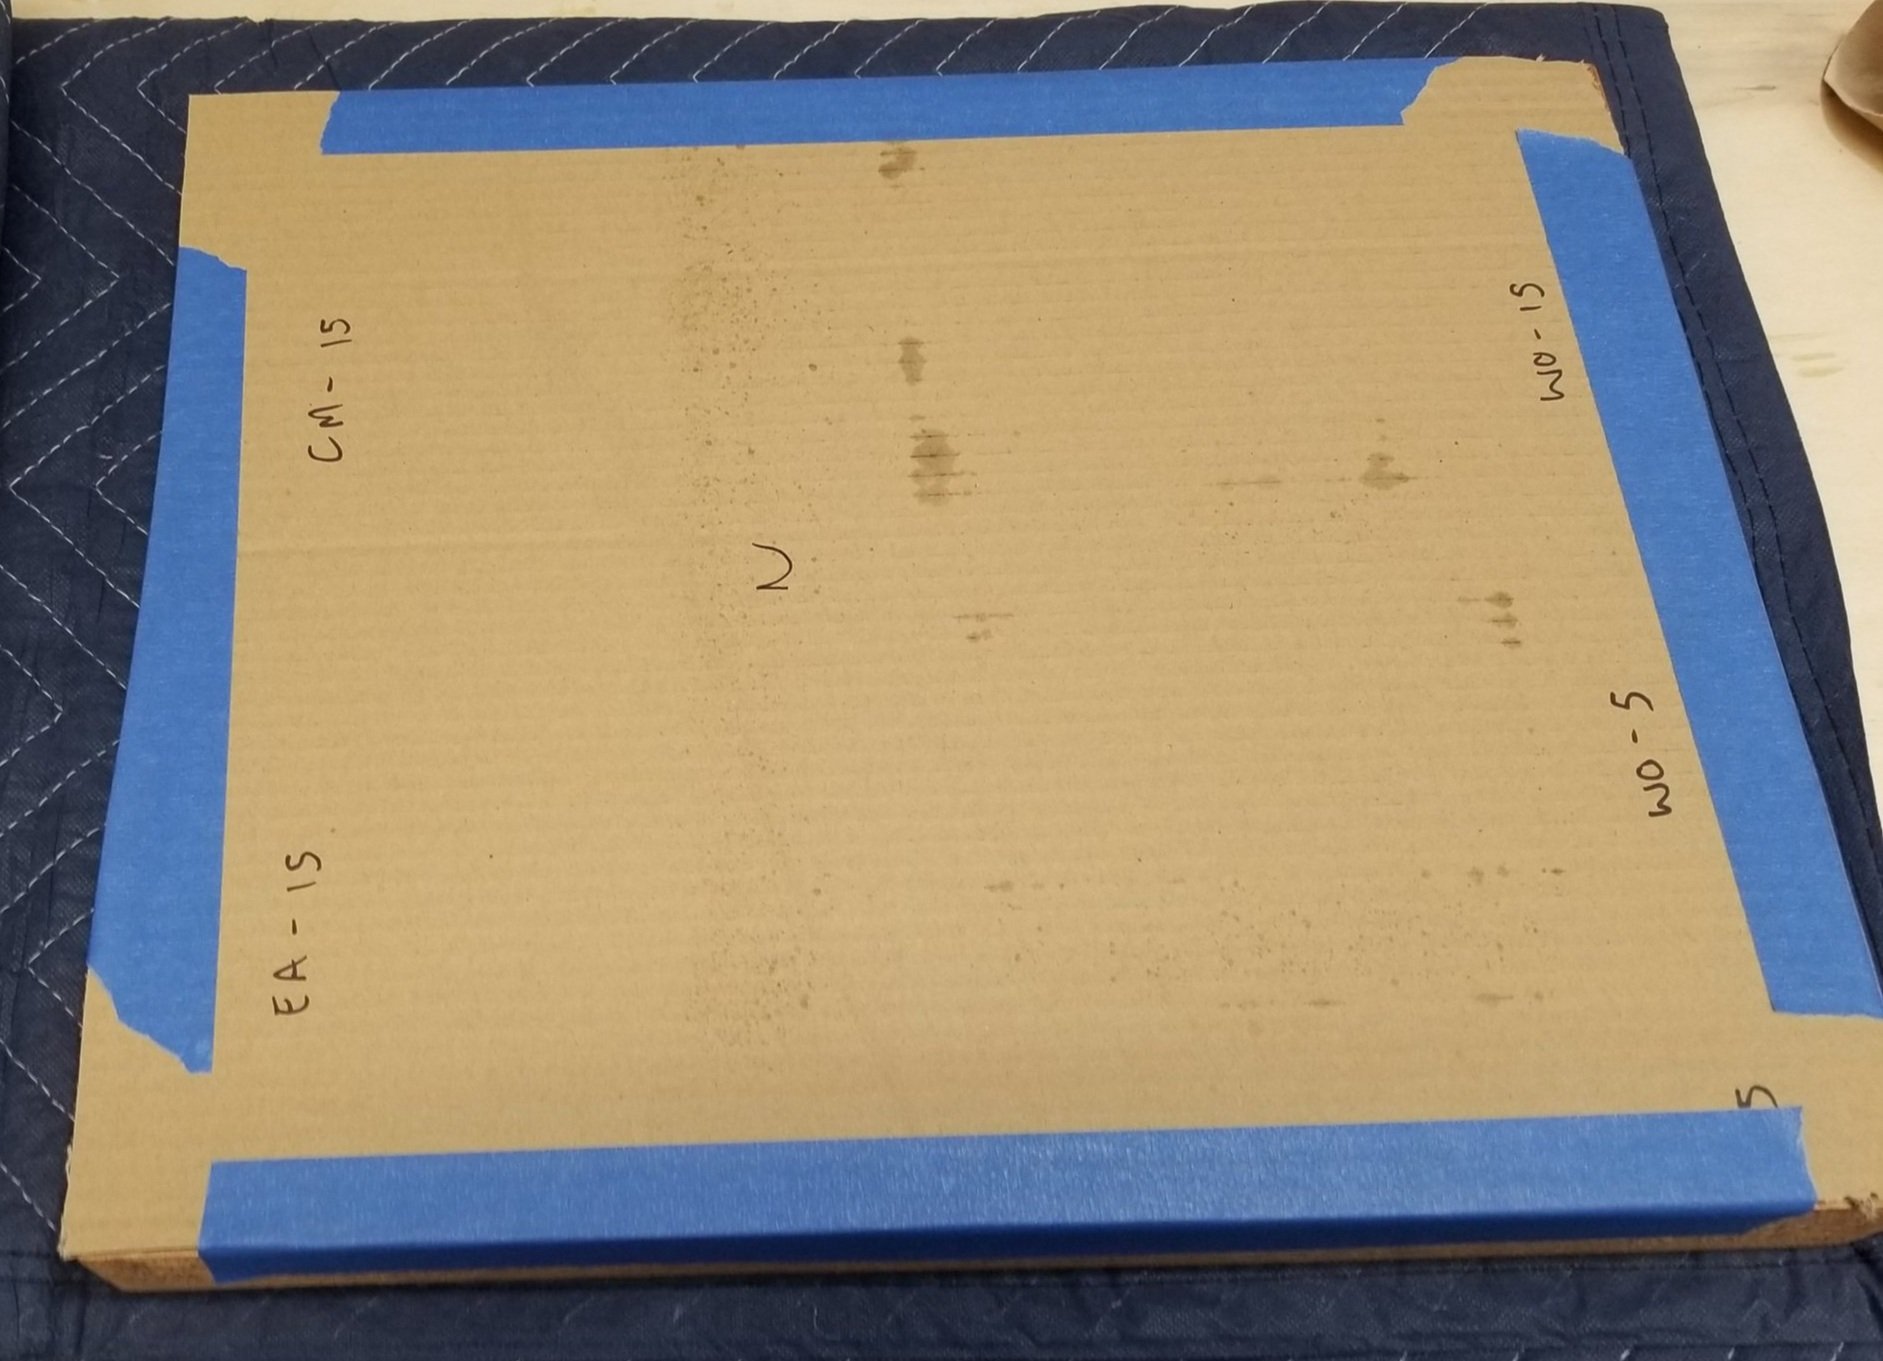
With a quick project like this, tracing out the inside of the frame on the plywood is sufficient. I took it to the table saw and cut along the pencil lines.

The goal of a picture frame is to make the photo the star. I didn't want the inner frame or backer-board to take away from the print so I taped the front and outer sides off with painters tape.
Two coats of semi-gloss black spray paint over the rear side of the mahogany cover the back and inside of the frame.

The face of the plywood backer gets the same treatment.

A small project like this doesn't need the added effort of cleaning out the HVLP sprayer. A few coats of polyurethane from the spray can does the job, sanding with 220 grit sandpaper between coats. Mahogany looks the best with a simple clear finish.


Using the drill press, counter-sunk holes are bored to attach the canvas print to the backer board.
Learning from past mistakes, I covered the print with cardboard before flipping it face down to drive screws through the frame into the canvas mount.

After attaching the frame to the plywood, 1/2" brad nails from the nail gun with a light bead of glue hold the backer-board to the frame rails.
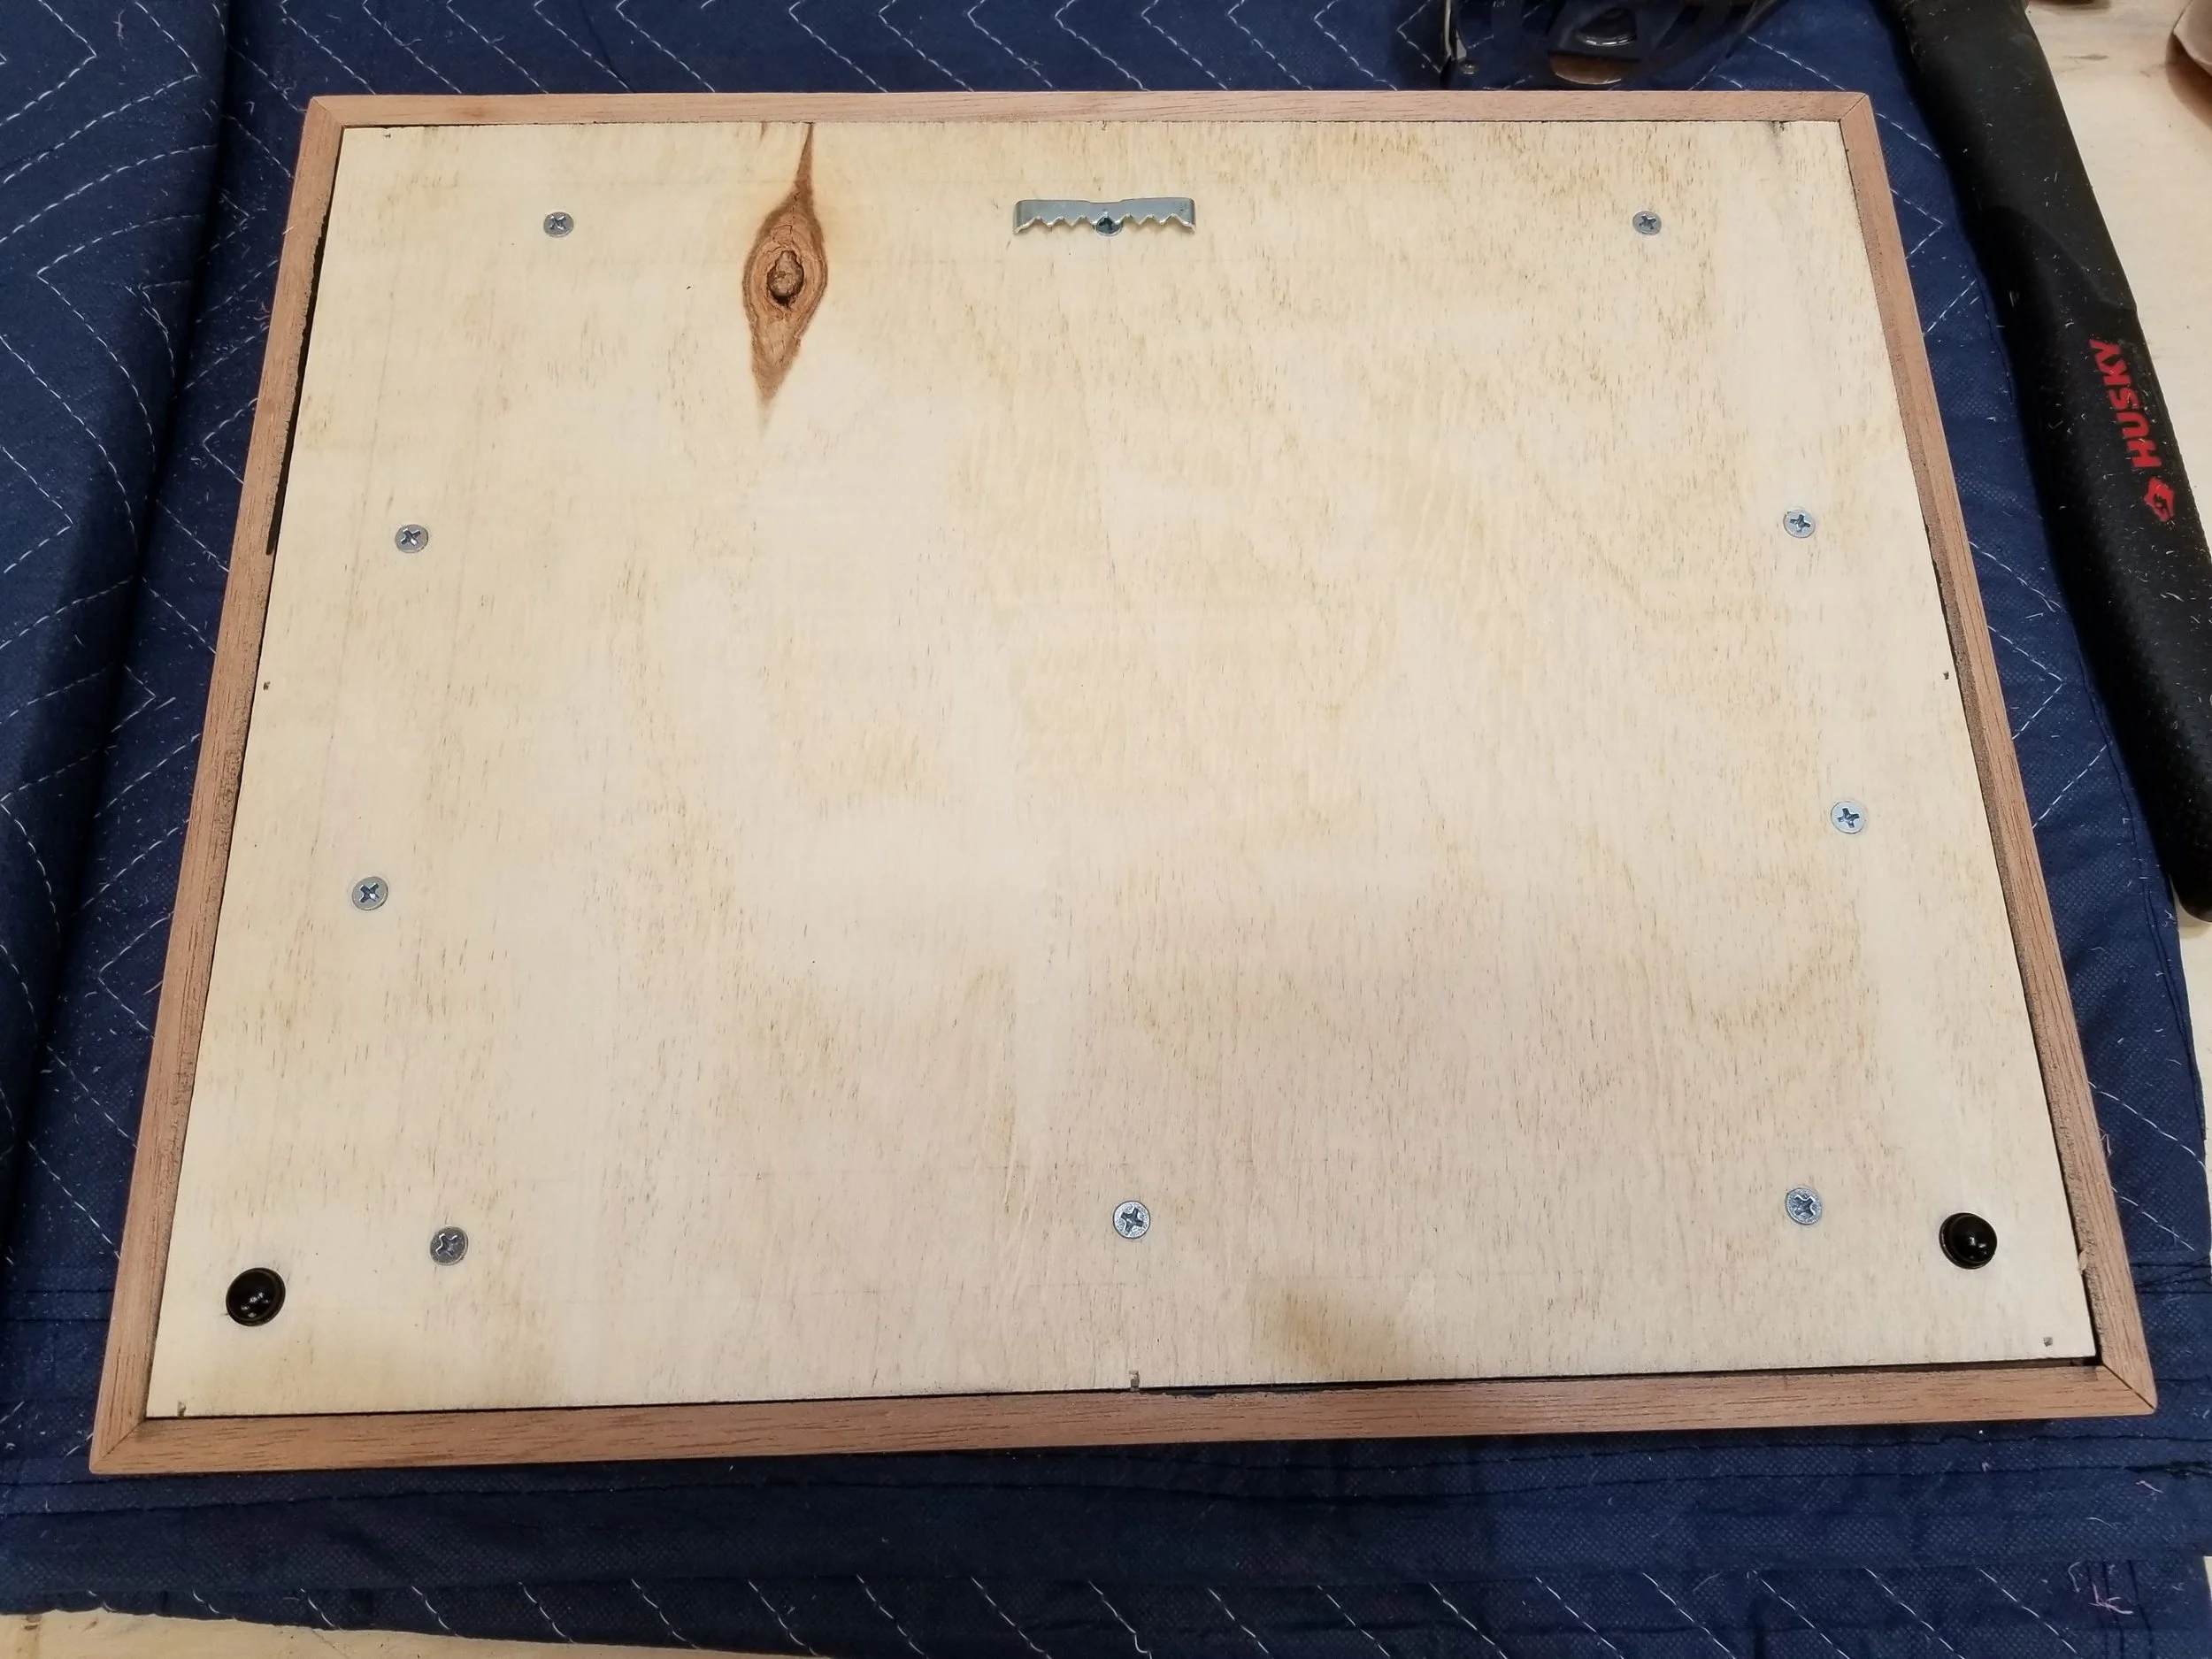
Finding the center and nailing in a picture hanger wraps up the build.
Simple projects like a photo frame are often the most rewarding. Going out in the shop with nothing but an idea and tape measure always seem to end with the most satisfying results.
Products used in this project