Brick Edging Under a Deck

Here's how the brick edging project looks after the grass has grown in and the plants in place.
I didn't get a great "before" picture, but this will have to do. The area the arrow is pointing at was originally overgrown with grass at the time of this photo. Digging the grass out of the rock just to reveal the black plastic edging and find the corner was a nightmare.
What I didn't like about this area is that the deck hung over the yard. It was really difficult to keep some of the grass alive, and nearly impossible to mow. Above the arrow and to left are the raised garden beds. Behind the daylilies lives the retaining wall project. Take a look if you haven't yet!

The first thing I did was spray paint out the area I wanted to remove. Once that was done, I drove the trailer into the back yard and got to digging. It was really easy to just pierce through the sod with a sod cutter and peel it back in large rolls. I had a few bare areas around the house where other projects had been done, so I was able to reuse some of the sod. The remainder went to the dump.
One of the best landscaping tips I ever learned was to sharpen your shovels, and sharpen them often. Shovels are meant to cut through dirt and dig into material, so I keep mine sharp as knives using an angle grinder and a metal grinding wheel.
This view shows the area under the stairs where it was difficult to mow, especially with a rider. I was always worried about launching a rock through the basement window.

When I made the run to dump the sod and dirt, I decided to also pick up the mulch for this area as well as the front of the house where the same brick edging project was done the year prior. It was actually pretty hard to get motivated to lay the brick once the project was at this point, I was teetering on that "good enough" line but in the end, I decided to brick it.
Another tip is to use a manure fork to move mulch, it's much easier than using a shovel of any type.

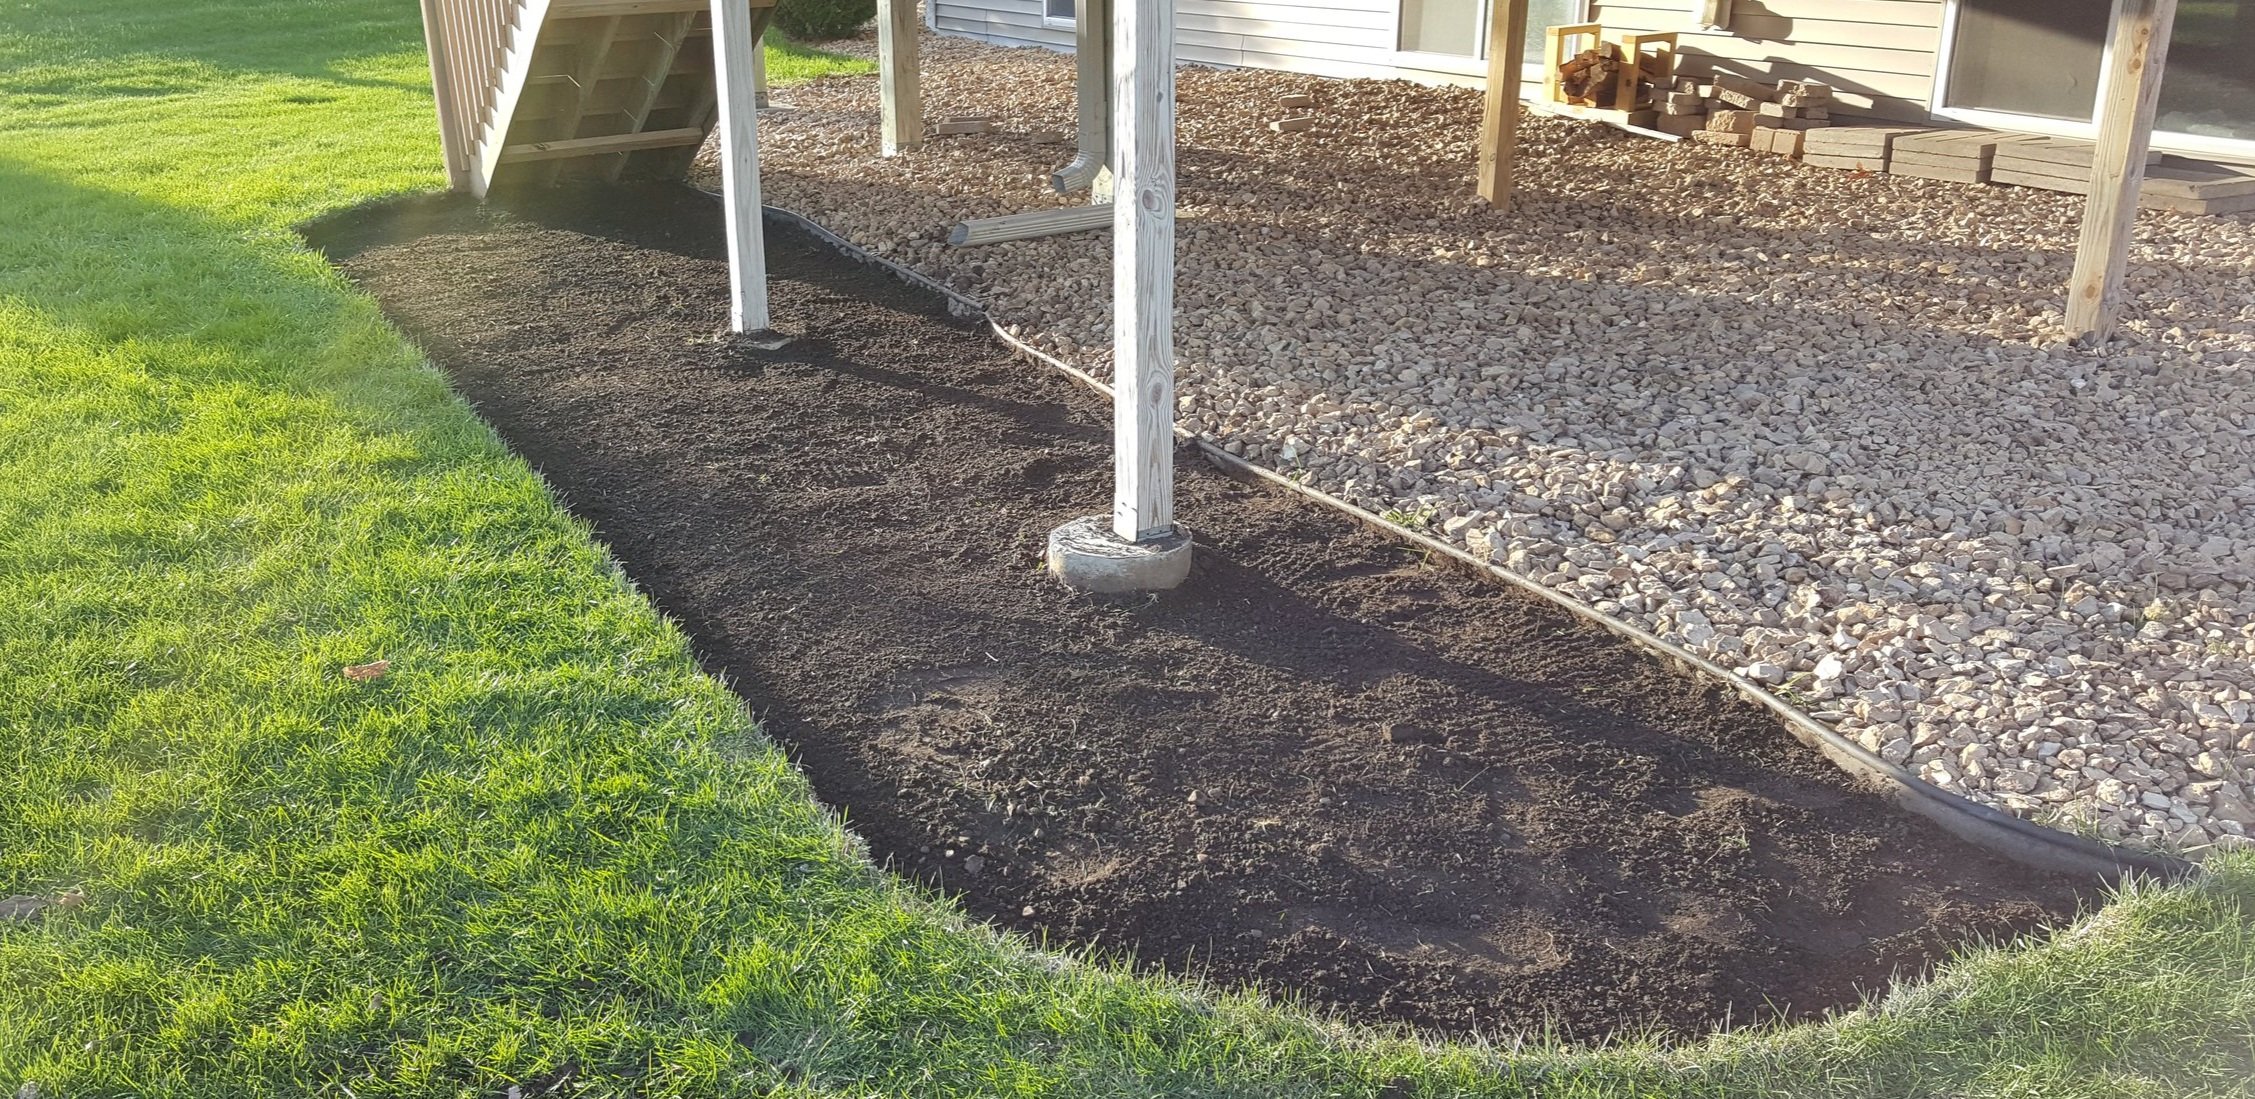
Here's the meat of the project. To lay brick edging that will not shift over the harsh MN winters and withstand years of wear, a solid a foundation must be laid. I dug out a trench below where the bottom of the brick is to be and laid at least 6" of fine sand. This sand gets compacted, then leveled, with the brick pounded into place using a rubber mallet.

It's hard to see, but just above the bricks there is a level line. I measured out from the deck posts to get a reference line, then pounded stakes at each end, running the string between the two. As I laid the bricks, I ensured each one was both straight and level.

The ground back here wasn't totally level, which I knew ahead of time, so I was able to plan for it. The bricks up by the stairs started out right at ground level, by the time they reached the far curve, they were about 3/4 of a brick above the ground.

To ensure the brick edging stays in place over the years, I pounded a clay berm against the bricks so that only the tops stick out. Over the course of the summer, whenever I had extra dirt I kept grading the corner so that you can't tell by looking that there is an elevation change.

I seeded the dirt around the brick and watered daily for weeks, keeping off of it with the mower. I have an irrigation system and was worried that it would wash the seed away, so I kept it off during this time.

By the end of the summer the plants, flowers, and grass grew in and the area looks like it really belongs. The best part about this project is I don't smash my head on the deck while mowing!
Tools used in this project