Photo Shelf

This photo shelf was a very last minute project that I decided to do with scrap wood (pine) I had laying around. We were hosting a party and wanted a quick decoration on the wall and somewhere to put a group of photos. This is what I came up with. It started as a bit of a prototype and a year later, it's still on the wall!


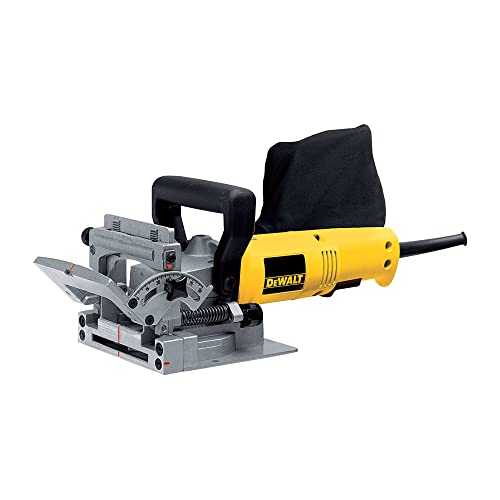
Using the table saw, I ripped the boards to width, trimmed to length with the miter saw, and added some biscuits using the biscuit joiner to join everything together. If you've read any of my other project posts, you know that I always design a project in Sketchup before attacking it. Not the case with this photo shelf. I just kind of eyeballed everything and went for it; it was very refreshing!

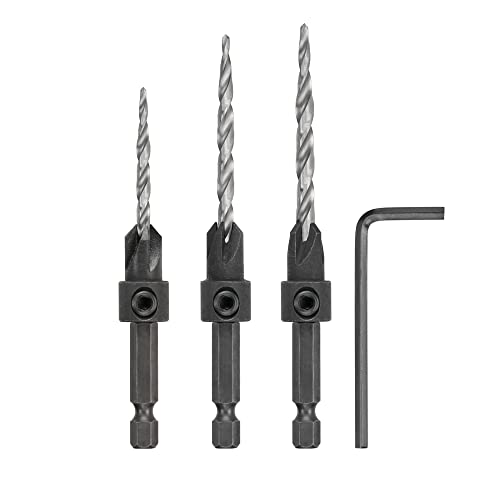
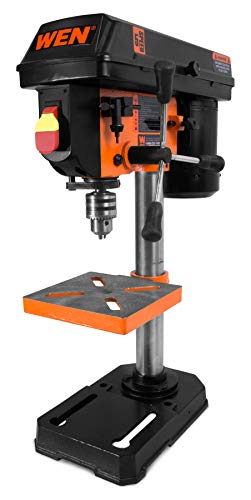
The biscuits help to align the boards together, but the real strength comes from glue. To clamp the glue quickly, I drilled some screw holes in the back of the board to accept 1 1/4" screws. Attached to the drill press is a countersink bit which ensures the screw heads are flush, or slightly inset. I set the fence up to ensure all the holes would hit the center of the board being attached.
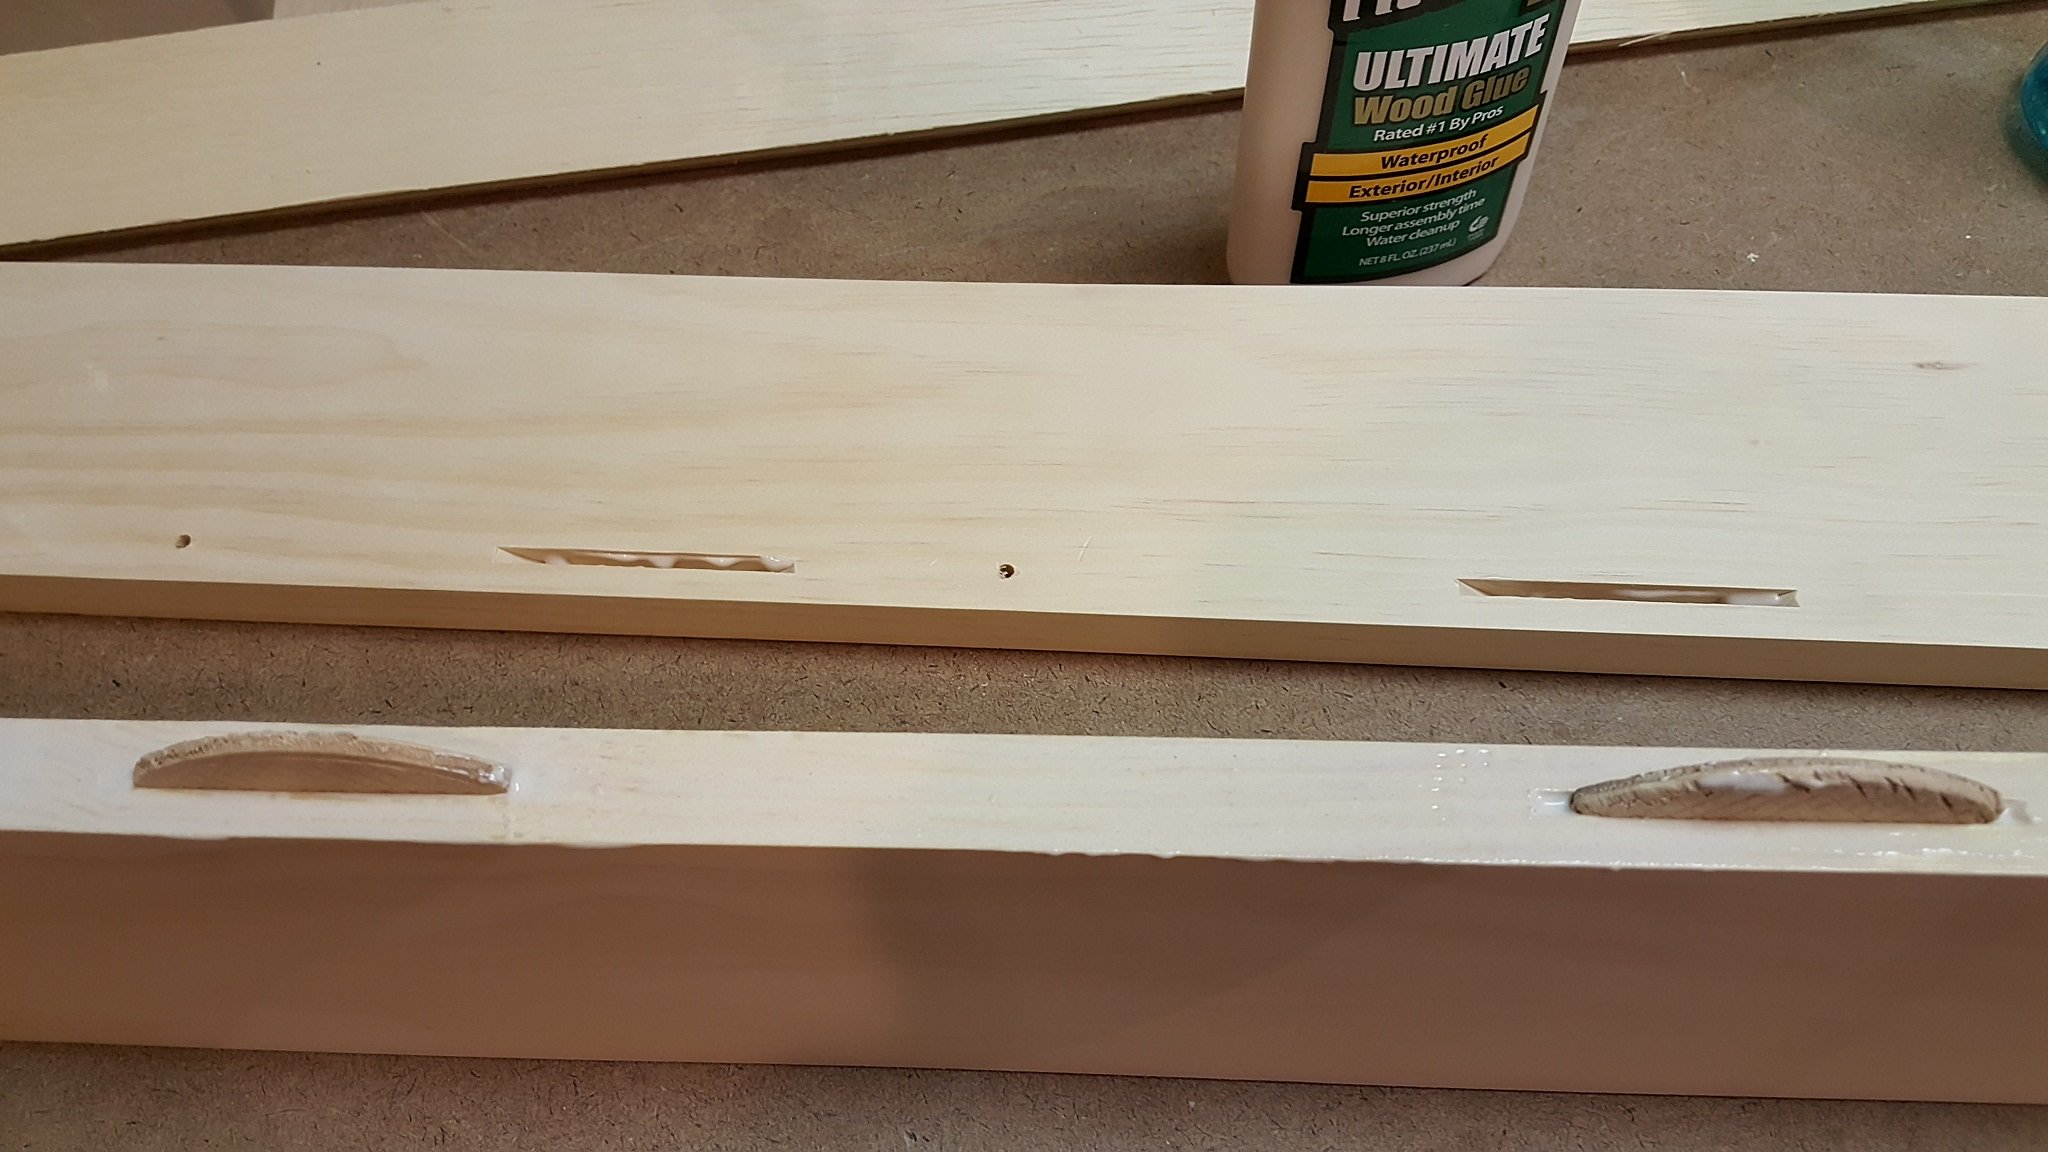
Next, I spread some glue on the edges and biscuits and attached with the screws.

I used a sanding block to soften the sharp edges.


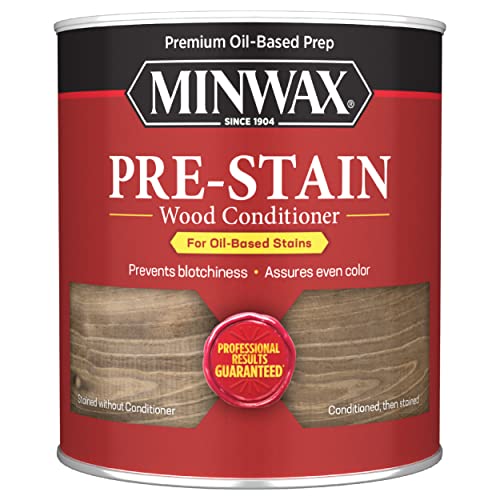
I picked a somewhat random stain off the shelf and applied it with a foam brush, after a coat of pre-stain wood conditioner. Since this project was made out of pine, the pre-stain is necessary to avoid the blotching.

As expected, even with the pre-stain, the wood came out looking terrible. Not only that, but it almost blends in with the bathroom wall paint. Lesson learned, pine is not meant to be stained for a furniture project! I've used pine a few places on random projects, but always hidden, and always painted. It just so happened to be the only wood on hand the day I decided to build this.

On the rear board of the shelf, there are screw holes that match up with the studs on the wall. I attached the shelf to the wall with some overkill 3" deck screws, because why not.
In the end, the shelf design worked out and serves its purpose. I do intend on rebuilding it with a nicer wood, or possibly painted white. If I ever get around to it, I'll be sure to update this post!
Tools and products used in this build
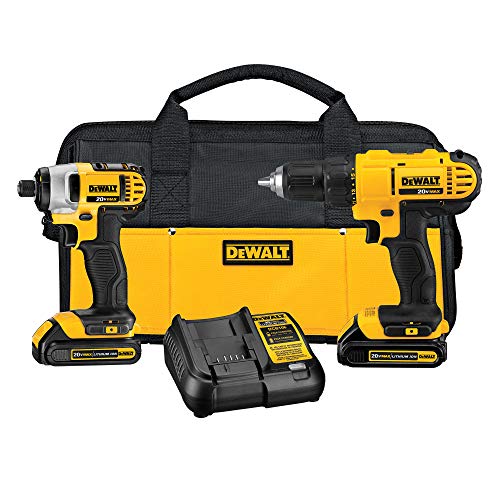
Power tools


Accessories and finishing supplies