Stool from Scrap Wood for the Shop

Often times when working on smaller projects or tedious tasks I find myself standing, hunched over my benches in an uncomfortable position. I decided I needed a stool. I found some ideas online and settled on this design, using some scrap wood and a $3 piece of 1x3. The design for this project came from woodworking and YouTuber Jay Bates.

I started off with cutting the legs to rough size and jointing one side to create a nice flush surface then ripped them down to 1 1/2" x 1 1/2" squares.

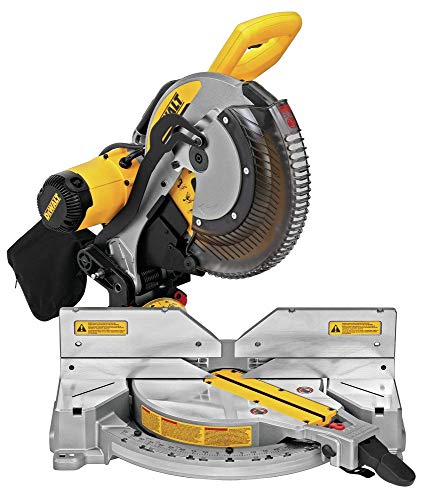
I had to make this miter saw jig to hold the legs at a 45° angle so I could cut a compound 7° end. This allows the stool to sit at an angle and lay flush on the floor.

Next I cut the 7° angles into the rails so everything sat at the proper angle. This took me awhile to figure out with so many angles and getting everything to sit flush.

I had to constantly lay every piece out to make sure I was cutting the angles on the correct sides.

I used the table saw to also cut a 7° bevel on all of the rails. I could have skipped this but it allows for everything to sit flush at the proper angle.

Once I had everything dialed in, I set up a stop block and cut the legs on the opposite end to the final equal size.

I had this old piece of wood from some previous project sitting around and figured this would be the perfect use for the stool. Right now everything is clamped in place to get sizing ideas.

Drilled two pocket holes on every rail to connect them to the legs.

Screwed the short rails in first since I wouldn't be able to fit the drill in the gap once it was put together. The clamp pictured is made specifically for pocket holes and helps to align the piece when attaching screws. It was especially helpful with these angles and complex glue ups with tight fits.

The long rails get a couple of pocket holes at the top to attach the seat at the end.


Screwing the final rail supports in place.

Seat cut down to the final size.

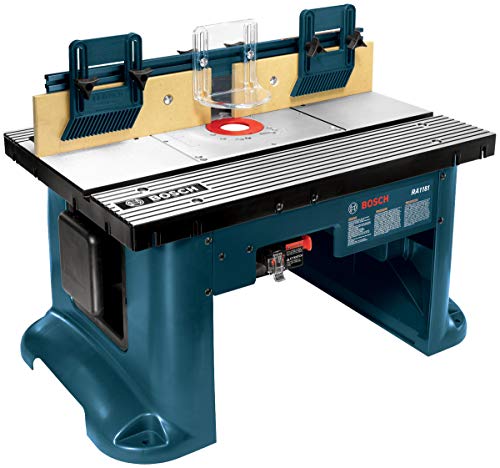
I used the router table to add a round over on the seat for some softer edges.

I was going to sand the stain off the seat at this point but decided I actually like the contrast the router revealed.

Marked out center, aligned it, and screwed it in. I didn't glue it in place in case I ever decide to swap the top out or sand it eventually.

This ended up being a great place to drink a beer while watching football in the middle of the shop as well as a place to set work pieces on it while it's stored against the wall.
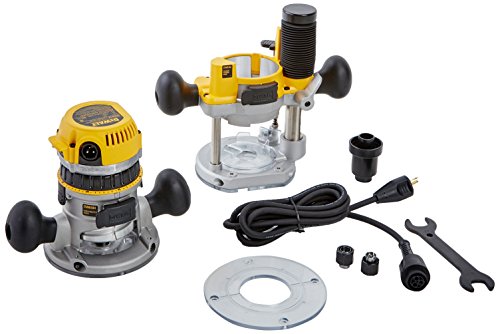
Tools used to build the stool