
Turkey Fan Mount

One of the first thoughts through my mind after bagging my first turkey this year, was "I need to mount this!". After a few searches online, I found multiple different fan mount patterns and best practices on preserving the fan and beard. Above is what I ended up with, a simple mahogany fan/beard mount combo.

There are a lot of different ideas out there on how to preserve the fan; I followed the National Wild Turkey Federation guide and am really pleased with the results. The gist is to refrigerate immediately, then trim and scrub all of the fat away from the base, followed by a camp fuel and borax bath. As pictured above, I laid out the fan with pins in a piece of cardboard and used Bondo to permanently protect and secure the fan in the exact position I wanted. I painted a bit of Bondo on the base of the beard as well, where the flesh had been. The fan never once moved after the Bondo cured.
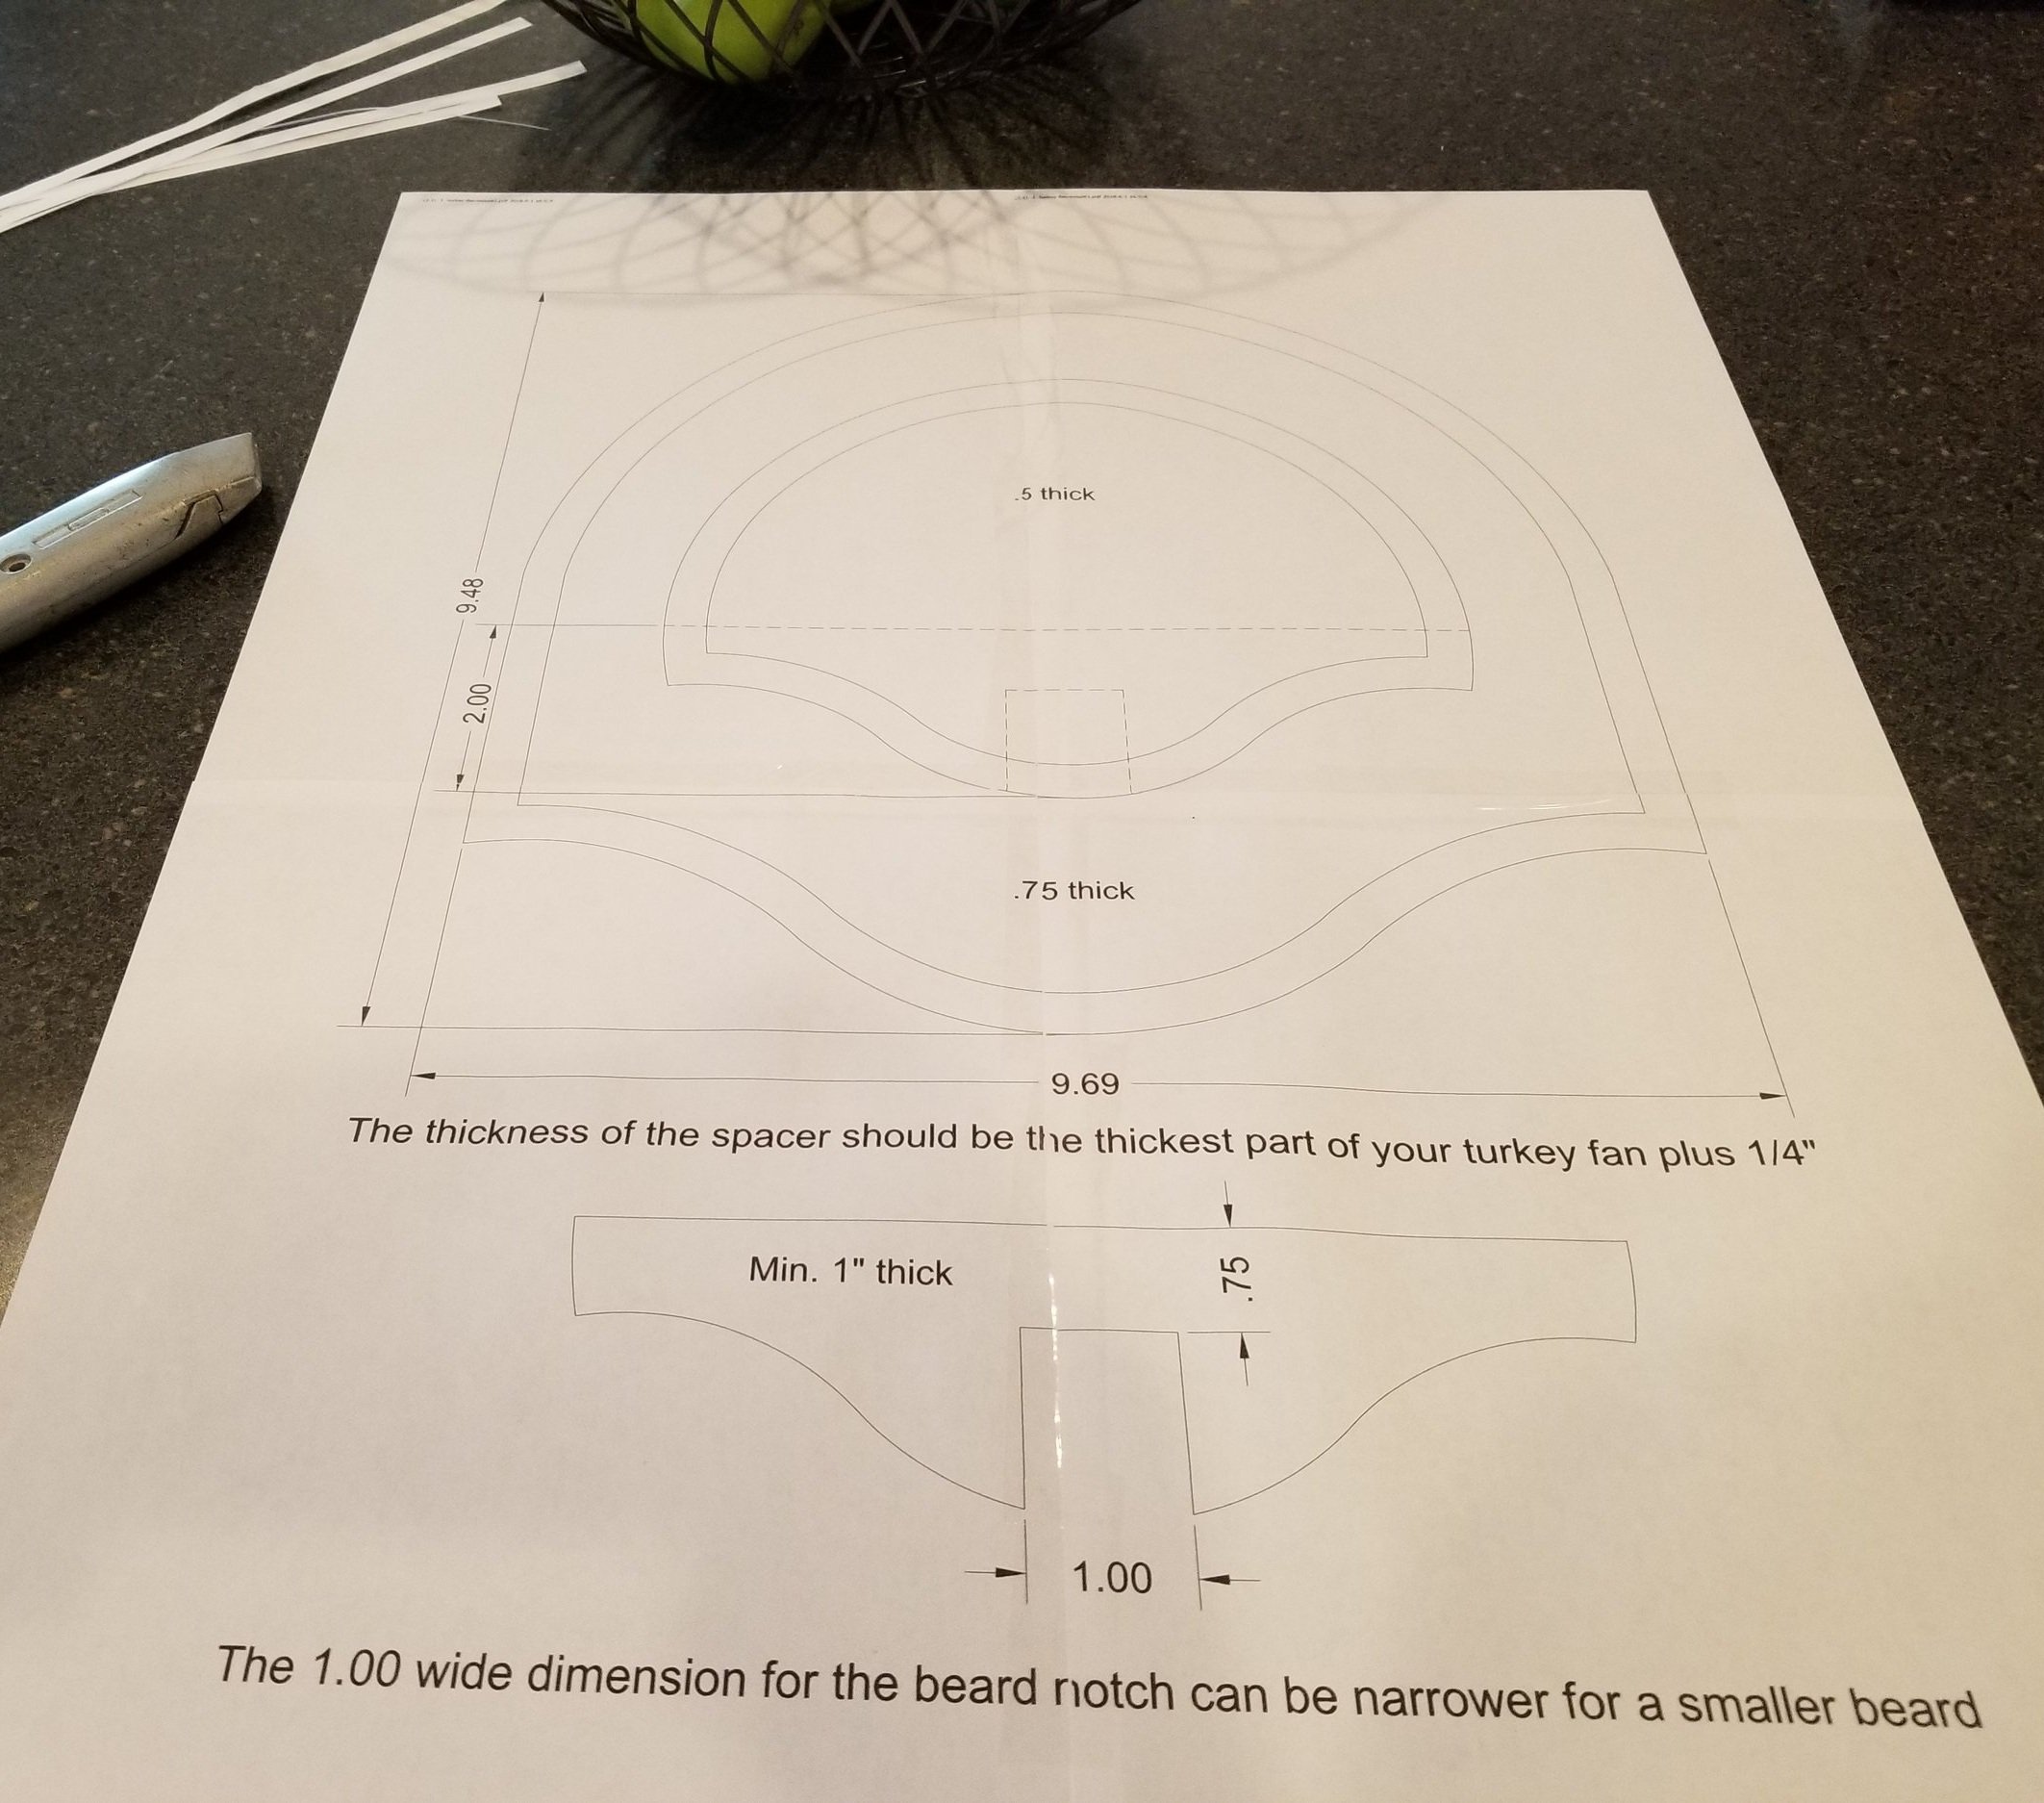
I printed a template out that I found online, changing the zoom percentage until I felt that it matched my fan properly. I believe I ended up around 125%. Note: this is four sheets taped together.
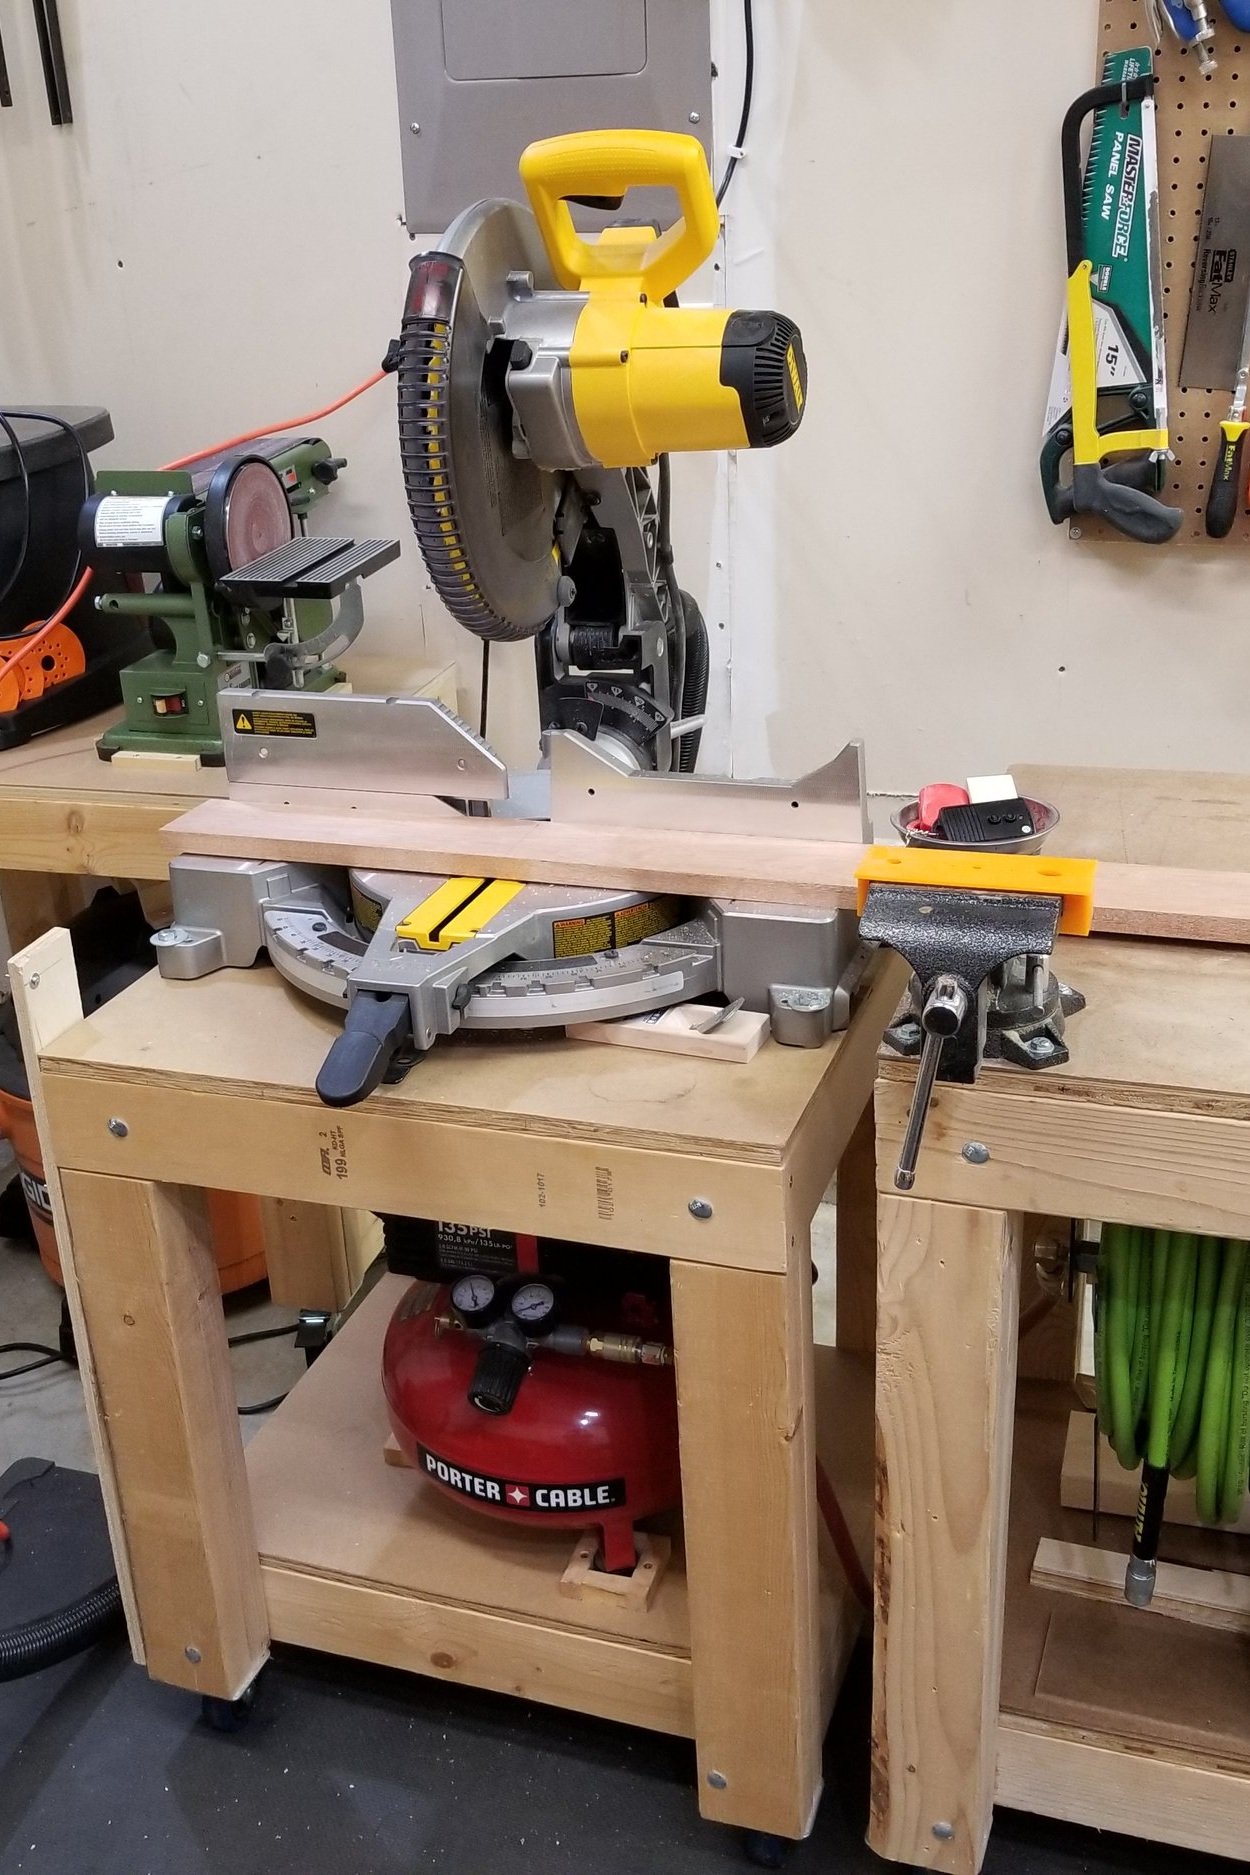
Once I knew the rough sizes of my pieces, I cut them close to length on the miter saw. The exact dimension doesn't matter at this point, since they'll be joined and eventually trimmed on the band saw.

I used the biscuit joiner to help line the boards up while gluing. Above is the larger of the pieces, which is three 3 1/2" boards joined on edge. Full disclosure, I made a full practice mount of cheap pine to make sure this would all work out. During that test piece, I had randomly placed the biscuits without much thought. When it came time to cut the pattern out, I cut right through the middle of a biscuit, which made for a sloppy looking piece. Lay the template over the boards and mark out where the biscuits will fit before joining! I repeated this same process for the "front plate" of the mount.

The piece between the two plates needs to be the thickness of the fan itself, which in my case was about an 1 1/4". A standard dimensional board is 3/4" of an inch, so I needed to face join two boards with glue to get up to that dimension.

Four bar clamps are used to glue both of the face plates together at the same time. The top three boards are the rear plate, the bottom three are the front plate. The scrap pieces of wood on the front are acting as cauls to prevent marring the wood with the metal clamps. In the foreground is the spacer being face glued.
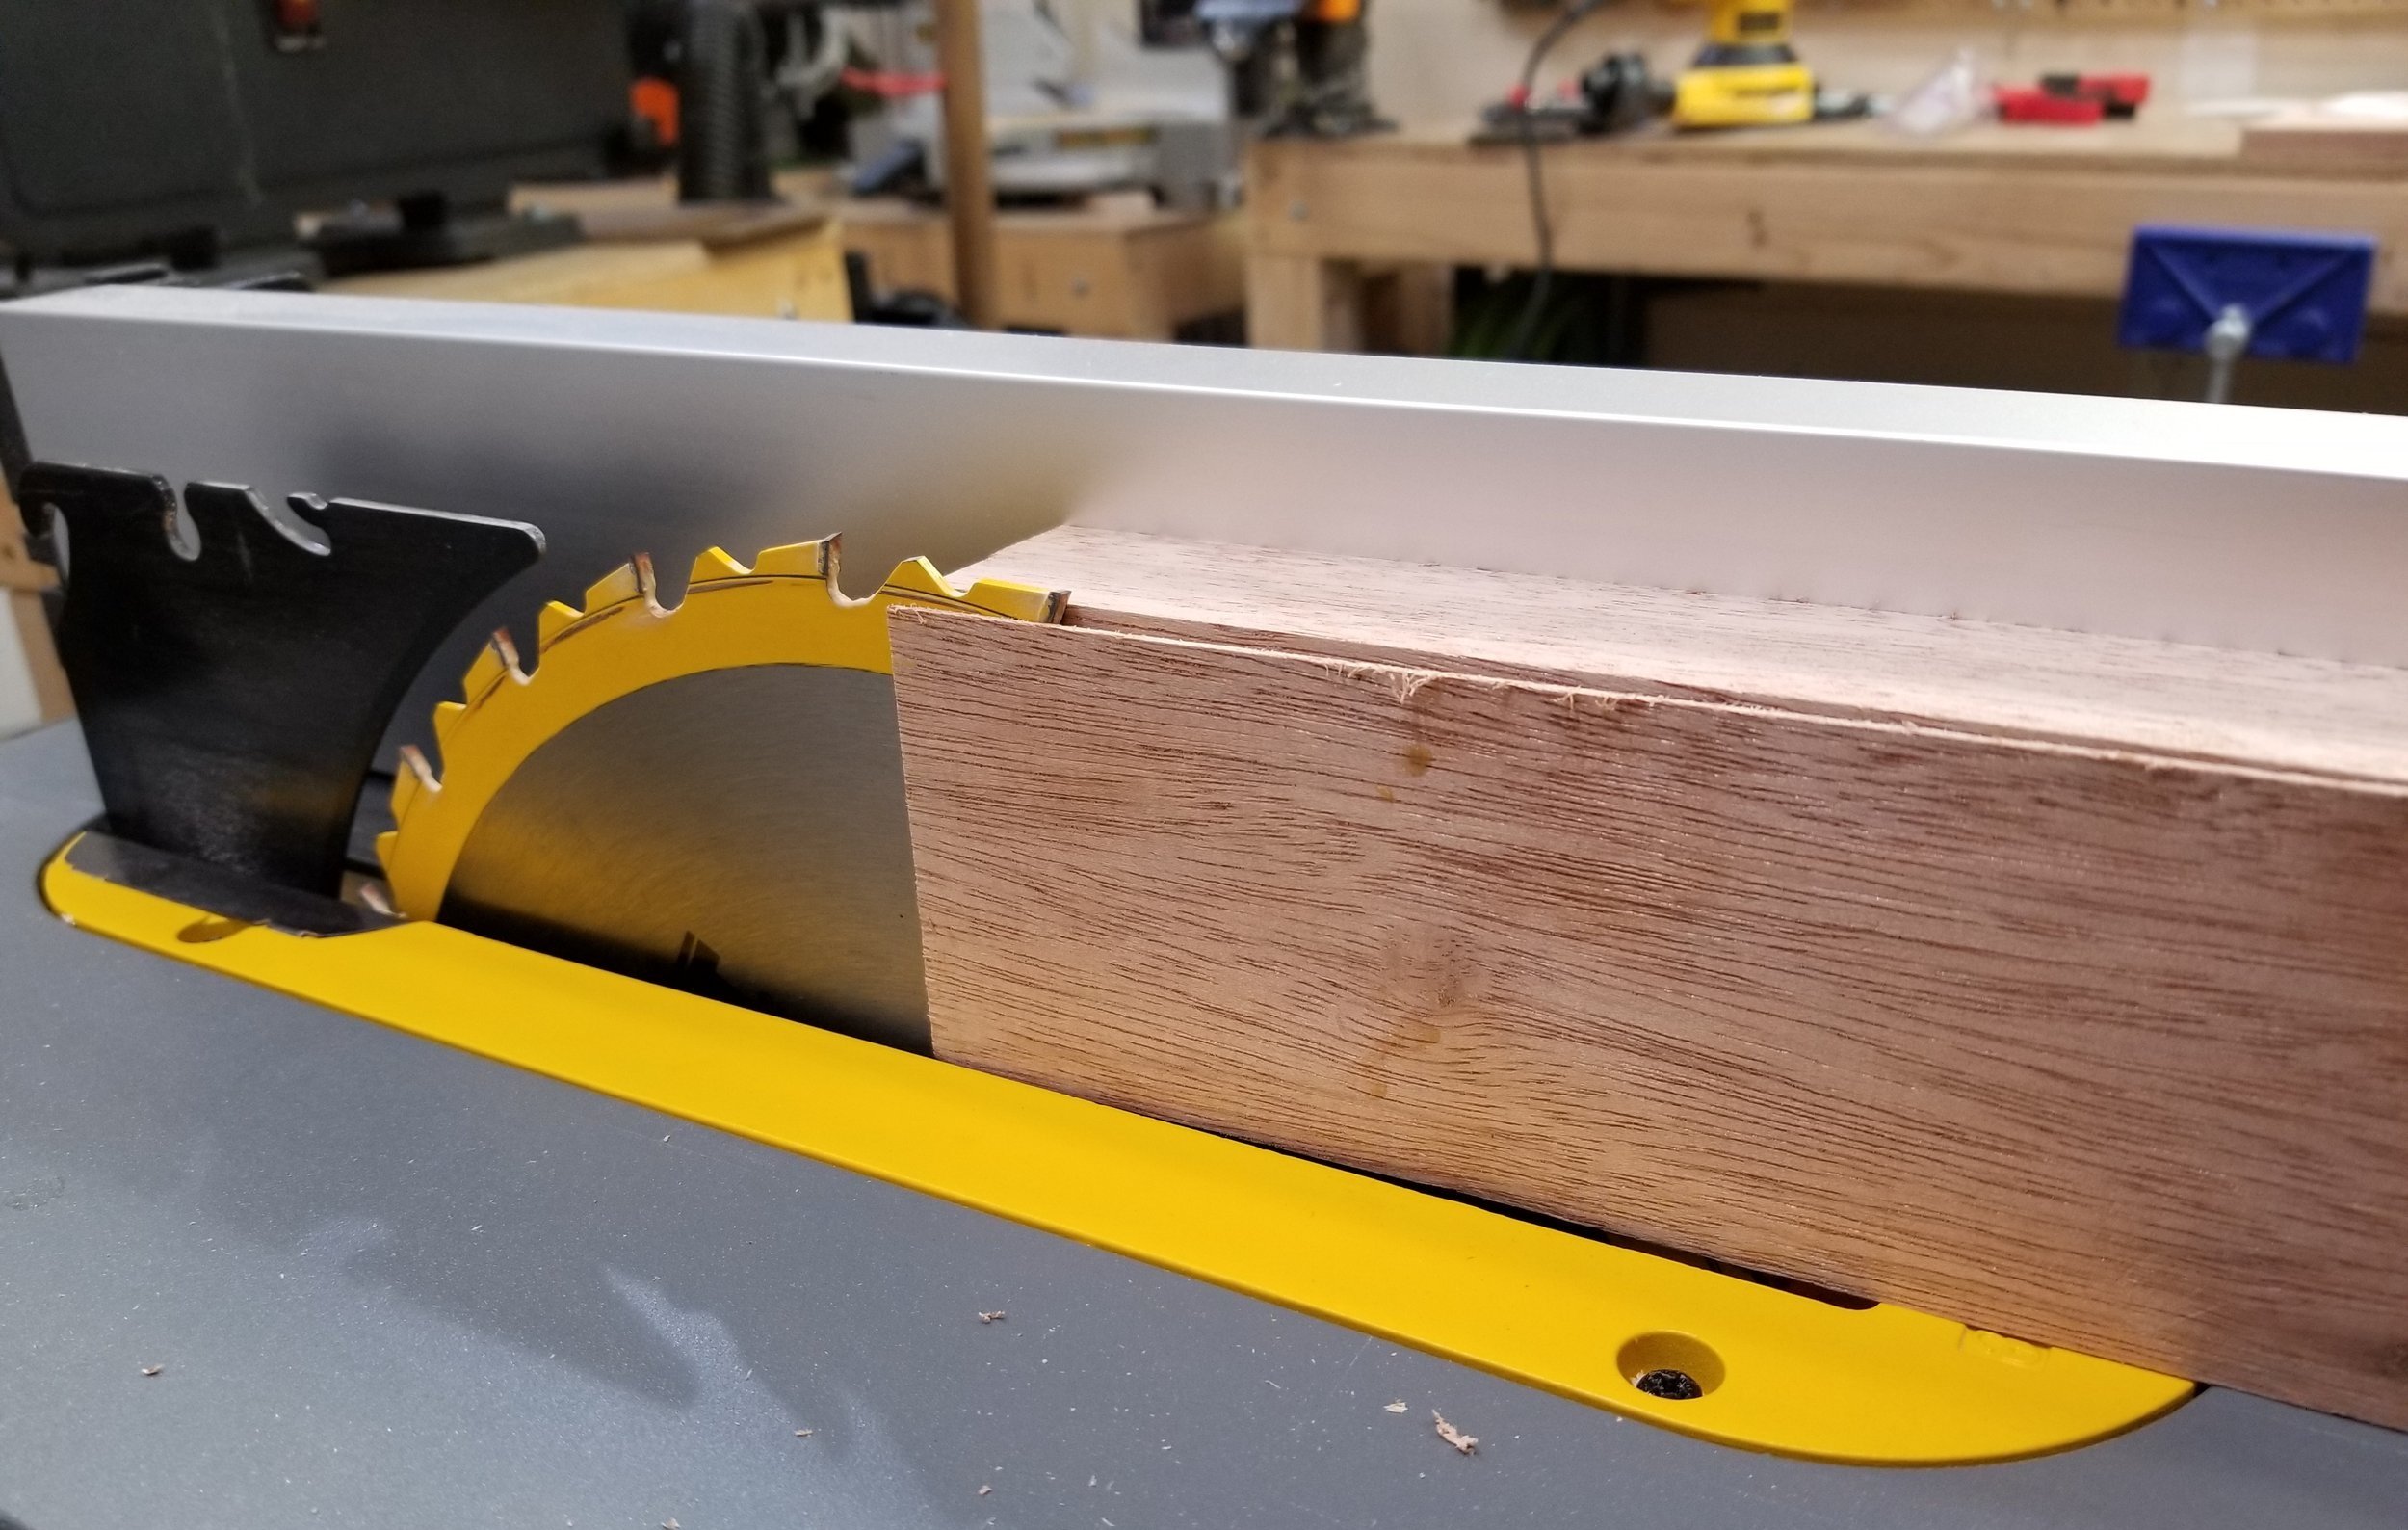
3/4" + 3/4" = 1 1/2", so I needed to shave a bit off the thickness of my newly joined boards on the table saw, bringing it down to the 1 1/4" size of my turkey fan.

Using double sided tape, I affixed the templates to their respective pieces. In the past, I have used spray adhesive, glue sticks, and even wood glue to do this, but it always ends up being a cleanup nightmare. Double sided tape is the way to go.

I marked out where the holes would need to be to attach the spacer to the front face, keeping in mind that screws will also be driven into this piece from behind, to hold it to the rear face. Using a counter sink bit in the drill press ensures the screw head stays below the surface of the wood.

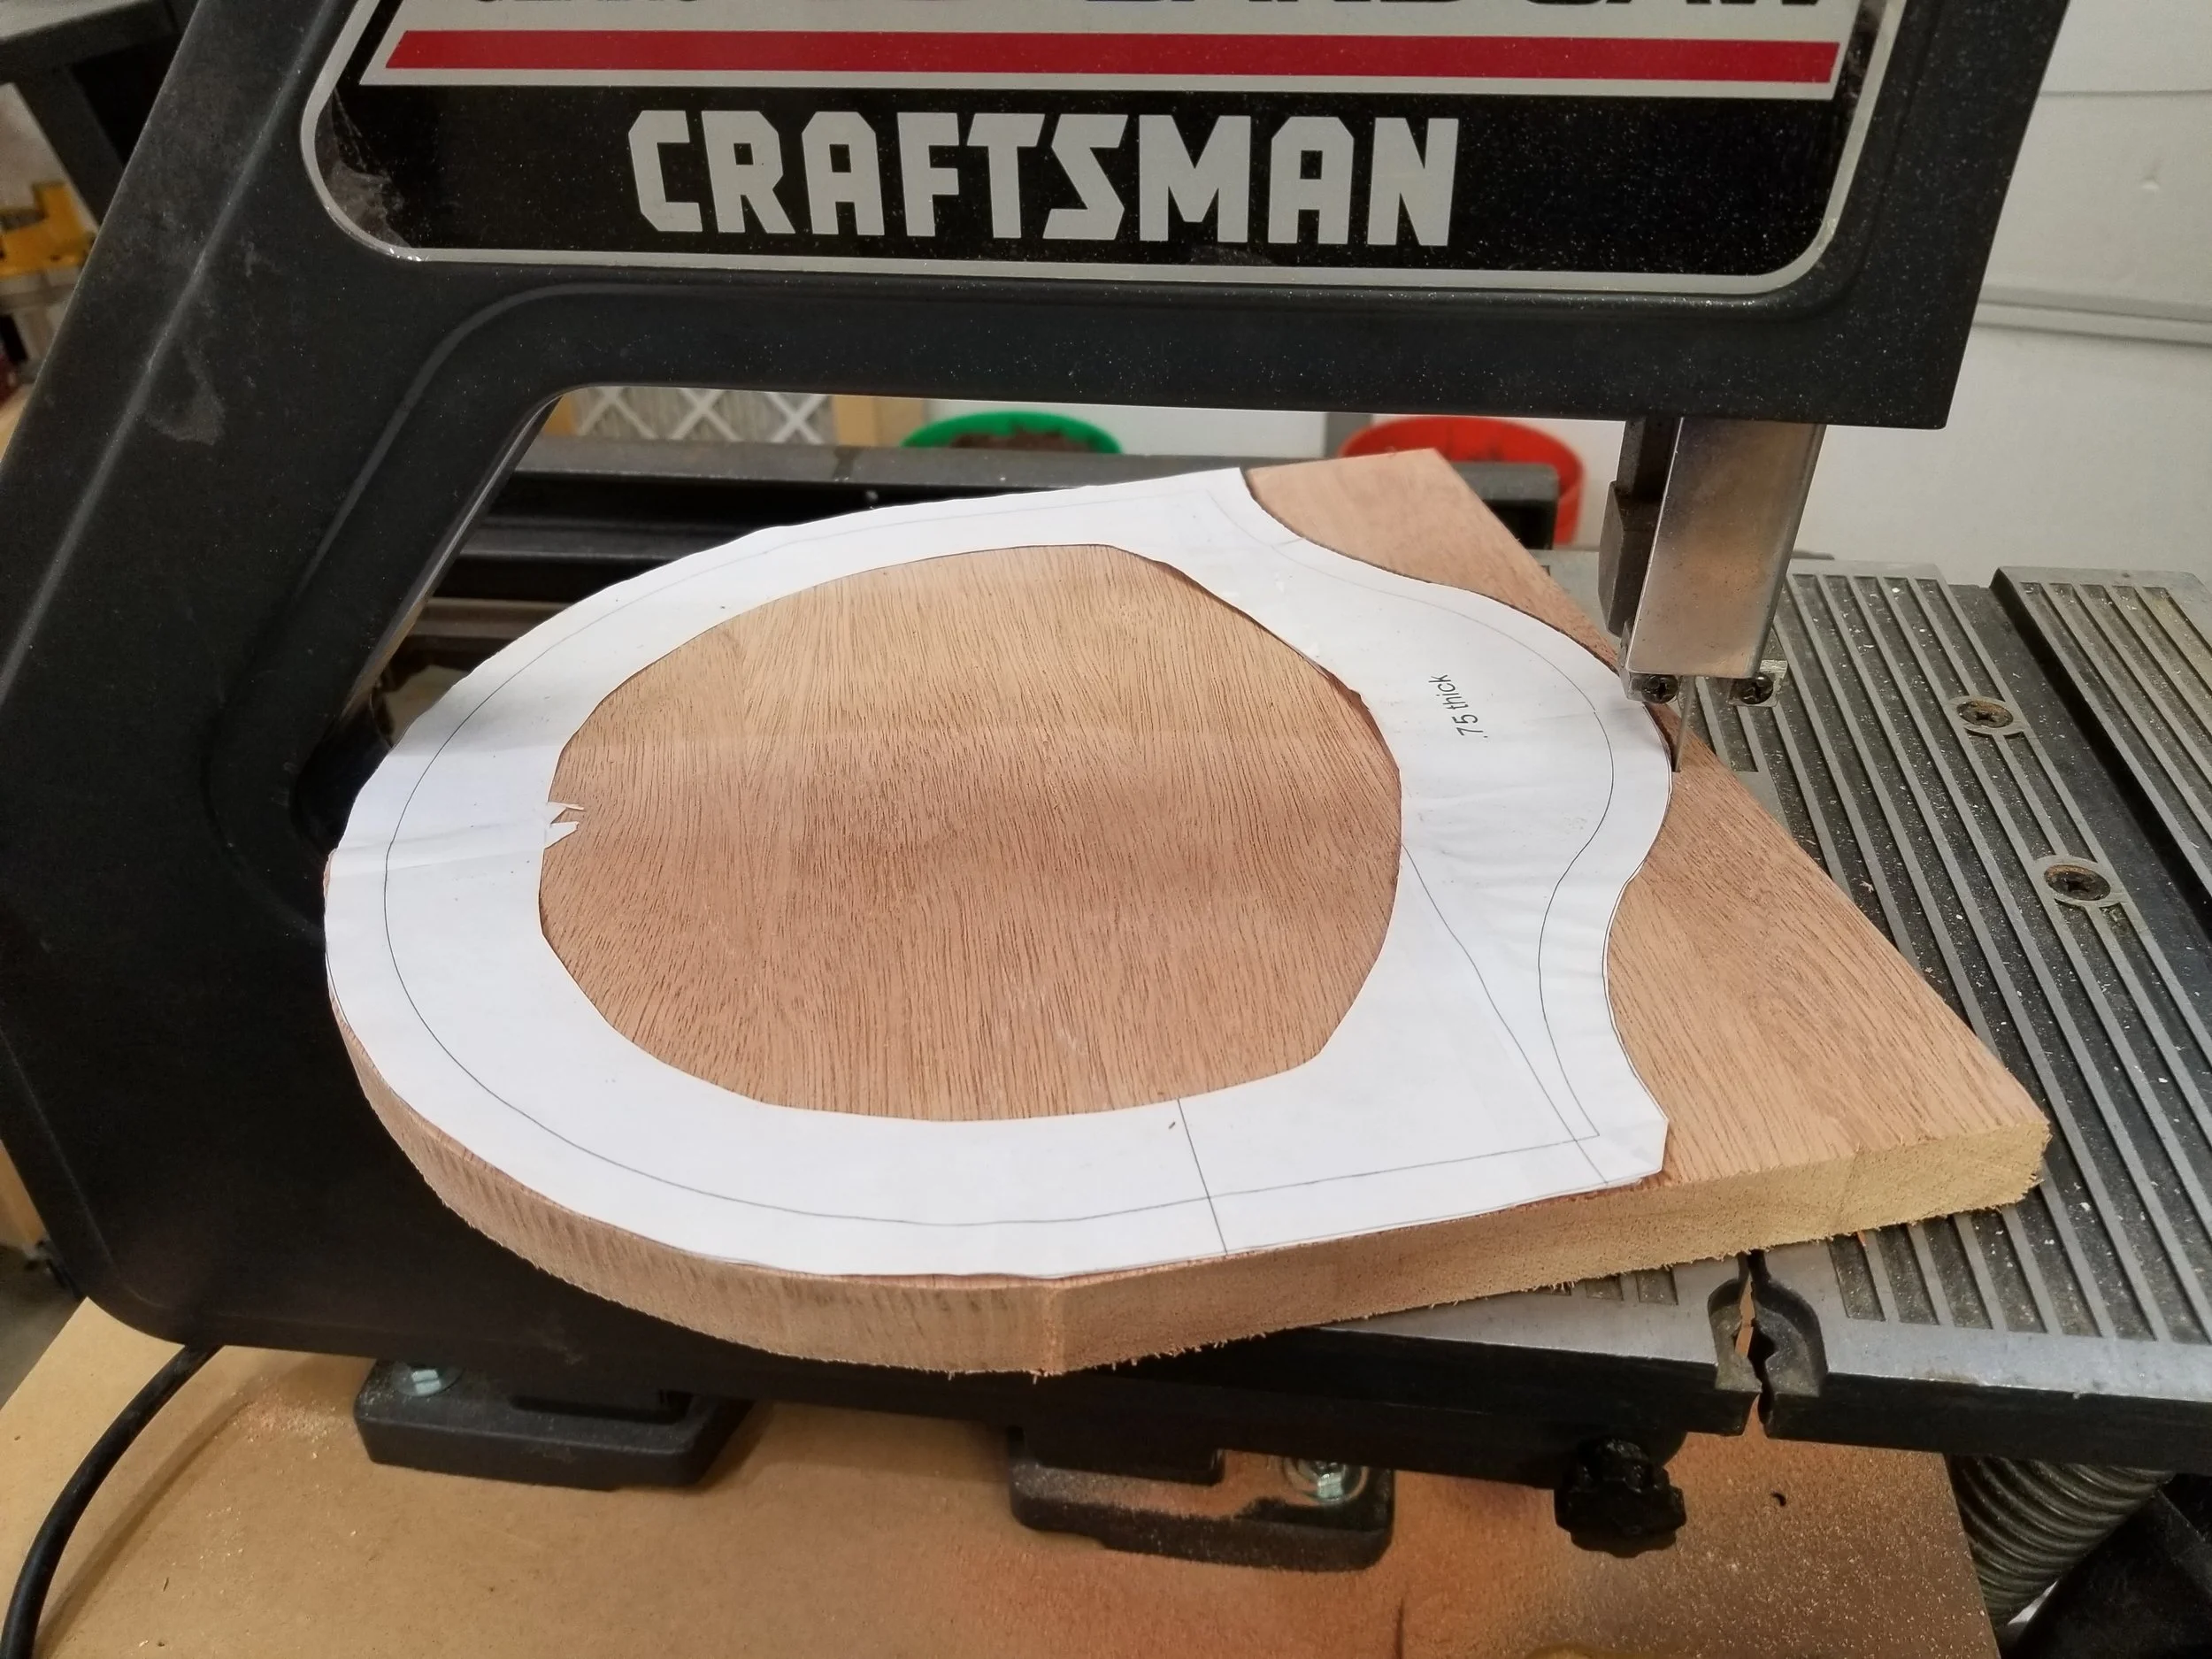
I used the band saw to cut within a 1/16" of the paper template. This was actually the last cut I ever made on that saw. I picked it up on Craigslist for $40 and after using it for a couple of months the plastic flywheel split in two. I was able to epoxy it back together and get a little more use out of it, but I have since replaced it. I've found time and time again that quality tools make woodworking so much more safe and enjoyable. This old saw was a regrettable experience to say the least.


Here you can see the spacer attached to the front face. Doing so before sanding allows the two pieces to look like one smooth surface.
I took advantage of the nice weather and rolled my sanding cart out to the driveway and sanded the pieces smooth, right up to the line. The spindle sander was used for inner curves, disc sander for outer curves. These beasts really stir up a dust storm, even with the shop vac hooked up and air cleaner running. It was nice to keep that sawdust outside.

I used a roman ogee bit in the router table to give the forward facing edges a dressed up look. Be sure to do this step before attaching the front and back together (another mistake I made in my test piece).

Next up, the beard slot. I found the center of the spacer and clamped two rails on the router table, at 90° angles, with enough room to slide the mount between the two. Affixed in the router is a 3/4" straight bit, which is the same width as my beard.
I took multiple passes, increasing the height about 1/8" until I hit my mark of about 1", which is the height of my beard.

I was terrified of tear out with this step, but it came out very well. Having to figure this step out with the practice pine payed off.


Before attaching the rear to the spacer, I marked out the rough area around a saw tooth picture hanger. This will need to be inset so that it doesn't cause the turkey mount to protrude from the wall when mounted.
It's a bit hard to see, but I flipped my plunge router upside down, with a 1/2" straight bit in, and set the depth to just over the height of the saw tooth hanger.

I clamped a straight edge on, set the proper distance away from the area to be removed. One pass with the plunge router digs out the channel for the hanging hook.
I find spray polyurethane to be much easier to use than the brush on or even wipe on counterparts, especially for a small project like this. I gave the turkey mount 3-4 coats, sanding very lightly with 220 grit sandpaper in between.

Before spraying the rear panel, I taped off the area where the glue would be applied.
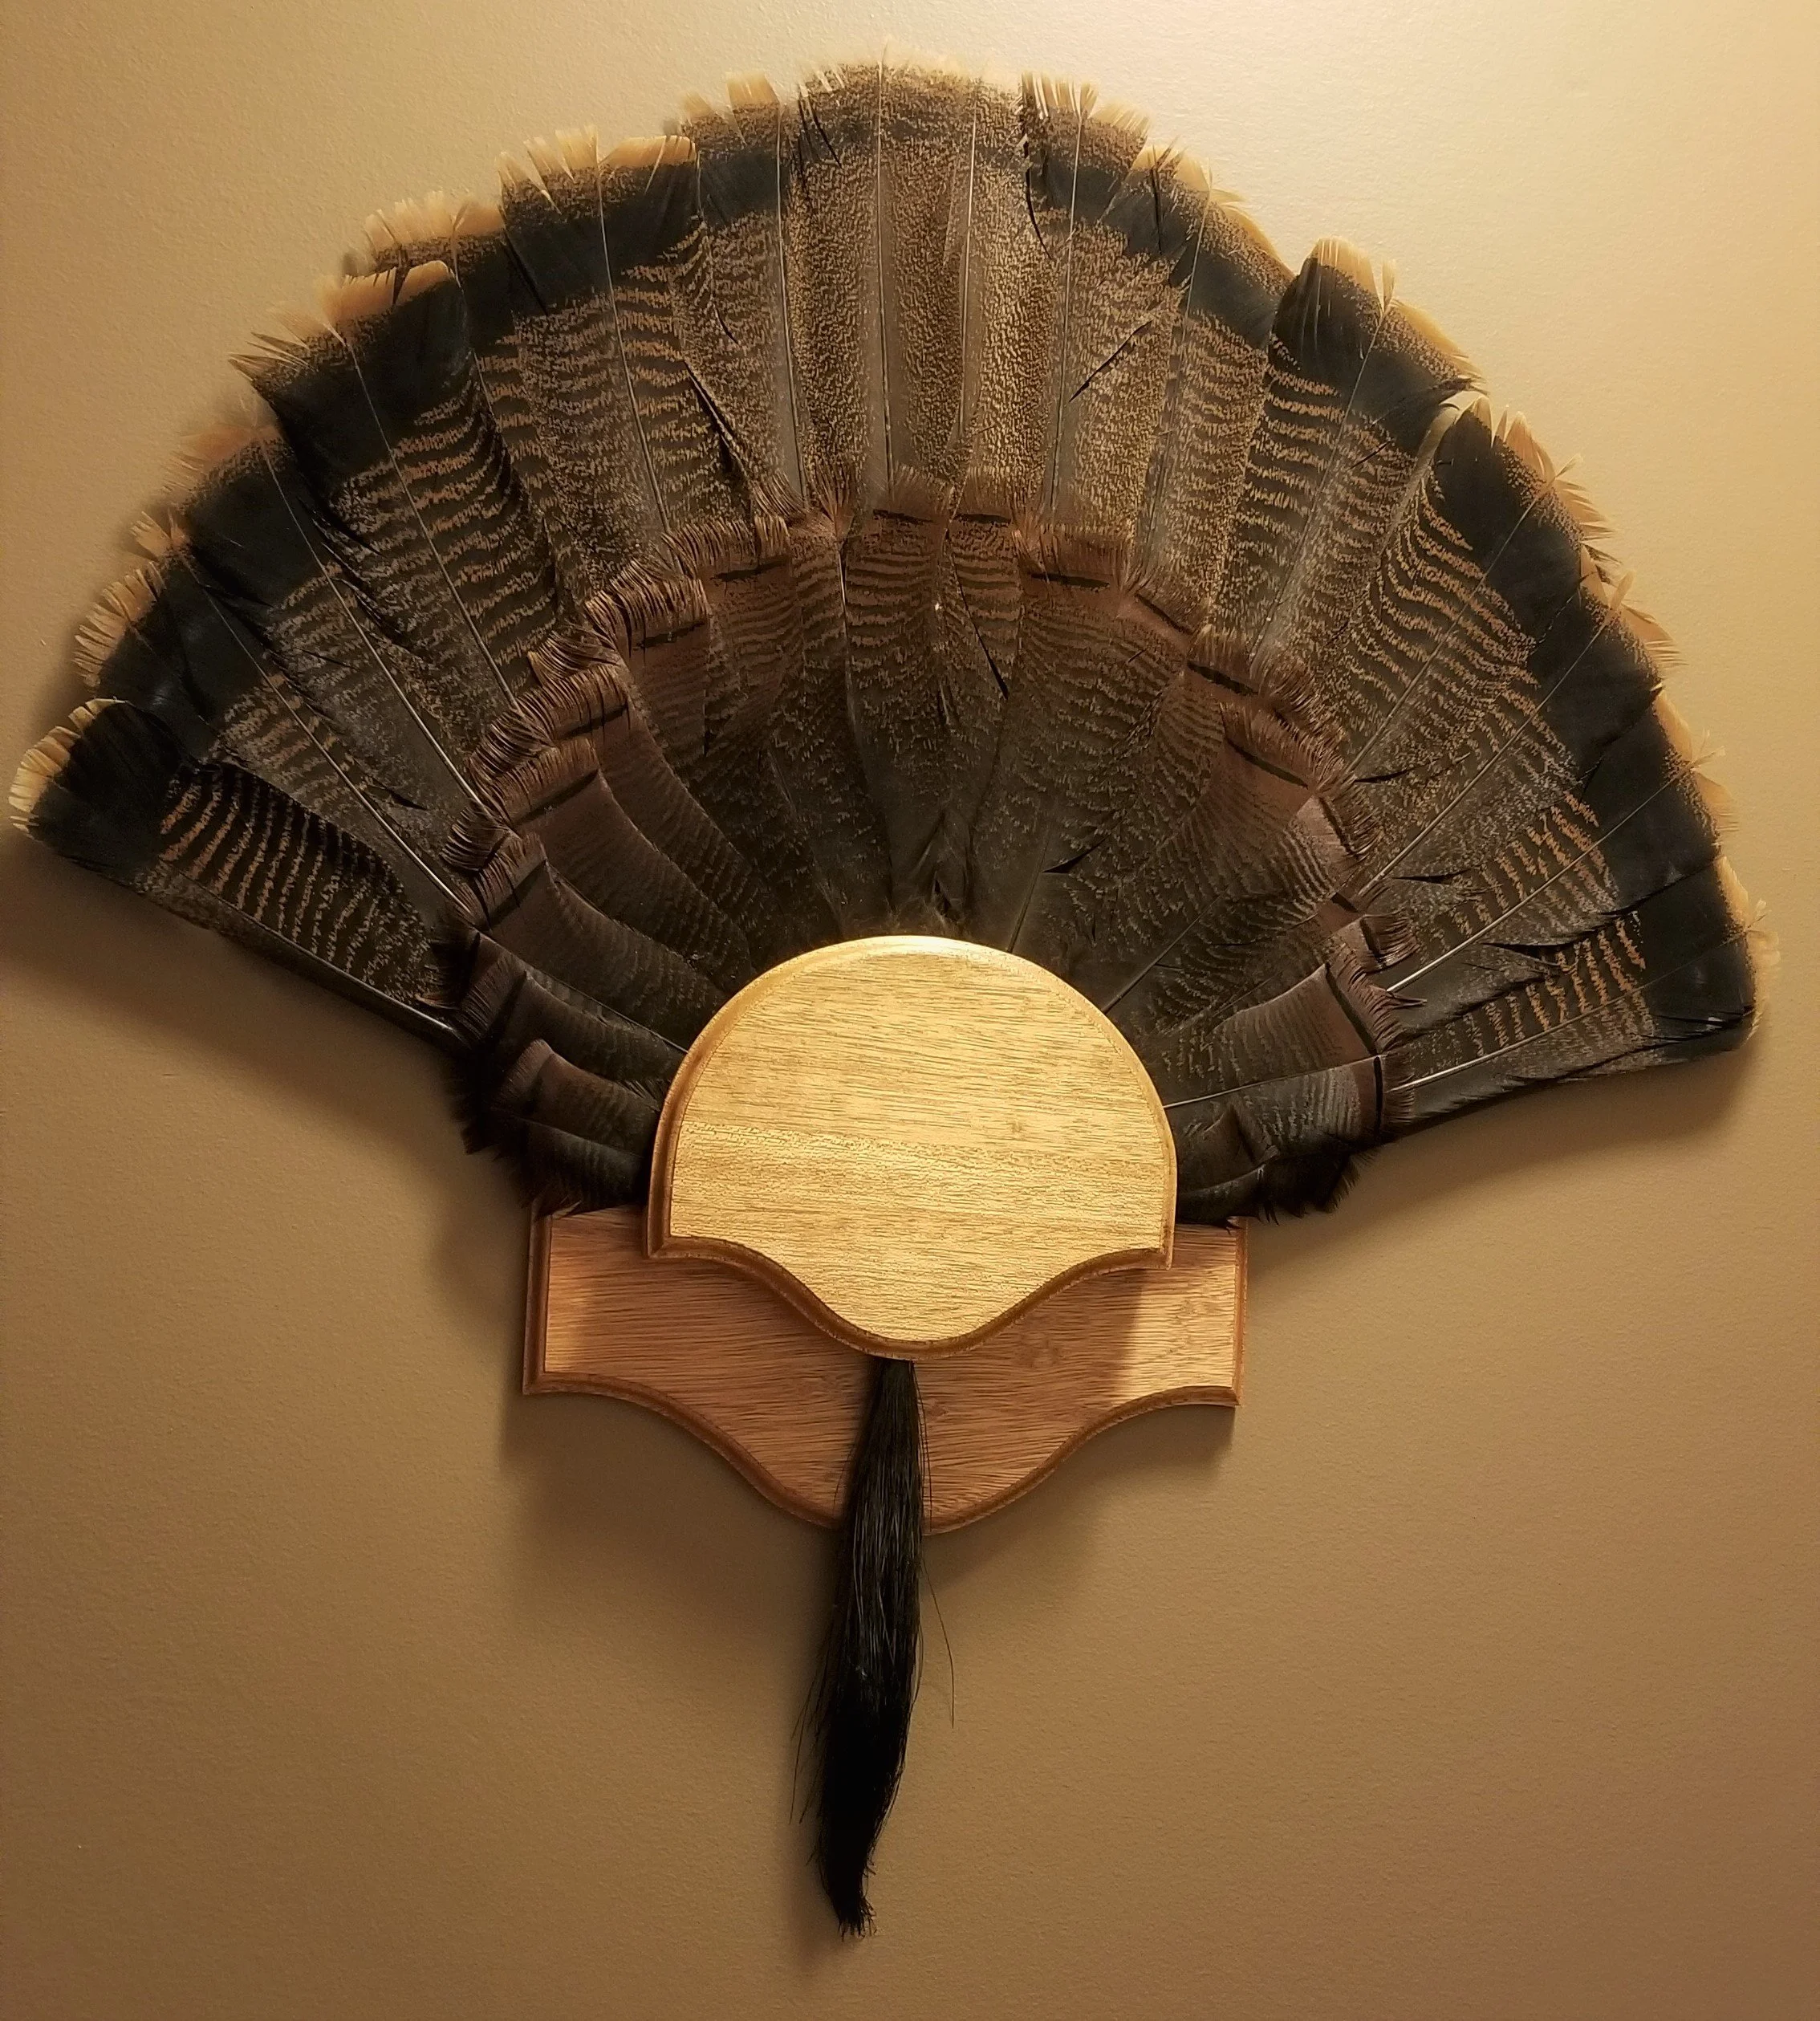
The two pieces were glued and screwed together and the fan was hung on a single nail. I'm really happy with this project and hope you enjoyed reading!
Products used in this build
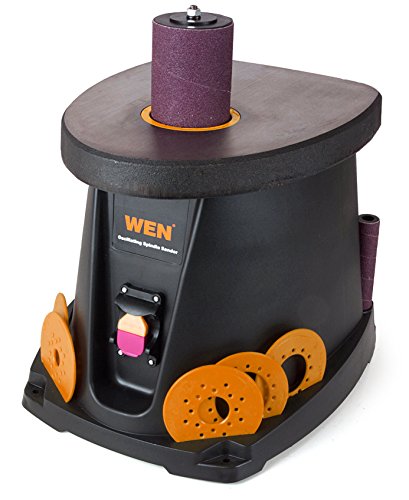
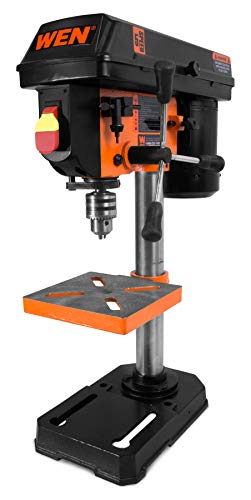
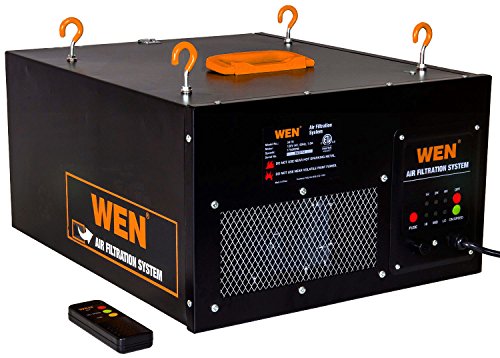
Power tools and accessories


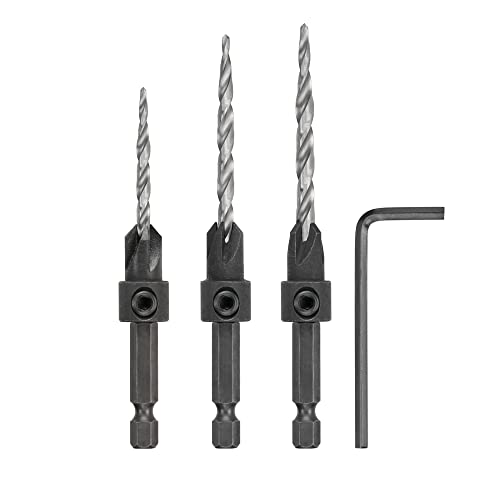
Project specific items


