Retaining Wall

The area behind the third stall garage always seemed.. lacking. What better way to spruce it up then a back breaking retaining wall!

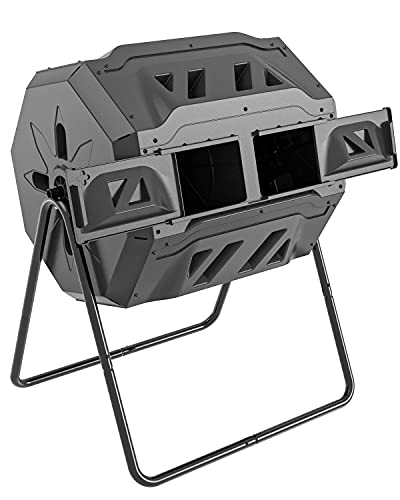
Here you can see how the area looked before the wall went up. Most of this started with me wanting a place to store my compost tumbler on a flat place, out of sight. Adding a wall will also give the benefit of allowing water to properly drain away from the foundation and prevent soil erosion.

This step was the hardest part of the project: removing rock. In some places, the ugly, heavy rock was over 18" deep. The best way to get this out was to get down and dirty, on my hands and knees and pick up handfuls of rock, throwing them in a wheelbarrow.

Once the rock was gone, I spray-painted out a rough idea of where I wanted the two walls to be.

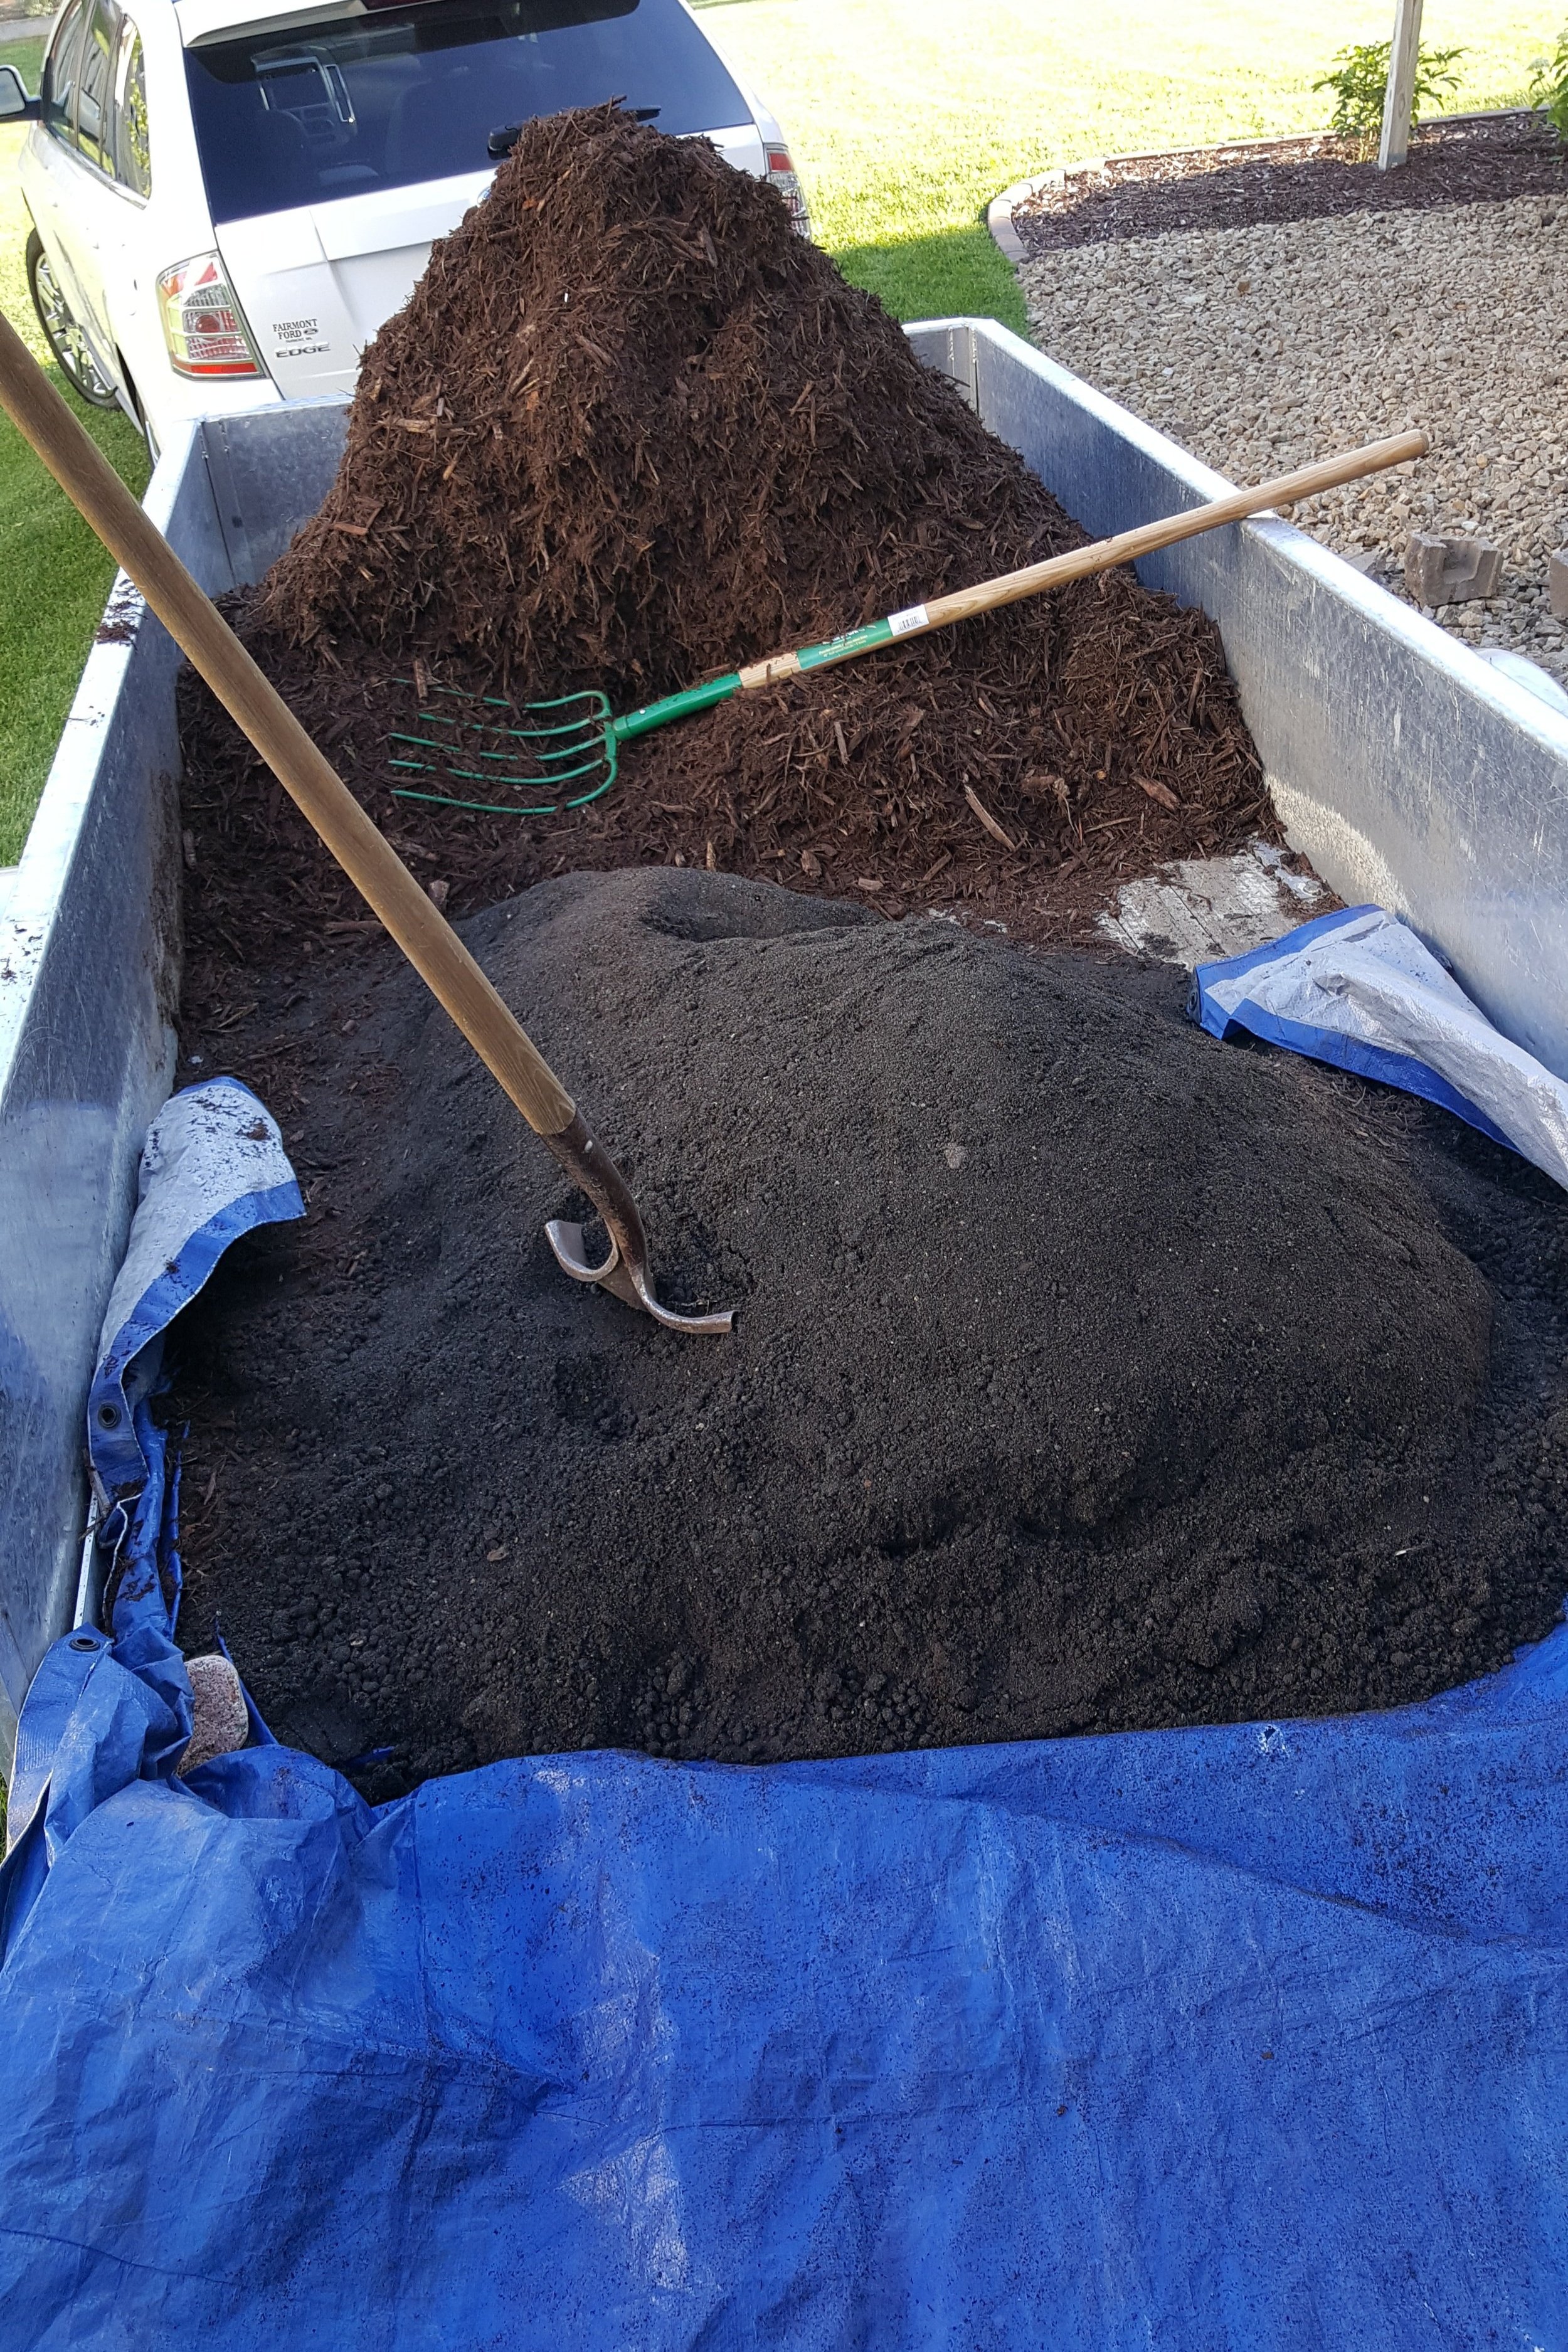
The project required many loads of material including gravel, sand, paver base, rough dirt, and topsoil. These various layers ensure a solid foundation with proper drainage.

Below the bottom layer of the walls is a foot of crushed gravel, with about two inches of paver base, all heavily compacted using a tamper. Getting to this point was a lot of work, but ensuring a long lasting stable wall was important. Particular attention was paid on this row, making sure that it was absolutely level. This layer will be fully underground, and compacted into place as the wall grows. My Dad donated his weekend to laboring away with me, I couldn't have done it without him!

Once the first layer of brick was down, the second layer can begin. Each brick gets some landscape block adhesive with the caulk gun to ensure a solid bond to the row below.

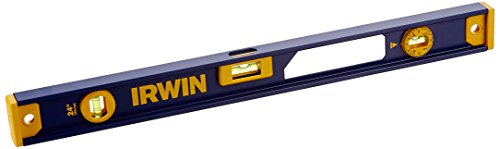
As we moved along, we obsessively checked for level. Being off a small amount in the beginning will quickly escalate as the wall grows taller. If a brick was out of level, we would tap it with a mallet until it was in the correct spot.

Along the foundation, where the wall begins, there is a need for a half-brick.


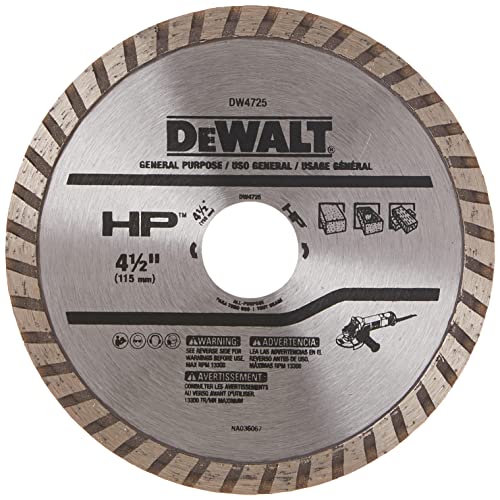
I took some measurements, marked a straight line, and cut it in half using a masonry disc in the angle grinder. If I were to do this again, I would probably wear a full face shield instead of the safety glasses I used. Often times throughout the project I took brick shrapnel to the face, which was nice.
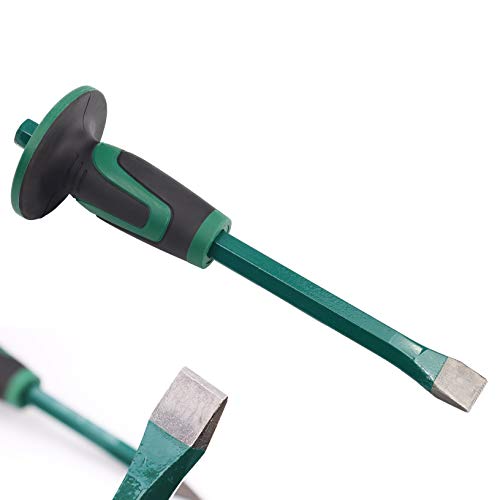
Once the brick was scored all the way around, as deep as I could get with the cutting wheel, I used a large chisel and hammer. One quick tap split the brick in two.

Like a glove!

A long, hot day of work, but it's starting to come together.

The same process is repeated for the upper wall. This time around, we had a great rhythm going and moved along quickly.

I wanted a seamless transition where the walls intersected which meant a tricky partial brick. I used a piece of cardboard to trace out the gap the brick needed to fill and sliced away.

A lot of measuring and planning went into ensuring the first above ground row of the top wall met up exactly with the top layer of the lower wall. I'm really happy with how it turned out.

This shot gives an idea of how the two walls meet.

This is the final stretch of brick, where the top wall meets the foundation behind the garage. The bottom row of brick sits on top a layer of gravel, and is then compacted on all sides.

The final stage to the brickwork was gluing on the top caps. This was a very satisfying step!


Before back-filling, I glued some landscape fabric to the backside of the wall to prevent the gravel, sand, and dirt from pouring out the gaps on the front.

I did some research on different sites before back-filling and found the above technique to be pretty universally accepted. The main takeaway is to have a tapered layer of drainage stone, with the back-fill directly behind.

I used a piece of scrap plywood to help keep the layers in their proper location while filling.

The majority of the back-fill was some cheap fill dirt from the local landscaping supply store. I let the wall sit for a week or two to allow natural settling to occur.

A layer of landscape fabric will keep the weeds out. I generally don't use landscape fabric as I find mulch does the job just as well, but with the amount of effort put into this wall, what is a little extra work!?

Next, I put a few inches of top-soil on the fabric to prepare for planting.
So. Much. Shoveling.

But DAMN it looks good!

Adding in some roses and the compost tumbler completes the project. Shout out to my Dad for all the help with this retaining wall. Thanks for reading!
Items used in this project