Shelf for Finishing Supplies

After working on a lot of large and time consuming projects recently, I decided to tackle a project I could knock out in a short afternoon. Currently, I keep half of my finishing supplies (things like polyurethane, wood filler, various clear coats, stains, and paints) in the shop cabinet or in the basement. I wanted to keep them on an accessible shelf while also being able to use up a small piece of the wall in the corner of the shop, next to the garage door.

Like most projects, I designed the shelf in Sketchup. I measured some standard can sizes (spray, quart, pint) and laid them out, two shelves per size. I then used Photoshop to drop the design in place to get a quick visual.

The plan was optimized for these 20" x 20" sheets of Russian birch plywood which I always keep on hand. The idea from this project came from Eric Lindberg on YouTube.

I ripped three sheets down into 5" strips and dry fitted to find the best faces and edges.


Top and bottom now connected. You can see two of the pocket holes on the inner wall of the top section.
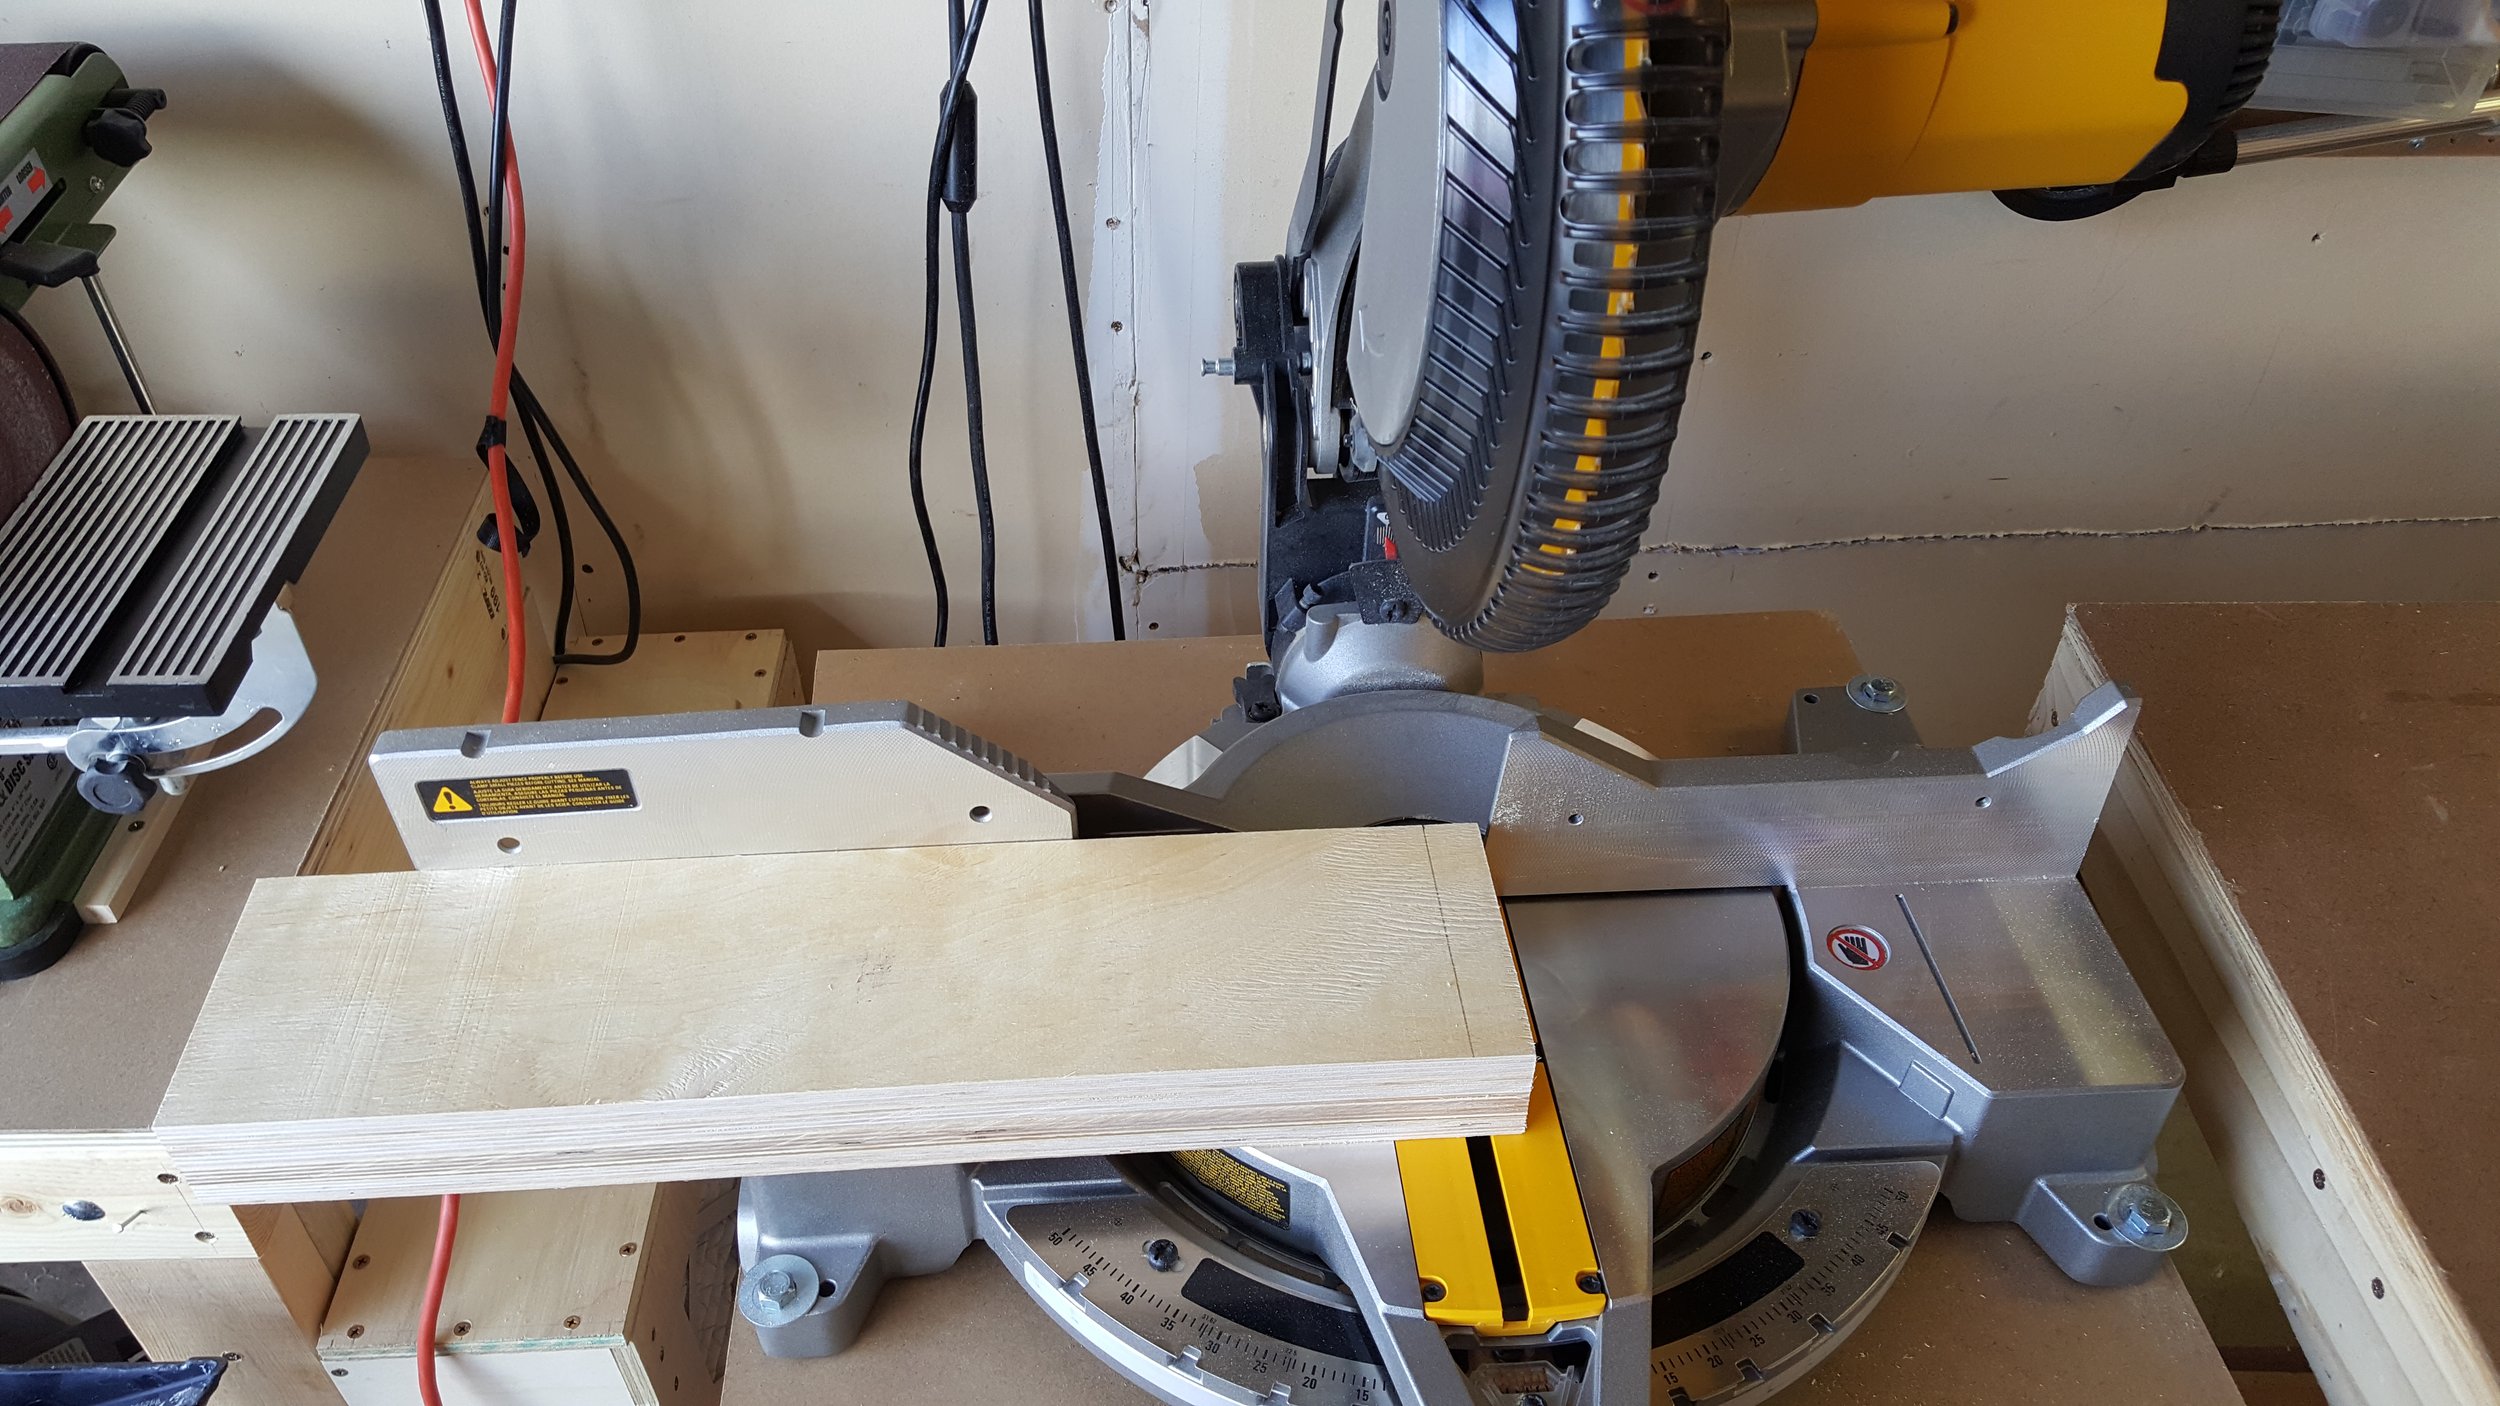
Stacked and cut the shelves to size.

Glued and nailed them in place. I traced a line along the center of the shelf to reference when nailing.

I cut some spacers to the size of the shelf gap to ensure they were at the proper height.

All shelves in place and clamped.

To hang the shelf I chose to use a french cleat. Here's a quick Google image result that visualizes how they work.

A board is ripped in half at a 45 degree angle on the table saw. One half is hung on the wall, the other on the shelf. This allows a strong connection at the mitered angle and easy hanging/removal.
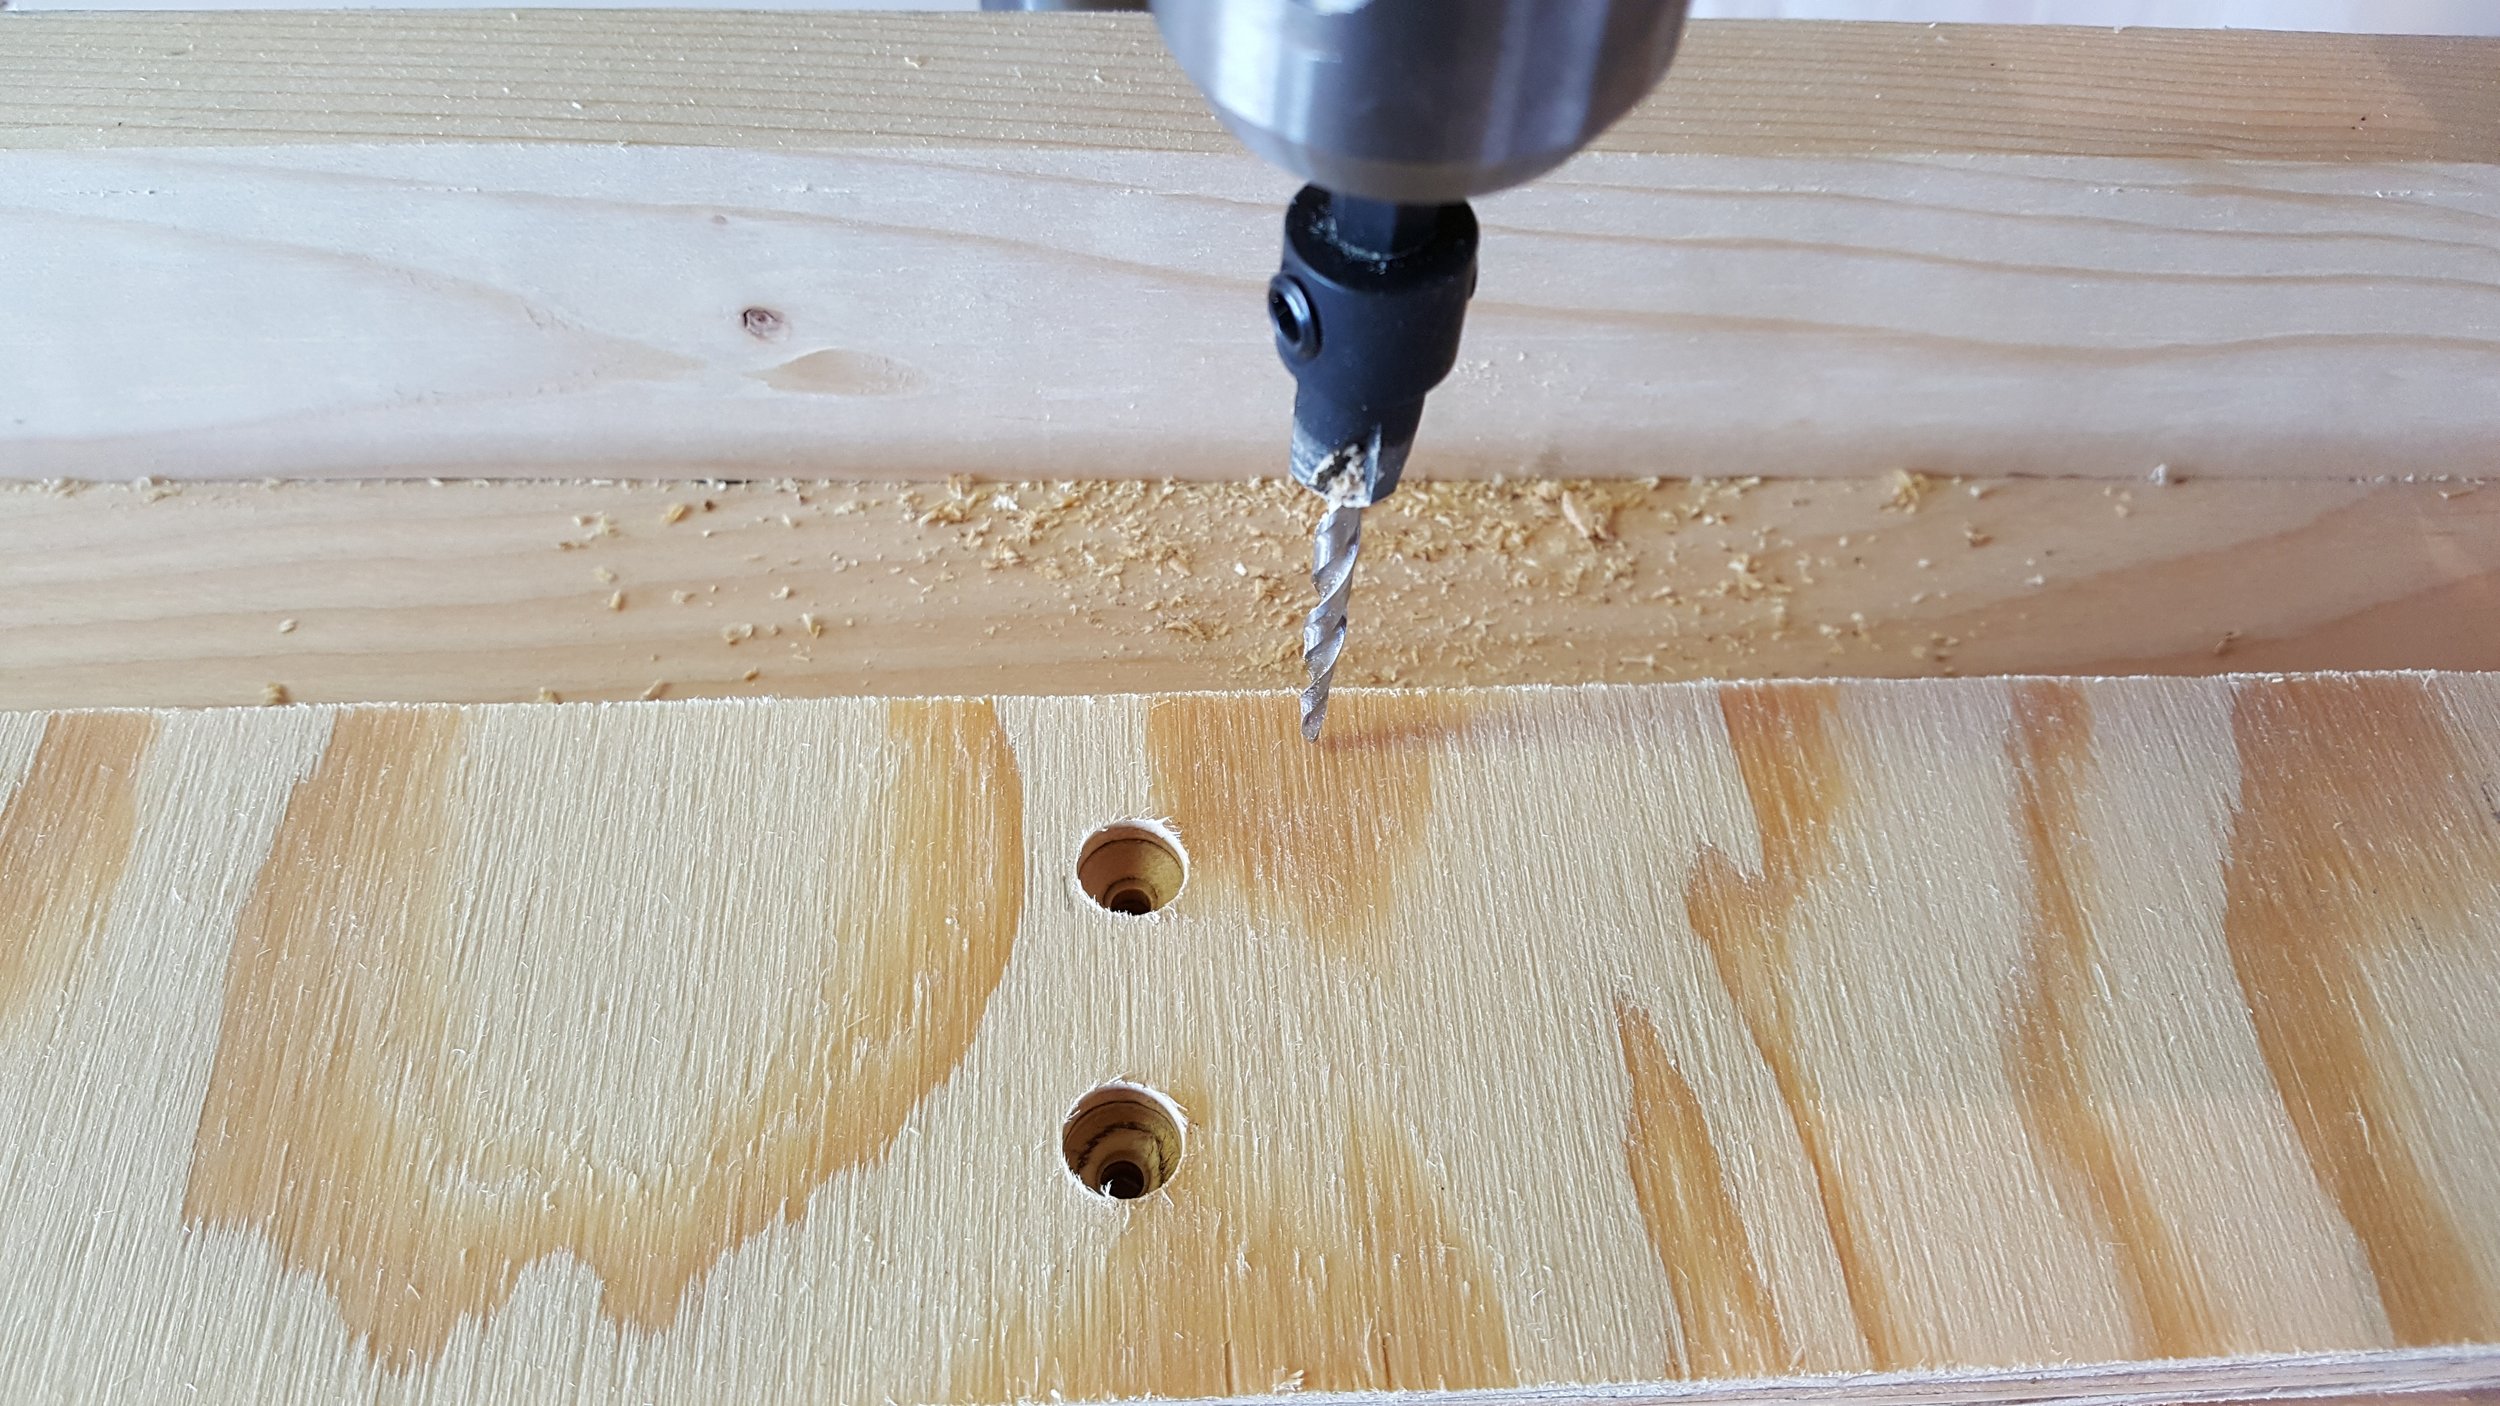
Countersunk some holes to drive the screws in to the studs behind the Sheetrock.

This is the bottom half of the cleat, mounted on the wall. The angle is at the top with the opening against the wall.

Here is the "top" half of the french cleat. It was trimmed to the width of the shelf and attached.

I added a spacer from the same size plywood as the cleat so that it won't sit at an angle. This is attached at the very bottom of the shelf, against the wall side.

Like a glove.
I'm glad I was able to use up the space in the corner of the shop for something useful. I may end up putting a door on the front if dust becomes an issue but for now it serves its purpose!
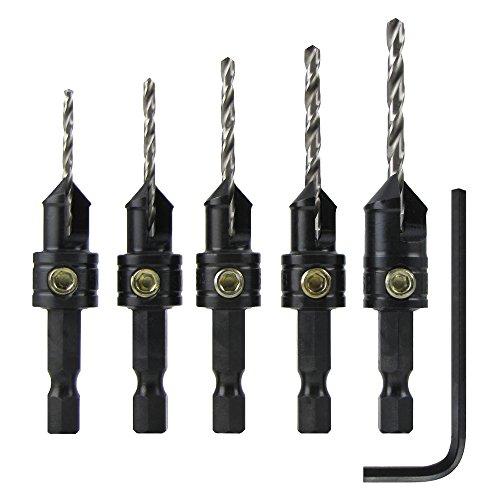
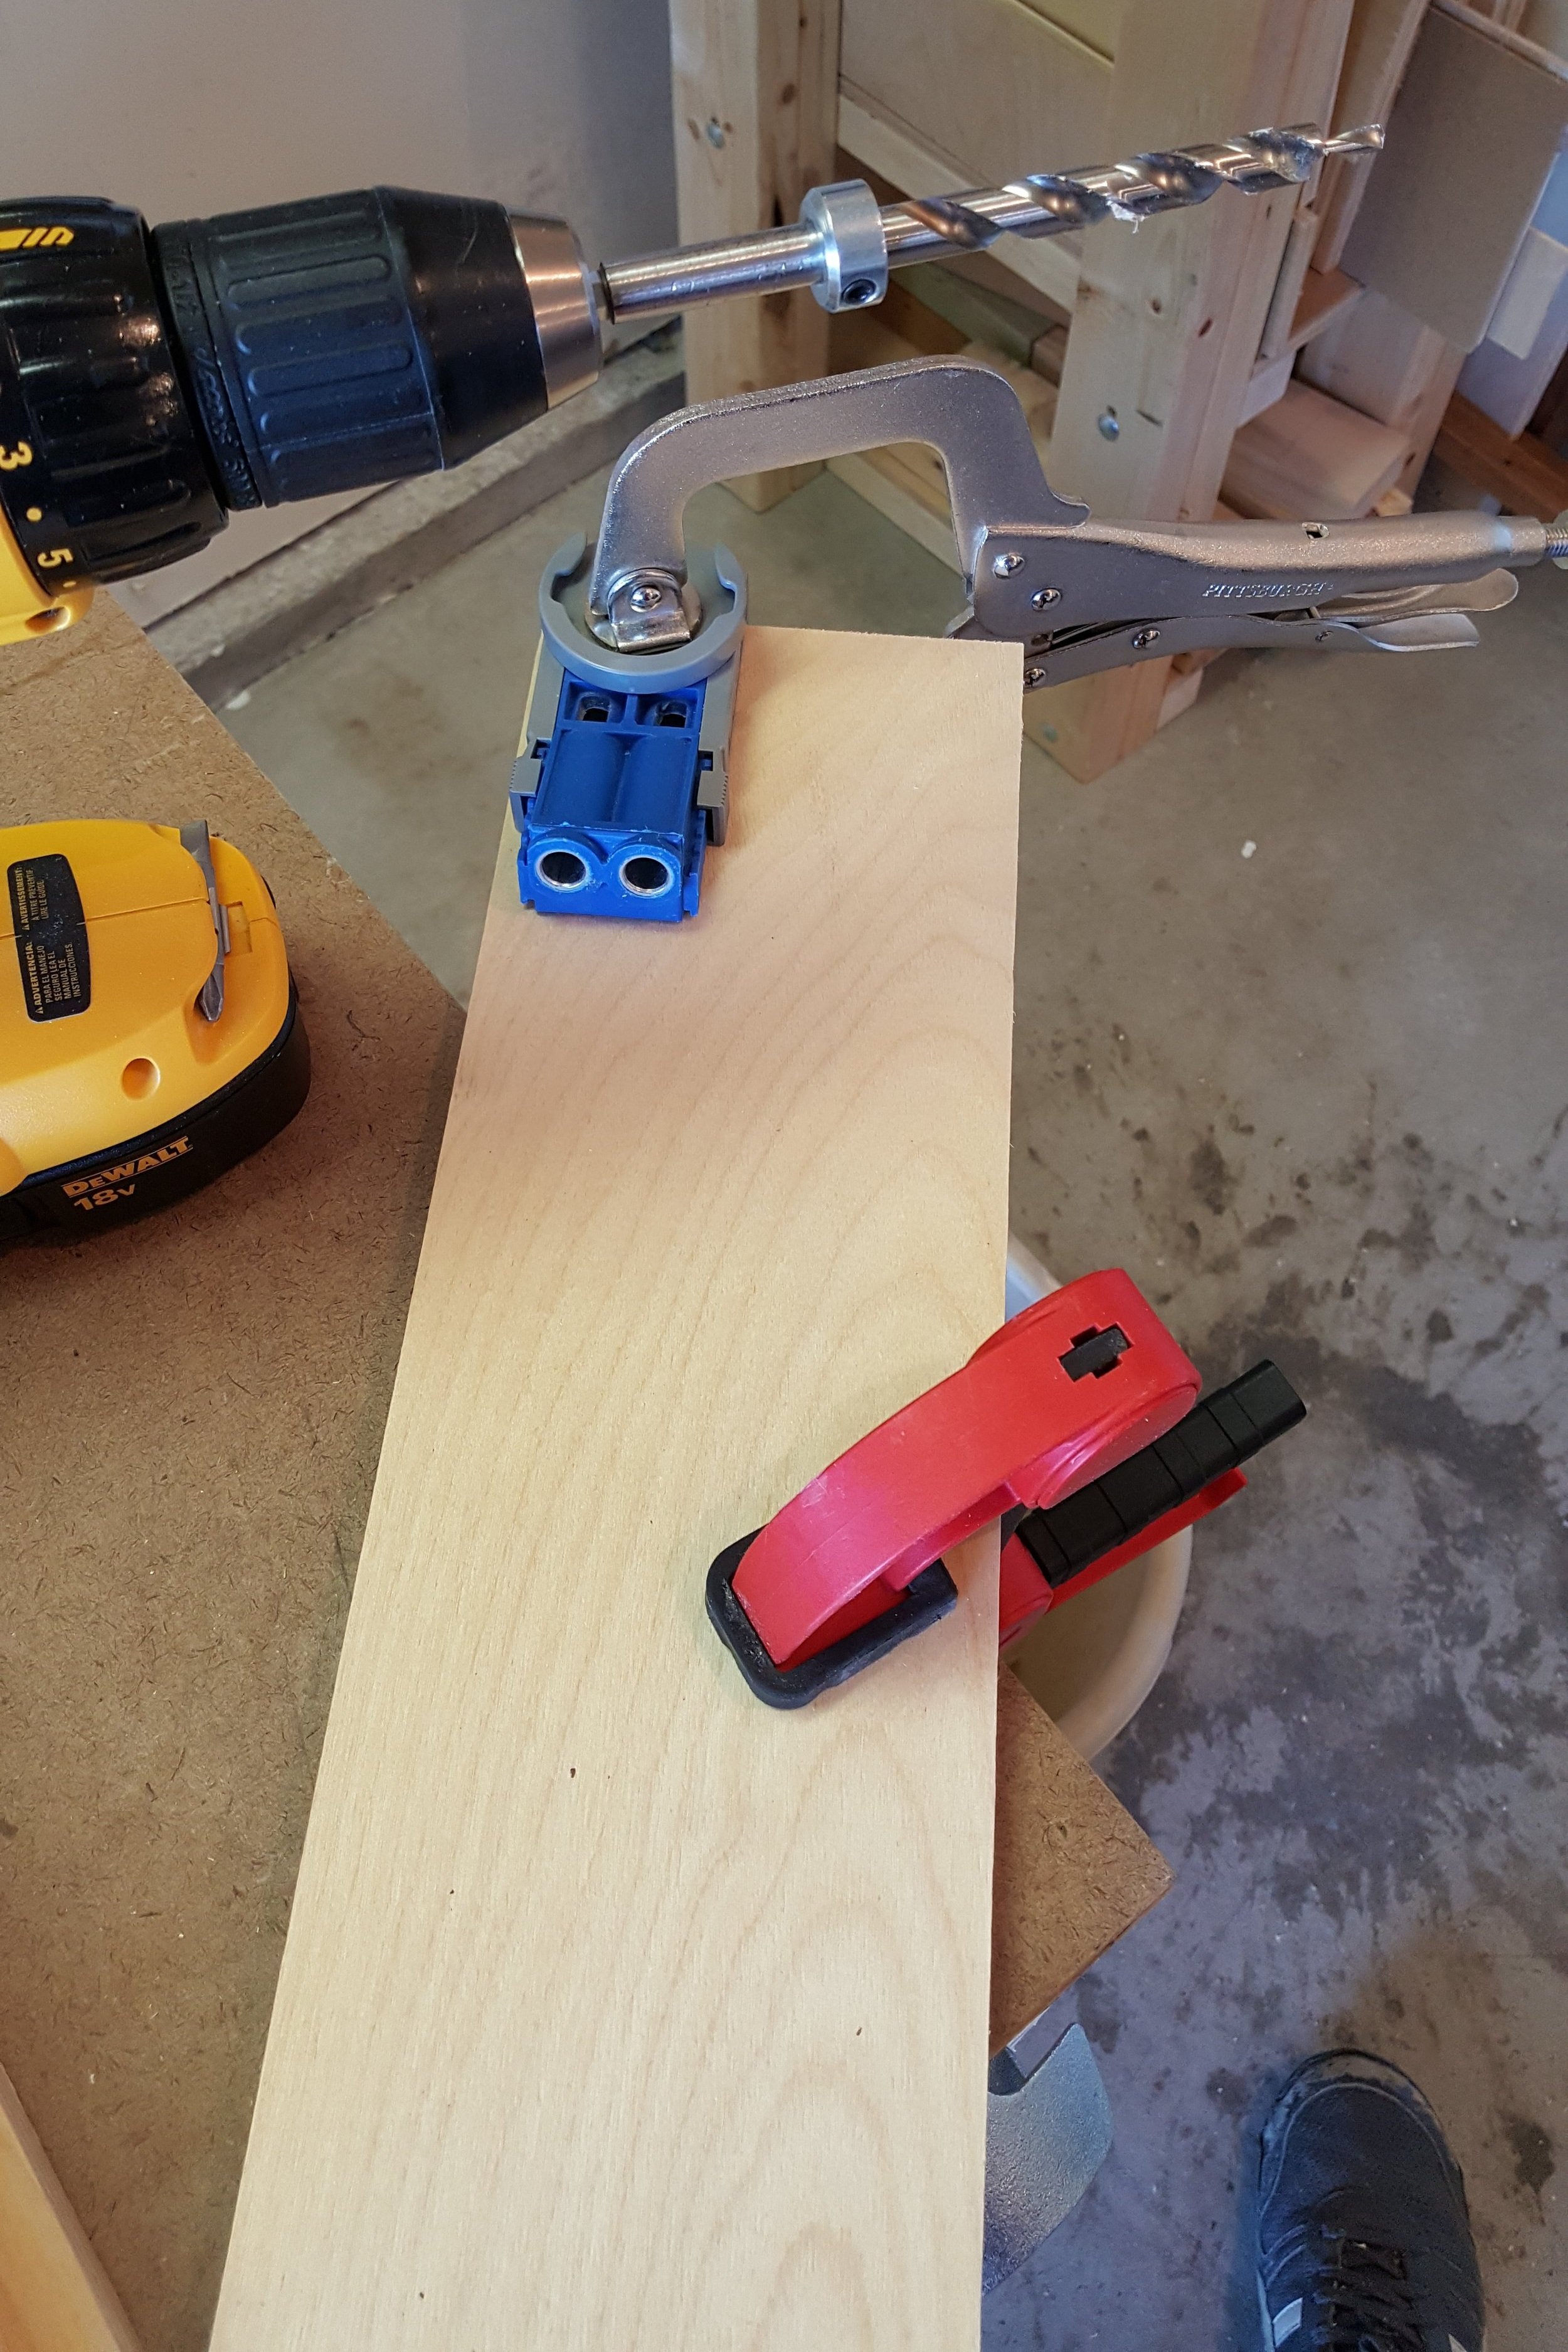
Tools and products used in this build