How to Build a Cornhole Set
Last year my Grandparents had the entire family (around 50 people) out to their farm for a get together. I brought my bean bag/cornhole set with and it was a big hit, so I decided to make a couple sets for them to keep out there for the yearly reunion. I decided to go with a barn door set and a camouflage set to fit the theme of the farm.

I had Home Depot rip a sheet of plywood into quarters to make it easier to haul but the pieces weren't all square. I stacked them and used a circular saw jig to rip them all to equal sizes. The movable workbenches are great to keep the dust off the cars in the garage.

I marked all the 2x4's to size and batch cut them on the miter saw.

2x4's have rounded edges from the mill so I took them all to the jointer and squared one side up. This way there is a clean edge where the board meets the plywood. The jointer was my father in laws when he first started woodworking. While I was restoring it, the best information I could find was that it was made by Montgomery Ward (yes, the retail store), and was made in or around 1947! After a little elbow grease and some new blades it runs like it was made yesterday.

I built an out-feed chute to dump the chips into a bucket. I filled this up more than once while cleaning up the boards. Not bad for a 70 year old machine.

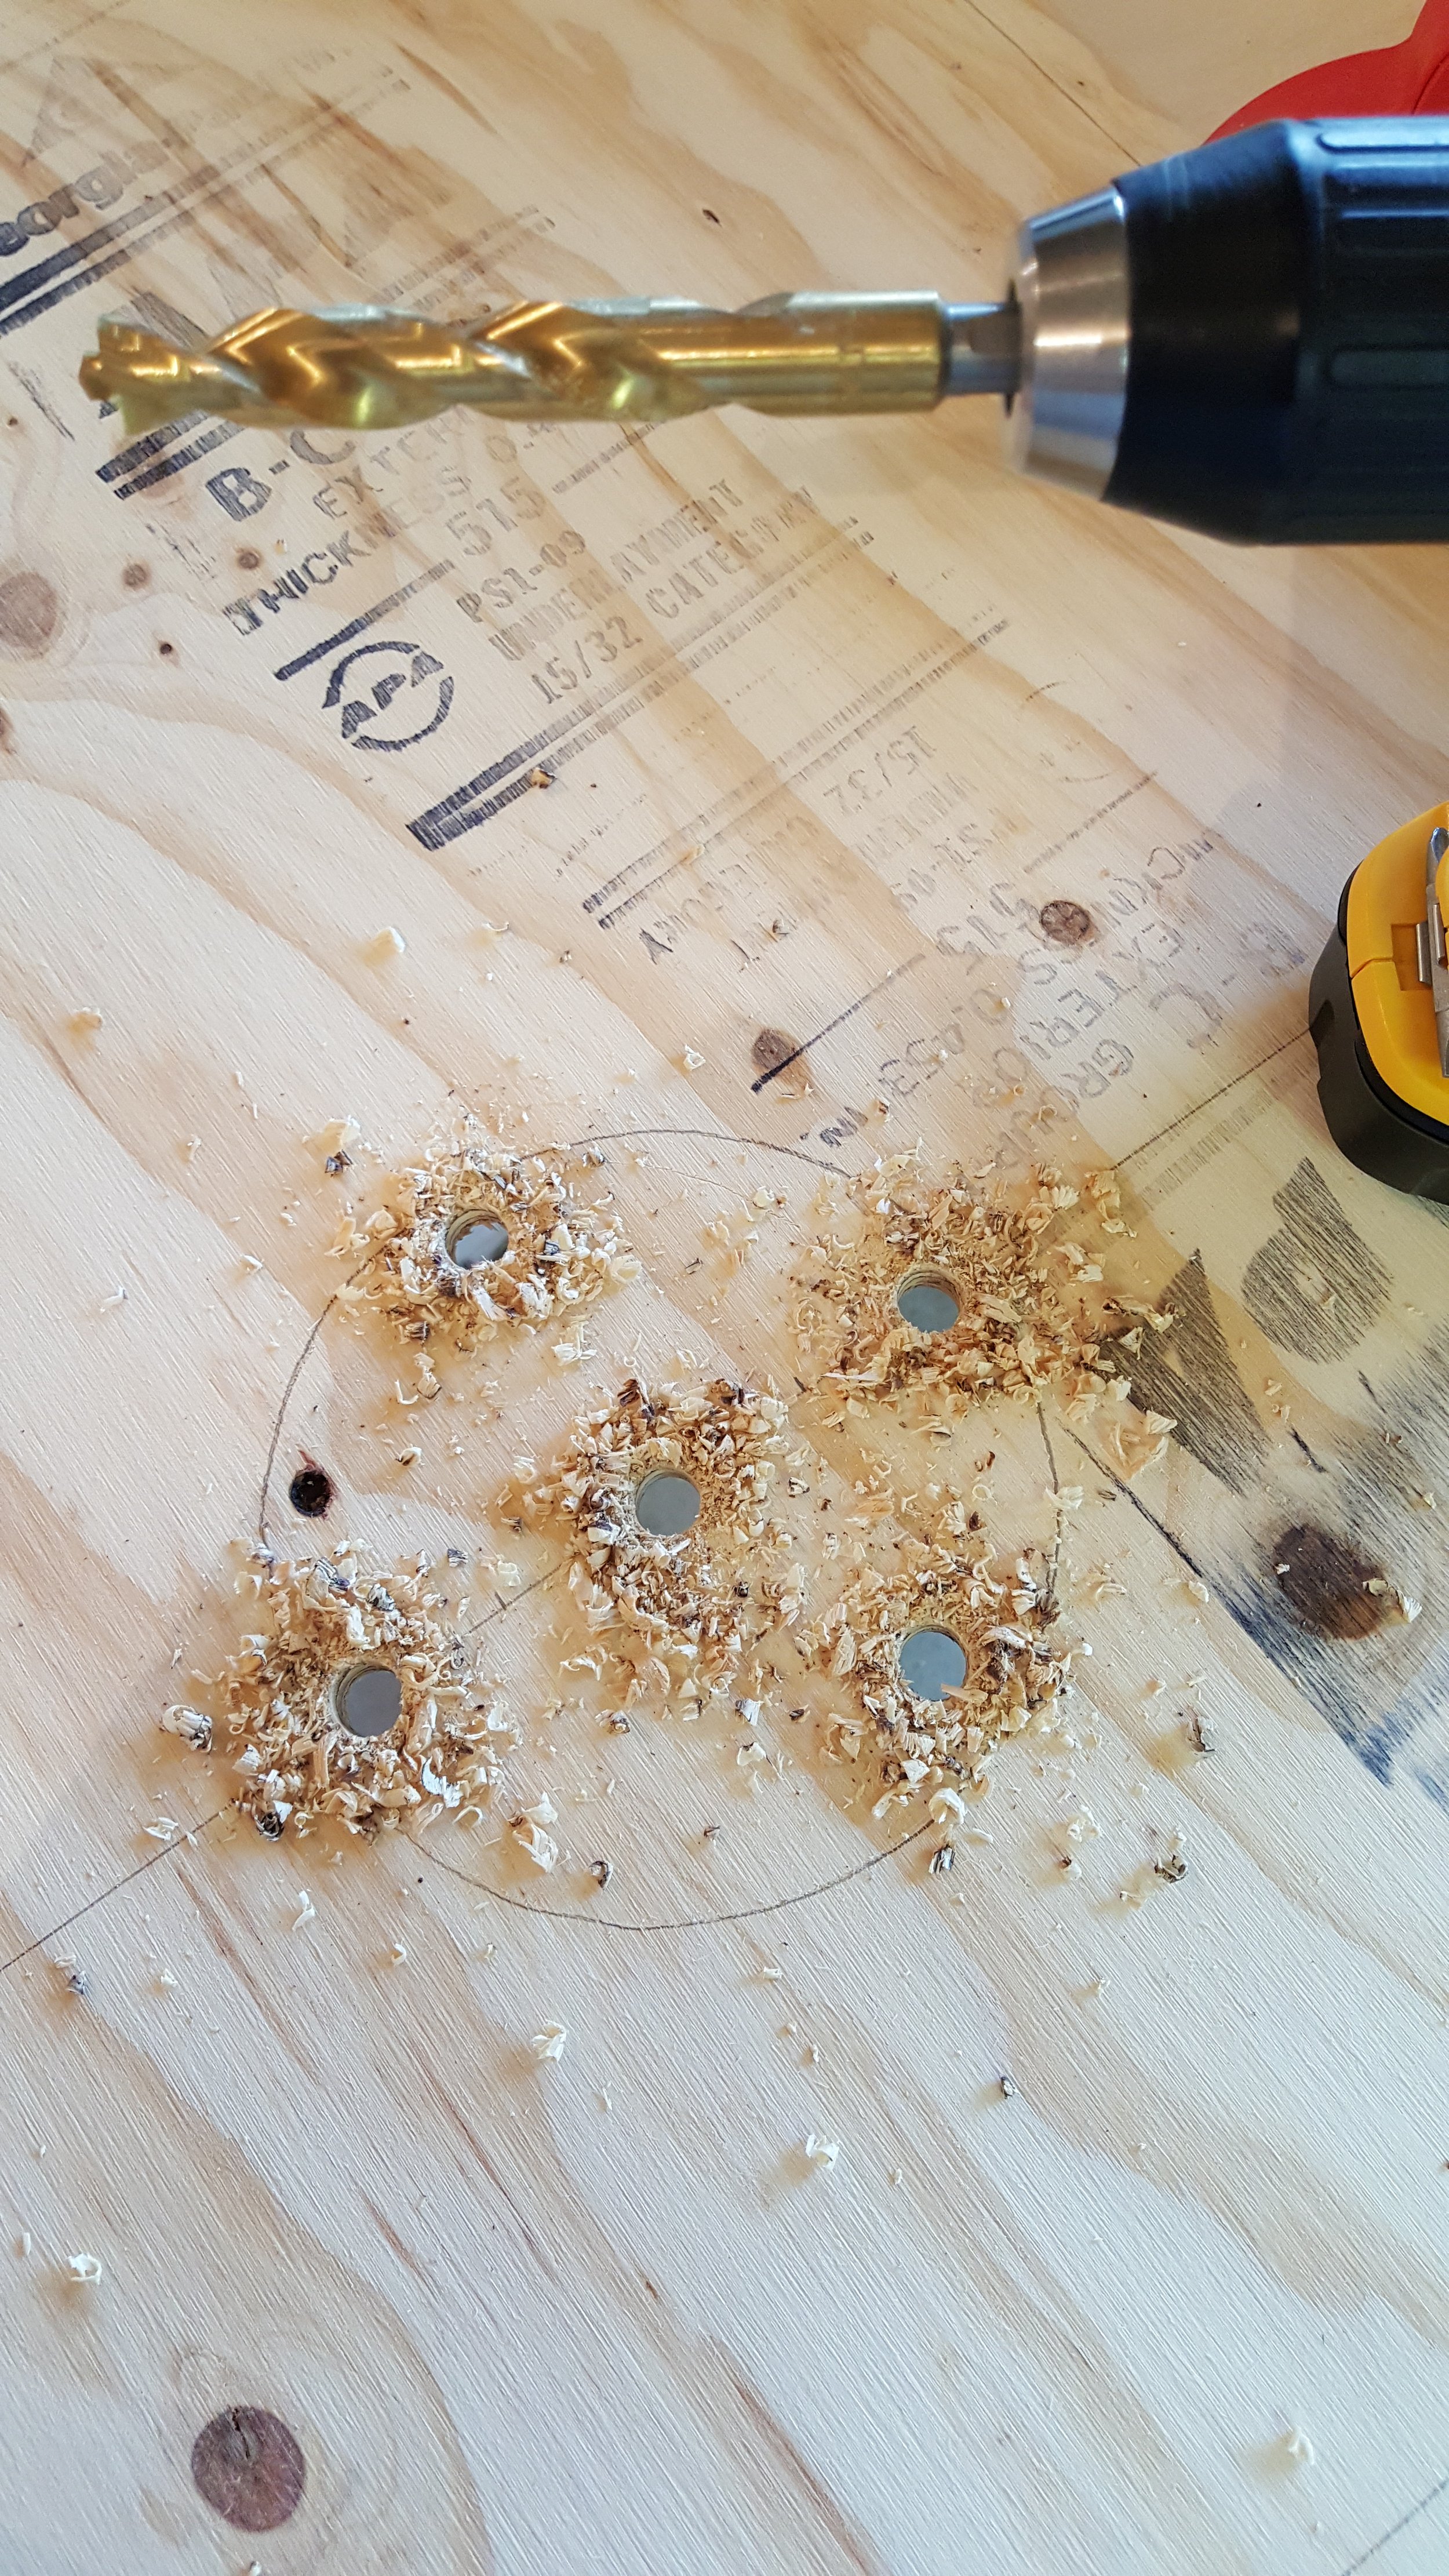
I found the center of the plywood and measured down 9" from the top for the 6" holes. Then, used a large drill bit to make some relief holes around the inside of the circle.

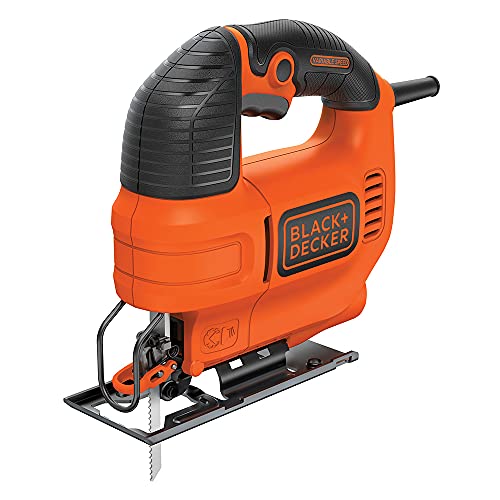
Using the jigsaw, I cut the hole out, stopping at the relief holes to reposition myself around the board.

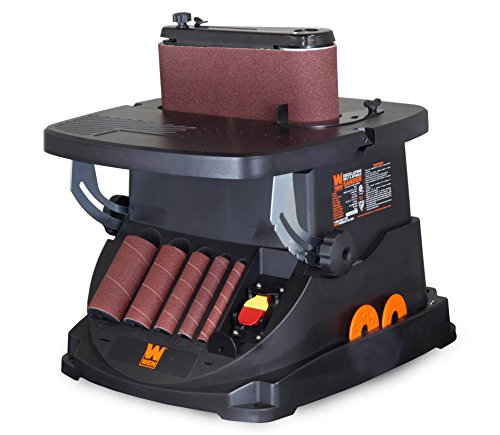
Sanded to the line on the oscillating spindle sander. I rarely use this sander, but when I need it, it's really handy. That would be a tough are to sand without it.

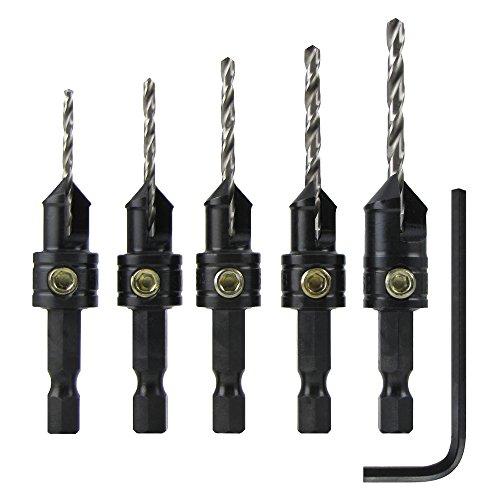
I marked out a 3/4" line all the way around the plywood to hit the center of the 2x4 frame. I then drilled and counter-sunk holes to attach the top to the rails with screws and glue.


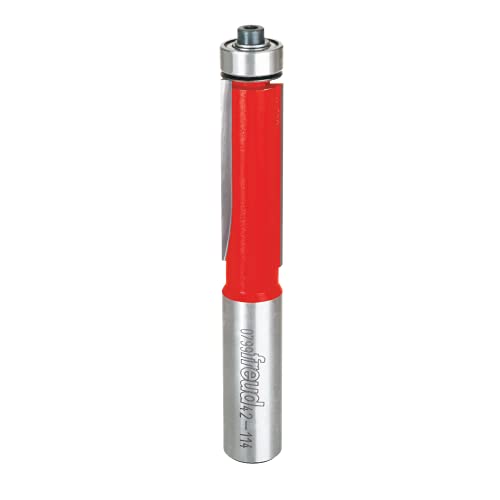
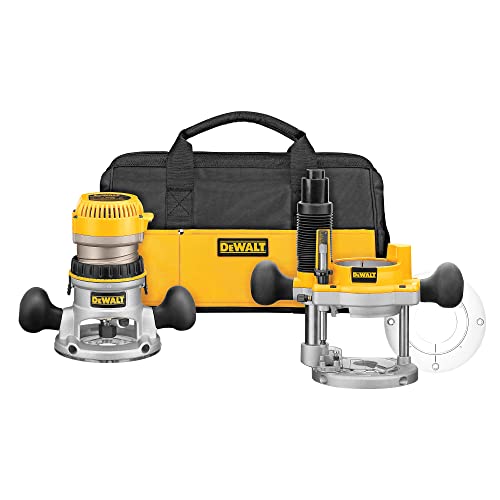
Clamps removed and everything is still holding! I left a 1/16" overhang when attaching the 2x4's and came back with a flush trim bit in the router to make a nice seamless edge where the components meet.
Looks a lot cleaner now.

The plywood wasn't the greatest quality so there was plenty of sanding to be done.

Used some wood putty to fill all of the screw holes. Once the putty turns white, it's dry and ready for sanding.

Time to work on the legs. I found the center of 2x4 and used a roll of tape to stencil a roundover.
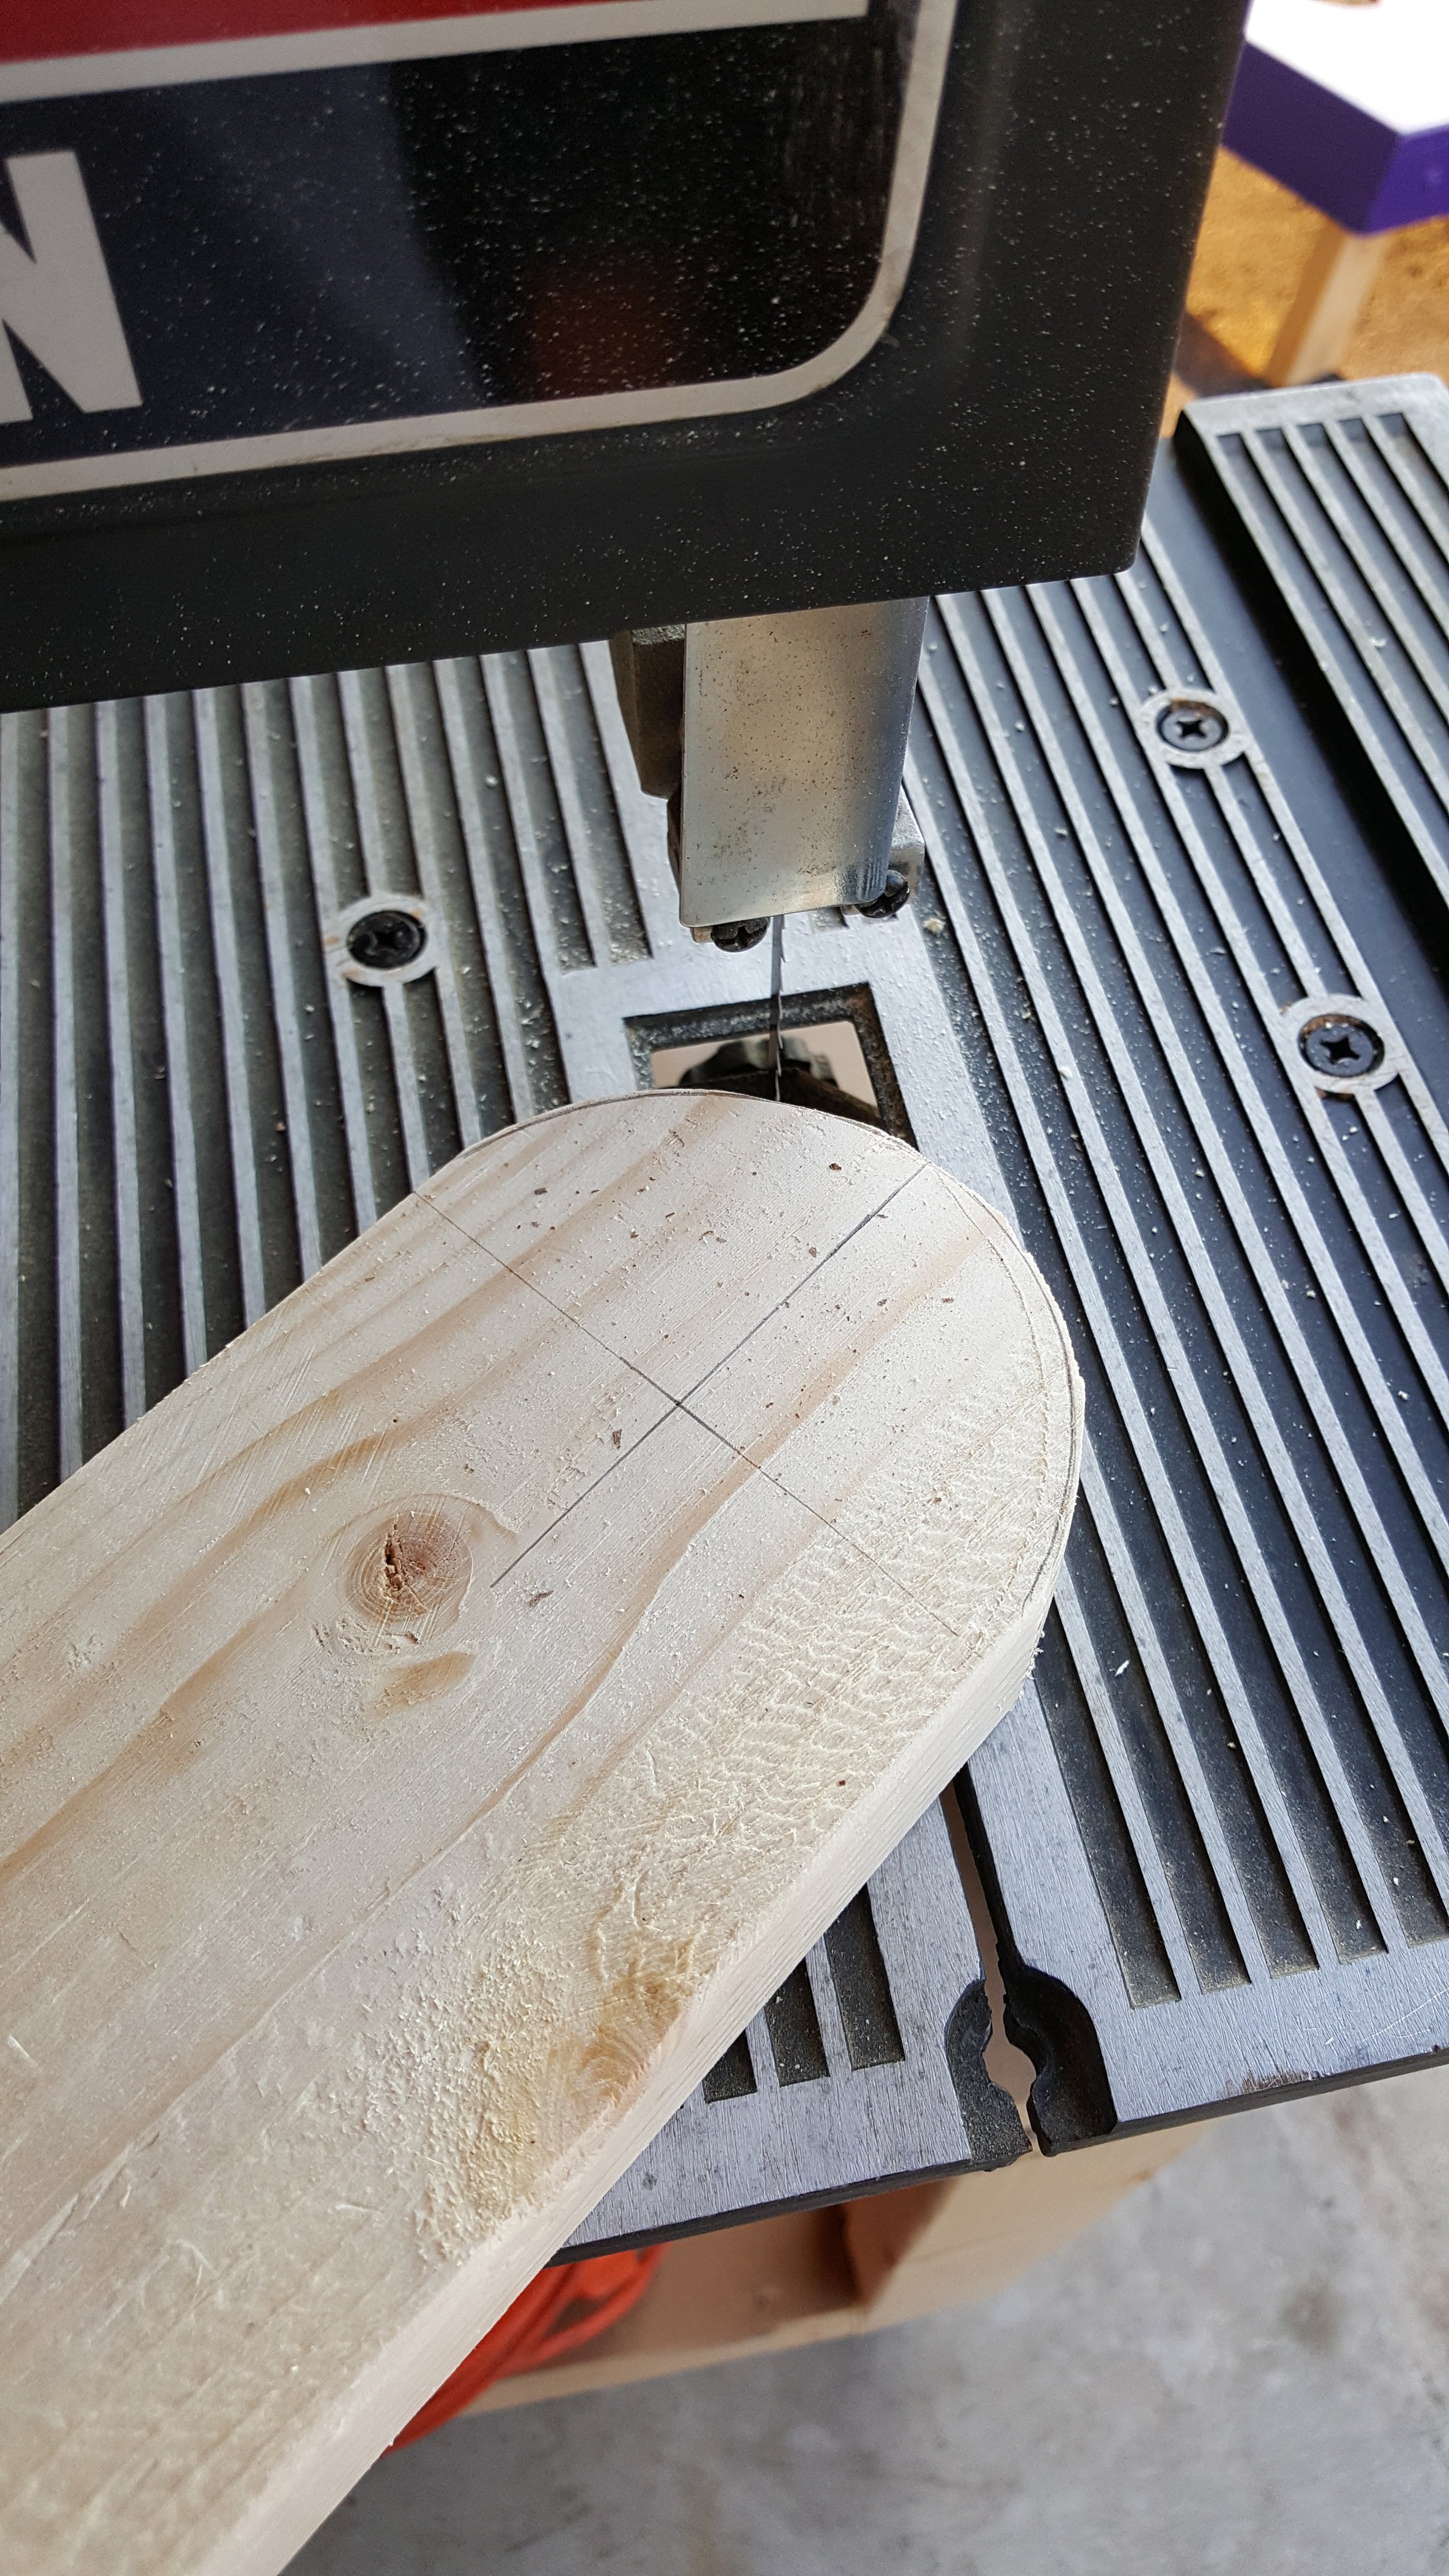


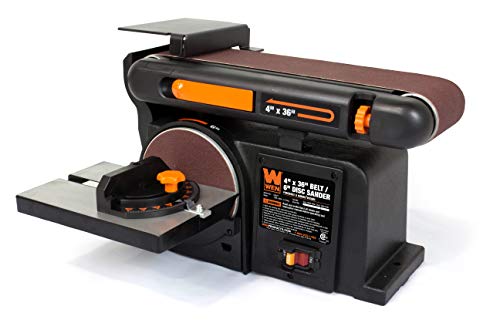
I used the band saw to cut all 8 round legs out, then sanded to the line on the disc sander. This is another one of those tools that I don't use all that often but am always glad to have it when I need it.
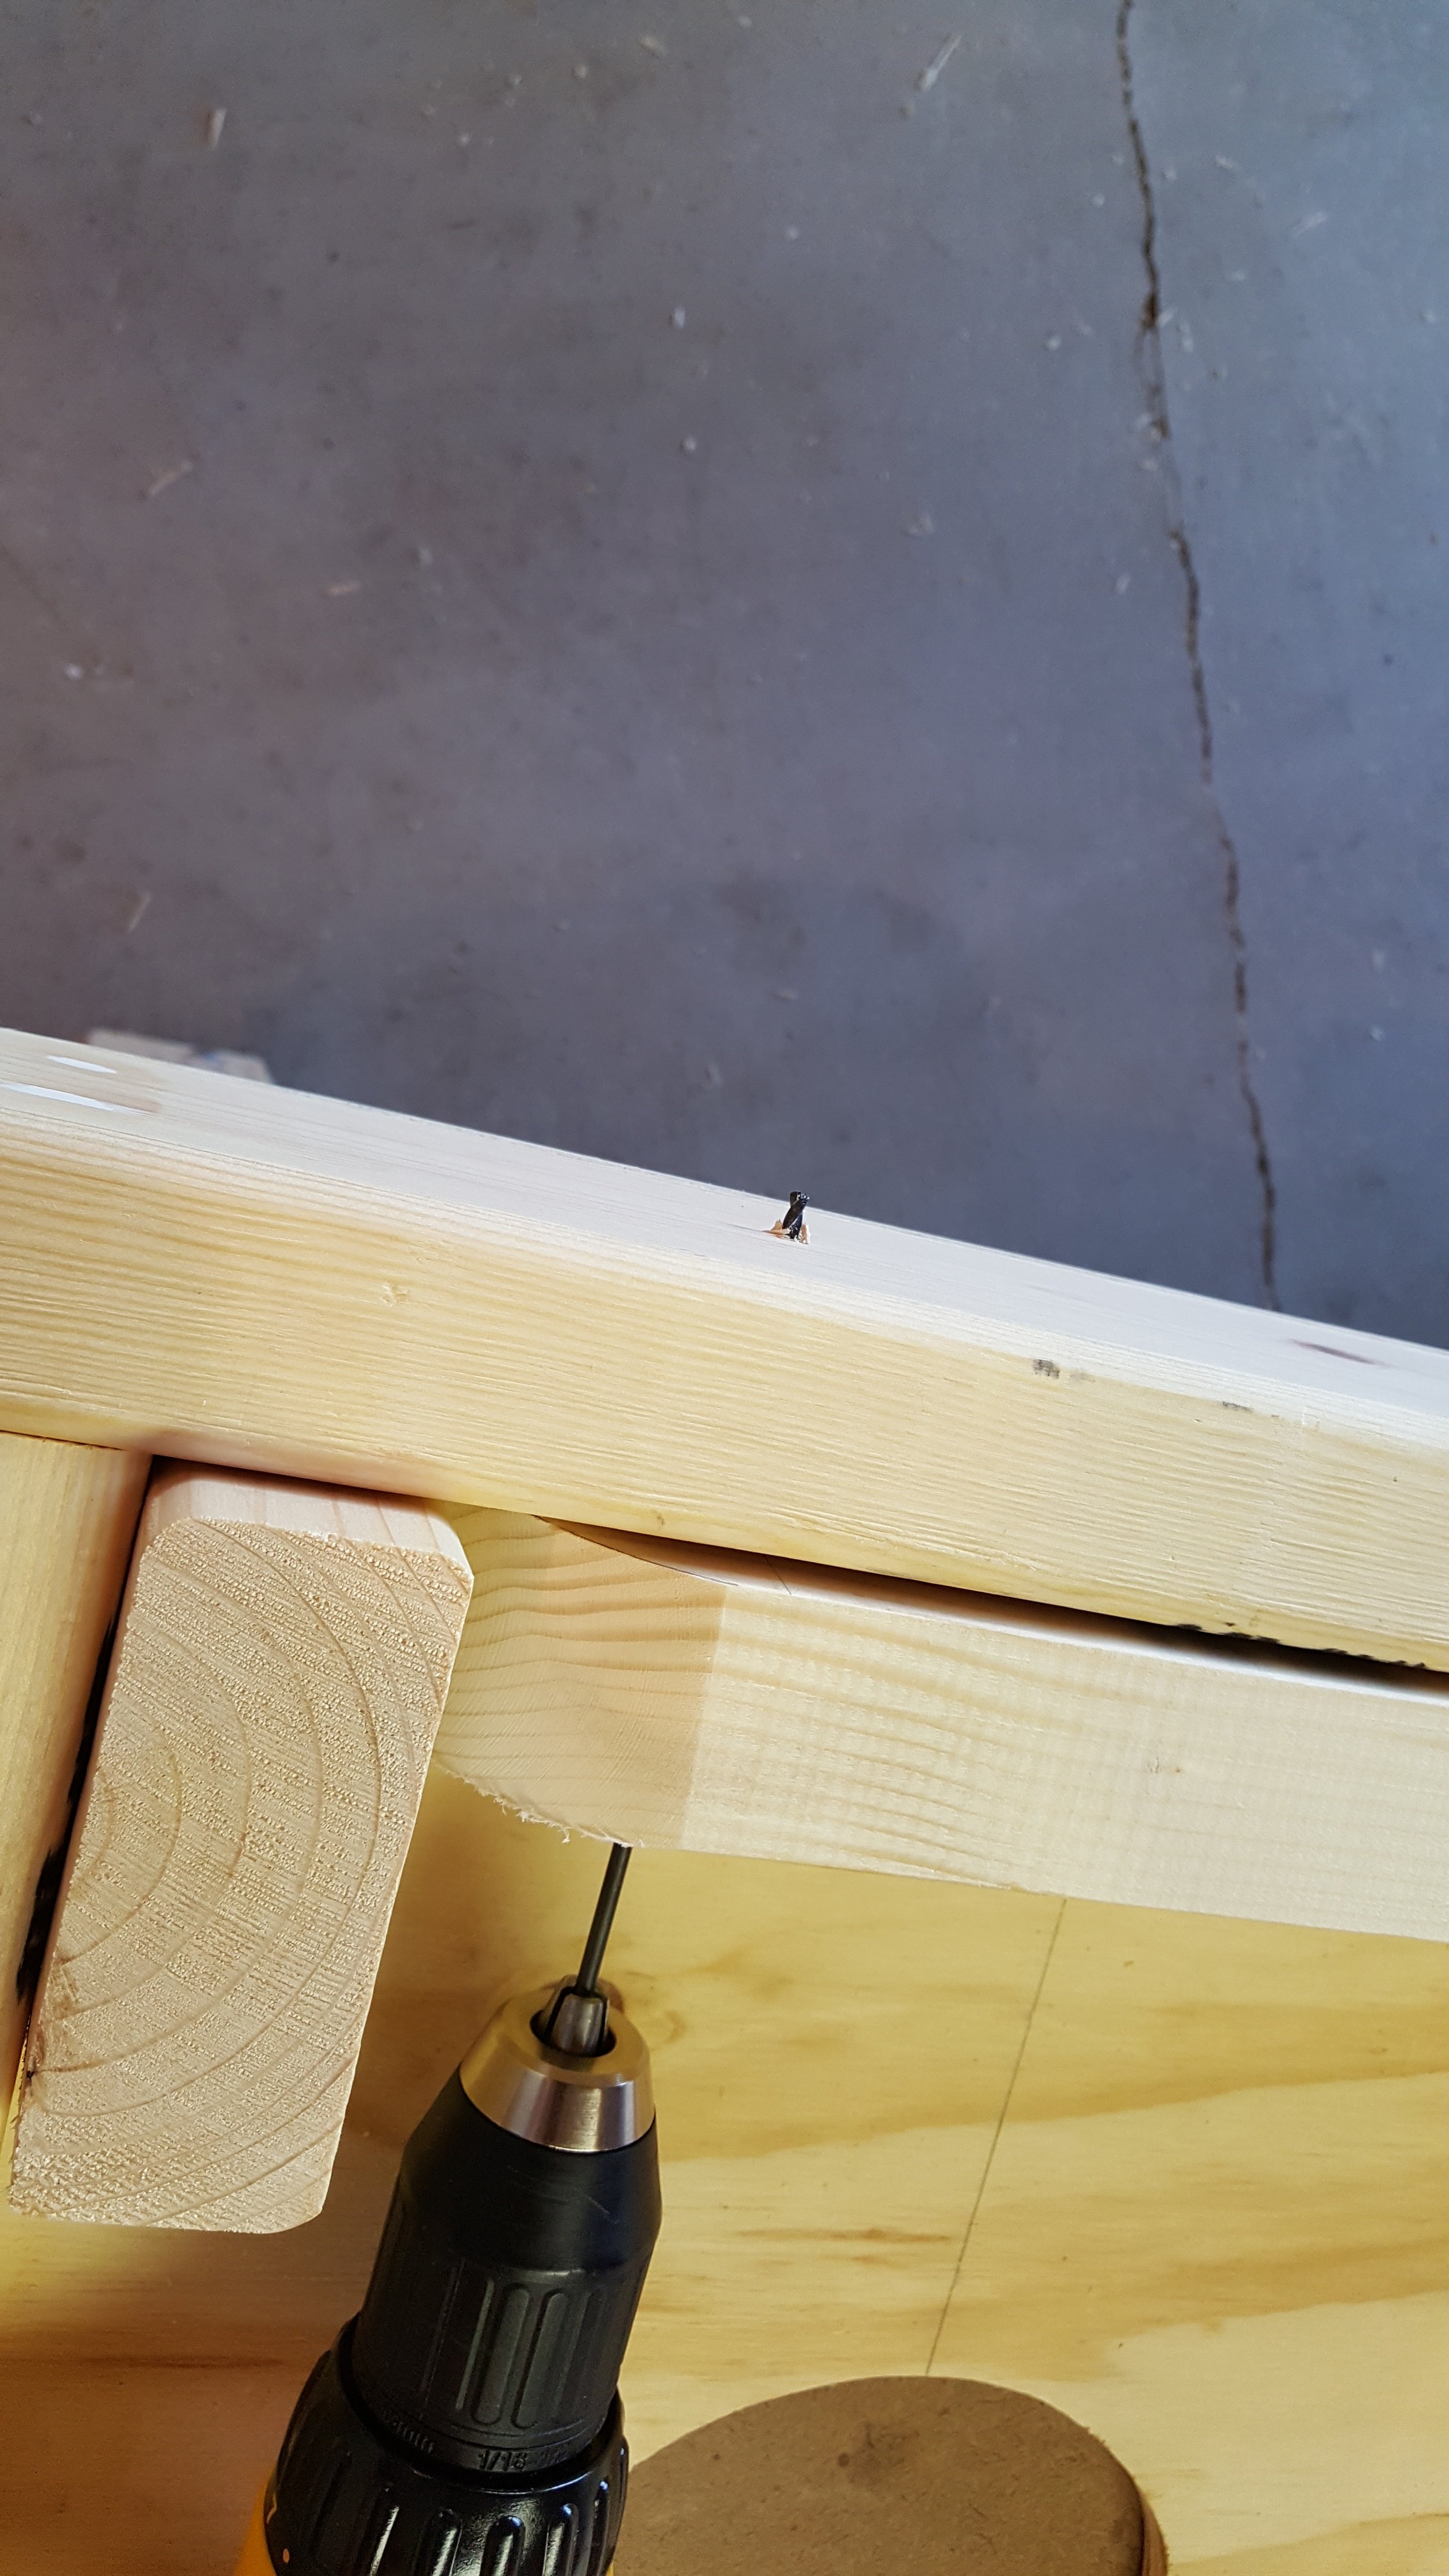
I then drilled a small pilot hole in the center of the legs on the drill press and used that hole as a pilot for a long bit which reaches through the frame. I used a scrap of 2x4 to space the leg out from the frame. This allows room for the leg to fold back and rest against the frame while standing.

Next, I used the full 3/8" bit to finish out the hole all the way through and put a 3/8" carriage bolt and wingnut in. This allows the legs to swivel.

The boards need to stand 12" off of the ground with the legs out. To figure out the angle of the feet, I stacked scraps of wood until I hit one foot.

I then extended the leg and made a line where the ground level will be.

Set the miter saw up at that angle and cut all of the legs to length. This method was easier then figuring out the angles and lengths to hit the 12" height.

And now time for the painting. This was the trickiest part of the build. I had no idea how to paint camouflage but I purchased some camo spray paint colors and some barn red paint.

After priming all of the boards I dove in. I painted two of the boards solid green as a base for the camouflage.

I ended up coming up with this idea for the barn door. The plan was a white frame with an X on the bottom half.

No turning back now!


I was originally going to go for more of a realistic camouflage paint job but I thought a cartoonish paint scheme would be more fun for this cornhole set. I took a large sheet of cardboard and free handed a pattern.
I used a utility knife to cut out all of the shapes and got ready to spray. Kept the garage door open to minimize my paint high.
I tried to mix up the colors and alternate them in a somewhat random pattern. I used smaller pieces of cardboard to cover the cutouts around the area I was currently spraying.

In the meantime, my wife helped out immensely by sewing all 16 of the cornhole bags. We chose green and brown for the one set, red and black for the other. Corn was measured out on a scale to "regulation" and filled into the duck cloth fabric bags. This was extremely time consuming and probably much more difficult then the boards were!

In between coats of paint I decided to make a case for the bags. Being on a farm, I was worried that mice would eventually figure out what the bags were filled with and destroy them. Glued and brad nailed the box together then added a top with a couple of hinges.

I stapled a small piece of rope to keep the lid from falling back and breaking the hinges.

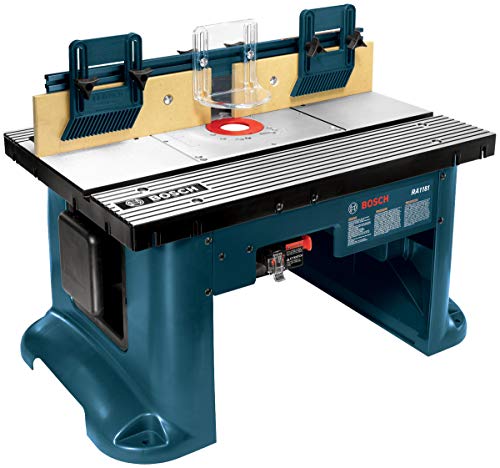
Made handles for the sides on the router table. I was really happy with the profile. They were glued and screwed with 3 1" screws per handle. 16 bags weigh quite a bit so they needed to be strong.

Here's how it looks with the bags loaded up. In the center is a rope which is used to place the boards at regulation distance from each other.


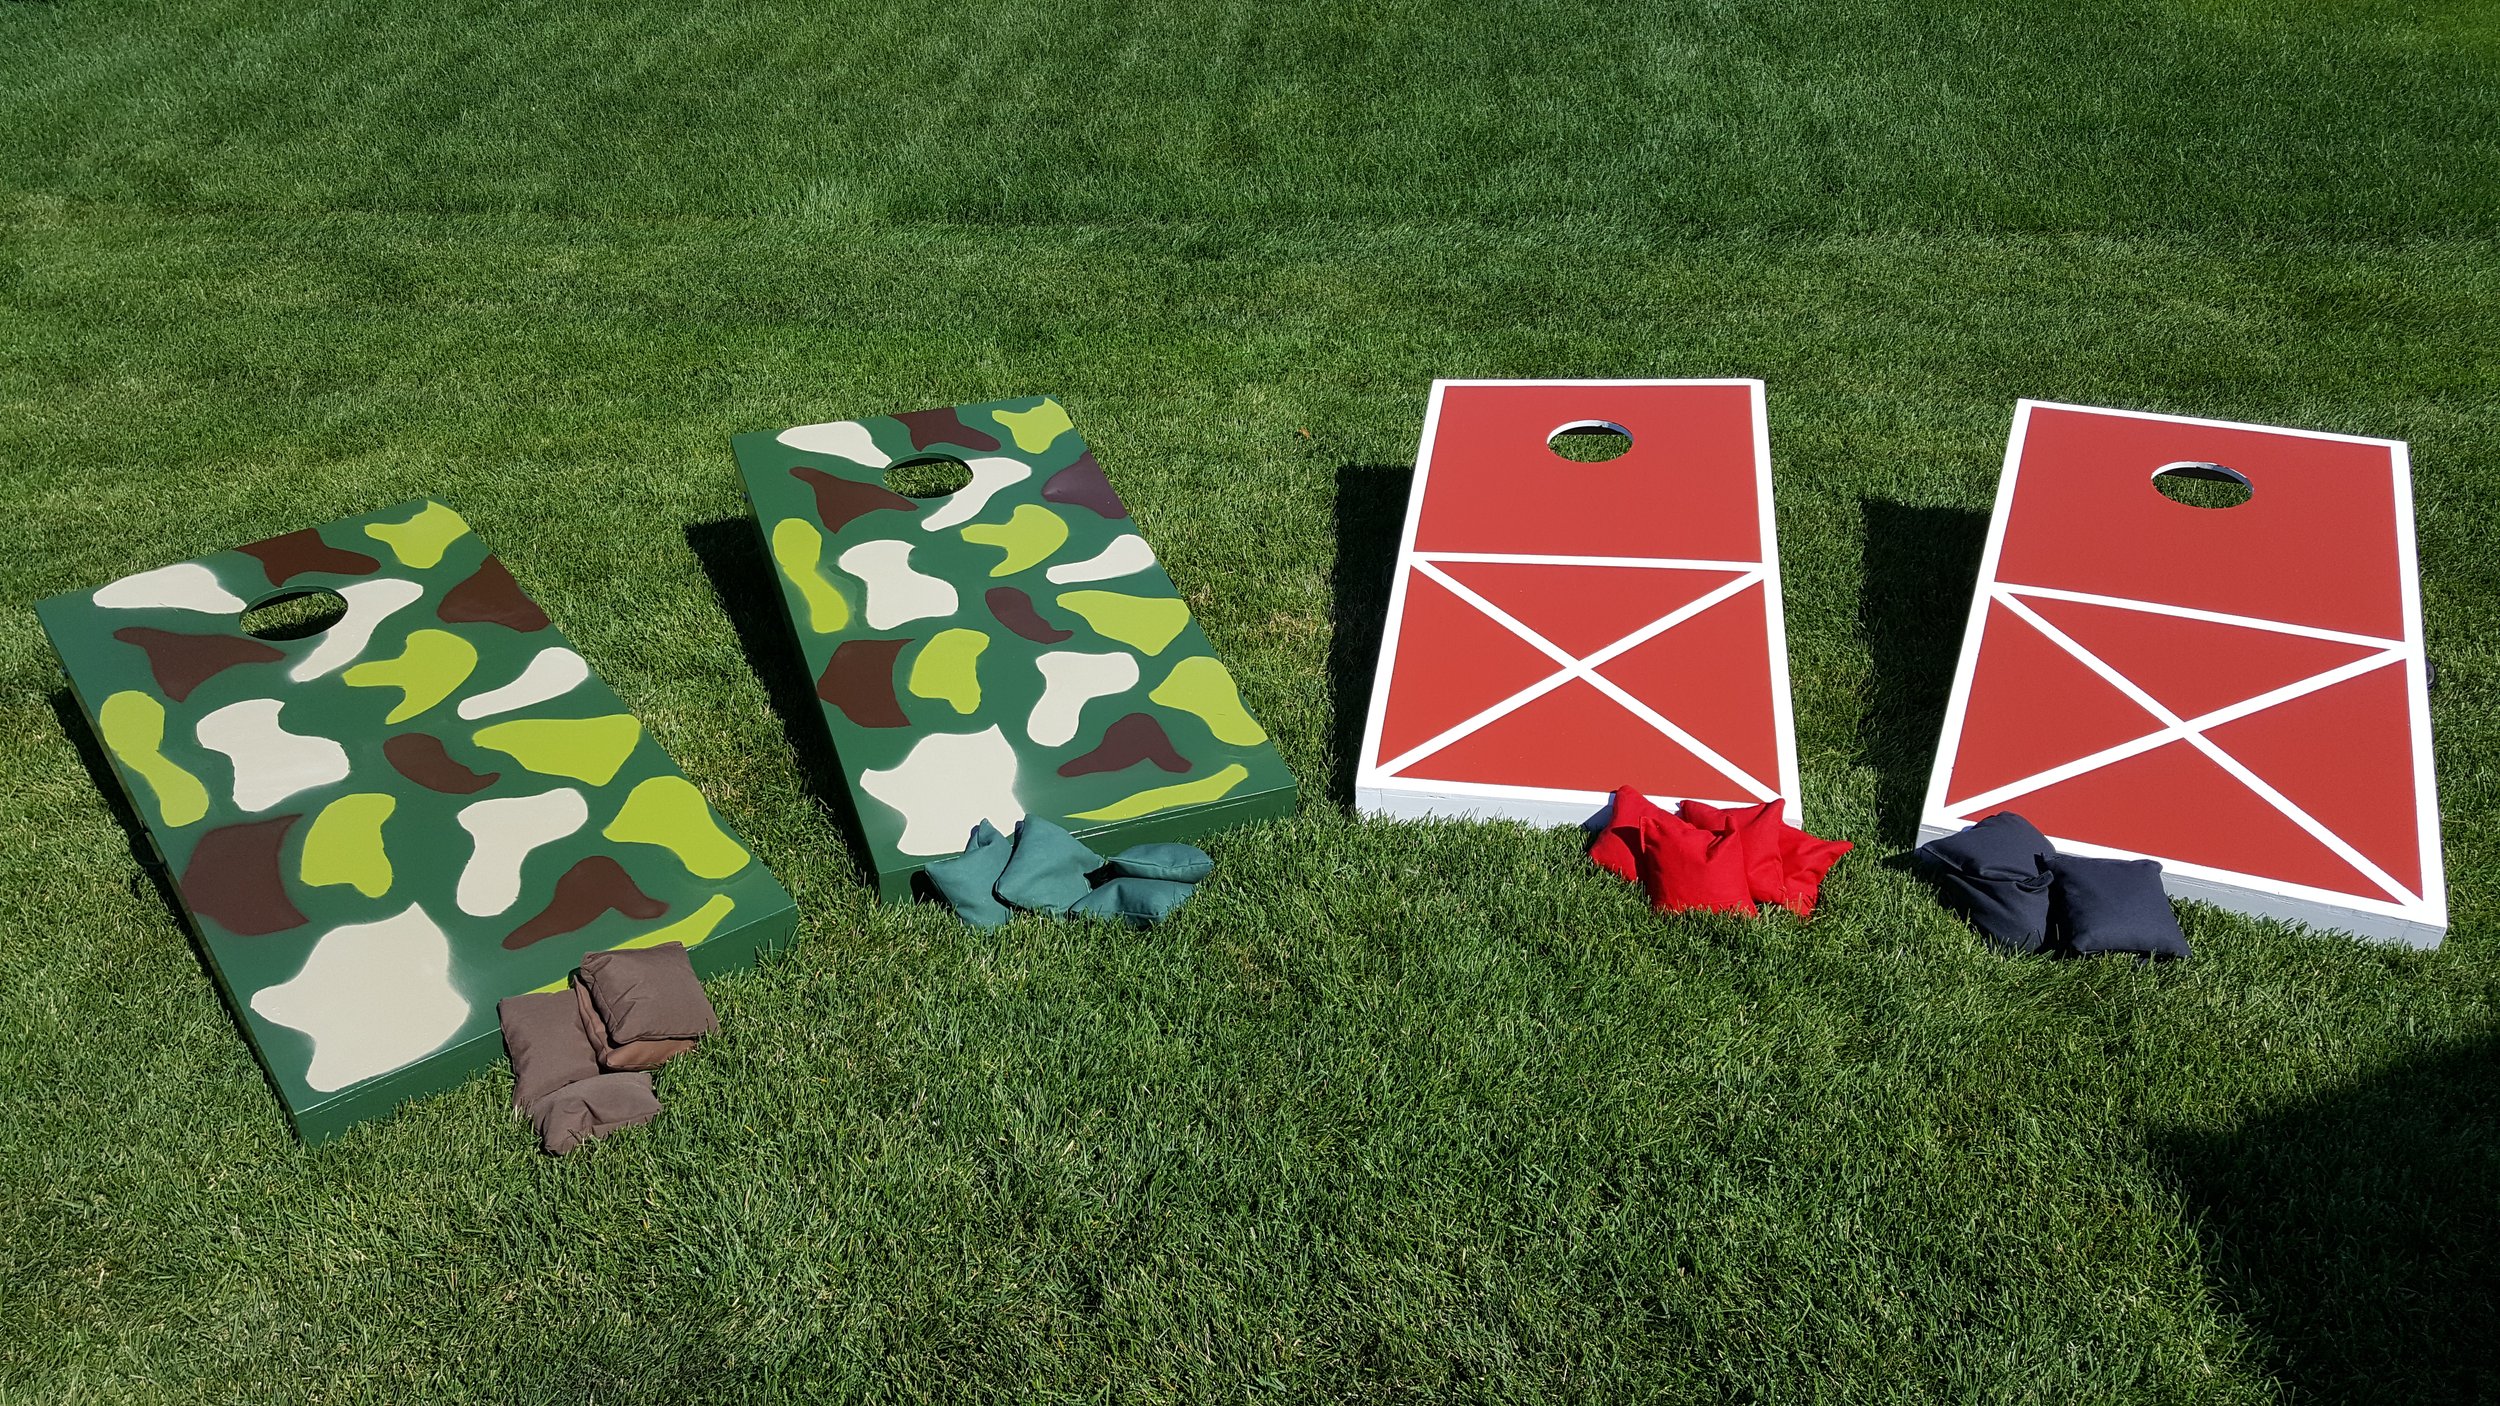
The camo paint job came out fantastic on the first cornhole set, I was really surprised how well they looked after I pulled the cardboard off!
The barn door set came out equally as well. I really like the way the white looks against the red.

Just about ready to be used!
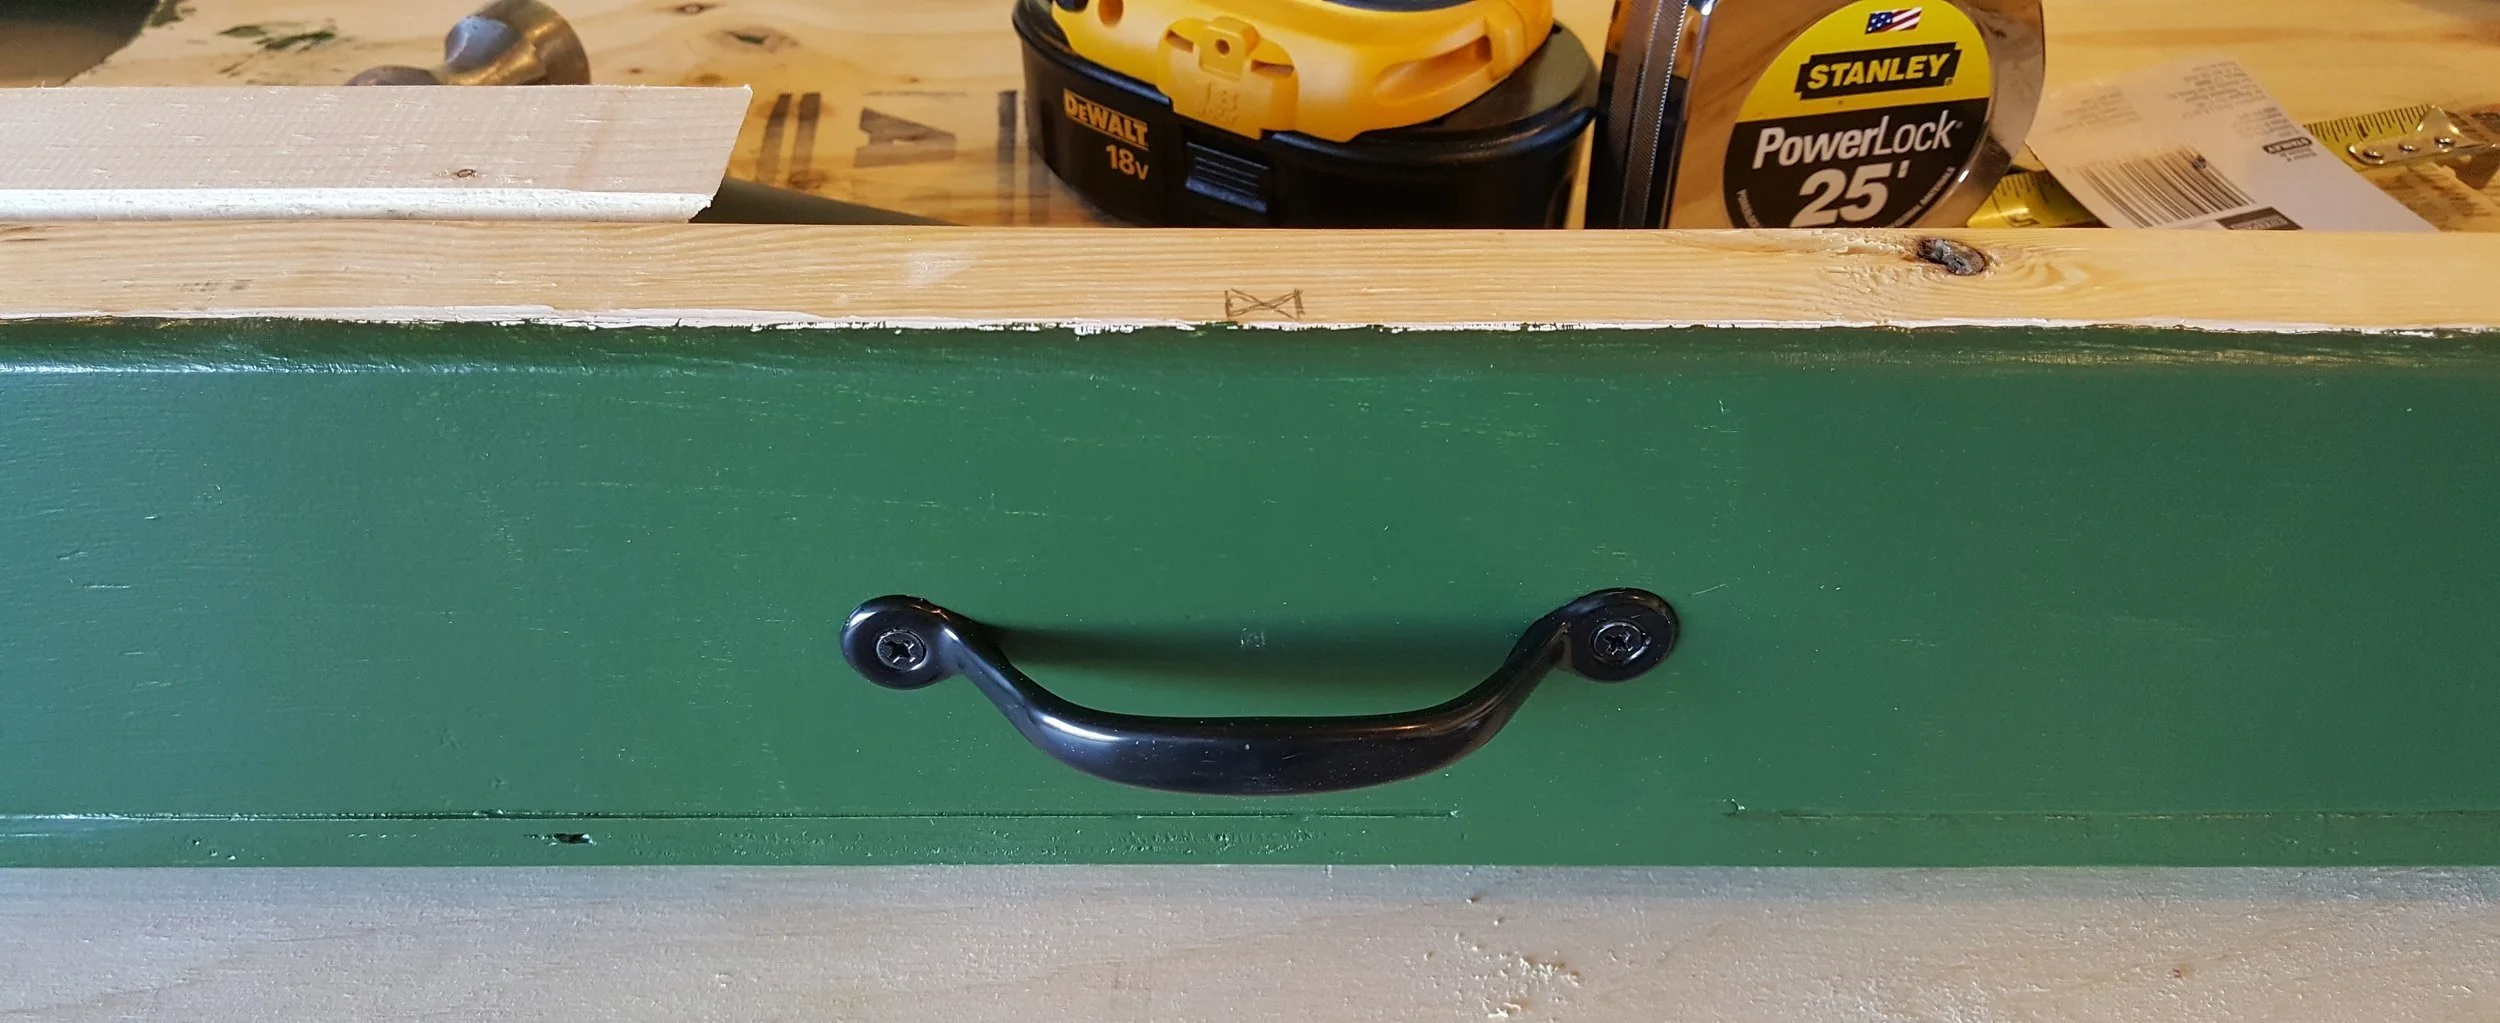
The cornhole set is not light and are awkward to carry so I added some handles to all of them.

All four boards and 16 bags done! They came out better than I could have hoped and my grandparents were very thankful for them. They got quite a bit of use at the reunion and should hold up for years to come!
Tools and hardware used in this project
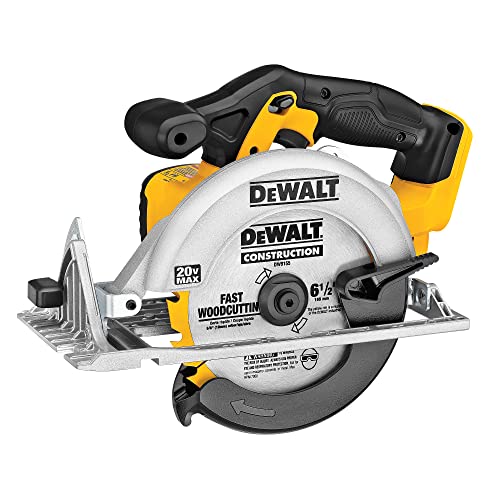
Power tools


Accessories and other items