Harbor Freight Folding Trailer Box with Removable Sides
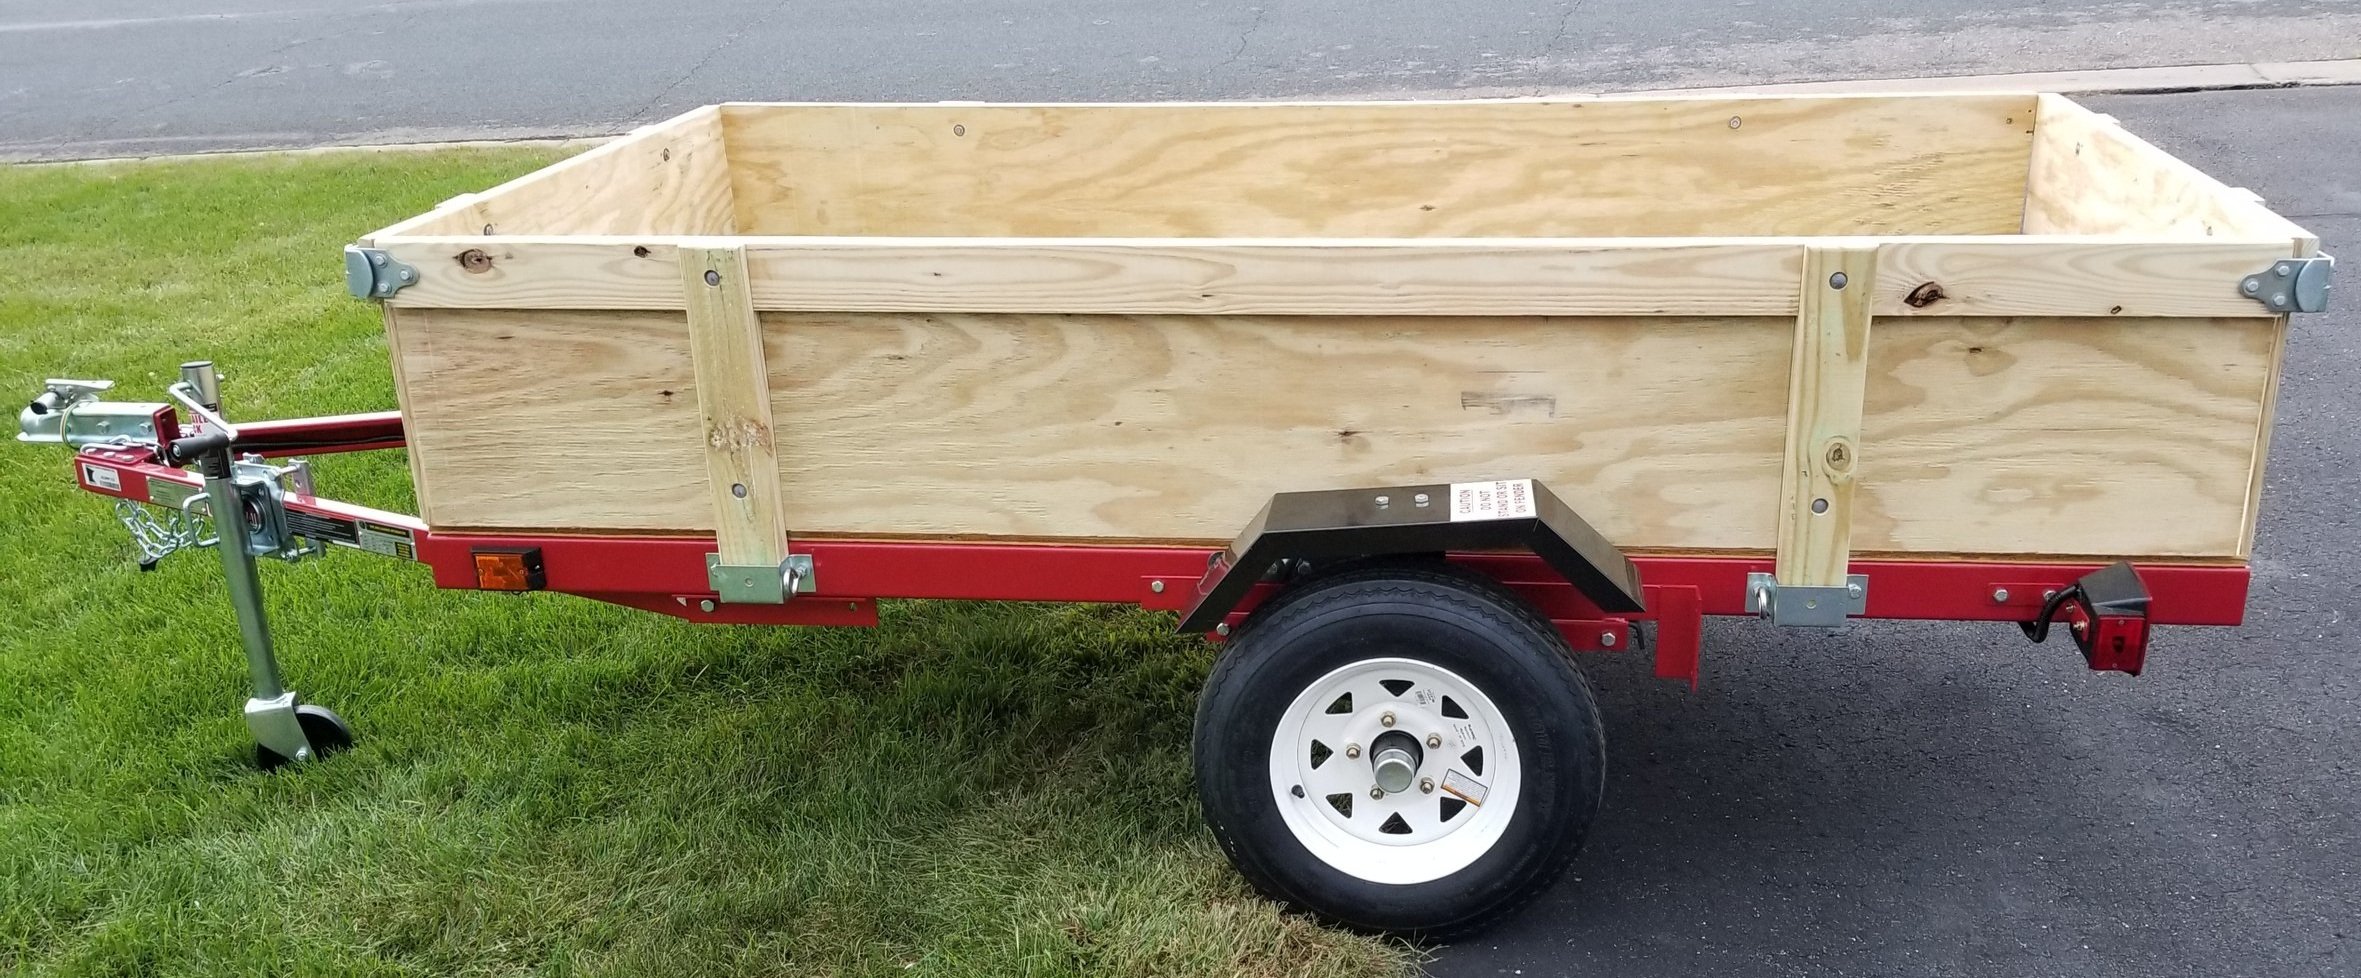
I often times need to haul brick, mulch, plywood, dirt, or general homeowner type materials. I've been fortunate enough to have access to my father-in-law's trailer but figured it would be convenient to have my own trailer for quick usage. I picked up a Harbor Freight folding trailer and modified it for my needs.
A few of the features of this trailer and box design are:
Removable sides to haul flat items
D-rings and eye hooks for using ratchet straps
Rot resistant pressure treated materials
Galvanized hardware for rust resistance
Tilting trailer bed for easy loading/unloading
Trailer jack for easy mobility
Spare tire for emergency situations

The trailer kit came from Harbor Freight and is the 1720 lb. capacity model. If you're not familiar with Harbor Freight, there are almost always some type of discount on items. The smaller model has a 1195 lb. weight capacity and smaller tires. For the price difference, the super duty model seems worth it.
I found the trailer pretty straight forward to put together, especially after watching a few videos on YouTube. I did this by myself, but I would recommend getting some help at the point where you need to flip the entire thing over. An impact driver with a socket adapter is a must, there were a LOT of bolts.

While wiring the lights up I took the additional step of adding in some dielectric grease, and then used heat shrink tubing to give an extra layer of protection. You can use a lighter with heat shrink, but I find it a lot easier to use a heat gun, especially in tight spots. The trailer didn't come with a wire harness, so I had to add one, which was pretty straight forward. In the above image you'll notice the 3/8" black corrugated split flex tubing wrapping the taillight wires. I loosened each frame bolt a little and added a small piece of galvanized steel wire to secure the tubing close to the frame so it wouldn't catch on anything while driving. I figured this was some cheap insurance to keep me from having to debug and rewire the lights. Note: if you're planning on folding the trailer, you'll want to leave some slack at the halfway point.

One of the advertised features of this trailer is that it can be folded in half and stored vertically, taking up just 2' of depth. Originally my plan was designed around this feature, storing it against the garage wall. After folding it in half a couple of times and testing it out, I found it cumbersome and difficult; I feared I wouldn't use the trailer as much if I had to deal with that. It would also mean giving up precious shop real estate! In the end, I decided that storing the trailer under my four season porch was the best solution, which didn't change the design all that much. Note: if you plan to fold the trailer in half, the main difference will be cutting the floor in half, leaving two 4' x 4' pieces.

Before using the trailer to pick up my first load of lumber, I purchased a grease gun and re-packed the bearings with grease. I read a lot of suggestions when researching this trailer which mentioned that. On my way to pick up the wood, I stopped by the DMV and registered the trailer. It was pretty quick and painless; $67 for a lifetime registration was reasonable.
The floor of the trailer is a 5/8" thick sheet of AC2 pressure treated plywood, a second sheet will make up the four sides. Three pressure treated boards make up the top rails of the sides. Three pressure treated boards make up the posts that drop into the trailer frame.

The top of the metal trailer frame has hex bolts that sit proud of the surface at every intersection, which meant the floor would not sit flush. I used a Forstner bit just larger than the bolt heads to carve out a recess, allowing the floor to sit flat.
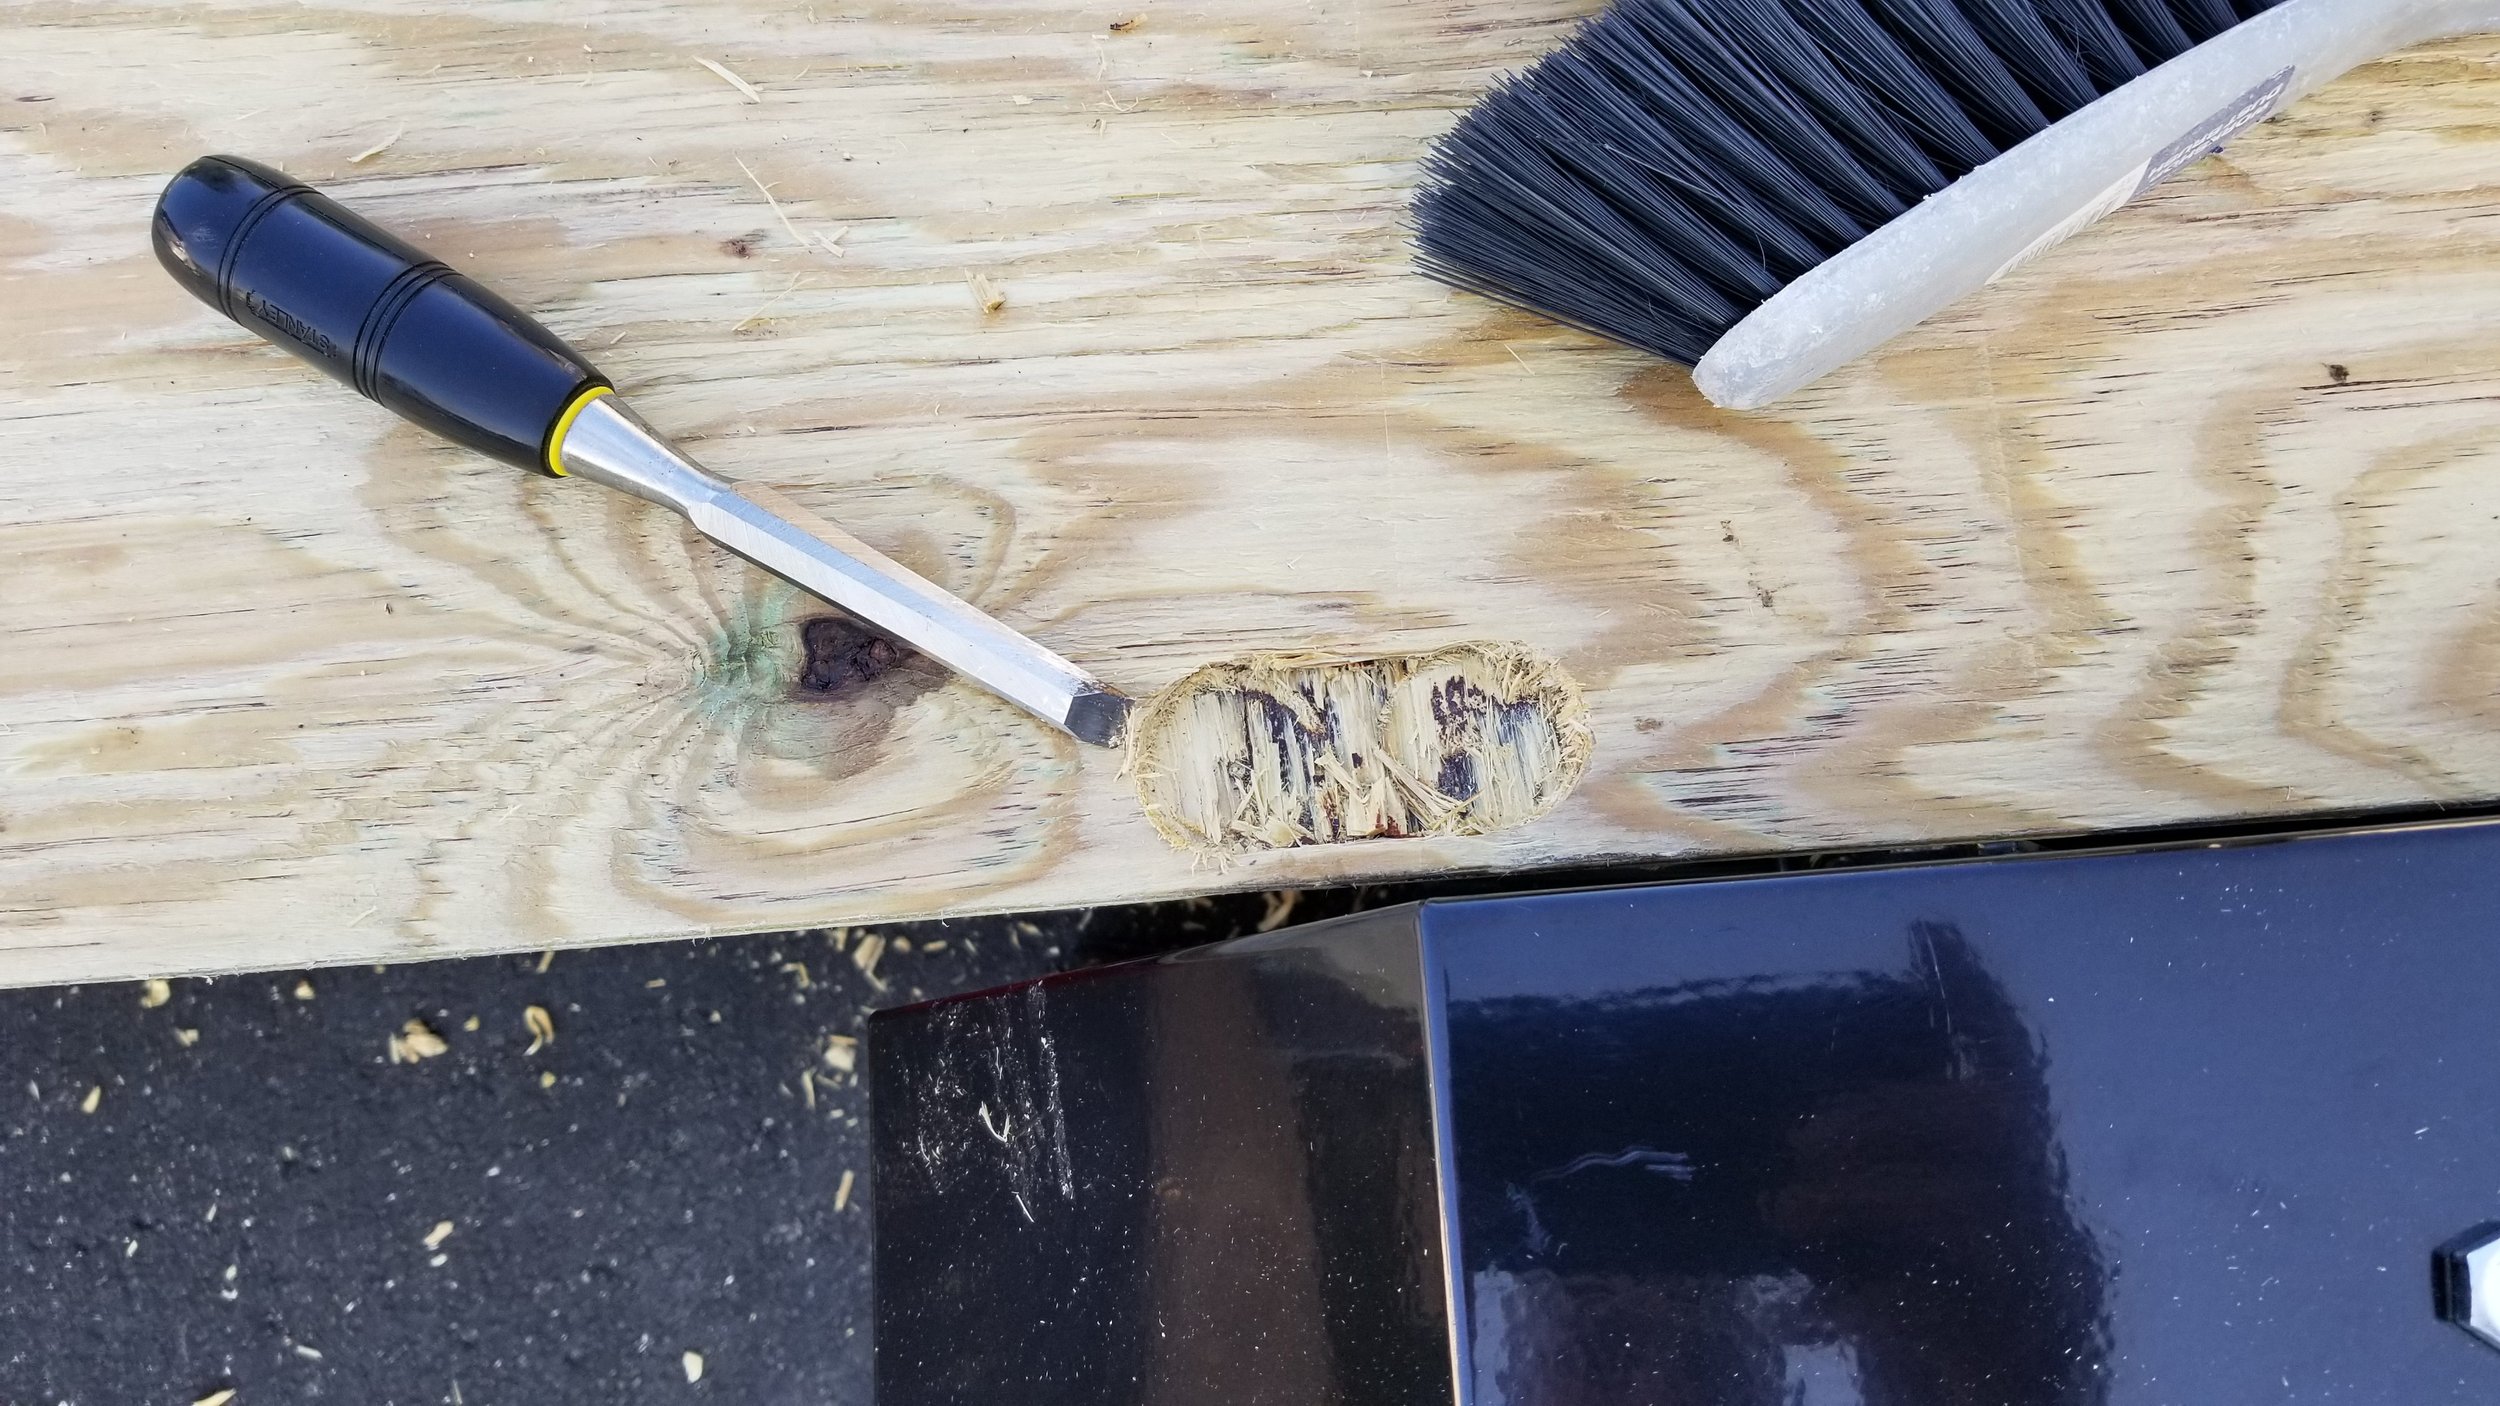
Near the fenders, there are are two hex bolts close together. After boring most of the material away, I cleaned it up with a chisel until the floor sat totally flush when flipped back over. Using the plunge router would have been a lot easier, but I didn't think of it at the time.
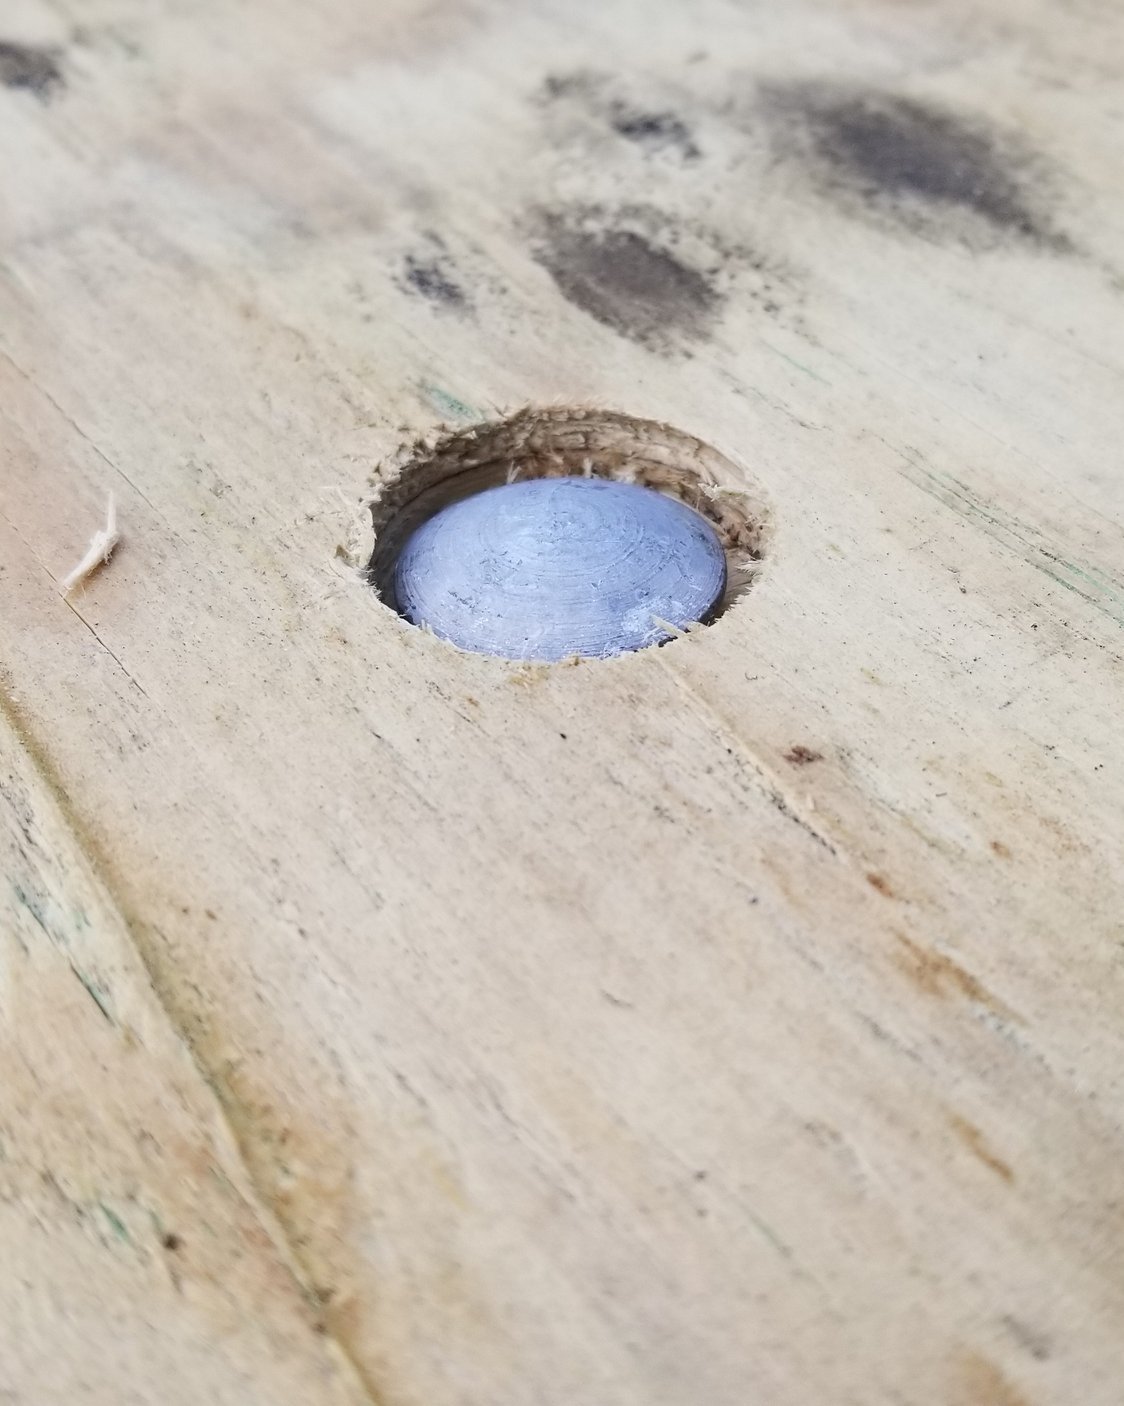
After verifying that the floor was flush, I flipped it over once again, clamped it on the frame, crawled under the trailer, and marked all of the available bolt hole locations. Flipped it back over for what seemed like the 100th time and used a forstner bit to bore out a recess for all 12 of the 3/8" x 1 1/2" galvanized carriage bolt heads to sit in. These are the bolts that attach the floor to the frame.
Next, I drilled the hole for the carriage bolt to drop in. You can see above how the bolt sits just below the face of the floor. I pounded the heads in and then attached the galvanized lock nuts and lock washers from below using a wrench. I made sure these all sat below the surface so I wouldn't hook one when shoveling material out or maul nice plywood.

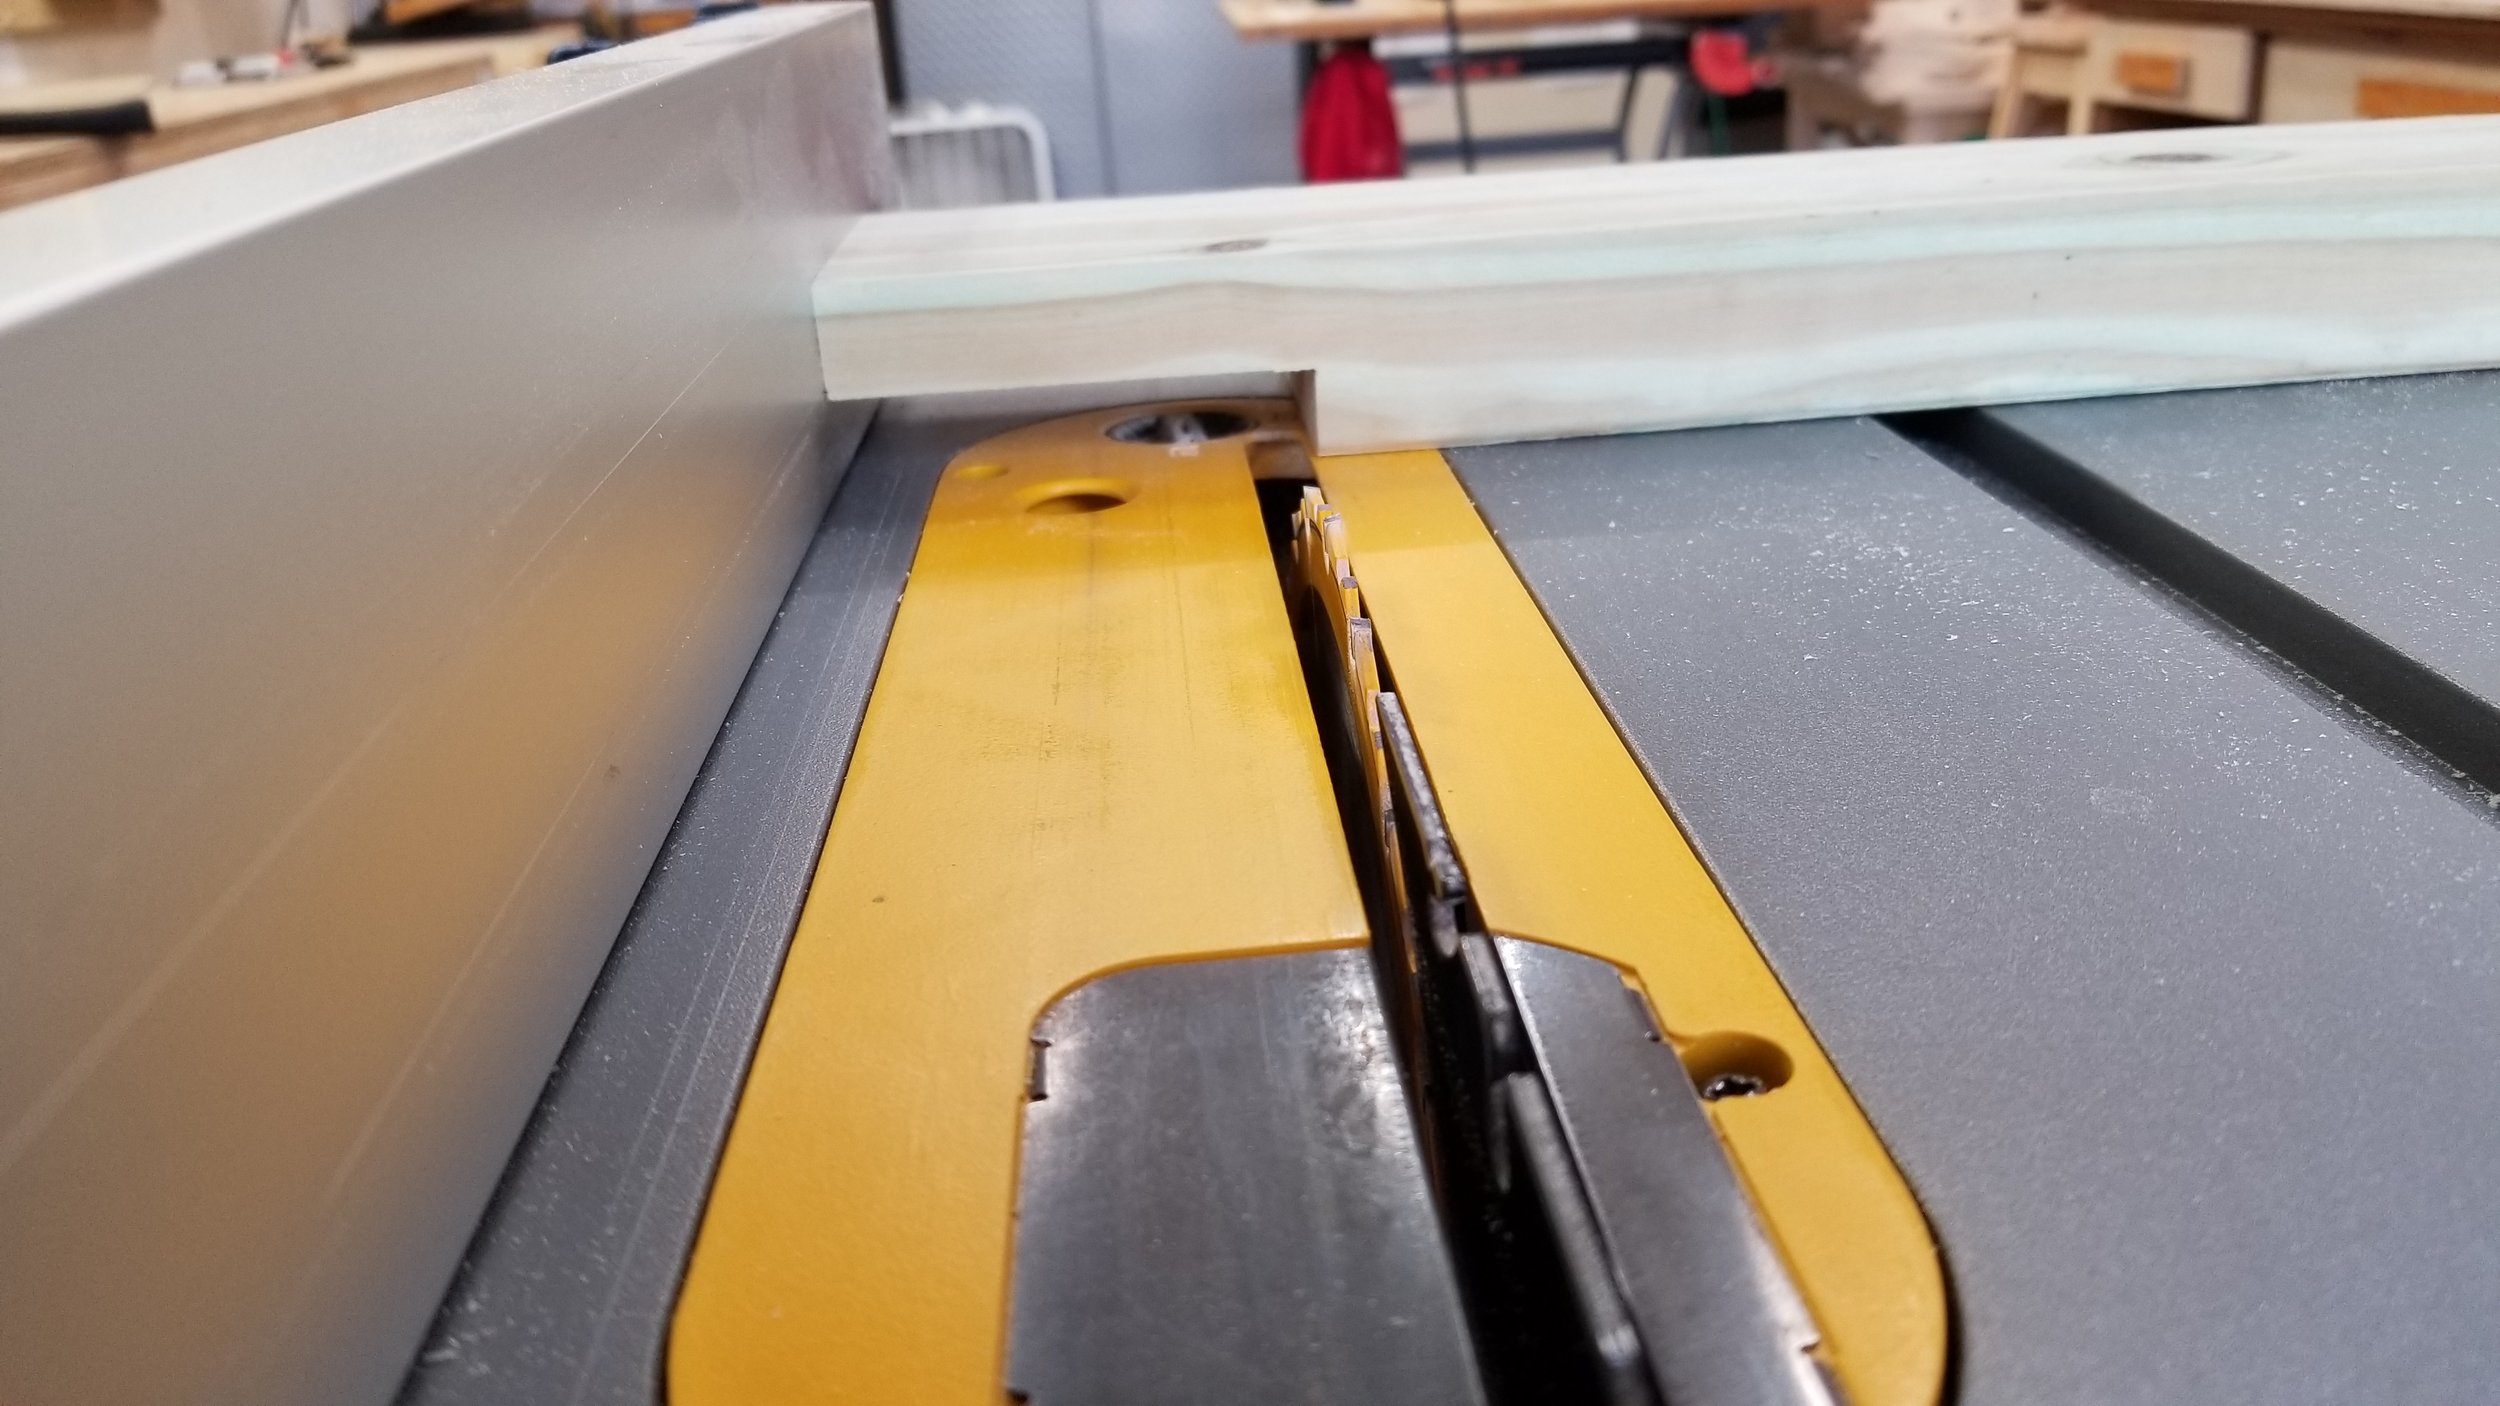
With the floor taken care of, I moved on to the sides. The first step was ripping the remaining sheet of pressure treated plywood in thirds on the table saw. This left me with three 16" x 8' strips. Using a cross-cut jig and circular saw, I cut one of those pieces in half, giving me the two four foot end pieces.

I added a tongue jack to help move the trailer around, previous to this I was resting it on a bucket. The jack is a back saver, especially when lifting a fully loaded trailer off the hitch of my vehicle. Here you can see the two 4' end pieces cut to size.

The plywood sides are reinforced with pressure treated boards, cut on the miter saw to the same length as the side it is attached to. To make it look a little cleaner, and remove the sharp edges, I used a 1/4" round-over bit in the router table along the top edge.

I spread Titebond II water resistant wood glue on each part, tacking them in place with 1" brad nails in the nail gun from the rear.

1" stainless steel wood screws help keep everything secure while the glue dries. I pre-drilled and countersunk the screws to ensure the wood wouldn't split, especially once the moist treated wood dries.
With the front and rear walls cut and glued up, I could move on to the vertical posts that will connect the walls to the trailer frame. To do so, I needed to notch out an area on the 2" x 4" that would allow the support rail on the sides to slide under. After using the band saw to hog out the bulk of material, I set the table saw blade to the thickness of the supports and made multiple passes until I hit the necessary width.
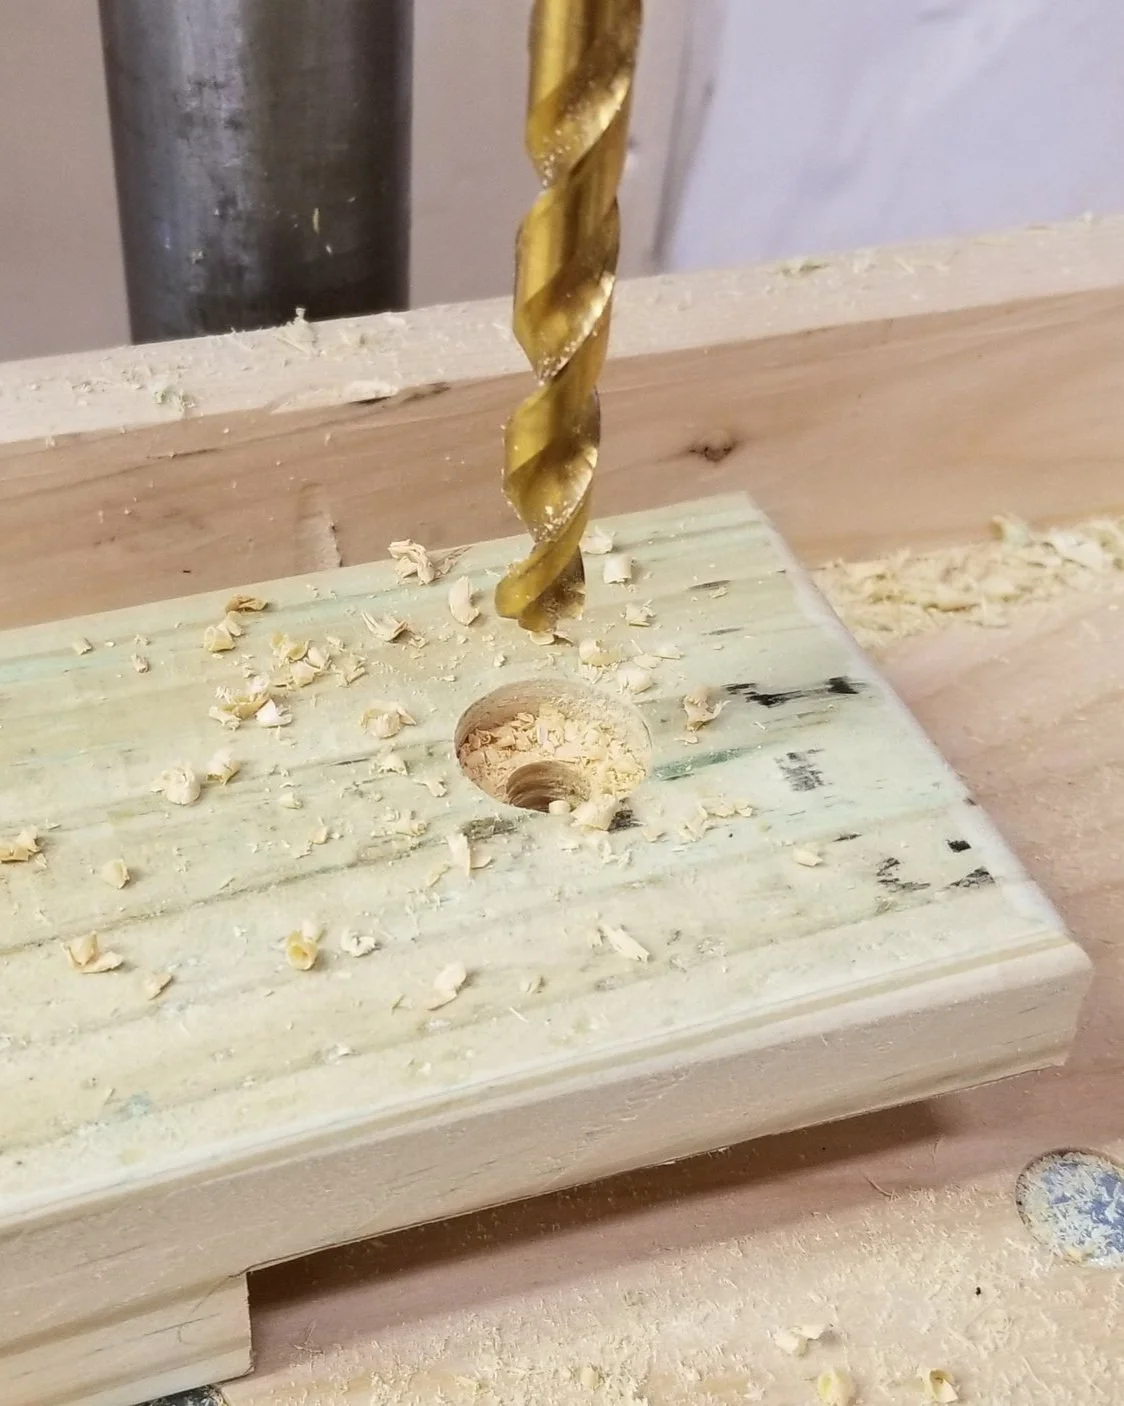
Using the same Fostner bit/drilling techniques as before, I created a bolt head recess and hole to securely attach the post to the side walls.

A large framing square and a 12" throat clamp help me line the the parts up. Once firmly in place, I pre-drilled through the trailer wall, then disassembled, added wood glue, and attached using 3/8" x 2" galvanized carriage bolts, washers, and nuts. You can see how the post fits nicely around the wall support rail with it notched out. I fiddled with the alignment quite a bit to make sure the side walls would slide freely in and out of the trailer frame stake pockets.

I took advantage of the nice weather by rolling the tool carts out into the driveway and repeated the same process to create the two 8' side walls and posts.

Being able to secure loads down to the trailer with ratchet straps was an important part of this build. I purchased a pack of D-rings and bolted them to the floor with 1/4" hex bolts, nuts, large flat washers, and lock washers.
In the top right of the above image you'll see the 3/8" eye bolts that replaced the original hex bolts that came with the trailer. A deep socket on one end and a wrench on the other tightened them down. I attached one eye bolt to each stake pocket on the trailer. Note: the stake pockets were included with the trailer.

Will all four side walls completed, it was time to connect them. I purchased four sets of corner brackets and clamped them in place. These corner brackets will allow the walls to easily lift off, yet stay connected solidly. Another benefit is only the rear wall posts will need to be connected to the frame, reducing the amount of time it will take to remove the walls when needed.

With the corner brackets clamped on, I marked out the hole locations, pre-drilled and drove 1/4" x 1 1/2" lag bolts through. These brackets worked out extremely well and I have been very happy with them.

Nearly done! I had a hard time coming up with a way to secure the front and rear wall posts to the stake pockets on the frame. In the end, I decided to make my own. Also note the rear ratchet strap eye bolts on the outside of the stake pockets.
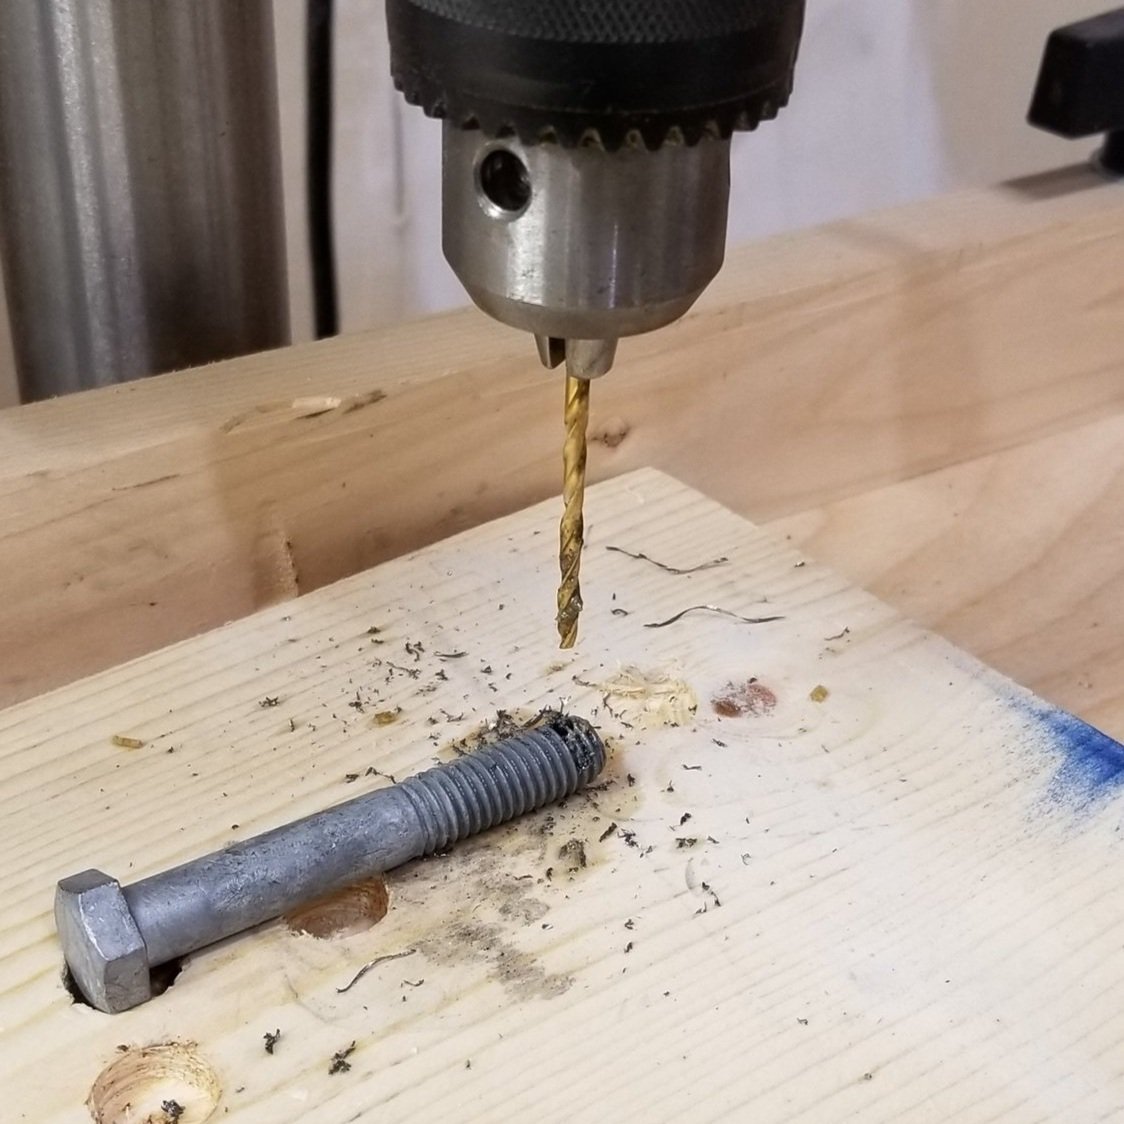
I picked up some long 3" galvanized hex bolts and bored a hole near the end on the drill press.

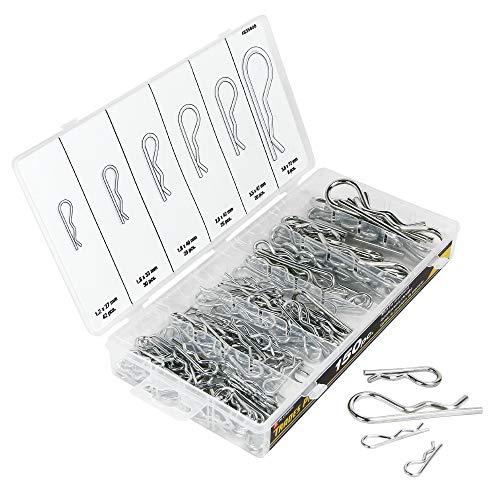
Adding washers and a hitch pin clip secures the bolt in place. With the front and rear sides locked in with these pins, and the corner brackets at the tops, the sides are unable to move, yet don't need to be pinned in place.

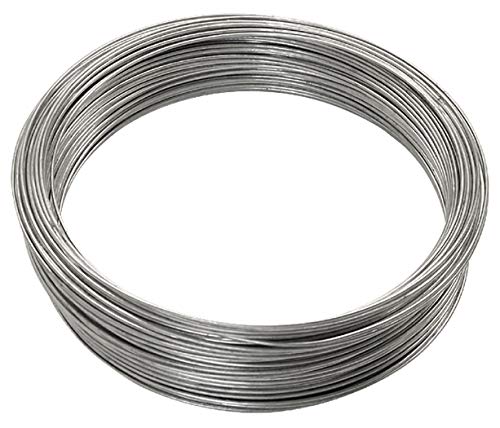
After using the trailer a few times and having to hold onto the bolts, washers, and pin, I decided that a short piece of chain attached to the trailer would help to keep everything in place when unhooked.

This trailer has been great to use, and so far, I wouldn't change anything about the build. The total price, including trailer frame, lumber, all galvanized hardware, spare tire (from Harbor Freight) and carrier was just under $600*. Money well spent!
* prices have continued to increase since I built mine!
Update!
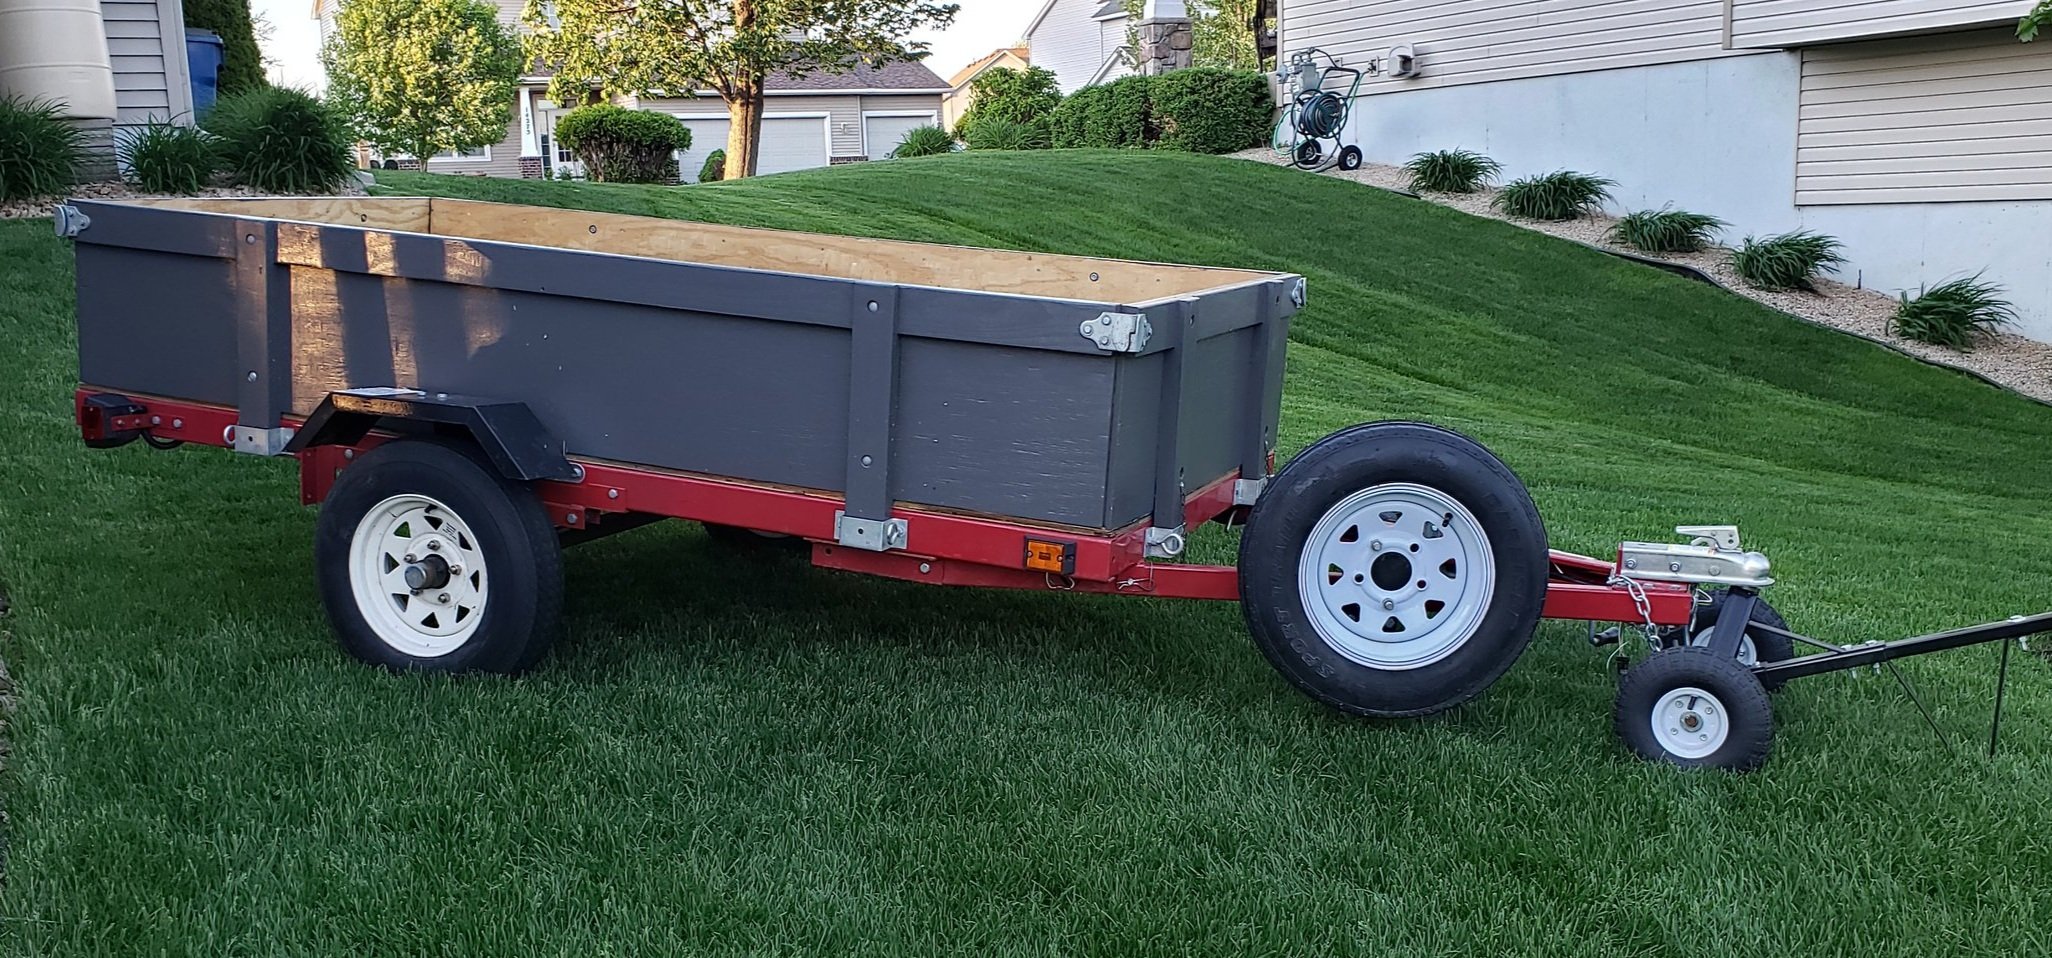
After letting the treated wood dry for about a season, I painted the outside of the trailer with a dark gray exterior grade paint. The combo of gray and red looks really nice!

Products used in this build
Project specific items and trailer add-ons


Power tools and accessories


The rest